
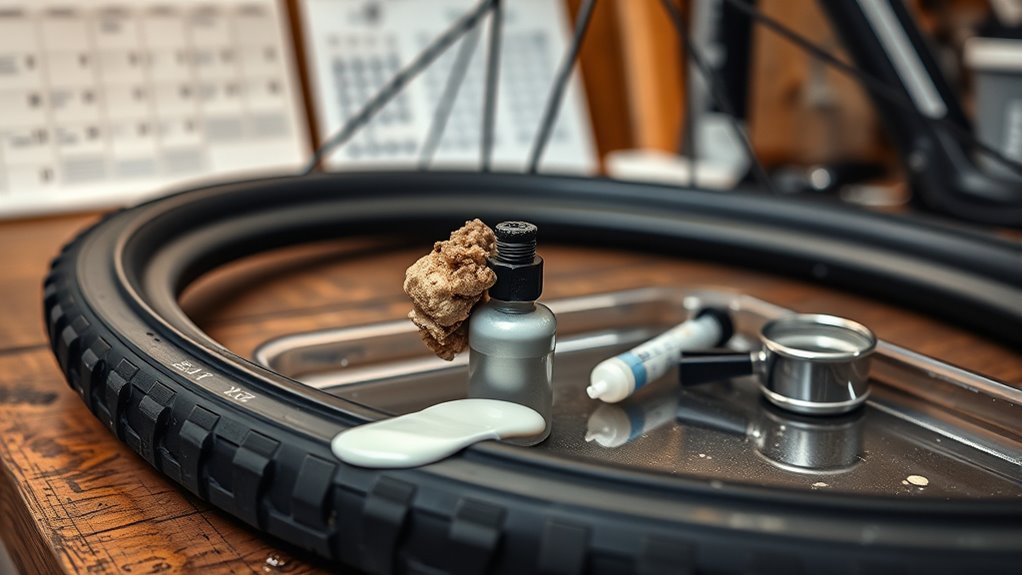
Dried sealant can turn a tubeless setup from low-maintenance to flat-prone fast. You can avoid most surprise leaks by checking volume, texture, and air loss before the tyre runs dry. This guide shows you when to replace tubeless sealant, how to check it, and how much to add for common tyre sizes.
Quick Answer
You should replace tubeless sealant every 3 to 6 months in moderate conditions. In hot, dry climates, check it sooner because it can dry in about 6 to 8 weeks. Replace it right away if you find dark clumps, low volume, or repeated pressure loss.
Key Takeaways
- Check sealant every 1 to 2 months if you ride often or store your bike in heat.
- Replace sealant when it turns dark, clumpy, stringy, or too low to coat the tyre.
- Use the valve method for quick top-ups and the tyre-off method for full cleaning.
- Match sealant volume to tyre size, pressure, and riding conditions.
- Store sealant and your bike in a cool place to slow drying.
How Long Does Tubeless Sealant Last? Quick Answer and Variables
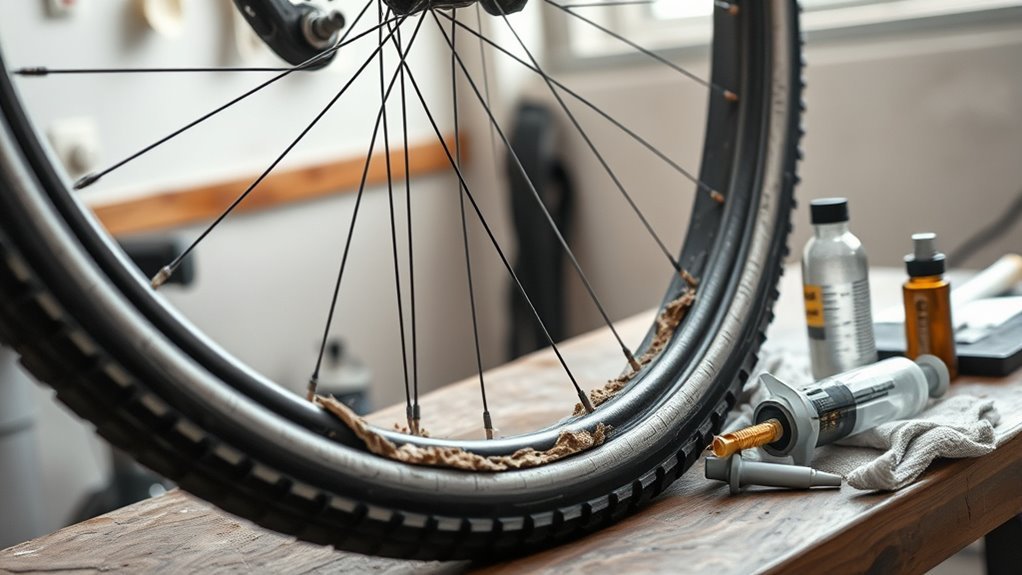
Tubeless sealant usually works for about 3 to 6 months in mild, moderate conditions. In hot, dry climates, it may dry faster, sometimes in about 6 to 8 weeks.
Temperature, humidity, tire size, casing porosity, and riding frequency all affect sealant life. Heat and dry air speed up evaporation. Cooler, humid storage slows it down.
Frequent riding can help keep the sealant mixed and spread across the tyre. Even so, you should still check it on a set schedule rather than waiting for a flat.
How to Check Tubeless Sealant Without Removing the Tyre
You can check tubeless sealant without removing the tyre if the valve and core allow access. First, fully deflate the tire. Rotate the wheel until the valve sits at the 6 o’clock position, so any fluid pools near the valve.
- Remove the valve core with a valve core tool.
- Insert a syringe tube or a clean, trimmed cable tie through the valve.
- Measure the pooled sealant or check how wet the dipstick comes out.
- Inspect the colour and texture before you refill the tyre.
Compare the amount you find with the target for your tyre size. Many 29-inch mountain-bike tyres need about 80 to 100 ml, while many road tyres need about 30 to 60 ml.
Dry, dark, stringy, or gritty sealant signals a problem. Check every 1 to 2 months, and shorten that interval during hot weather.
Pro tip: Mark your syringe in millilitres so you can top up with the same amount each time.
Signs Your Tubeless Sealant Needs Immediate Replacement
A drop in performance means you should act before the tyre fails on a ride. Inspect the sealant’s colour, texture, and volume. Dark colour or solid fragments mean it has dried and lost sealing power.
Low sealant volume also calls for a top-up or full replacement. If the tire keeps losing pressure or needs frequent inflation, the sealant may no longer seal small punctures.
- Replace dark, clumpy sealant or visible solids inside the tyre.
- Top up measured volume below the maker’s recommended level.
- Refresh sealant after repeated air loss or failed puncture sealing.
- Inspect the tyre if visible punctures will not seal.
Don’t keep riding on compromised sealant. Fresh sealant restores reliable puncture protection and helps you ride farther without constant stops.
Strip Old Sealant and Clean the Tyre: Step by Step
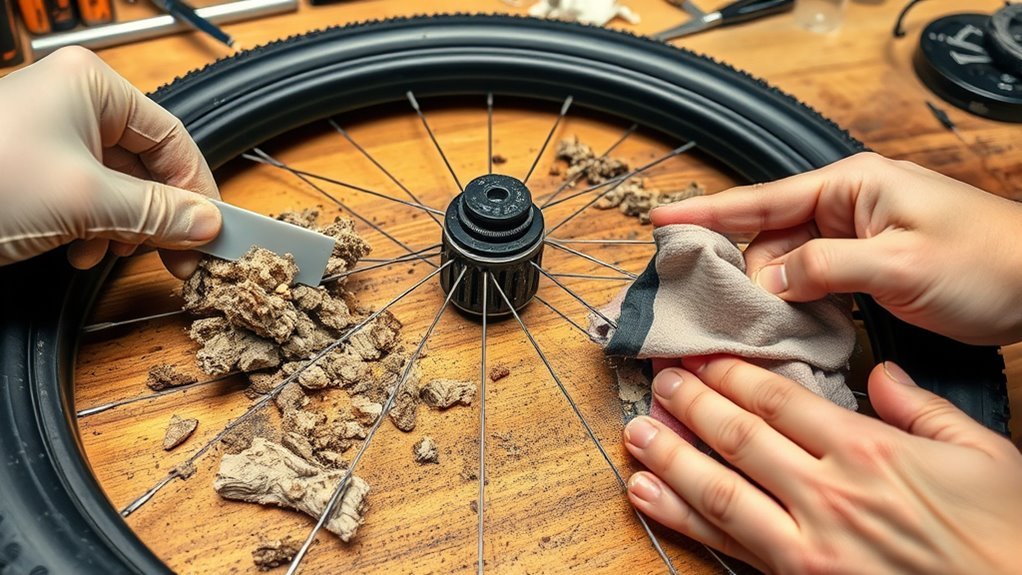
A full clean helps when old sealant has dried, clumped, or coated the bead. Start by fully deflating the tyre and removing the valve core. This step reduces mess and gives you better access.
Use a syringe or stiff cable tie to pull out loose sealant before you open the bead. Then wipe the inside of the tyre, inspect the rim tape, and refill only after everything dries.
Remove Old Sealant
Before you open the bead, fully deflate the tire. This prevents sealant spray and makes tyre removal safer and cleaner.
- Extract loose sealant with a syringe before opening the tire.
- Scrape or wipe out solid, tacky, or rubbery residue.
- Rinse the interior with warm water if the tyre maker allows it.
- Dry the tire fully so new sealant does not get diluted.
After cleaning, inspect the bead and rim tape for wear, gaps, or lifting edges. Reinstall the tyre only when the surface feels clean, dry, and ready for fresh sealant.
Deep Clean Rim
Deflate the tire fully, position the valve at the bottom, and remove the valve core. Use a syringe to pull out any fluid you can reach. Dark fluid or solids mean you should replace the sealant rather than mix it with new fluid.
Wash the tyre and rim with mild soap and water, then scrub until no film remains. Use soft brushes and lint-free wipes so you don’t damage tubeless rim tape.
Inspect the tape and bead seats before you refill the tyre. Replace tape if you see tears, bubbles, lifted edges, or gaps that can break the air seal.
Warning: Don’t use harsh solvents inside the tyre unless the tyre or rim maker approves them.
Add New Sealant Correctly: Valve Method vs Tyre-Off Method
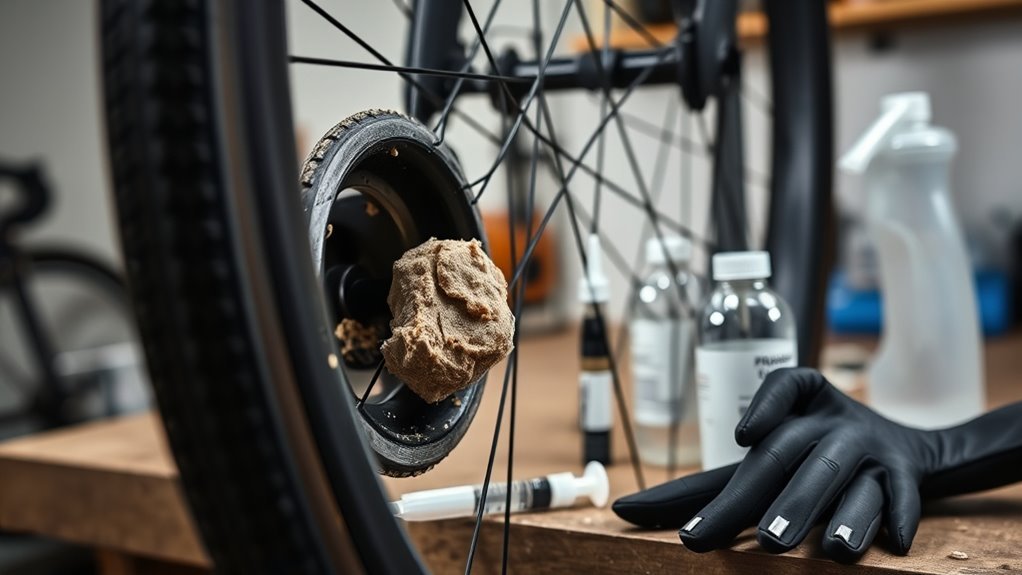
You can add sealant in two practical ways. Use the valve method for quick top-ups without unseating the tyre. Use the tyre-off method when you need to clean the bead, inspect the casing, or remove hardened residue.
- Choose the valve method for fast maintenance with minimal tools.
- Choose the tyre-off method for cleaning, damage checks, and heavy buildup.
- Remove the valve core before injecting sealant through the valve.
- Spin and shake the wheel after refilling to spread sealant evenly.
Use the valve method between rides when the tyre still looks clean and holds air. Choose the tyre-off method when you suspect casing damage, sealant contamination, or bead leaks.
[Products Worth Considering]
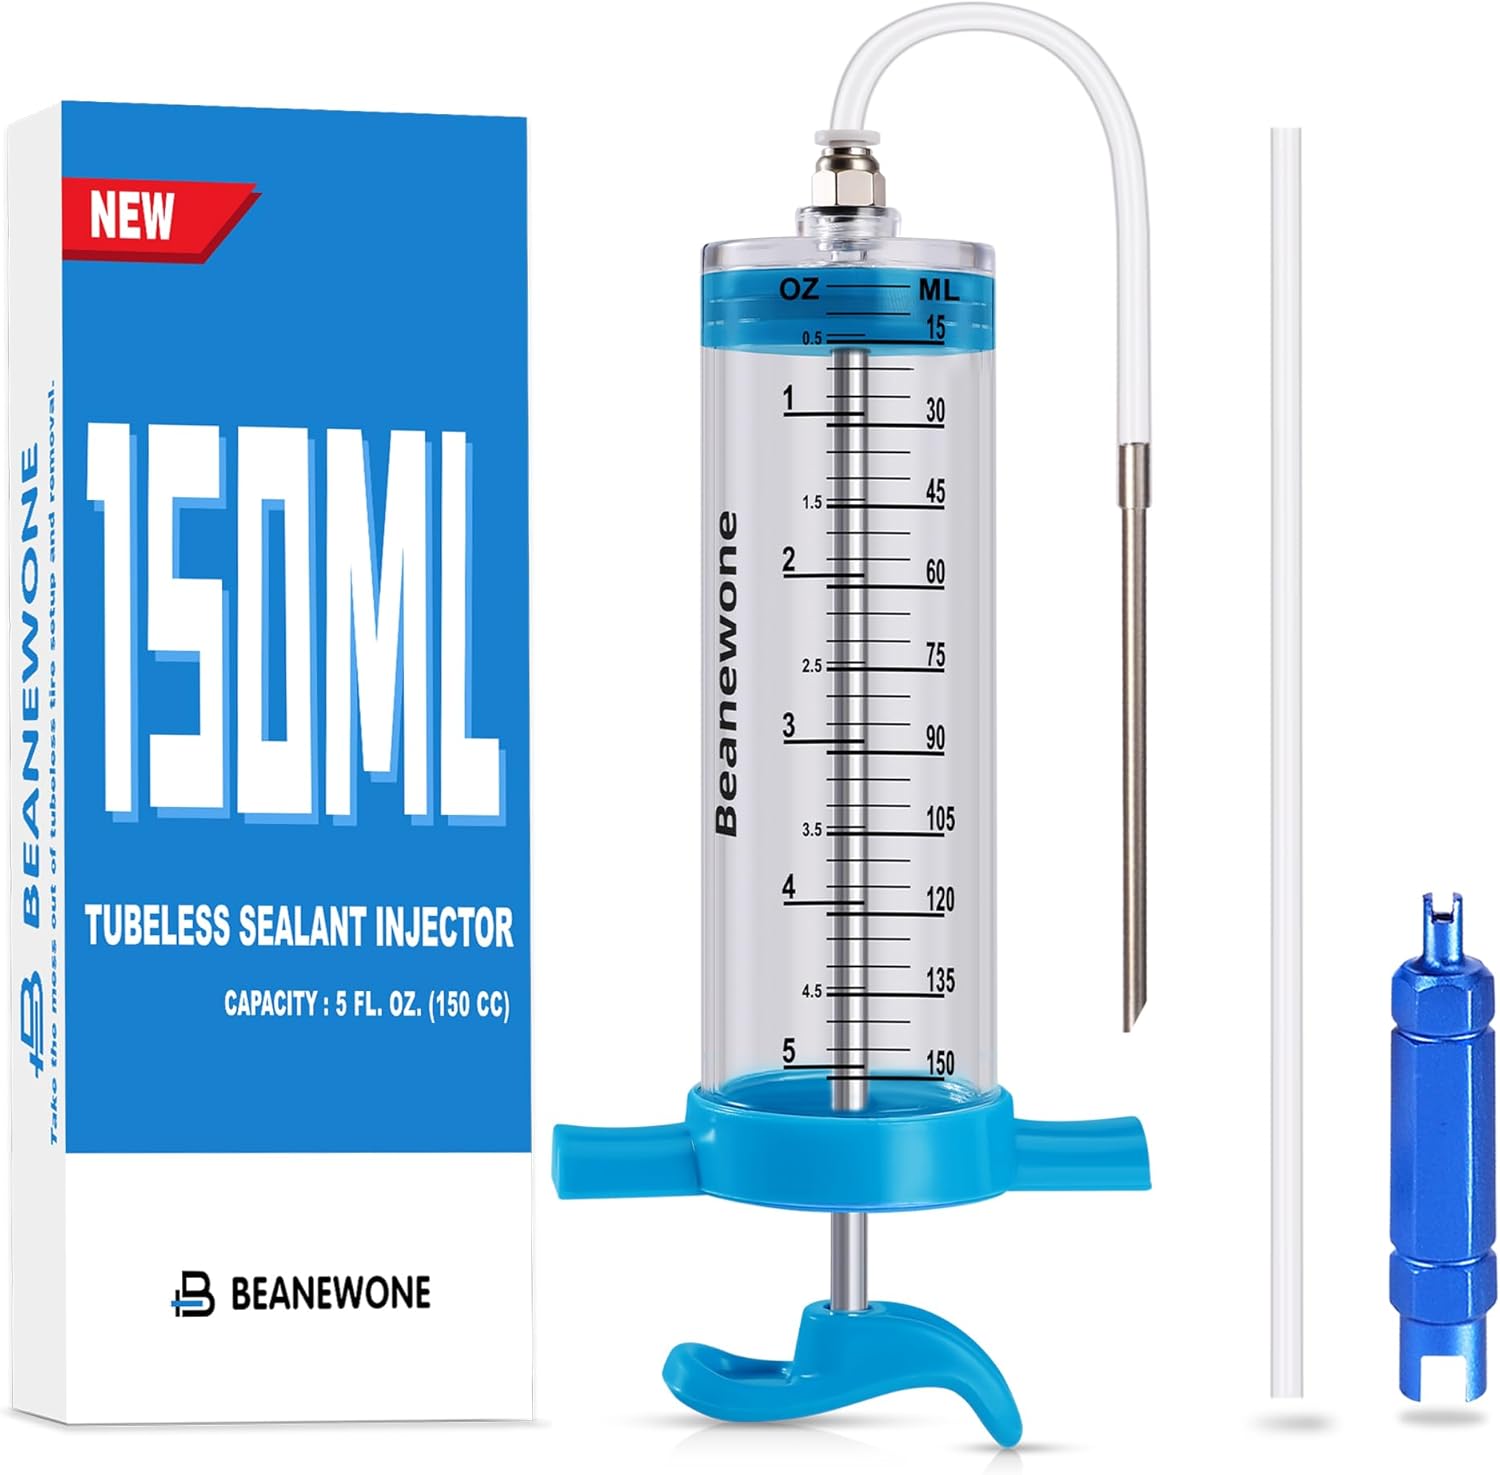
Make tubeless sealant installs faster and cleaner with this 150ml injector and clear measurement body. It connects and disconnects with a simple push-to-connector, then injects sealant directly into Schrader or Presta valve stems after removing the valve core. Includes a valve core remover tool to help you prepare and seal tires with less mess.

Switch to tubeless with this Muc-Off rim tape designed to create an airtight seal for smooth-running setups. The pressure-sensitive adhesive offers the right stretch for strength and durability, while the semi-transparent material helps you locate the valve hole quickly. It includes four seal patches for a secure finishing seal after wrapping.

Upgrade your ride with a 2-pack set of 26x1.95 folding mountain bike tires built for dependable traction on mud, rocks, and trail surfaces. A reinforced puncture-resistant layer helps protect against sharp debris, while included butyl inner tubes provide strong sealing and shock absorption. Ready for fast swaps with included tire levers and universal sizing for most bikes.
How Much Tubeless Sealant to Add for Each Tyre Size and Pressure
Pick sealant volumes based on wheel size, tire type, casing volume, and expected pressure. Always check the sealant maker’s label first, then adjust for your tyre size and conditions.
| Tyre type | Typical sealant amount per tyre | Best use |
|---|---|---|
| Road | 30 to 60 ml | Higher pressure, lower tyre volume |
| Gravel | 60 to 90 ml | Mixed surfaces and wider casings |
| 27.5-inch mountain bike | 60 to 80 ml | Trail riding and mid-volume tyres |
| 29-inch mountain bike | 80 to 100 ml | Large-volume tyres and rough trails |
| Downhill | 120 to 140 ml | Hard impacts and larger puncture risk |
Lower pressures and larger-volume tyres need more sealant to coat the casing and plug holes. Higher-pressure tyres need less volume, but they still need enough fluid to cover the inner surface.
Measure with a syringe or pre-marked bottle. After filling, rotate and shake the wheel so the sealant spreads across the casing.
[Products Worth Considering]

This heavy-duty bicycle rim liner provides complete tube protection by shielding the inner tube from rim spoke holes and sharp metal burrs that can cause flats. Made from premium, wear-resistant PVC, it lays flat with optimized 18 mm width and 0.50 mm thickness for edge-to-edge coverage. Installation is quick with flexible stretch placement and a secure, non-slip fit.

This Dr.Roc tire valve stem puller tools set helps install or remove snap-in tubeless valve stems safely and efficiently. It includes ozone-resistant EPDM snap-in valve stems, a valve stem installer, and a valve core remover for quick core removal or installation during tire service. Designed for reliable tubeless tire repair on motorcycles, ATVs, lawn equipment, cars, and trucks.

This tire valve adapter kit lets you connect a 3/4-inch garden hose to tire valves to fill tires with air or liquid. It includes two adapters for standard bore and large bore valves plus a convenient bleeder valve to release trapped air. Designed for tractor tire tubes and compatible air/water valves and extensions, it’s a practical repair tool for getting back on the road or field quickly.
Maintenance Schedule, Storage Tips, and Product Recommendations
Because sealant dries over time and with heat, you should plan proactive maintenance. Replace tubeless sealant every 3 to 6 months in typical conditions. Check levels more often in hot weather, especially if your bike sits in a warm shed, car, or garage.
Perform a full tyre inspection every 12 to 18 months. Check the bead, rim strip, rim tape, casing, and valve core during that service.
- Set calendar reminders that match your riding season and climate.
- Check sealant volume during wheel removal or every few rides.
- Replace sealant right away if you find clumps, stringing, or low volume.
- Store spare sealant in a cool place with the cap sealed tight.
- Shake the bottle well before each refill so the sealing particles mix evenly.
If the original sealant brand has worked well in your tyres, use the same formula for top-ups. Avoid mixing old and new sealant from different brands unless both makers confirm compatibility.
[Products Worth Considering]

This professional wheel and rim brush kit makes it easy to lift brake dust, grime, and dirt from wheels and tires without scratching finishes. The brushes feature soft, metal-free wool heads and a flexible 360-degree rim brush design for reaching hard-to-clean areas. Includes multiple brush types plus accessories for thorough car, motorcycle, and general vehicle detailing.

This wheel brush kit delivers pro-level cleaning at home, lifting dirt, grime, and brake dust to help restore wheel appearance. It includes multiple brush styles and applicator pads for tackling different wheel surfaces, with gentle, metal-free bristles designed to reduce scratching risk. The flat and double-ended brushes are built for comfort and reach, making wheel care easier for cars, trucks, and RVs.
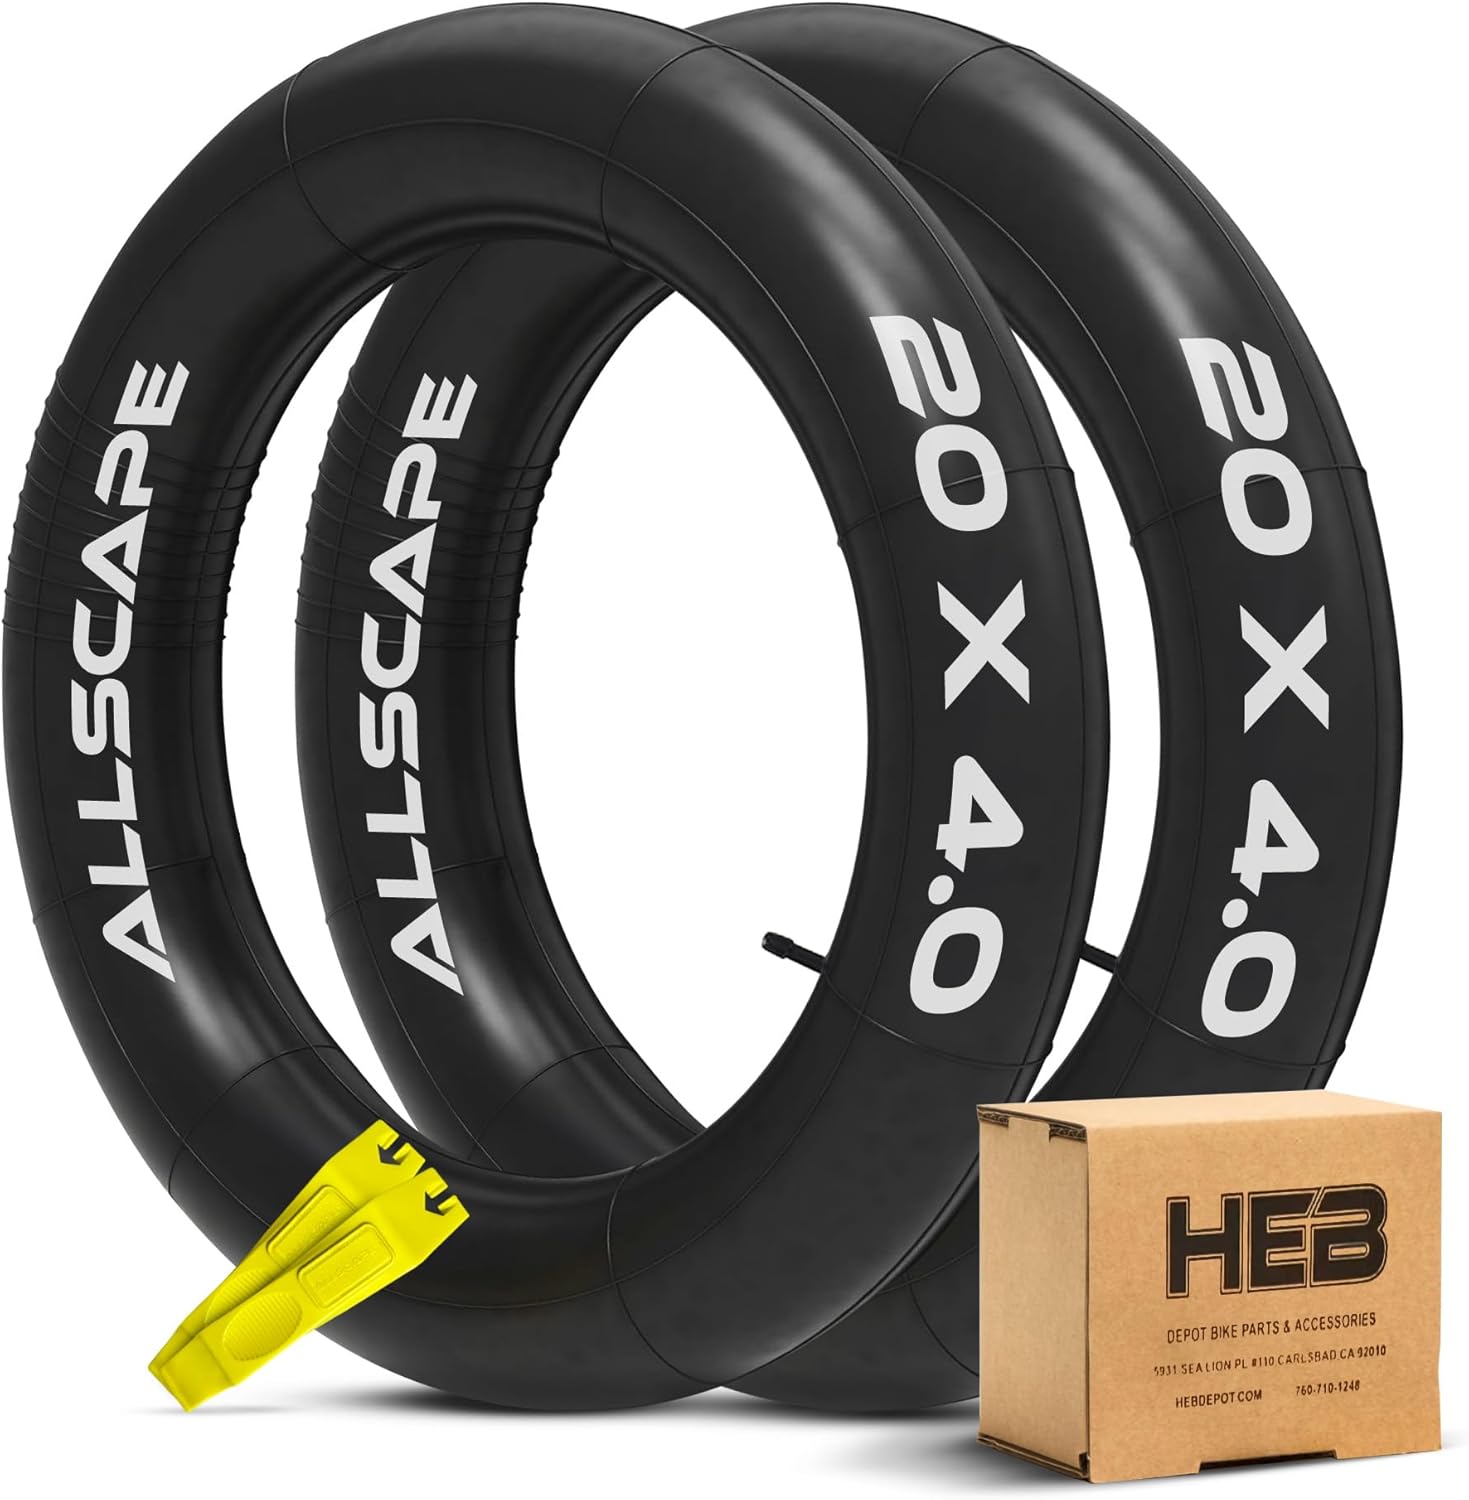
HEB heavy duty inner tubes deliver reliable puncture resistance for fat tire electric bikes and mountain bikes running 20x4 or 26x4 tires. Built for rugged backcountry trails, they help prevent flats from rocks and thorns while providing stability and traction. Choose a single tube or multi-packs for better value and keep your ride running smoothly in all seasons.
Common Mistakes That Shorten Sealant Life
Small service mistakes can make tubeless sealant dry faster or seal poorly. Heat, dirt, and mixed formulas cause many avoidable problems.
- Avoid storing bikes in hot cars or direct sun for long periods.
- Don’t mix unknown sealant formulas in the same tyre.
- Don’t refill over thick clumps without cleaning the tyre first.
- Don’t ignore clogged valve cores, slow leaks, or dried residue around the bead.
Clean service habits help the sealant last longer. They also make puncture sealing more reliable when you need it most.
Frequently Asked Questions
Can Sealant Damage Tubeless Tyre Liners or Rims Over Time?
Neglected sealant can dry into clumps and may contribute to residue buildup or corrosion on some rims. Inspect, flush old sealant, and use formulas that match your tyre, rim, and insert maker’s guidance.
Is Sealant Safe for Use With Latex Inner Tubes in Emergencies?
Some sealants can work with latex tubes in an emergency, but you should check the sealant maker’s instructions first. Treat this as a temporary repair and inspect the tube as soon as you can.
Can Expired Sealant Be Mixed With Fresh Sealant Safely?
You should not mix expired sealant with fresh sealant. Old sealant can form clumps, reduce sealing speed, and make the new fluid less reliable.
Do Sealant Additives, Antifreeze, or Scent Affect Sealing Performance?
Additives can change sealant viscosity and sealing speed. Avoid adding anything unless the sealant maker approves it, because untested mixtures can clog valves or fail to seal punctures.
How Does Altitude Affect Sealant Effectiveness During Flights?
Pressure changes during flights can push air and sealant around inside the tyre. After travel, inspect pressure, spin the wheels, and check sealant volume before your next ride.
Conclusion
Fresh sealant gives your tubeless tyres the best chance to seal small punctures and hold pressure. Check levels on a simple schedule, and refresh the tyre when the fluid turns dark, clumpy, or too low. Use the valve method for quick top-ups and a full tyre clean when residue builds up. Keep your sealant cool, measured, and well mixed so your wheels stay ready for the next ride.
