
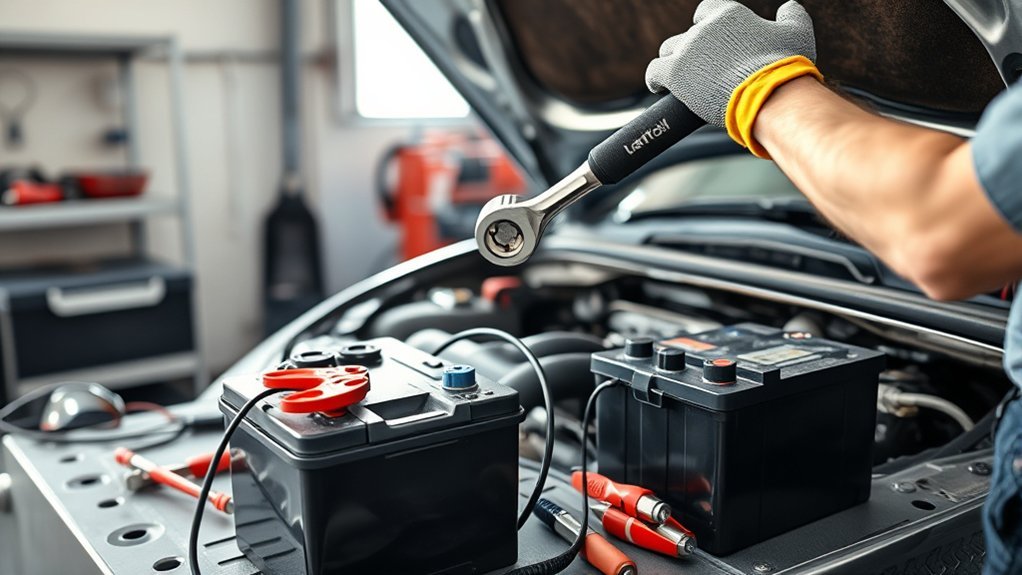
Learning how to replace a car battery is straightforward on many vehicles, but the job still requires careful handling. The safest method is to confirm the correct replacement first, switch the vehicle fully off, remove the negative cable before the positive, secure the new battery, and reconnect the cables in the opposite order. Modern vehicles may also require a battery-monitor reset or other initialization after installation.
Quick Answer
To replace a conventional 12-volt car battery, park safely, switch everything off, disconnect negative first and positive second, remove the hold-down, clean the tray, fit the correct replacement, secure it, then reconnect positive first and negative last. Check your owner’s manual first because some vehicles require special initialization or battery-monitor registration.
At a Glance
| Difficulty | Basic to moderate DIY; some modern vehicles need model-specific reset or initialization procedures. |
| Tools Needed | Correct wrench or socket, gloves, eye protection, terminal brush or cleaner, clean rags, and optionally a multimeter or battery tester. |
Key Takeaways
- The safe terminal order is negative off first, positive off second; positive on first, negative on last.
- Match the replacement battery to the vehicle’s required size, terminal position, battery type, and electrical rating rather than choosing by physical fit alone.
- A loose hold-down, dirty terminals, reversed polarity, or forced cable routing can cause starting problems or damage.
- Some newer vehicles need a battery-management-system reset, sensor reset, or other relearn procedure after replacement.
- Lead-acid automotive batteries should be returned to a battery retailer or appropriate recycling program, not placed in household trash.
[Products Worth Considering]

Protect and organize your Airmoto tire inflator with a purpose-designed carrying case made for a precise fit. The durable polyurethane shell and soft interior help guard against cuts, tears, and road wear, while a mesh pocket stores connectors and accessories. This travel box measures 7.5*3.5*2.8 inches and can work with most handheld portable air compressor models; this listing includes the case only.

This TPMS relearn tool helps you quickly activate, match, and reset GM tire pressure sensors to keep the vehicle monitoring system working properly. It clears tire pressure alarms and dashboard warning lights after sensor replacement or tire rotation, and supports learning for common 315/433 MHz TPMS sensors. Designed for simple one-button operation, it can help you avoid unnecessary trips to repair shops.

This car emergency kit keeps essential roadside tools organized in a durable, portable bag so you can respond quickly during common driving emergencies. It includes battery jumper cables, a bright LED headlight, first aid supplies, a tire pressure gauge, and safety essentials like gloves and an emergency poncho. Designed for trunk or storage use, it helps you be prepared for dead batteries, minor malfunctions, and unexpected roadside issues.
Step 1: Gather the Tools You Need
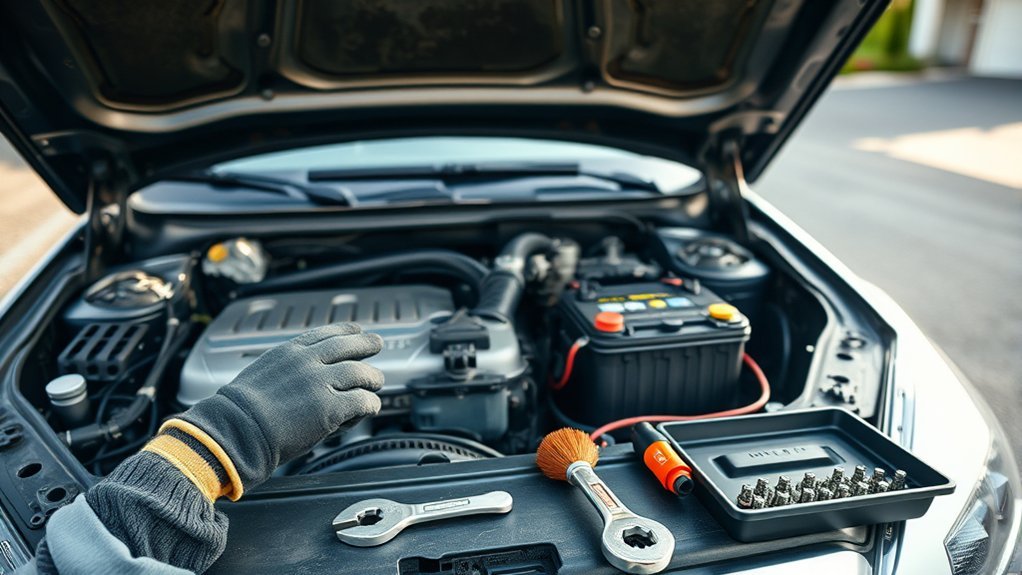
You normally need only a few basic tools for a car battery replacement. Have everything ready before you disconnect power so you do not have to leave loose cables unattended.
Use the correct wrench or socket for the terminal clamps and hold-down hardware. Wear safety glasses and protective gloves, and keep a battery terminal brush or wire brush, clean rags, and a small container for hardware nearby.
- Wrench or socket set
- Safety glasses
- Protective gloves
- Battery terminal brush or wire brush
- Clean rags
- Battery tester or digital multimeter, if available
- Battery terminal protectant, if recommended for your battery
A multimeter can show battery voltage, but voltage alone does not prove that a battery can deliver enough current to start the engine. If the battery shows normal voltage but still cranks slowly, a proper battery test can check its starting capacity more accurately.
A memory saver can preserve some radio, seat, clock, and computer settings during battery replacement, but it is not appropriate for every vehicle. Use one only when your vehicle information and the memory-saver instructions allow it, because the electrical system remains energized while it is connected.
Pro Tip: Before disconnecting anything, take a clear photo of the battery orientation, terminal positions, cable routing, hold-down hardware, covers, and any vent hose. It gives you a simple reference during reassembly.
Step 2: Make the Car Safe Before You Start
Park on a dry, level surface, select Park or the appropriate gear, apply the parking brake, and switch the ignition fully off. Turn off lights and accessories, remove the key or keep the key fob away from the vehicle, and follow any shutdown waiting period specified in the owner’s manual.
Wear gloves and eye protection. Remove rings, watches, bracelets, and other metal jewelry that could accidentally bridge an energized terminal to ground.
Lead-acid batteries can contain corrosive sulfuric acid and can release flammable gas. Exide’s battery safety instructions call for eye protection, protective clothing, ventilation, careful use of metal tools, and keeping sparks and flames away from the battery.
Warning: This guide concerns the vehicle’s conventional 12-volt battery. Do not touch, disconnect, or attempt to replace a hybrid or EV high-voltage traction battery unless you are specifically trained and equipped for that system.
Do not smoke near the battery, place tools across its terminals, or lean directly over it. If electrolyte reaches your skin, flush the area with plenty of water. If it gets into your eyes, rinse immediately with clean water and seek prompt medical attention.
Note: Use a qualified technician if the battery is badly swollen, cracked, leaking, difficult to access, or your owner’s manual specifies a diagnostic, registration, or dealer-only replacement procedure.
Step 3: Remove the Old Car Battery
Disconnect the negative terminal first so the vehicle body is no longer connected to the battery’s negative side while you work on the positive terminal. Then disconnect the positive cable, remove the hold-down, and lift the battery out while keeping it upright.
- Disconnect the negative cable. Identify the terminal marked “−,” loosen its clamp, lift the cable free, and position it where it cannot spring back onto the battery post.
- Disconnect the positive cable. Identify the terminal marked “+,” loosen the clamp, remove it, and keep the cable away from metal parts.
- Remove the battery hold-down. Undo the retaining bar, strap, base clamp, or other hardware and place the fasteners somewhere safe.
- Lift out the battery. Use its carrying handle if provided or grip it securely as directed by the manufacturer. Keep the case upright and avoid squeezing or tipping it.
Car batteries are heavy, so lift with controlled movement and keep your back in a stable position. Set the old battery upright on a nonconductive, stable surface away from children, sparks, and vehicle paint.
Step 4: Check the New Battery’s Size and Fit
Before installation, make sure the new battery matches the vehicle rather than simply fitting inside the tray. Check battery type, dimensions, hold-down design, terminal arrangement, and the electrical specification required by the manufacturer.
AAA’s battery guidance recommends matching the battery type, physical size, terminal configuration, and the required cold-cranking-amp or amp-hour rating. AAA also recommends using the same battery technology as the vehicle’s original battery where specified.
Battery Tray Dimensions
The replacement must sit flat inside the battery tray and allow the factory hold-down to secure it properly. The case must also clear the hood, covers, brackets, wiring, and any other nearby components.
Battery group size often identifies the physical dimensions, hold-down arrangement, and terminal location. Confirm the required size through the owner’s manual, the original battery label, or a reliable vehicle application guide.
Do not improvise with an undersized battery or force an oversized battery into place. If the original installation uses a heat shield, cover, vent tube, elbow, or terminal protector, make sure the replacement allows those parts to be refitted correctly.
Terminal Position Match
The positive and negative posts must be in positions that allow the factory cables to reach without stretching, twisting, crossing, or touching unintended metal parts. Never reverse the cables to compensate for an incorrect terminal layout.
Also confirm whether the vehicle requires a flooded, EFB, AGM, or another specified 12-volt battery type. Start-stop systems and vehicles with battery-management systems can be particularly sensitive to installing a battery with the wrong specification.
Step 5: Clean the Battery Tray and Cable Ends
Clean corrosion and debris before the replacement battery goes into the vehicle. Good mechanical contact at the terminals helps reduce resistance and prevents a dirty connection from being mistaken for a weak battery.
With the old battery removed, inspect the tray, terminal clamps, cables, and hold-down. Look for corrosion, damaged insulation, cracked clamps, loose cable strands, rusted hardware, or anything that could prevent the new battery from sitting securely.
For ordinary lead-acid corrosion, baking soda mixed with water can help neutralize acidic residue on external surfaces. Use a nylon or terminal brush, keep cleaner out of battery vents, rinse carefully where appropriate, and dry the area completely before installation.
Polish the inside surfaces of the cable clamps until they are clean enough to make solid metal-to-metal contact. If a clamp is badly eaten away or a cable is damaged, repair or replace it rather than relying on extra tightening to compensate.
Step 6: Install and Secure the New Car Battery
Lower the replacement battery into the tray in the same orientation as the original. The case should sit level and stable, with the positive and negative posts aligned with the correct cables.
Reinstall the hold-down hardware and tighten it evenly to the vehicle manufacturer’s specification when one is provided. The battery should not rock or slide, but the clamp should not be tightened hard enough to deform or crack the case.
- Confirm the positive and negative posts match the cable positions.
- Check the case for shipping damage, cracks, or swelling.
- Reinstall any factory heat shield, insulation, cover, vent hose, or terminal protector.
- Make sure no cable is trapped under the battery or hold-down.
- Confirm the battery remains level and cannot move by hand.
A secure hold-down matters because vibration contributes to battery wear. It also keeps the heavy battery from shifting and stressing its cables during braking, cornering, or rough-road driving.
[Products Worth Considering]
![[2026NEW] 5000A Jump Starter with Air Compressor (150PSI)](https://m.media-amazon.com/images/I/71oG4PFNsmL._AC_SL1500_.jpg)
The 2026 Povasee 5000A jump starter is an all-in-one car power solution that jump-starts 12V vehicles and also inflates tires with a high-output air compressor. It supports multiple inflation presets with an LCD display, plus LED lighting and SOS signaling for safer roadside help. With secure protection systems, fast charging for phones, and 24-month standby, it’s built for reliable emergency performance in a wide temperature range.

Protect your Tesla during lifting with durable rubber jack pads designed to cushion pressure and help safeguard the battery and chassis. The non-slip, plug-and-play puck set fits Tesla Model 3/Y/X/S for safe, secure jacking. Each pack includes a portable storage case for cleaner trunk organization.
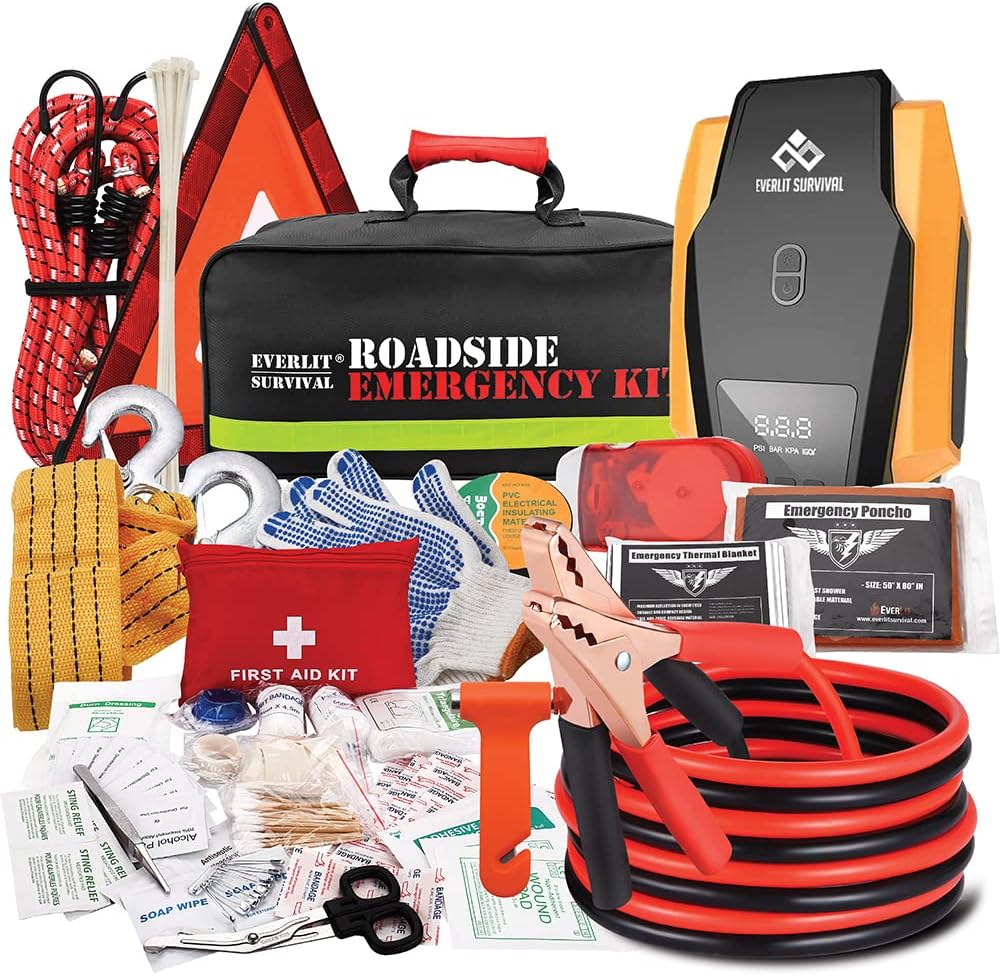
The Everlit Road Guardian emergency kit is designed for roadside breakdowns, combining essential safety gear and roadside tools in one compact bag. It includes a digital 12V auto tire inflator with preset and auto shutoff, plus 12-foot 8-gauge jumper cables to get you moving again. You also get a full 108-piece first aid kit, reflective warning tools, safety gloves, and emergency convenience items for safer travel.
Step 7: Reconnect the Battery Cables
Reconnect the cables in the opposite order from removal: positive first and negative last. Interstate Batteries’ installation guidance gives the same sequence for connecting a replacement car battery.
Before attaching either clamp, check the “+” and “−” markings directly on the battery. Do not rely only on cable color because previous repairs or unusual layouts can make colors misleading.
Reattach Positive Cable
Place the positive cable clamp fully onto the positive post and tighten it until it is secure. The clamp should sit straight and should not rotate by hand after tightening.
Keep your wrench from touching the positive terminal and any grounded metal part of the vehicle at the same time. Reinstall the positive terminal cover as soon as the connection is complete if the vehicle has one.
- Confirm the cable is on the “+” post.
- Seat the clamp fully on the post.
- Tighten it without distorting the terminal.
- Check that the cable is not pulled tight or twisted.
Secure Negative Cable
After the positive connection is complete, place the negative cable clamp onto the negative post. Seat it squarely and tighten it until it cannot move by hand.
Some vehicles have a battery-current sensor integrated into or near the negative cable assembly. Do not bypass, relocate, or add grounds around that sensor unless the vehicle’s service information specifically instructs you to do so.
Route the negative cable away from belts, fans, exhaust components, and other moving or hot parts. If a spark is unusually large or continuous as you make the final connection, stop and recheck the installation.
Check Tight Connections
Once both cables are installed, gently check each clamp for movement. A properly tightened terminal should remain fixed without needing excessive force on the fastener.
- Verify positive is connected to positive and negative to negative.
- Make sure neither clamp can twist by hand.
- Inspect the cable insulation and clamp area one final time.
- Confirm terminal covers and protective caps are back in place.
Do not overtighten a soft lead battery post. If a clamp remains loose after normal tightening, the clamp or terminal may be damaged and should be corrected rather than forced.
Step 8: Perform the Final Mechanical Check
Before starting the vehicle, verify the battery, hold-down, terminal clamps, covers, and nearby wiring one more time. Nothing should move, rub, or interfere with the hood or other components.
Push lightly on the battery case to confirm it cannot rock in the tray. Check that the hold-down is evenly seated and that its hardware is not crushing the battery case.
Then inspect both cable clamps. They should be tight enough to prevent movement but not distorted by excessive torque.
Finally, remove every wrench, socket, rag, brush, loose fastener, and other tool from the engine compartment or battery area before you start the vehicle.
Step 9: Test the Battery and Reset Vehicle Settings
Start the vehicle and confirm that it starts normally without unexpected warning messages. Then check the new battery and charging system, and complete any battery reset or initialization procedure required for your exact vehicle.
For a conventional 12-volt battery, Interstate Batteries lists about 12.6 volts or higher for a charged battery and 13.7 to 14.7 volts with the engine running. Modern smart-charging systems can intentionally operate outside a simple fixed range, so use your vehicle’s specification when diagnosing charging faults.
| Test Condition | General Reference | What It Means |
|---|---|---|
| Engine off, charged battery | About 12.6 V or higher | Typical fully charged resting voltage for many 12V batteries. |
| Engine running | 13.7–14.7 V | A common conventional charging range; smart systems can vary. |
| Battery at 11.9 V or below | Severely discharged | Charge and test the battery before deciding that replacement alone solved the problem. |
Voltage is only one check. A battery can show acceptable open-circuit voltage yet perform poorly under starting load, and a new battery will not fix a faulty alternator, parasitic draw, loose connection, or other charging-system problem.
Battery replacement can also reset stored settings. Depending on the vehicle, you may need to restore or relearn:
- Clock and radio presets
- Automatic window or sunroof functions
- Seat and mirror memory
- Steering-angle or other learned values
- Battery-monitor or battery-management data
Do not assume every vehicle uses the same reset process. For example, Ford’s 12V battery service guidance for supported vehicles specifies a battery-sensor reset after installing a new battery and also lists vehicle features that may need relearning.
If warning lights or diagnostic codes remain, do not clear them simply to make them disappear. Confirm whether they are normal post-disconnection alerts, complete the required relearn procedure, and diagnose any warning that remains active.
Step 10: Recycle and Transport the Old Battery Safely
Do not place a used lead-acid automotive battery in household trash. The U.S. Environmental Protection Agency recommends returning lead-acid batteries to a battery retailer or a local household hazardous-waste collection program.
Keep the old battery upright until you can recycle it. Protect it from tipping, short circuits, impacts, and contact with metal objects.
Battery Recycling Centers
Battery retailers, auto-parts stores, dealerships, and local household hazardous-waste programs commonly serve as collection points for used automotive batteries. Confirm that the location accepts your battery type before transporting it there.
- Keep the battery intact rather than draining it.
- Do not place it in household trash or a curbside recycling bin.
- Use a designated battery or hazardous-waste collection location.
- Keep the battery upright while you store it before drop-off.
Automotive lead-acid batteries contain recyclable lead, plastic, and other materials, which is why proper collection is far safer than disposal with ordinary waste.
Safe Transport Tips
Transport the old battery upright in a sturdy, acid-resistant container or tray and secure it so it cannot slide or overturn. The EPA’s lead-acid battery handling guidance recommends preventing leakage, using resistant containers, and securing batteries during transport.
Keep metal tools, loose hardware, coins, and other conductive objects away from the terminals. Protect the posts from anything that could bridge them and create a short circuit.
Do not carry a badly cracked or actively leaking battery loosely inside the passenger compartment. If the case is damaged, contact the receiving recycler or a professional service provider for appropriate handling instructions.
Frequently Asked Questions
How Often Should I Replace My Car Battery?
Most car batteries last about three to five years, but heat, vibration, short-trip use, and charging problems can shorten that span. Age alone does not prove a battery has failed, so test an aging battery and replace it sooner if cranking slows, it will not hold charge, or the case is damaged.
Can I Replace a Car Battery in Cold Weather?
Yes, you can replace a car battery in cold weather if the battery and work area are safe and dry. Use the same terminal order and protective gear. If the battery is frozen, cracked, or badly swollen, do not charge or jump it; let a professional inspect or replace it.
Does Battery Replacement Affect My Car Warranty?
No. Replacing a battery yourself or using an aftermarket battery does not automatically void a U.S. vehicle warranty. FTC guidance on auto warranties says coverage can be denied for damage caused by a defective part or improper installation, so use the correct specification and keep your receipt.
What Signs Show My Battery Is Failing?
Common warning signs include slow cranking, repeated jump-starts, dim or unstable electrical accessories, visible corrosion, or a swollen or cracked case. A battery or charging warning light can also point to a charging-system problem, not just the battery, so testing is better than replacing parts based on one symptom.
Should I Keep Jumper Cables in My Car?
Yes, jumper cables can be useful, but only if you know the correct jump-start procedure for your vehicle. Some cars use designated remote jump points or have special restrictions. A portable jump pack is another option, but the owner’s manual should control the connection order and locations.
Do I Need to Register or Reset a New Car Battery?
Some vehicles require a battery sensor reset, BMS reset, or other initialization after replacement, while others do not. Follow the owner’s manual or service information for your exact model. Do not copy a reset procedure from another vehicle just because the battery type looks similar.
Conclusion
Replacing a car battery safely comes down to using the correct battery, following the proper terminal order, securing the case, and checking the vehicle afterward. If your vehicle requires a battery-management reset or the battery is damaged or difficult to access, use the model-specific service procedure or have a qualified technician handle the job.
Sources
- Exide Technologies battery safety instructions: Battery handling, personal protection, terminal order, hold-downs, and connection safety.
- AAA Automotive: Battery lifespan, group size, terminal layout, battery type, and electrical specification guidance.
- Interstate Batteries FAQs: Battery connection order and general 12-volt battery voltage references.
- Ford Owner’s Manual: Changing the 12V Battery: Battery sensor reset, relearn procedures, and replacement precautions.
- U.S. Environmental Protection Agency: Proper recycling options for automotive lead-acid batteries.
- EPA I-WASTE automotive battery guidance: Safe storage and transport precautions for lead-acid batteries.
- Interstate Batteries cold-battery guidance: Precautions for frozen or damaged automotive batteries.
- Federal Trade Commission: U.S. warranty rules concerning aftermarket parts and repairs performed outside a dealership.
[Products Worth Considering]

This 1/2-inch drive breaker bar delivers powerful leverage for loosening and tightening stubborn lug nuts and automotive fasteners. The 180-degree flex head helps you reach tight spaces at the angle you need, making tire and brake jobs easier. A spring-loaded ball detent design holds 1/2-inch sockets securely while the chrome-moly head provides durable strength for everyday use.

This GM TPMS relearn and reset tool (EL-50448) helps you activate and reset OE/OEM compatible tire pressure sensors for many Chevrolet, GMC, Buick, and Cadillac vehicles. It includes a pre-installed 9V alkaline battery for ready-to-use performance and features a one-button design for quick DIY TPMS relearn. Use it to clear the TPMS warning light, set the correct dashboard tire pressure, and test sensor operation.

The GOOLOO A3 3000A 12V jump starter delivers fast, reliable starts for dead vehicles while also providing a built-in 150 PSI cordless tire inflator. It supports gas and diesel engines up to 9.0L/6.5L and includes multiple inflation modes with smart shutoff and an LED display for convenient pressure control. A high-efficiency BMS provides 10 safety protections, and the unit also functions as a flashlight and device-charging power bank.
