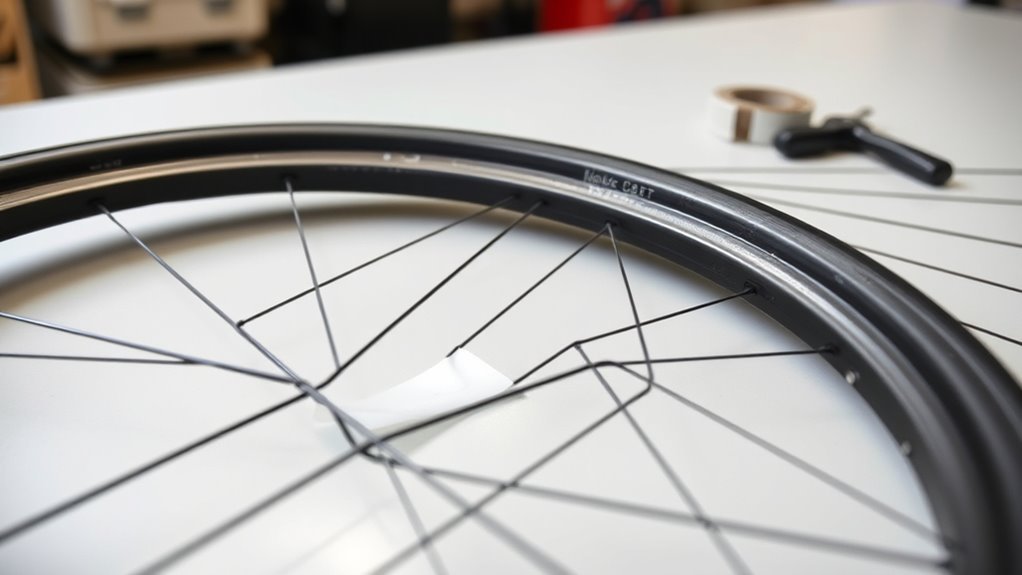
One small strip inside your wheel can decide whether your ride ends smoothly or with a flat. Rim tape covers spoke holes, protects your inner tube, helps tubeless setups hold air, and keeps rough rim edges away from the tire system. This guide explains what rim tape does, which type to choose, how to install it, and when to replace it.
What’s in This Article
- Quick Answer: Do You Need Rim Tape?
- What Rim Tape Does and Why It Matters
- Rim Tape Types: Rubber, Cloth, Adhesive, Tubeless
- How Tape Width and Thickness Affect Clincher, Tubeless, and Hookless Rims
- How to Measure, Cut, and Install Rim Tape Step by Step
- When to Replace Rim Tape: Signs and Service Intervals
- Troubleshooting Recurring Flats, Mounting Issues, and Tubeless Leaks
- Common Rim Tape Mistakes to Avoid
- Frequently Asked Questions
- Conclusion
Quick Answer: Do You Need Rim Tape?
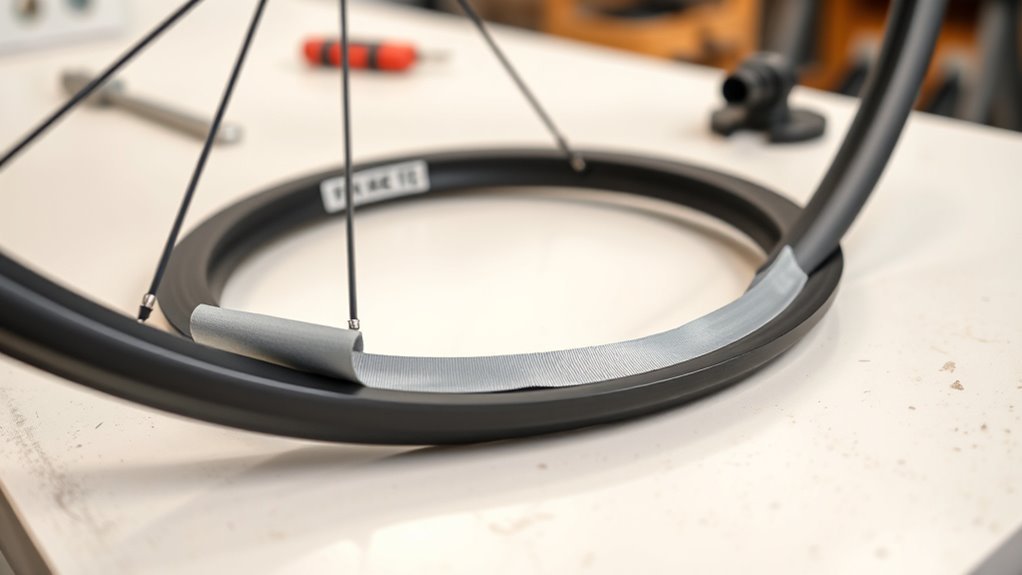
Yes, you need rim tape if your wheel has exposed spoke holes, sharp rim edges, or a tubeless setup that must hold air. Rim tape prevents spoke-hole punctures, supports proper tire seating, and helps tubeless systems seal the rim bed. Choose tape that matches your rim width, tire type, and pressure range.
Key Takeaways
- Use rim tape to cover spoke holes and protect tubes from sharp rim edges.
- Choose tubeless-specific tape when you need an airtight seal for tubeless tires.
- Match tape width to the rim bed so it covers the holes without blocking bead seating.
- Inspect rim tape whenever you remove a tire, especially after unexplained flats.
- Replace damaged, shifted, brittle, or peeling rim tape before you ride again.
The main rim tape benefits include fewer flats, reliable tire seating, and, for tubeless wheels, better airtightness. Inspect tape whenever you remove a tire and replace it if you see damage, movement, or poor adhesion. Good fit and firm pressure matter because poorly applied tape can still let air escape or expose sharp edges.
What Rim Tape Does and Why It Matters
Rim tape protects the inner tube from spoke holes, spoke nipples, burrs, and rough edges inside the rim. Without it, tube pressure can push rubber into exposed holes and cause sudden flats. In tubeless setups, rim tape also seals the rim bed so air stays inside the tire.
For correct function, the tape must cover all spoke holes and rough spots. Partial coverage can cause repeated flats, slow leaks, or hard tire mounting. Rim tape costs little, but it plays a major role in wheel reliability.
Check rim tape during routine tire service. Replace it when it looks cracked, torn, loose, or compressed around spoke holes.
Rim Tape Types: Rubber, Cloth, Adhesive, Tubeless
The right rim tape depends on your wheel, tire system, and riding style. Each material works best in a different use case.
- Rubber rim strips stretch easily and can work for quick tube setups, but they may move over time.
- Cloth rim tape suits many high-pressure clincher wheels because it stays stable and resists wear.
- Adhesive rim tape sticks to the rim bed and helps reduce shifting during tire changes.
- Tubeless rim tape uses an airtight adhesive layer to seal spoke holes and hold pressure.
Use rubber tape only when it fits the rim securely and covers every spoke hole. Choose cloth or adhesive tape for long-term tube setups. For tubeless systems, use tape designed for sealant contact and airtight sealing.
Note: Standard cloth tape may protect a tube, but it usually won’t seal a tubeless rim.
[Products Worth Considering]
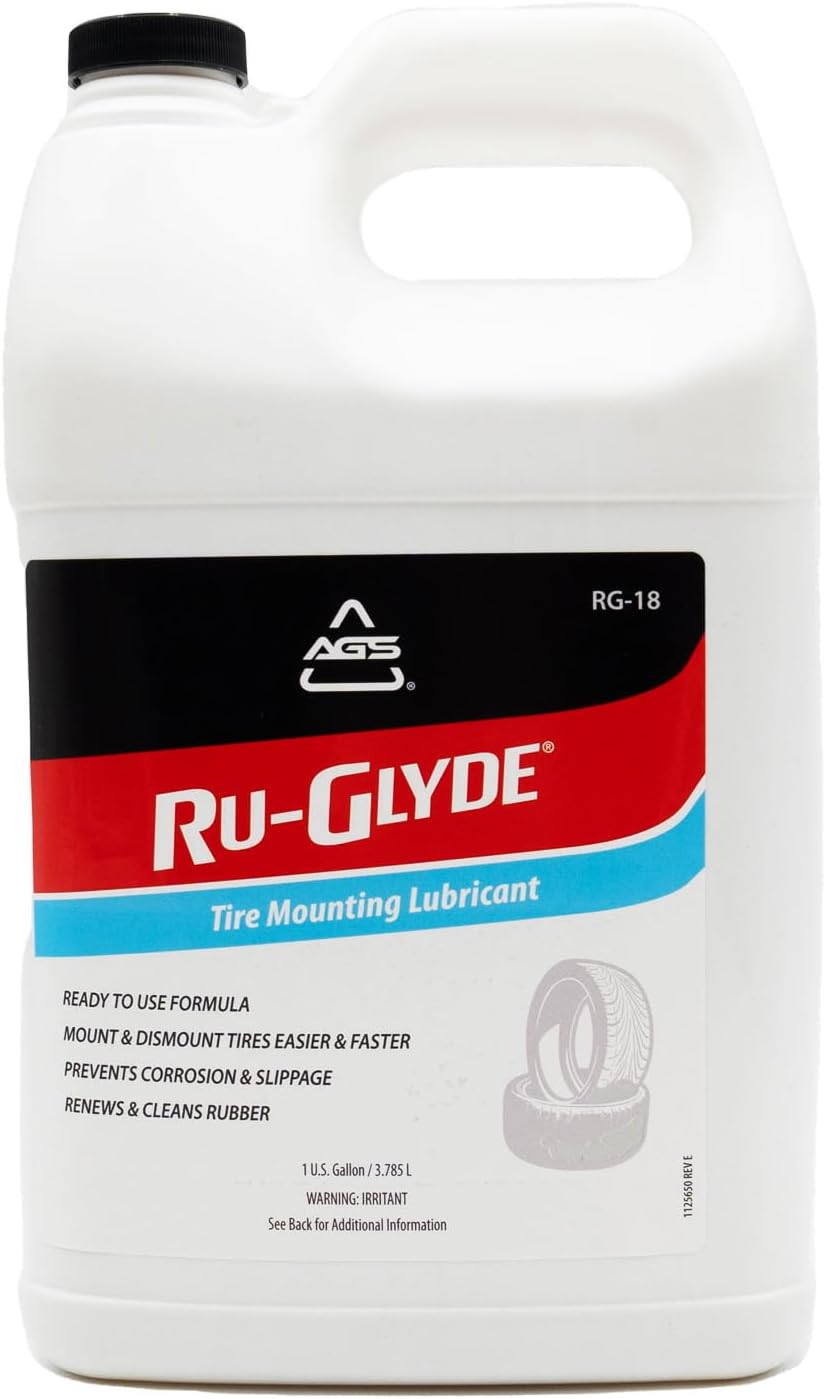
Ru-Glyde tire mounting lubricant from AGS seats tire beads smoothly on the first try with a thick, stay-put formula. It is ready to use with no mixing or dilution, helps prevent rim rust, and dries completely without causing bead slip residue. The water-based formula also conditions aged rubber, making it useful for sidewalls, gaskets, and door seals while remaining safe for tire, wheel, and technicians.

Switch to tubeless with this Muc-Off rim tape designed to create an airtight seal for smooth-running setups. The pressure-sensitive adhesive offers the right stretch for strength and durability, while the semi-transparent material helps you locate the valve hole quickly. It includes four seal patches for a secure finishing seal after wrapping.

This heavy-duty bicycle rim liner provides complete tube protection by shielding the inner tube from rim spoke holes and sharp metal burrs that can cause flats. Made from premium, wear-resistant PVC, it lays flat with optimized 18 mm width and 0.50 mm thickness for edge-to-edge coverage. Installation is quick with flexible stretch placement and a secure, non-slip fit.
How Tape Width and Thickness Affect Clincher, Tubeless, and Hookless Rims
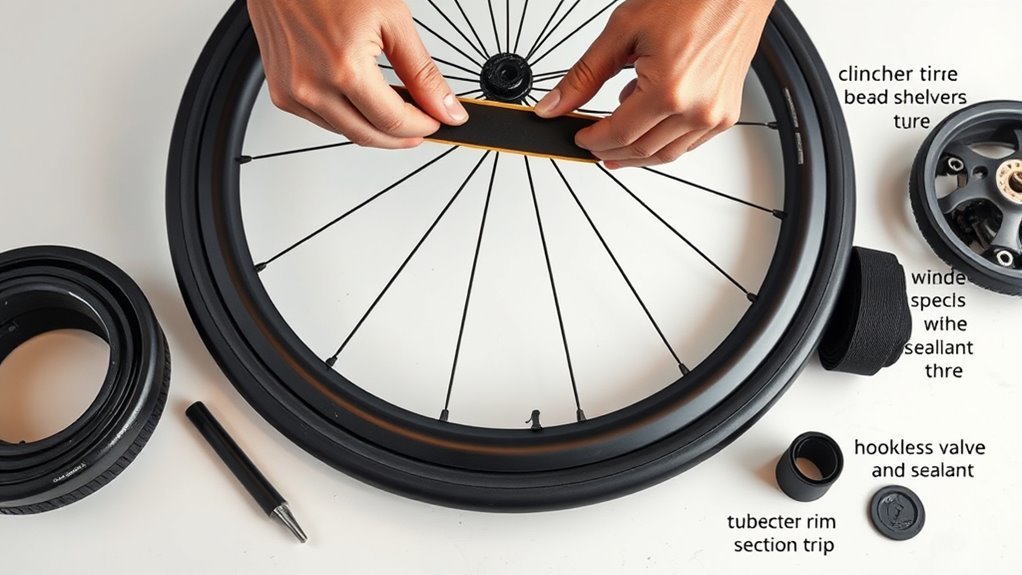
You need rim tape wide enough to cover the rim bed and spoke holes without blocking the bead seat. For a rim with about a 19.6 mm inner width, many riders use tape around 24 to 25 mm wide, depending on rim shape. Tape that runs too wide can make tire seating harder.
Tape thickness affects bead fit, pressure retention, and puncture protection. Clincher rims usually need enough thickness to cover holes without raising the tire bead too much. Tubeless systems need airtight tape that resists stretching and sealant damage.
[Products Worth Considering]

Malco tire mounting and demounting lubricant is a ready-to-use tire lube formulated to reduce friction during tire installation for passenger cars, light trucks, farm tires, and heavy-duty equipment. It provides rust-inhibiting protection to help reduce corrosion on rims and wheels, and helps support proper tire bead seating during inflation to reduce air leakage. The silicone-free, soap-free formula is whitewall safe to help prevent discoloration on whitewall tires and sensitive sidewall markings.

Clean wheels and rims with soft feathered bristles that safely remove dirt and road grime while helping restore original luster. The short non-slip handle makes it easy to scrub in tight wheel wells, and the brush is suitable for vehicles and hard-to-reach areas. It can also be soaked and rubbed to help restore bristles to their shape after use.

This professional wheel and rim cleaning brush set lifts brake dust, grime, and dirt with soft, scratch-free microfiber and synthetic wool fibers. The rim brush bends up to 360 degrees for easy access to hard-to-reach areas around spokes, lips, and faces. Ideal for thorough cleaning of car, truck, motorcycle, bicycle, RV, and more wheel and tire surfaces.
Tape Width Matters
Width controls coverage. Tape that runs too narrow can expose spoke holes or sharp edges. Tape that runs too wide can crowd the bead seat and make mounting harder.
- Measure the inner rim bed before you buy tape.
- Choose tape that covers the full channel and all spoke holes.
- Check that the tape does not fold up the sidewalls.
- Inflate the tire and confirm that both beads seat evenly.
Hookless rims need extra care because bead fit depends on a clean, even rim bed. Avoid tape that climbs the rim wall or changes the bead seat shape.
Tape Thickness Role
Think of tape thickness as the part that helps balance sealing, durability, and tire fit. Tape that runs too thin may split or sink into spoke holes. Tape that runs too thick can make tire mounting tight and bead seating uneven.
Match tape thickness to the rim and tire system. Clinchers need steady coverage over spoke holes, while tubeless rims need tape that seals under pressure. For hookless rims, use controlled width and thickness so the tire bead sits as designed.
Warning: Poor tape fit can affect tire seating, so fix wrinkles, folds, or sidewall overlap before you ride.
How to Measure, Cut, and Install Rim Tape Step by Step
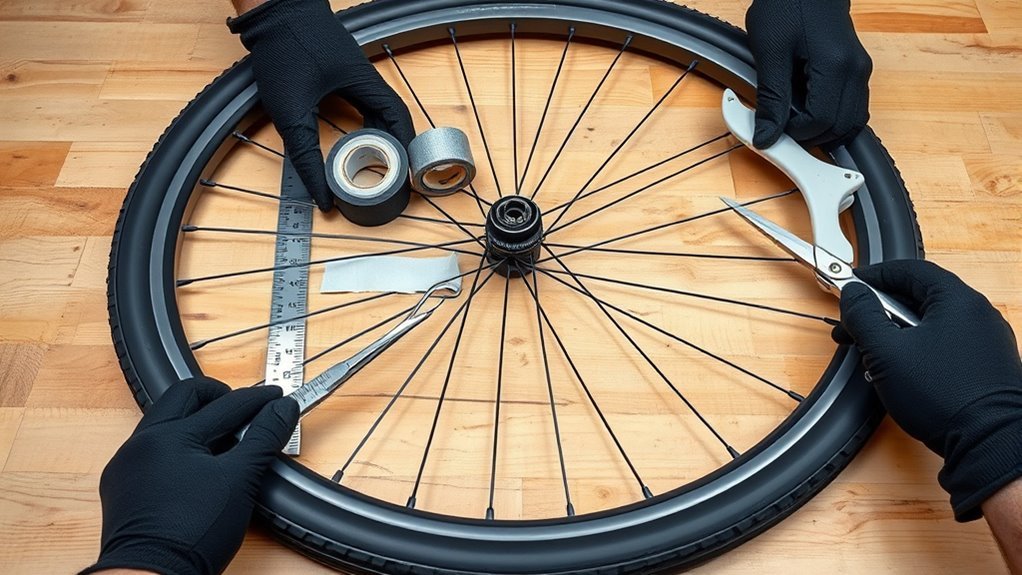
Plan on about 15 to 30 minutes for one wheel if the rim is clean and dry. You’ll need rim tape, a clean cloth, isopropyl alcohol, scissors or a sharp blade, and a pick or small tool for the valve hole. Work slowly because clean tape contact matters more than speed.
[Products Worth Considering]

This metal-free wheel and tire cleaning brush uses dense, fluffy synthetic wool to safely clean rims, spokes, fenders, and engine areas without worrying about damaging surfaces. Its flexible, comfortable design helps you reach detailed areas while maintaining durability, and the extra absorbent fibers work well with wheel spray cleaners for faster cleanup. Reusable and washable performance helps prevent grime and build-up for cleaner vehicles and easier maintenance at home.
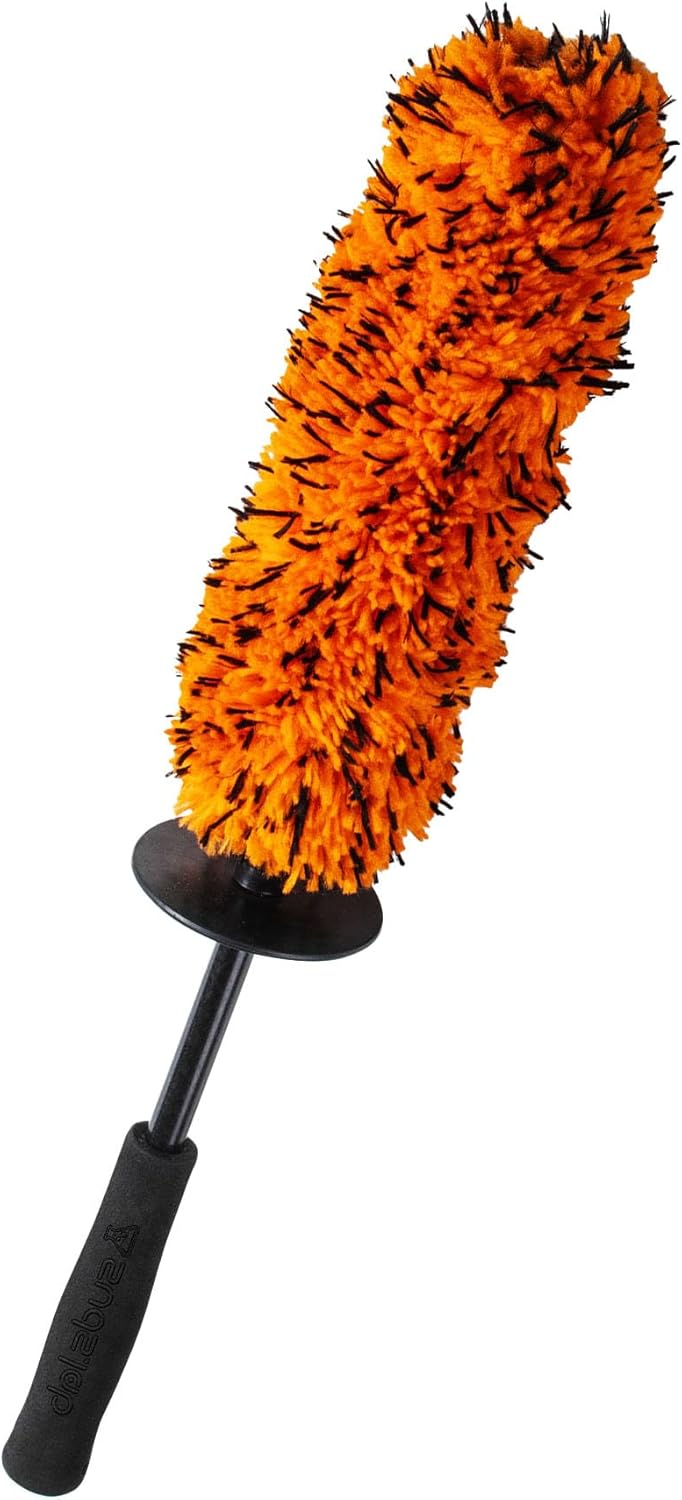
Suds Lab WB Premium Microfiber Cleaning Wheel Brush lifts brake dust, dirt, and grime with ultra-soft microfiber bristles that help prevent scratching and swirling on wheels and paint. It features an ergonomic, non-slip handle for comfortable control and reduced hand fatigue during longer cleaning sessions. Safe for all vehicle types, it also works for multi-purpose detailing like tires, exhaust pipes, door panels, engine bays, and mirrors.

This professional wheel and tire cleaning brush kit helps you scrub rims, hubs, spokes, and tires with scratch-free, ultra-fine bristles. The brushes can bend 360 degrees for deep reach into crevices, bolts, and intricate wheel details, while the kit supports both wet washing with cleaners and dry dust removal. Easy to rinse, quick to air-dry, and designed for convenient maintenance with hanging holes.
Measure Rim Bed Width
Measure the rim bed width with a caliper or ruler. Take the inner measurement where the tape will sit, not the outer rim width. Check more than one spot because some rims vary slightly around the bed.
- Use calipers when you need a precise width.
- Measure at three points around the rim bed.
- Choose tape that matches the rim profile and tire system.
- Note the valve hole location before you start wrapping.
Cut Tape To Length
Measure the rim circumference with a flexible tape or a length of string. Cut enough tape to wrap the rim and leave a small overlap. A short overlap helps prevent the tape ends from lifting.
Use sharp scissors or a utility knife so the edge stays clean. Start opposite the valve hole, keep the tape centered, and pull with steady tension. Press the tape into the rim channel as you wrap.
Press And Seal Tape
Clean the rim with alcohol and let it dry before you apply tape. Dirt, oil, and old adhesive can stop the tape from sticking. Start opposite the valve hole, then press firmly as you move around the rim.
Work out bubbles with your thumb and keep the tape flat. After the overlap, press the full strip again to improve contact. Cut a small, clean valve hole that lines up with the rim’s valve seat.
- Remove the tire, tube, old tape, and loose residue.
- Clean the rim bed and let it dry fully.
- Start the tape opposite the valve hole.
- Pull the tape with steady tension and keep it centered.
- Press the tape into the rim bed as you wrap.
- Overlap the tape ends slightly.
- Cut a precise valve hole.
- Mount the tire and check for even seating.
Pro tip: After taping, install the valve and inflate the tire once before adding sealant to check for obvious leaks.
When to Replace Rim Tape: Signs and Service Intervals
Inspect rim tape whenever you remove a tire or tube. Replace it right away if you see tears, holes, peeling, wrinkles, or sections that have shifted. Those defects can expose spoke holes and sharp edges.
Frequent or unexplained flats often point to rim tape trouble. You should also replace tape that looks brittle, stretched, sunken into spoke holes, or loose near the valve. For preventive service, many riders replace rim tape every 1 to 2 years, or sooner when conditions are wet, dirty, or hard on wheels.
When you convert a wheel to tubeless, use tubeless-specific rim tape instead of reusing old tube tape. Keep a note of the replacement date so you can track future service.
Troubleshooting Recurring Flats, Mounting Issues, and Tubeless Leaks
When recurring flats, stubborn bead seating, or slow tubeless leaks keep happening, start with the rim tape. Poor coverage, wrong width, weak adhesion, or damaged tape often causes these problems. Remove the tire and inspect the full rim bed before you blame the tube or tire.
- Check for tears, gaps, wrinkles, or shifted tape.
- Confirm that the tape covers all spoke holes.
- Match tape width and thickness to the rim design.
- Use tubeless-specific tape for tubeless setups.
- Re-seat the tire bead after you replace tape.
For tubeless wheels, inflate the tire and listen for air near the valve, spoke holes, and tape overlap. If air escapes through spoke holes, the tape likely failed to seal the rim bed. Replace the tape, then test again before adding more sealant.
Common Rim Tape Mistakes to Avoid
Small setup errors can cause large tire problems. Avoid using tape that runs too narrow, too wide, or too thick for your rim. Also avoid wrapping tape over dirt, old glue, or moisture.
Don’t punch a large valve hole. A hole that runs too wide can leak around a tubeless valve or expose the tube to sharp tape edges. Make the smallest clean opening that lets the valve pass through.
Don’t reuse tape that lifted during tire removal. Once adhesive tape loses contact, it may not reseal with the same strength. Fresh tape gives you a more reliable start.
Frequently Asked Questions
What’s the Point of Rim Tape?
Rim tape covers spoke holes and sharp rim edges so they don’t puncture the inner tube. In a tubeless setup, it also seals the rim bed and helps the tire hold air. Good rim tape improves flat protection, tire seating, and pressure retention.
How Often Does Rim Tape Need to Be Replaced?
You should inspect rim tape whenever you remove a tire. Replace it every 1 to 2 years as preventive maintenance, or sooner if it tears, shifts, peels, or loses adhesion. Heavy use, wet riding, and frequent tire changes can shorten its service life.
How Do I Know if My Rim Tape Is Bad?
Bad rim tape may look torn, wrinkled, brittle, sunken, loose, or shifted away from spoke holes. You may also notice frequent flats, slow tubeless leaks, or trouble seating the tire bead. Remove the tire and check the full rim bed to confirm the problem.
Can I Use Electrical Tape Instead of Rim Tape?
Electrical tape may work only as a short emergency fix, but it doesn’t match proper rim tape for strength, fit, or heat and pressure resistance. It can stretch, creep, or leave residue inside the rim. Use purpose-made rim tape for normal riding.
Does Rim Tape Width Have to Be Exact?
Rim tape width does not need to match the rim to the millimeter, but it must cover all spoke holes without blocking the bead seat. A poor width can cause leaks, flats, or hard tire mounting. Measure the rim bed before you choose tape.
Conclusion
Rim tape is a small part that protects your tube, seals your rim, and helps your tire sit correctly. Choose the right material, width, and thickness for your rim before you install it. Check it any time you remove a tire, and replace it before wear turns into a flat. Treat rim tape as routine wheel care, and your rides will feel more reliable from the first mile.