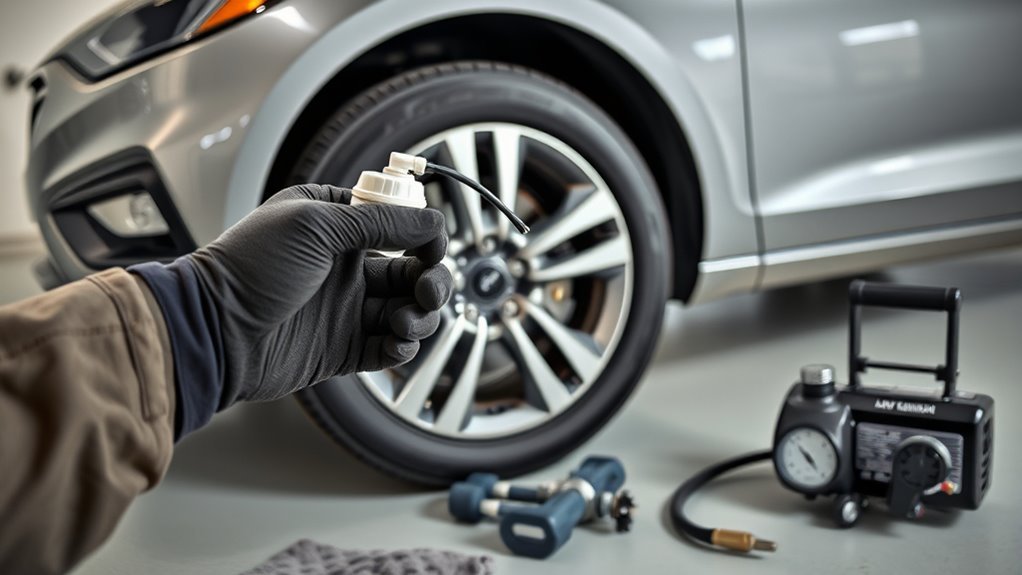
If your Hyundai Sonata has a flat tire and came with a Tire Mobility Kit instead of a spare, the goal is not to make a permanent repair. The goal is to seal a small tread puncture well enough to reach a safe tire shop. Work slowly, stay away from traffic, follow the instructions printed on your Sonata’s kit, and stop if the tire will not hold enough pressure.
Quick Answer
To use Hyundai Sonata tire sealant, park safely, connect the Tire Mobility Kit sealant bottle and hose to the tire valve, power the compressor from the 12-volt outlet, add sealant and air, then drive about 4–6 miles at moderate speed to spread the sealant. Recheck pressure and go to a tire shop as soon as possible.
Key Takeaways
- Use the tire pressure shown on your Sonata’s driver-side B-pillar placard or in the owner’s manual, not the number molded into the tire sidewall.
- Hyundai tire sealant is temporary. It is meant to get you to a safe repair location, not to replace a proper tire repair or replacement.
- Do not use sealant on sidewall damage, large punctures, two flat tires, shredded tires, or a tire that will not hold enough pressure.
- After using the kit, drive about 4–6 miles, or about 10 minutes, to distribute the sealant, then stop safely and recheck pressure.
At a Glance
| Time Required | About 20–30 minutes, including the required short drive and pressure recheck |
| Difficulty | Easy to moderate; only attempt it if the vehicle is parked safely away from traffic |
| Tools Needed | Hyundai Tire Mobility Kit, sealant bottle, compressor, tire pressure gauge, gloves, flashlight, and soapy water for leak checking |
| Cost | Usually no roadside cost if your kit is stocked and the sealant is not expired; expect tire-shop repair or replacement costs afterward |
Quick Steps to Seal a Flat on a Hyundai Sonata

Start by moving the Sonata to a safe, level spot away from traffic. Turn on the hazard lights, set the parking brake, and ask passengers to stand in a safe area. Take out the Tire Mobility Kit, including the compressor and sealant bottle.
- Check the tire for obvious damage. If the sidewall is cut, the tire is shredded, the wheel is damaged, or two tires are flat, do not use sealant.
- Remove the valve cap from the flat tire and connect the sealant hose according to the instructions printed on your Hyundai kit.
- Plug the compressor into the Sonata’s 12-volt outlet with the compressor switched off.
- Turn the vehicle on or start the engine as directed by your owner’s manual, then run the compressor to add sealant and air.
- Stop the compressor before reading the gauge. Adjust the tire to the pressure shown on the driver-side B-pillar tire placard or owner’s manual.
- Drive about 4–6 miles (7–10 km), or about 10 minutes, to spread the sealant through the tire. Stay within the speed guidance in your kit and drive cautiously.
- Stop in a safe place, recheck the pressure, and inspect for leaks. If pressure will not hold, call roadside assistance.
Warning: Do not keep driving on a tire that will not hold pressure. Hyundai’s Tire Mobility Kit guidance says not to drive if the tire is below 29 psi before the initial drive, and the tire must be brought back to a safe pressure afterward. If the tire cannot be made roadworthy, call roadside service or towing.
Find the Correct Sonata Tire Pressure and Gather Tools
Before using sealant, find the correct tire pressure for your exact Sonata. Look at the tire and loading information label on the driver-side B-pillar or check the owner’s manual. Hyundai also directs owners to the tire pressure label and the manual for the proper inflation pressure. You can verify current manual information through MyHyundai Manuals & Warranties.
Do not use the maximum PSI printed on the tire sidewall as your target. That sidewall number is not the vehicle’s recommended cold tire pressure. For the best reading, check pressure when the tire is cold, which generally means the car has been parked for at least three hours or driven less than one mile.
Gather these items before you start:
- Hyundai Tire Mobility Kit compressor
- Compatible Hyundai sealant bottle that is not expired
- Tire pressure gauge
- Gloves and a flashlight
- Soapy water in a spray bottle for a leak check
- Phone in case you need roadside assistance
Note: If the tire only needs air and is not punctured, use the compressor to adjust pressure. Do not add sealant just to top off a low tire.
[Products Worth Considering]
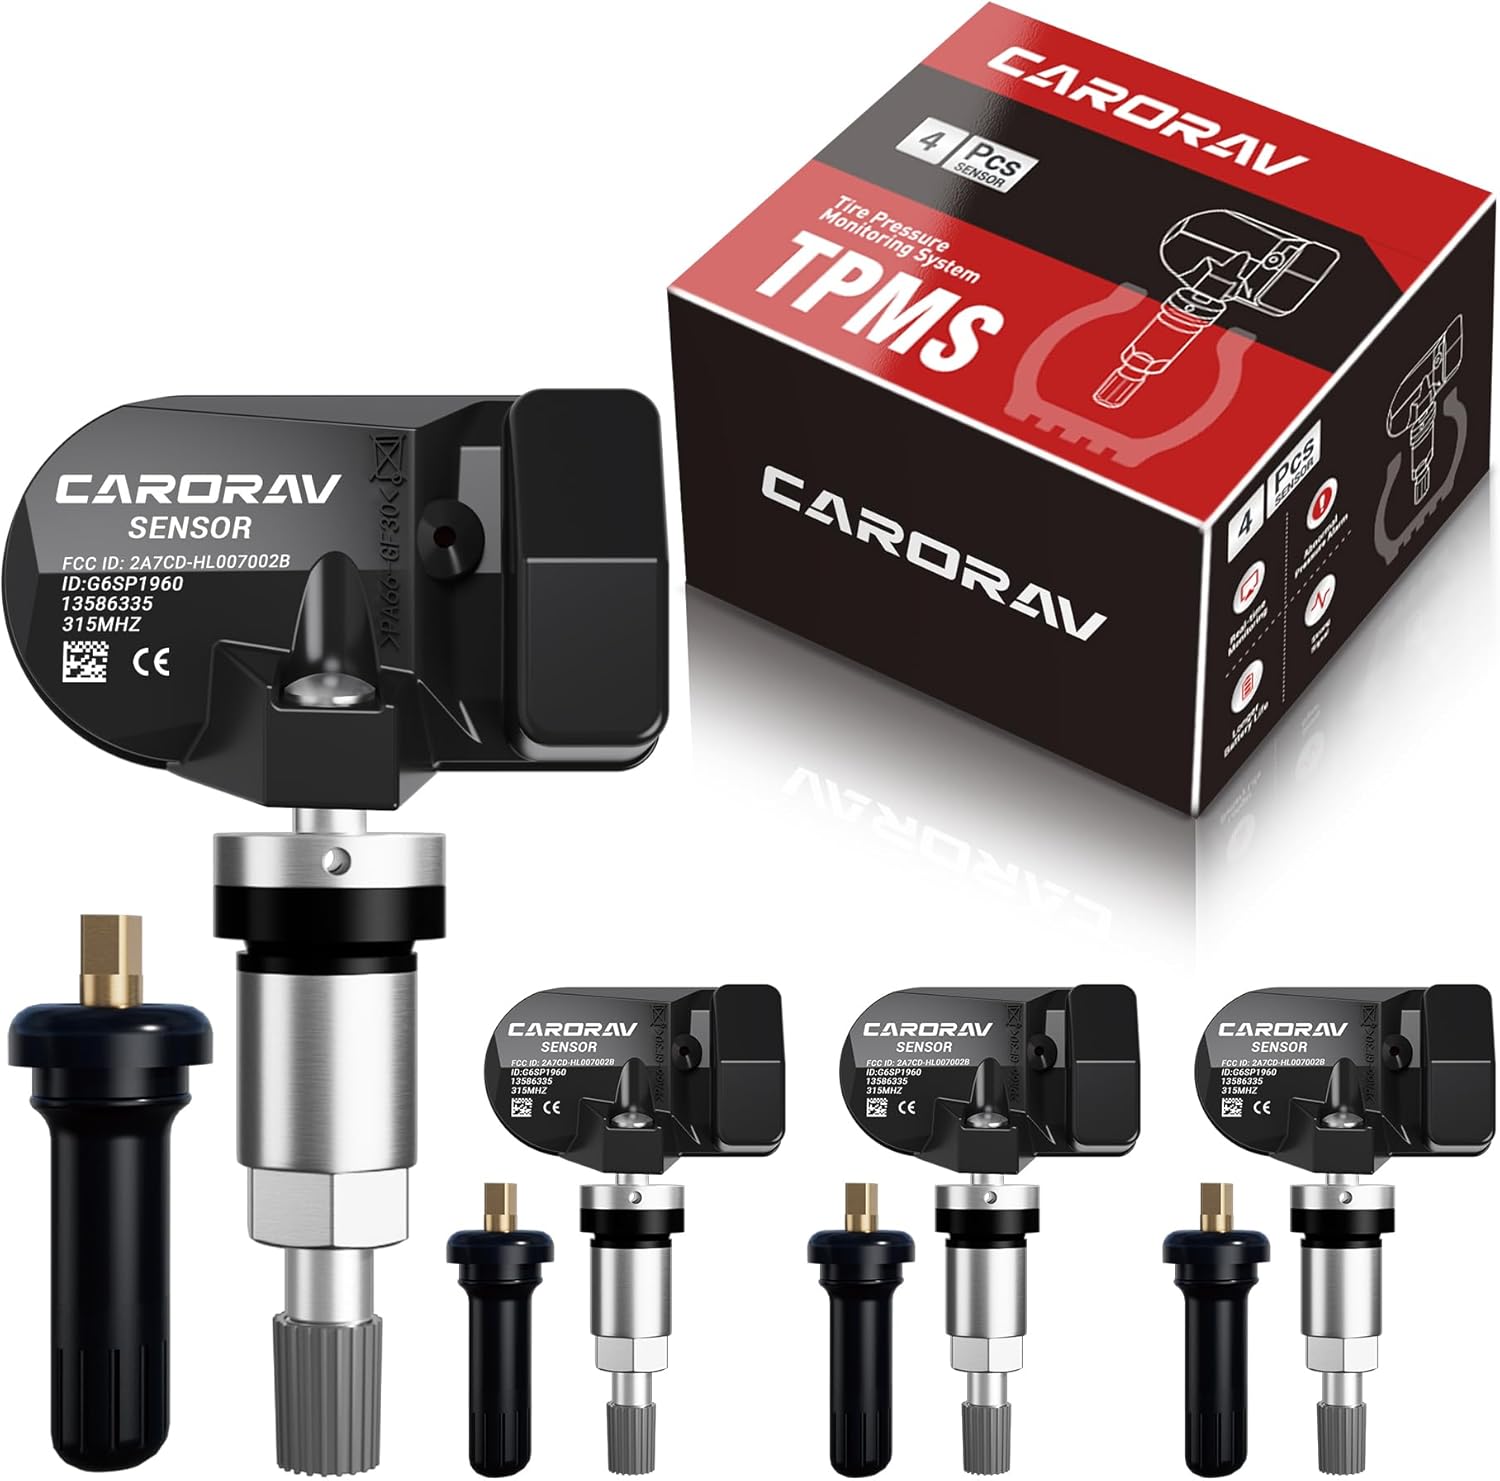
Replace worn or missing TPMS sensors with CARORAV pre-programmed GM-compatible sensors for a smoother installation experience. These 315MHz replacement sensors help monitor tire pressure in real time with long battery life, and they are designed to withstand harsh temperatures. Manual or OBDII relearn may be required to reset the system for proper recognition.

TireJect Off-Road Tire Sealant Kit provides 5-in-1 sealing to help fix tread punctures up to 3/8", sidewall punctures up to 3/8", bead leaks, slow leaks, and minor dry rot on low-speed tires. It permanently seals with liquid rubber, recycled tire particles, and Aramid fibers, making it ideal for flats caused by thorns, nails, and screws. The included dispensing cap attaches to the valve stem for a no-mess installation, along with a metal valve core remover tool and valve stem cap. This kit is for off-road use only.
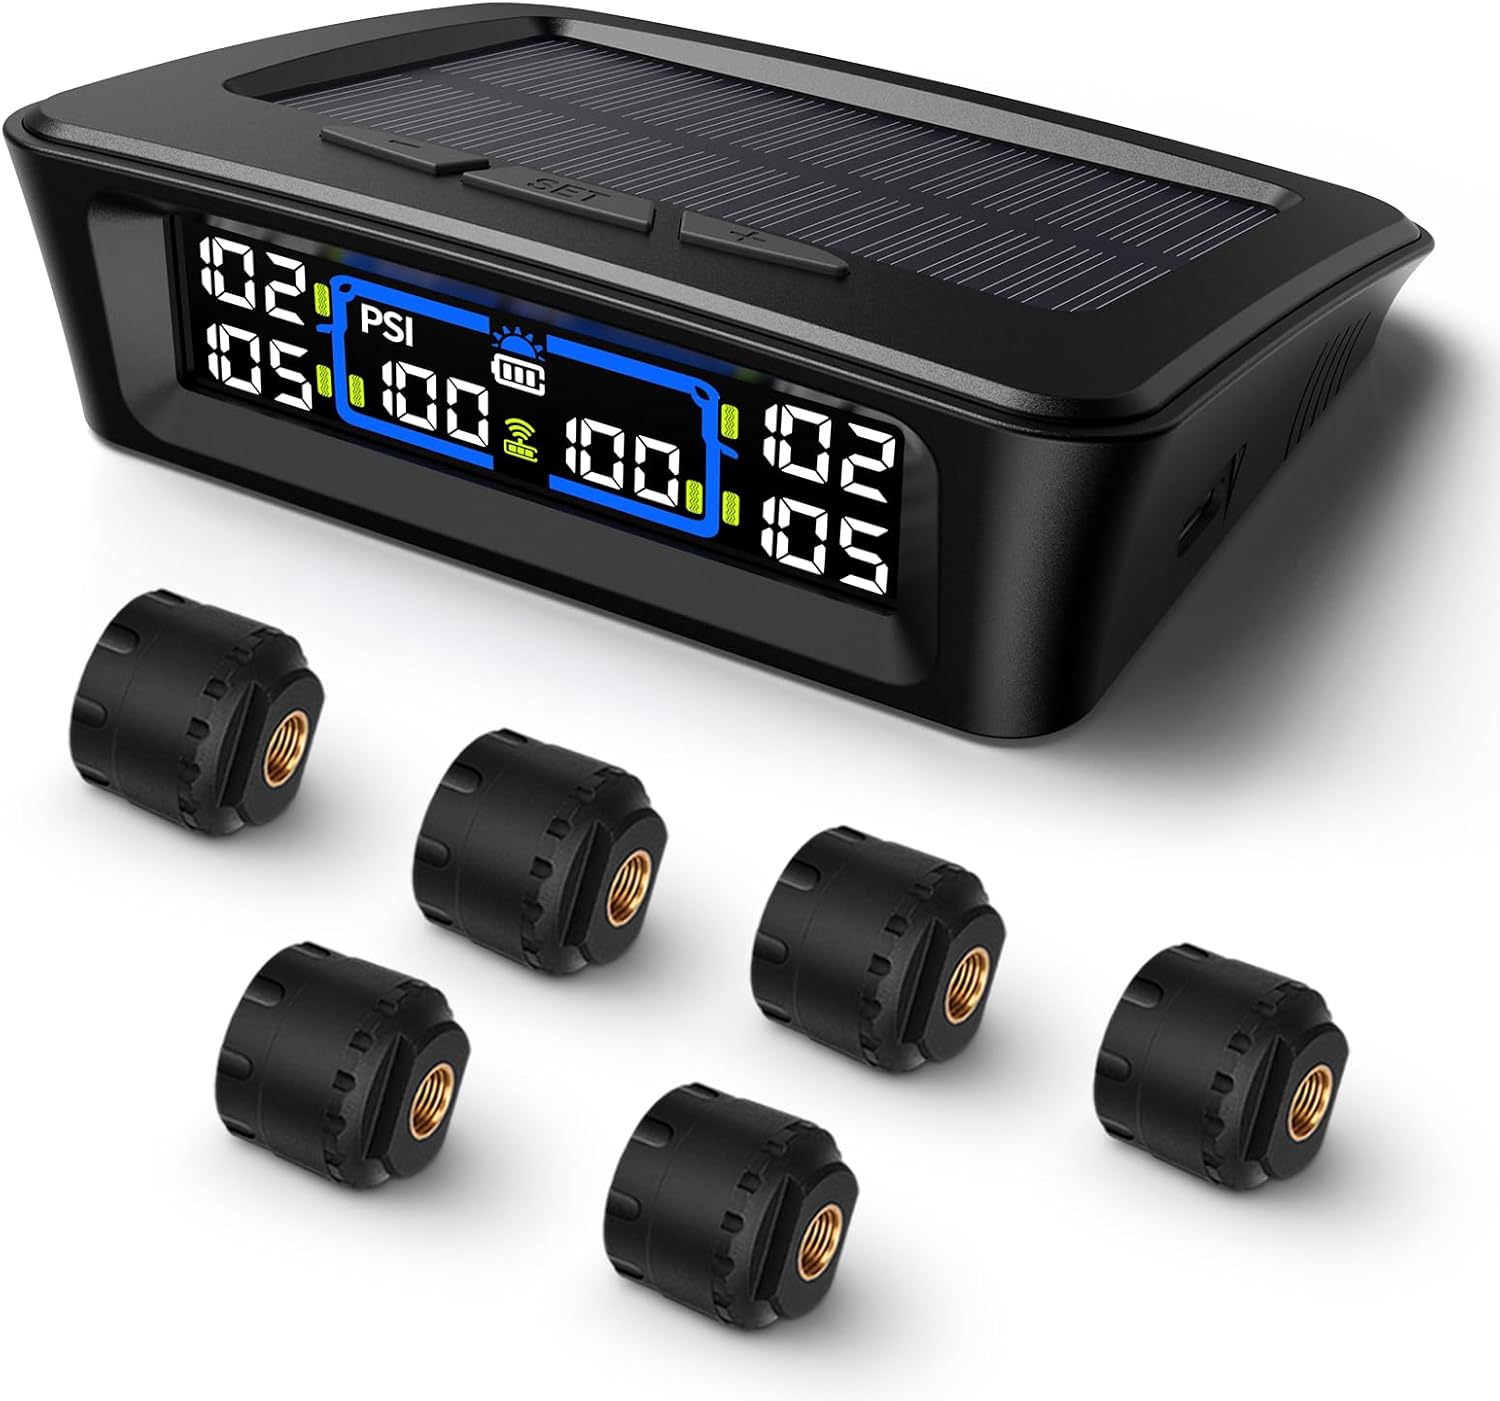
The Tymate TM12 RV TPMS delivers real-time tire pressure and temperature monitoring with a stable 433Hz display for safer long-distance driving. It supports simultaneous monitoring across vehicle and trailer zones, includes six alarm modes for pressure, temperature, leakage, battery, and signal loss, and features easy DIY installation with auto calibration. Power is supplied via USB-C charging or solar recharging, with a wide 0–144 PSI range and up to 50 ft signal coverage for RVs and towable trailers.
Attach the Inflator to the Valve Stem Safely
Position the Sonata on level ground and make sure the compressor switch is off before plugging it in. Remove the valve cap from the damaged tire and place it in a pocket or cup holder so it does not get lost.
Inspect the valve stem. If it is cracked, loose, missing, or leaking badly, sealant may not help. Connect the sealant hose or compressor hose straight onto the valve stem. Keep the hose aligned with the valve to avoid cross-threading or bending the stem.
If your kit uses a screw-on hose, tighten it by hand until snug. If it uses a locking connector, press it on firmly and lock it. Listen for hissing. If air or sealant leaks at the connection, switch the compressor off, disconnect the hose, and reconnect it securely before continuing.
Pro Tip: Take a quick photo of the kit layout before you start. It can help you put the hoses, bottle, and compressor back correctly when you are done.
[Products Worth Considering]

LiQuiTube Premium Heavy Duty Tire Sealant provides permanent flat tire protection to help maintain proper air pressure while sealing punctures and leaks. It seals bead, rim, and porosity weathering leaks and helps prevent flats in heavy ply industrial tires. Designed for versatile use on trailers and off-road equipment, it can be installed in tubeless tires and also inside tubes.

This tire inflator with pressure gauge delivers long-lasting performance with a durable rubber-protected gauge and sturdy build. The longer hose and 360 swivel air chuck help you seal the valve securely and keep your hands free while measuring, inflating, or deflating. It’s battery-free for reliable use and provides ±2 PSI accuracy in the mid-range for most typical tires, with universal compatibility for 1/4 NPT compressor outputs.

Replace your worn or missing TPMS sensors with pre-programmed, direct-fit sensors for compatible Ford, Lincoln, and select Mazda models. Each sensor comes ready to activate with a scan tool, helping restore accurate tire pressure monitoring and trouble-free installation. Built with a long-life CR2032 battery and tested before factory release, this set provides dependable performance with a one-year warranty.
Plug Into the Sonata 12V Outlet and Start the Engine
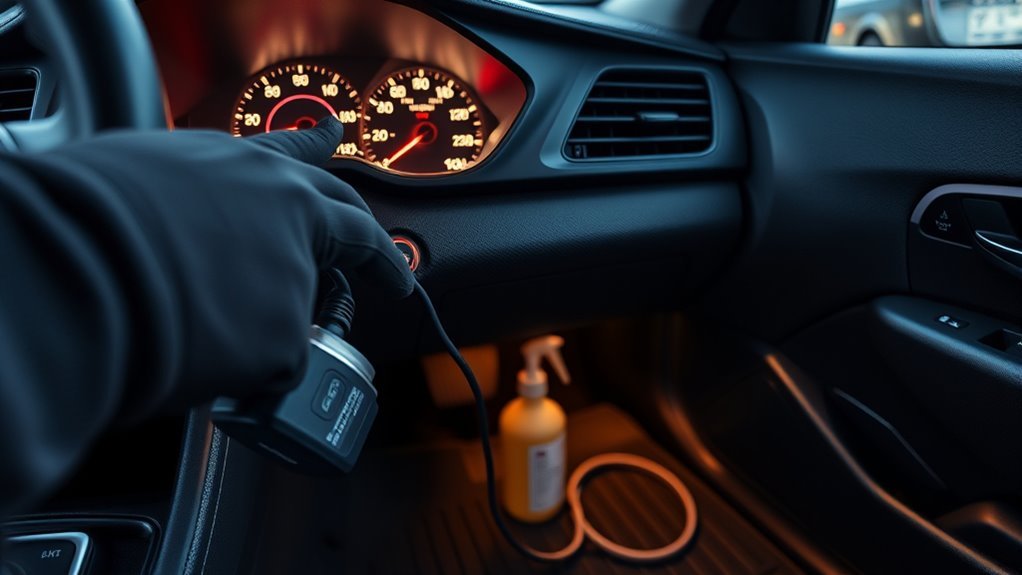
With the compressor still switched off, plug the power cord into the Sonata’s 12-volt outlet. In many Sonatas, this outlet is in the center console or lower dashboard area. Make sure the plug is fully seated so the compressor does not cut in and out.
Turn the vehicle on or start the engine as directed by your owner’s manual and the label on your kit. Let the engine idle; do not rev it. The compressor needs steady power, and idling helps prevent battery drain while you inflate the tire.
Warning: Use the Tire Mobility Kit supplied for your vehicle. Hyundai warns against plugging another vehicle’s tire mobility kit into the power outlet because the current capacity may differ.
[Products Worth Considering]
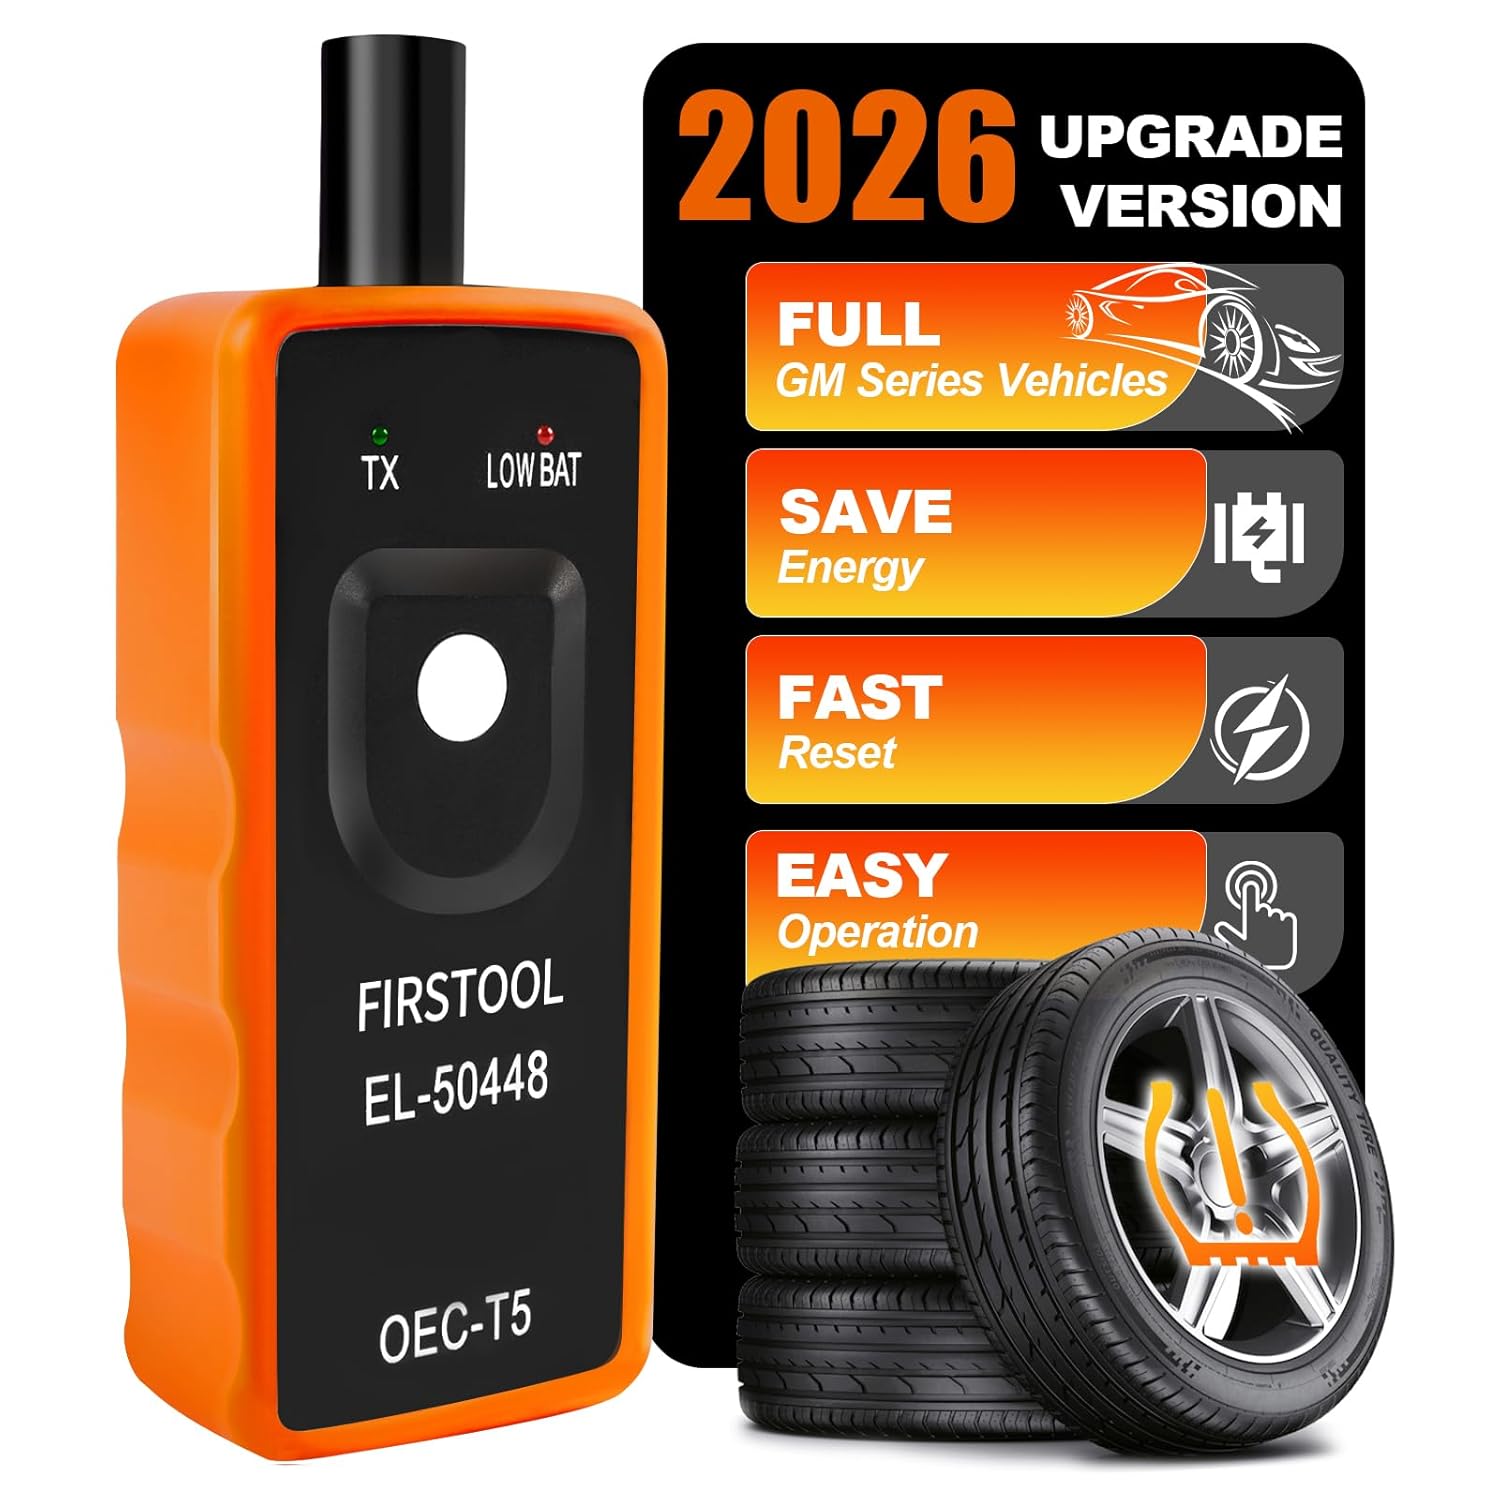
This TPMS relearn tool helps you quickly activate, match, and reset GM tire pressure sensors to keep the vehicle monitoring system working properly. It clears tire pressure alarms and dashboard warning lights after sensor replacement or tire rotation, and supports learning for common 315/433 MHz TPMS sensors. Designed for simple one-button operation, it can help you avoid unnecessary trips to repair shops.
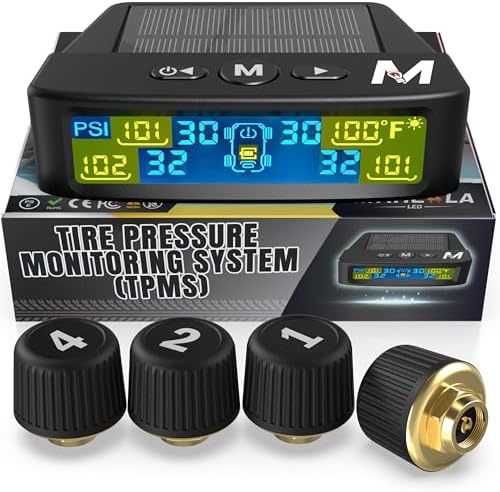
Marcala’s TPMS set of four sensors helps you monitor tire pressure and temperature in real time while driving, with updates every second. The bright color LCD uses auto-dimming for easy viewing, powered by dual solar and USB charging, and offers six alarm modes. Built for trailers, RVs, campers, trucks, and towing setups, the sensors support monitoring 1-4 wheels up to 98 PSI with IP67 waterproof protection.

The UYYE TPMS relearn tool helps activate and relearn tire pressure monitor sensors quickly, typically in minutes. It supports TPMS learn mode resetting using a simple three-step process: enter learn mode, position the tool near the valve stem, and press the learn button. Designed for specific GM models, it streamlines sensor programming and reduces trips to dealers or tire shops.
Inflate to a Safe, Drivable Pressure (Use the Gauge)
Turn on the compressor and let the kit add sealant and air according to the Hyundai instructions for your kit style. Some kits connect the sealant bottle to the compressor holder; others use a filling hose attached to the sealant bottle. Follow the diagram printed on your bottle and compressor.
Watch the pressure gauge closely, but remember that a compressor gauge can read higher while the compressor is running. For a more accurate reading, briefly switch the compressor off and then check the gauge.
- Run the compressor only as long as the kit instructions allow. Do not run it continuously for more than 10 minutes because it may overheat.
- If the pressure does not rise enough, switch the compressor off and reassess the tire. Do not keep forcing air into a badly damaged tire.
- Adjust the tire to the recommended pressure on the driver-side B-pillar placard or the owner’s manual after the sealant has been distributed and you recheck pressure.
The Tire Mobility Kit is a temporary roadside tool. A tire shop still needs to inspect the tire from the inside and decide whether it can be repaired or must be replaced.
Attach and Apply the Sealant Canister Correctly
Hyundai kits are not all arranged exactly the same way, so use the instructions printed on your sealant bottle and compressor as the final guide. In general, you will shake the sealant bottle, connect the filling hose or bottle holder, attach the hose to the tire valve, and then run the compressor so the sealant moves into the tire.
| Step | Action | Purpose |
|---|---|---|
| 1 | Shake the sealant bottle if your kit instructs you to do so. | Helps the sealant flow properly. |
| 2 | Attach the bottle and hose exactly as shown on the kit. | Prevents backflow, leaks, and clogged hoses. |
| 3 | Run the compressor to inject sealant and add air. | Pushes sealant into the tire and raises pressure. |
| 4 | Disconnect the hose carefully and reinstall the valve cap. | Reduces pressure loss and keeps dirt out of the valve. |
Do not try to “aim” the sealant at a puncture from outside the tire. The sealant works by spreading inside the tire as the wheel turns. That is why the short drive after inflation is required.
Drive, Check for Leaks, and Recheck Pressure

After the tire has enough pressure to drive safely, put the kit away, remove the speed restriction label from the sealant bottle if your kit includes one, and place it where you can see it. Drive carefully for about 4–6 miles (7–10 km), or about 10 minutes, so the sealant coats the inside of the tire.
Keep your speed moderate. Hyundai’s Tire Mobility Kit guidance says not to exceed 50 mph (80 km/h) and, if possible, not to drive below 12 mph (20 km/h) while distributing the sealant. If the Sonata vibrates, pulls, makes unusual noise, or feels unstable, slow down and pull over safely.
Drive the Required Distance
A few feet is not enough to spread the sealant through the tire. The wheel needs several minutes of rotation so the liquid can coat the inner tread area and move toward the puncture. After the 4–6 mile drive, stop somewhere safe before rechecking pressure.
Use a Soapy-Water Check
Mix water with a small amount of dish soap and spray it around the tread area, valve stem, and bead. Watch for growing bubbles. A cluster or stream of bubbles means air is still escaping.
If you see bubbles, do not assume the tire is safe. Recheck the hose connection, add air only if the kit instructions allow it, and test again. If the leak continues or pressure drops quickly, call roadside assistance.
Recheck Tire Pressure
Use a reliable pressure gauge or the compressor gauge with the compressor switched off. Adjust the tire to the pressure shown on your Sonata’s placard or owner’s manual. If the pressure will not stay at a safe level, do not keep driving.
After using sealant, monitor the tire again over the next few hours if you must continue to a repair shop. A sealed tire can lose pressure again without warning.
When Sealant Won’t Work: TPMS, Lasting Fixes, and When to Call Roadside Assistance
Sealant is only for certain small tread punctures. It is not a fix for every flat tire. Do not use the Tire Mobility Kit if:
- The puncture is in the sidewall or shoulder area.
- The tire has a large cut, a blowout, or shredded rubber.
- The wheel is bent or cracked.
- Two or more tires are flat.
- The tire came off the rim or the bead is leaking badly.
- The tire will not reach or hold a safe pressure.
The tire pressure monitoring system (TPMS) may stay on until the pressure is corrected and the vehicle is driven. If the warning light keeps returning, the tire may still be leaking or the TPMS sensor may need inspection. When the tire is replaced or repaired, tell the technician that sealant was used so the wheel, tire, and sensor can be cleaned and checked.
For a lasting repair, a trained tire technician should remove the tire from the wheel and inspect the inside. The U.S. Tire Manufacturers Association says repairs are generally limited to tread-area punctures no larger than 1/4 inch (6 mm), and a proper repair uses both a plug/stem to fill the injury and a patch to seal the inner liner. The Tire Industry Association also warns that sealants and emergency inflators are not long-term flat-tire repairs.
Frequently Asked Questions
How do I use Hyundai Sonata tire sealant?
Park safely, connect the Hyundai Tire Mobility Kit sealant bottle and hose to the flat tire, plug the compressor into the 12-volt outlet, add sealant and air, then drive about 4–6 miles to distribute the sealant. Stop safely, recheck pressure, and go to a tire shop as soon as possible.
Can I drive normally after using tire sealant?
No. Drive only as needed to reach a safe repair location. Follow the speed restriction on your kit and avoid hard braking, hard cornering, high speeds, and long trips until the tire has been inspected.
How far should I drive after adding sealant?
Hyundai Tire Mobility Kit instructions commonly call for driving about 4–6 miles, or about 10 minutes, to distribute the sealant. After that, stop in a safe place and recheck the tire pressure.
Will Hyundai tire sealant damage the TPMS sensor?
Sealant can leave residue on the wheel and tire pressure sensor. After using sealant, tell the tire shop so the technician can clean the wheel area and inspect the TPMS sensor during repair or replacement.
Can I use sealant on a sidewall puncture?
No. Do not use tire sealant for sidewall damage, shoulder damage, blowouts, large cuts, or a tire that will not hold pressure. Call roadside assistance or have the vehicle towed.
Conclusion
A Hyundai Sonata Tire Mobility Kit can help with a small tread puncture, but it is only a temporary roadside solution. Use the correct pressure from the placard or owner’s manual, drive the required distance to spread the sealant, recheck pressure, and avoid normal driving until the tire has been professionally inspected. If the tire will not hold pressure, the damage is in the sidewall, or the car feels unstable, stop driving and call roadside assistance.
Sources
- Hyundai Owner’s Manual — Using the Tire Mobility Kit when a tire is flat — backs up sealant procedure, minimum pressure cautions, drive distance, speed guidance, and compressor warnings.
- Hyundai Owner’s Manual — How to adjust tire pressure — backs up compressor gauge and pressure-adjustment cautions.
- MyHyundai Manuals & Warranties — source for model-specific Hyundai owner manuals.
- NHTSA Tire Safety — backs up tire placard, cold tire pressure, and monthly pressure-check guidance.
- U.S. Tire Manufacturers Association — Tire Repair Basics — backs up tread-area repair limits and proper tire repair requirements.
- Tire Industry Association — Tire Repair — backs up temporary nature of sealants and professional repair guidance.