
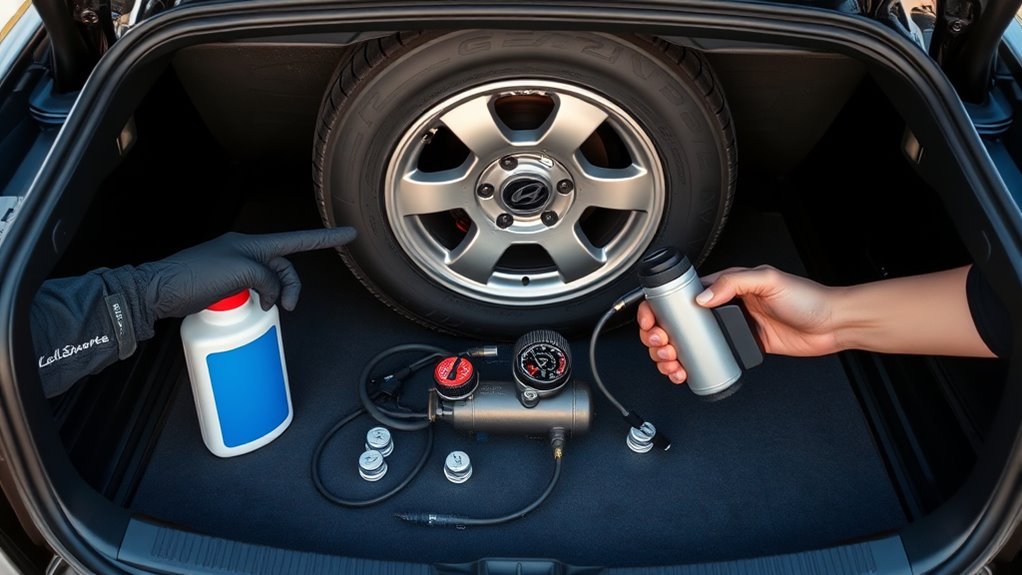
A Hyundai Sonata Tire Mobility Kit can help you get moving again after a small tread puncture, but it is only a temporary roadside fix. Use it only when the tire and wheel are not severely damaged, the puncture appears to be in the tread area, and you can work safely away from traffic. Always follow the owner’s manual for your exact Sonata model year.
Quick Answer
To use the Hyundai Sonata Tire Mobility Kit, park safely, set the parking brake, check that the damage is a small tread puncture, shake and connect the sealant bottle, inflate with the compressor for about 5–7 minutes, then drive 4–6 miles at 12–50 mph to spread the sealant. Recheck and adjust pressure before continuing.
Key Takeaways
- Use the kit only for small punctures in the tread area, not sidewall cuts, wheel damage, blowouts, or multiple flat tires.
- Do not drive if the tire pressure is below 29 psi (200 kPa) after using the kit.
- After the first short drive, adjust the tire to the proper pressure listed on the driver-side door placard or in your owner’s manual.
- The Tire Mobility Kit is temporary. Have the tire inspected, repaired, or replaced by a qualified tire professional or Hyundai dealer as soon as possible.
At a Glance
| Time Required | About 20–30 minutes for the roadside steps, plus time to reach a tire shop or Hyundai dealer. |
| Difficulty | Easy, if the tire damage is minor and you can work in a safe location. |
| Tools Needed | Hyundai Tire Mobility Kit, sealant bottle, compressor, gloves if available, and your tire-pressure placard or owner’s manual. |
| Cost | Usually no roadside cost if the kit is already in the car, but you may need a new sealant bottle, tire repair, or tire replacement afterward. |
What’s in the Hyundai Tire Mobility Kit and When to Use It
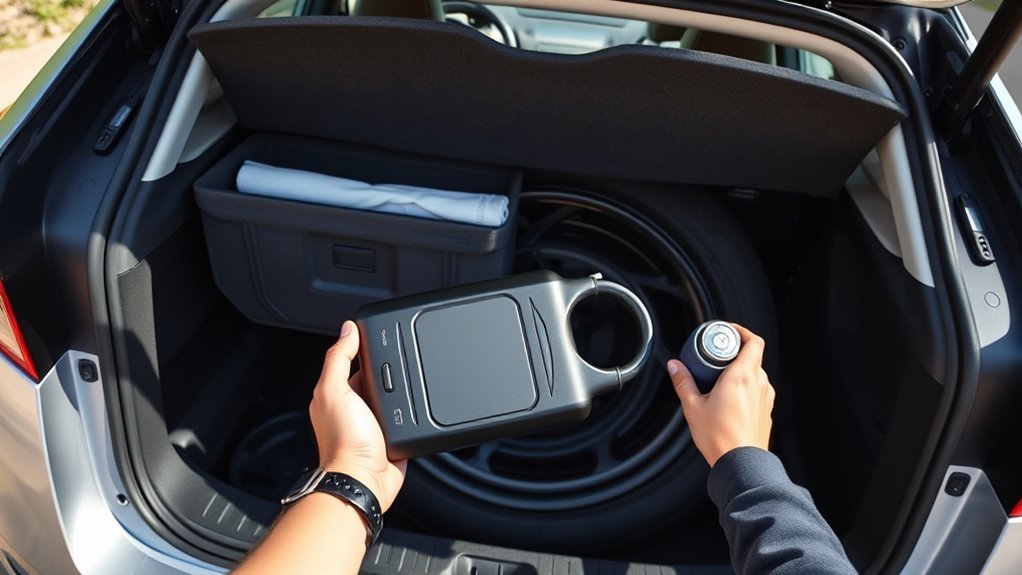
The Hyundai Tire Mobility Kit normally includes a sealant bottle, filling hose, compressor with a pressure gauge, power cord or connectors, and a speed restriction label. It is designed to restore enough tire pressure to drive carefully to a service location after a small tread puncture.
Use the kit only as described in your Hyundai owner’s manual. Hyundai notes that the kit may not be effective for tire damage larger than about 0.16 in. (4 mm), and it should not be treated as a permanent repair.
Warning: Do not use the Tire Mobility Kit for sidewall damage, a torn tire, a damaged wheel, multiple flat tires, or a tire that was driven while flat. Call roadside assistance or arrange towing instead.
[Products Worth Considering]

MetFun’s 40-piece tire repair screw plugs kit provides a fast DIY fix for tubeless punctures with two tubes of black tire sealant glue. The rubber repair screws are pre-coated and designed for a secure grip and double seal to help stop air leaks. With 2 screw sizes for small and larger punctures, it’s suitable for cars, motorcycles, trucks, tractors, lawnmowers, ATVs, and more—so you’re prepared for road trips and emergencies.

This AUTOWN flat tire repair kit is designed for quick, reliable puncture repairs using a plug kit and spiral probe tool to simplify installation. Built for durability and safe handling, it offers strong adhesion and flexibility to help maintain tire air tightness. With a portable storage case and a multi-vehicle approach, it’s suitable for cars, motorcycles, ATVs, tractors, lawn mowers, RVs, jeeps, and trucks.
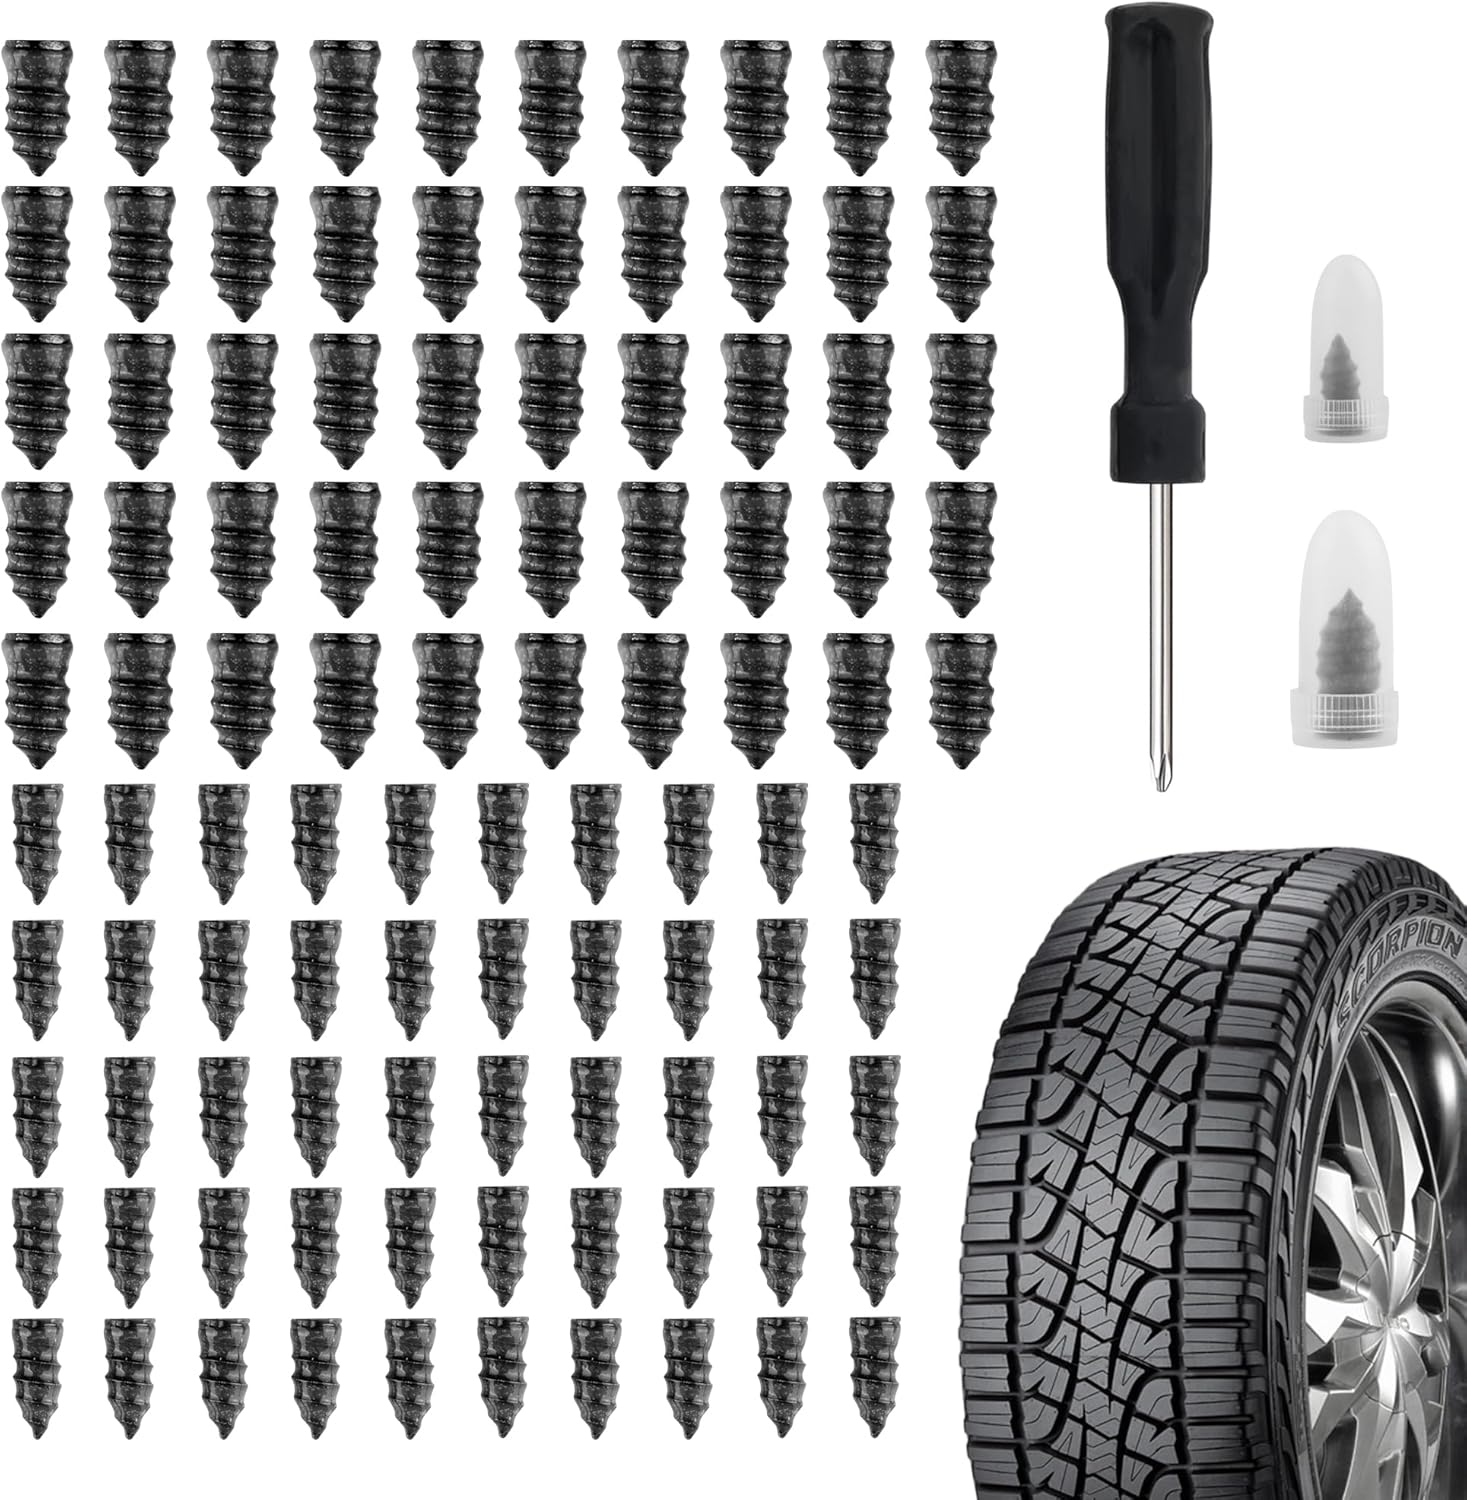
Salior’s tire plug kit provides a fast, reliable self-service fix for punctured or leaking tires without the need for flaring tools. Choose the correct plug size, then screw the nail into the puncture using the included screwdriver for an enhanced seal. The set is durable and convenient for on-the-go maintenance across multiple vehicle types.
Before You Start: Safety Checks and When Not to Use the Kit
Before touching the kit, stop in a safe place away from moving traffic. Choose level ground, turn on your hazard lights, set the parking brake, and make sure passengers stand away from the road.
- Check the damage location. The kit is for small punctures in the tread area only. Do not use it on the sidewall or shoulder of the tire.
- Look for severe damage. Do not use the kit if the tire is split, shredded, bulging, off the rim, or damaged from being driven flat.
- Do not remove nails or screws. If an object is stuck in the tread, leave it in place so the sealant has a better chance to seal around it.
- Check the sealant bottle. Do not use expired sealant. The expiration date is usually printed on the container.
- Use the engine safely. The compressor needs power, but only leave the vehicle running outdoors. Never run the engine in a garage or enclosed area.
Note: If the tire only needs air and does not need sealant, use the compressor as an inflator according to your owner’s manual. Do not inject sealant just to top off pressure.
Attach the Sealant Bottle and Compressor
Work slowly and keep the parts upright so sealant does not spill. The exact layout can vary by model year, but the basic sequence is the same: shake the bottle, connect the hose, connect the compressor, and then inflate.
[Products Worth Considering]

This tire valve adapter kit lets you connect a 3/4-inch garden hose to tire valves to fill tires with air or liquid. It includes two adapters for standard bore and large bore valves plus a convenient bleeder valve to release trapped air. Designed for tractor tire tubes and compatible air/water valves and extensions, it’s a practical repair tool for getting back on the road or field quickly.

The Gurduenon scissor car jack tire changing kit is designed for quick flat-tire replacement with a lifting capacity of 2.5 tons and a scissor-lift range sized for many vehicles. The complete emergency set includes a ratchet wrench, lug wrench, gloves, a pencil tire pressure gauge, and a storage bag for convenient trunk or garage use. Universal compatibility makes it suitable for cars, SUVs, and other vehicles roadside assistance needs.

This tire inflator with pressure gauge delivers long-lasting performance with a durable rubber-protected gauge and sturdy build. The longer hose and 360 swivel air chuck help you seal the valve securely and keep your hands free while measuring, inflating, or deflating. It’s battery-free for reliable use and provides ±2 PSI accuracy in the mid-range for most typical tires, with universal compatibility for 1/4 NPT compressor outputs.
Secure the Sealant Bottle Connector
Shake the sealant bottle well. Remove the required caps, then screw the connection hose firmly onto the sealant bottle connector. Keep the bottle upright and avoid cross-threading the connector.
- Confirm the compressor switch is turned off before connecting power.
- Attach the sealant hose securely to the tire valve.
- Seat the sealant bottle in the compressor holder if your kit uses one.
- Make sure the hose is tight so sealant does not flow backward or leak.
Connect the Compressor and Power
Plug the compressor into the Sonata’s power outlet, or connect it exactly as shown in your owner’s manual if your model uses battery or jump-terminal leads. Keep the compressor off until all connections are secure.
Pro Tip: Place the speed restriction label where you can see it, such as near the steering wheel, before you drive. It reminds you not to exceed 50 mph (80 km/h) after using the kit.
Inflate the Tire Safely: Time, Pressure, and When to Stop
With the vehicle safely outdoors and powered as your manual instructs, switch on the compressor. Let it run for about 5–7 minutes while watching the pressure gauge. Stay away from the tire while it inflates and do not overinflate it.
- Run the compressor until the tire reaches at least 29 psi (200 kPa), if possible.
- If the tire reaches the minimum pressure, switch off the compressor and disconnect the kit carefully.
- If the pressure stays below 29 psi, do not drive. Call roadside assistance or arrange towing.
- Do not run the compressor for more than 10 minutes at a time because it may overheat and become damaged.
The pressure gauge may read higher while the compressor is running. For a more accurate reading, briefly switch off the compressor and then check the gauge.
The important safety rule is simple: if the repaired tire cannot hold enough pressure, do not keep driving on it.
Drive Immediately After Repair: Speed, Distance, and Warnings

After the tire is inflated and the kit is stored, drive immediately for about 4–6 miles (7–10 km), or about 10 minutes. This helps the sealant spread inside the tire and reach the puncture area.
Keep your speed between 12 mph (20 km/h) and 50 mph (80 km/h). Avoid hard acceleration, abrupt steering, sharp turns, and heavy braking. If the Sonata feels unstable or you notice vibration, noise, or a rough ride, slow down and pull over safely.
Warning: The Tire Mobility Kit does not make the tire “good as new.” It only helps you reach a safe service location. Drive cautiously and avoid unnecessary distance.
Recheck Tire Pressure and Adjust It Correctly
After the short sealant-distribution drive, stop in a safe place and check the tire pressure again. This is the step many drivers miss.
Check Pressure Immediately After the Short Drive
Connect the compressor hose directly to the tire valve and check the pressure. If the tire has dropped below 29 psi (200 kPa), do not continue driving. Call roadside assistance or arrange towing.
If the pressure is holding, adjust the tire to the proper recommended pressure shown on the driver-side door placard or in the “Tires and Wheels” section of your Sonata owner’s manual. The correct final pressure may be higher than 29 psi, depending on the vehicle and tire specification.
Know the Sealant Limits
The sealant can help with small tread punctures, but it cannot fix structural damage. A tire service professional still needs to inspect the tire from the inside to decide whether it can be repaired safely.
| Item | Limit or Rule | What to Do |
|---|---|---|
| Puncture size | About 0.16 in. (4 mm) or smaller | Use the kit only if the damage appears minor and in the tread area. |
| Sidewall or shoulder damage | Not suitable for sealant | Do not use the kit. Call for help. |
| Minimum pressure to continue | At least 29 psi (200 kPa) | Stop driving if the tire cannot maintain this minimum. |
| Final tire pressure | Vehicle-specific placard pressure | Adjust to the recommended pressure after the sealant-distribution drive. |
| Sealant bottle | Must not be expired | Replace expired sealant before relying on the kit. |
See a Dealer or Tire Professional Promptly
After using sealant, drive carefully to a Hyundai dealer, tire shop, or service station as soon as possible. A proper tire repair usually requires removing the tire from the wheel so the inside can be inspected. The Tire Industry Association explains that sealants and emergency inflators are not long-term tire repairs.
If the tire is replaced, tell the technician that sealant was used. Hyundai notes that sealant should be cleaned from the wheel and tire pressure sensor during inspection or replacement.
Sealant Safety: Skin, Eyes, and Storage
Keep the sealant away from children, eyes, and skin. If sealant touches your skin, wash the area with plenty of water. If it gets in your eyes, flush with clean water and get medical help if irritation continues. If swallowed, seek medical attention.
Store the Tire Mobility Kit in its correct location after use. Replace the sealant bottle after it has been used or after it expires, so the kit is ready for the next emergency.
Troubleshooting: What If the Kit Does Not Work?
Stop and call for help if any of these happen:
- The compressor cannot raise the tire to at least 29 psi (200 kPa).
- The tire loses pressure again after the short sealant-distribution drive.
- You feel vibration, pulling, roughness, or hear unusual noise while driving.
- The puncture is large, in the sidewall, or the wheel is visibly damaged.
- The sealant is expired or leaking from the kit connections.
Do not keep reinflating a tire that will not hold pressure. That can damage the tire further and may lead to sudden tire failure.
[Products Worth Considering]

The JACO FlowPro Tire Inflator measures, inflates, and airs down tires up to 100 PSI with battery-free operation and ±2% accuracy after calibration. It features a glowing pressure dial for night visibility, a heavy-duty steel build with a hybrid hose, and a precision push-to-inflate thumb trigger. The patented Lightning Air Chuck locks on for a secure seal, and the kit includes quick-connect hardware for easy inline use with your air compressor.

Wykodra tire plugs provide quick vulcanizing repairs for tubeless tires, helping you seal punctures and get back on the road. The industrial-strength rubber creates a long-lasting, leak-resistant bond and is designed for emergency fixes without removing the tire. Choose between two standard plug sizes with color-matched options for small to larger damage across many vehicles and off-road uses.

This 3-piece wheel brush set makes it easy to clean wheels and tires with soft, scratch-free brushes designed for lifting brake dust and grime. The flexible rim brush bends up to 360 degrees to reach hard-to-access areas for a thorough clean, while the comfortable grip helps control during detailing. A dedicated detailing brush supports gentle cleaning for sensitive surfaces, including interior use.
Frequently Asked Questions
Is a Hyundai Tire Mobility Kit a permanent fix?
No. The Tire Mobility Kit is a temporary fix that helps you drive carefully to a service location. Have the tire inspected, repaired, or replaced as soon as possible.
Can I use the kit on a sidewall puncture?
No. Use the kit only for small punctures in the tread area. Sidewall or shoulder damage can lead to tire failure and should be handled by roadside assistance or a tire professional.
What tire pressure should I reach before driving?
Do not drive if the tire is below 29 psi (200 kPa). After driving 4–6 miles to distribute the sealant, recheck the tire and adjust it to the proper pressure shown on your Sonata’s tire placard or owner’s manual.
How fast can I drive after using the Tire Mobility Kit?
Do not exceed 50 mph (80 km/h). If possible, stay above 12 mph (20 km/h) during the first short drive so the sealant can spread properly.
Should I remove the nail or screw before using the kit?
No. If a nail or screw is stuck in the tread, leave it in place. Removing it can make the leak larger and reduce the chance that the sealant will work.
What if the compressor runs but the tire will not inflate?
Turn the compressor off, do not continue driving, and call roadside assistance. Do not run the compressor for more than 10 minutes at a time, because it can overheat.
Conclusion
The Hyundai Sonata Tire Mobility Kit is useful for a small tread puncture when you need a temporary way to reach help. The safe process is to park carefully, confirm the damage is suitable for sealant, connect the kit correctly, inflate the tire, drive a short distance to spread the sealant, and recheck the pressure. If the tire cannot hold pressure, the damage is larger than a small tread puncture, or the car feels unstable, stop driving and call for assistance.
Even when the kit works, do not treat the repair as permanent. Drive cautiously to a Hyundai dealer or qualified tire professional and have the tire inspected as soon as possible.
Sources
- Hyundai Owner’s Manual — Using the Tire Mobility Kit when a tire is flat — TMK connection, inflation, pressure, speed, and post-drive instructions.
- Hyundai Owner’s Manual — If You Have a Flat Tire with Tire Mobility Kit — safety notes, sealant warnings, and usage limits.
- Tire Industry Association — Tire Repair — proper tire repair and why sealants are not long-term solutions.
- U.S. Tire Manufacturers Association — Sealant Tires Technical Bulletin — professional inspection and repair guidance for sealant-treated tires.

![[2026NEW] 5000A Jump Starter with Air Compressor (150PSI)](https://m.media-amazon.com/images/I/71oG4PFNsmL._AC_SL1500_.jpg)