
How to Get Water Out of a Tire: Why It Happens & How to Fix It
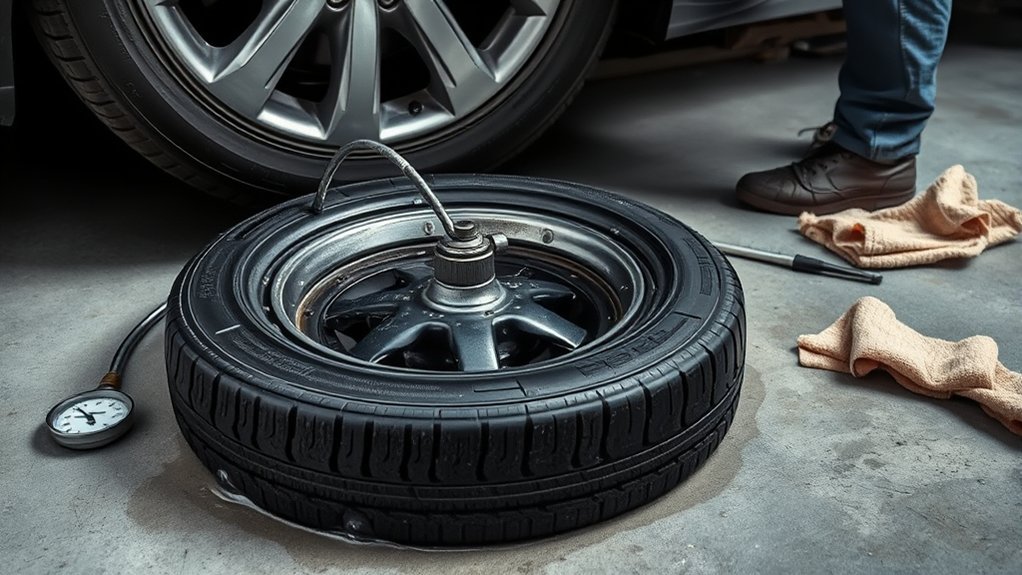
Water inside a tire is not normal on most passenger vehicles. A small amount may drain through the valve stem if the wheel is off the vehicle and the valve is positioned low, but that does not make the tire fully inspected or safe. The safest fix is to drain what you can, have the tire demounted, dry the inside, inspect the rim, valve, TPMS sensor, bead seat, and inner liner, then repair or replace the tire correctly.
Quick Answer
To get water out of a tire safely, remove the wheel, deflate it, remove the valve core, and place the valve stem at the lowest point so any loose water can drain. Then have a tire shop demount the tire, dry the inside, inspect for damage, repair the leak correctly, rebalance the wheel, and inflate it to the vehicle placard pressure.
Key Takeaways
- Water inside a passenger tire can cause vibration, imbalance, rim corrosion, TPMS issues, pressure changes, and hidden tire damage.
- Valve-stem draining may remove loose water, but it cannot replace demounting, drying, and inspecting the inside of the tire.
- Do not drill a tire to drain water. That creates a puncture and can make the tire unsafe or unrepairable.
- A proper puncture repair requires the tire to be removed from the wheel and repaired with an approved plug-and-patch method when the damage is eligible.
- After the water is removed, find the source: valve stem, valve core, bead seal, rim corrosion, puncture, poor mounting, or wet compressed air.
At a Glance
| Time Required | 10–20 minutes for basic draining; 30–60 minutes at a tire shop for demounting, drying, inspection, repair, balancing, and leak testing. |
| Difficulty | Basic draining is beginner-friendly if the wheel is off the vehicle; full repair should be handled by a trained tire technician. |
| Tools Needed | Valve core remover, tire pressure gauge, towel, soapy water, air source, jack and stands if removing the wheel, and professional tire machine for complete service. |
| Cost | Usually low if only draining and resealing are needed; higher if the tire needs a new valve stem, TPMS service, wheel cleaning, repair, balancing, or replacement. |
Warning: A tire is a pressurized safety component. Do not drill the tread, do not use an outside-only plug as a permanent repair, and do not drive on a tire that vibrates badly, loses pressure, has sidewall damage, or may have internal damage. Use the spare or have the vehicle towed if the tire seems unsafe.
Confirm Water Is Inside the Tire
Before you start draining anything, make sure the symptoms point to liquid inside the tire and not a separate wheel, suspension, or balance problem. Water can move around inside the tire, so the signs often feel different from a normal slow leak.
- Sloshing sound: You may hear liquid moving when the loose wheel is rolled slowly.
- Vibration or wobble: Liquid can shift weight inside the tire and make the wheel feel out of balance.
- Repeated balance problems: A wheel that keeps feeling out of balance after balancing may have liquid, sealant, loose debris, or internal tire damage.
- Moisture at the valve: Water, rust-colored moisture, or wet air from the valve can point to internal moisture.
- Pressure loss: A leaking valve core, valve stem, bead seat, rim, or puncture can let air out and may also point to a sealing problem.
Note: A vibration at speed is not proof of water inside the tire. Bent wheels, separated belts, uneven tread wear, mud packed in the wheel, worn suspension parts, and poor balancing can feel similar. If the vibration is strong, stop driving and have the tire inspected.
[Products Worth Considering]

This 4-in-1 tire valve core removal tool helps you deflate, unblock, and remove or install valve cores quickly for easier tire repair. The multifunction design also supports re-taping damaged threads and reaming inside the valve stem for smoother service. Included as a 2-pack, it’s compact for convenient carry and works for cars, bicycles, and motorcycles.

This VEVOR tire bead breaker uses a slide-hammer impact and wedge tip to separate tire beads from rims quickly and efficiently without damaging hub surfaces. The long handle and sturdy steel construction help reduce user strain while providing reliable, portable tire changing for cars, trucks, and more. Ideal for home mechanics and repair shops handling multiple vehicle tire sizes.

This tire repair patch tool kit helps you quickly seal small punctures using upgraded mushroom plugs and a built-in roller system that presses for even penetration. The tungsten buffing wheel and HSS twist drill bits prepare the damaged surface for stronger adhesion, while the crown-angle friendly plugs are designed to keep water and debris out. Ideal for puncture repairs on many vehicle types, from cars and trucks to bikes and scooters.
What Causes Water in a Tire?
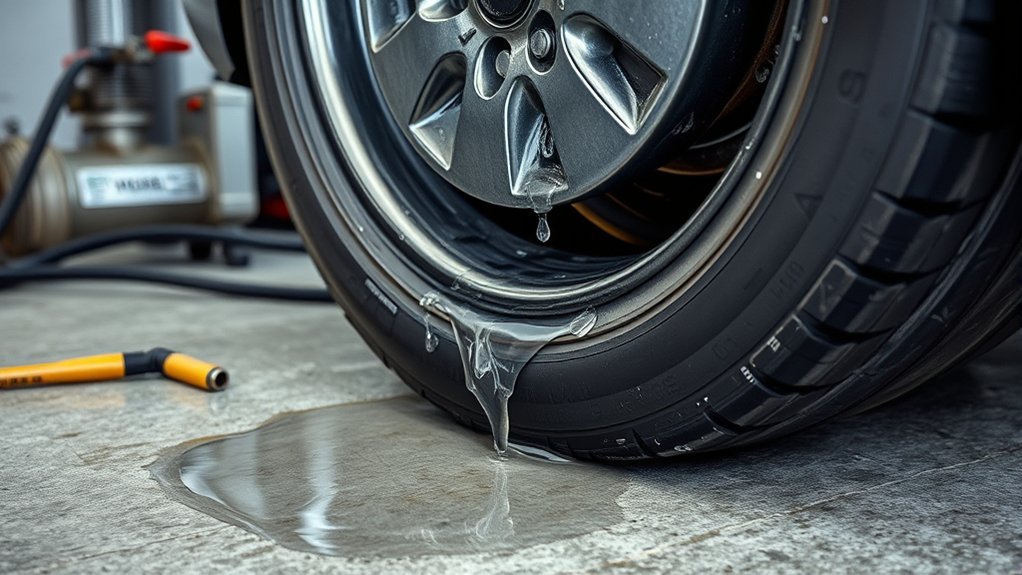
Water can get into a tire during mounting, from wet compressed air, through a leaking valve core or valve stem, through a poor bead seal, or through a puncture that was not repaired correctly. It can also be trapped if a tire or wheel was stored outside before mounting. A properly sealed and properly inflated passenger tire should not collect water simply because you drove through rain.
The most common entry points to check are:
- Valve core: A loose, damaged, or contaminated core can leak air and moisture.
- Valve stem: Rubber stems can crack with age, and metal stems can leak if their seals corrode or loosen.
- Bead seat: Dirt, old bead lubricant, corrosion, bent rim edges, or poor mounting can stop the bead from sealing evenly.
- Puncture injury: A nail, screw, or previous improper repair can create a path for air and moisture.
- Wet air source: Some shop compressors contain moisture if the system is not drained and filtered well.
- Improper storage: Tires or mounted wheel assemblies left uncovered outdoors can hold water around the bead or inside before service.
Why Water Inside a Tire Matters
Water inside a tire is more than an annoyance. It can shift as the wheel rotates, which can make the tire feel unbalanced. It can also contribute to corrosion on the wheel, moisture around the valve assembly, TPMS sensor problems, and pressure changes as the tire heats and cools. If the tire has a puncture or damaged inner liner, moisture can also reach materials that should stay sealed.
If a tire repeatedly loses air or feels unstable, treat it as a safety problem first and a water-removal job second.
Correct inflation also matters. The National Highway Traffic Safety Administration says the correct tire pressure is the pressure listed by the vehicle manufacturer on the tire information placard or in the owner’s manual, not the maximum pressure molded into the tire sidewall. Check pressure when the tire is cold whenever possible.
Safe Way to Get Water Out of a Tire
The safest process has two parts: remove loose water first, then have the tire opened for a complete inspection. Draining through the valve stem may help, but it is not a complete repair because it does not show the condition of the inner liner, steel belts, bead area, rim, or TPMS sensor.
Step 1: Remove the Wheel If Needed
If the tire is on the vehicle, park on a flat surface, set the parking brake, and follow your owner’s manual for safe jacking. Use jack stands if you are working around the vehicle. If the tire is severely low, damaged, or vibrating badly, do not keep driving on it.
Step 2: Deflate the Tire and Remove the Valve Core
Use a valve core remover to remove the valve core. Keep your face and hands away from the valve opening as air escapes. When the tire is fully deflated, rotate the wheel so the valve stem is at the lowest point. Any loose water near the valve may drain out by gravity.
Pro Tip: Put a towel or shallow pan under the valve stem. If rusty water comes out, tell the tire technician because the rim, valve hardware, and TPMS sensor may need closer inspection.
Step 3: Understand the Limit of Valve-Stem Draining
Valve-stem draining can remove some loose water, but it will not dry the casing completely. It also will not reveal a damaged inner liner, a puncture path, rim corrosion, bead damage, or hidden sidewall damage. For that reason, valve-stem draining should be treated as a temporary drainage step, not the final fix.
Step 4: Have the Tire Demounted
For a complete fix, take the wheel to a tire shop and ask for the tire to be removed from the rim. The U.S. Tire Manufacturers Association says tires must be removed from the rim/wheel assembly and inspected for all possible damage, including inner-liner damage, before repair. The Tire Industry Association gives the same basic guidance: the inside must be inspected so damage that is not visible from the outside is not missed.
Step 5: Dry the Inside Completely
Once the tire is off the rim, the inside can be wiped dry with a clean towel and allowed to air-dry. The technician should also inspect and dry the rim channel, valve area, bead seats, and TPMS sensor if the wheel has one. Do not use an open flame or excessive heat to dry a tire.
Can You Drain a Tire Without Unmounting It?
You can sometimes drain loose water without unmounting the tire by removing the valve core and positioning the valve stem at the lowest point. This is useful when you need to confirm the problem or remove obvious liquid before taking the wheel to a shop.
However, draining without unmounting has major limits:
- It may leave water trapped away from the valve opening.
- It cannot clean or dry the full tire interior.
- It cannot inspect the inner liner or bead area.
- It cannot confirm whether a puncture is repairable.
- It cannot check the back side of the valve stem or TPMS sensor.
Use this method only as a first step. If water came out, the tire still needs to be opened, inspected, dried, resealed, balanced, and leak-tested.
Valve Core Drain Method
Remove the valve core with a valve core remover and let the tire deflate fully. Rotate the wheel until the valve stem is at the bottom. Let gravity drain the water. If nothing comes out but you still hear sloshing, the water may be trapped away from the valve or behind the bead, which means the tire needs to be demounted.
Shop Vac Water Removal
A shop vac can help remove moisture from a demounted tire or from an off-vehicle wheel where the valve core has already been removed, but it is not a substitute for demounting and inspection. Do not drill a tire to insert a vacuum hose. Do not force tubing into the valve stem if it can damage the stem, TPMS sensor, or valve threads.
Drain It Through the Valve Stem
Draining through the valve stem is the safest simple method for a reader to try because it uses an existing opening. The key is to keep expectations realistic: the valve stem can release air and some water, but it cannot prove the tire is safe.
Valve Stem Drain Method
- Remove the wheel if necessary and keep it stable.
- Remove the valve cap.
- Use a valve core remover to unscrew the valve core.
- Let the tire fully deflate.
- Turn the wheel so the valve stem is at the lowest point.
- Let water drain until the flow stops.
- Reinstall the valve core only if you need to move the wheel or prepare it for shop service.
- Have the tire demounted, inspected, dried, repaired or replaced, balanced, and inflated to the correct cold pressure.
Remove Core To Drain
The valve core is small, so work carefully and keep it clean. If the core looks corroded, bent, cracked, or dirty, replace it. A weak valve core can cause a slow leak, and a slow leak can lead to underinflation. According to the USTMA Tire Care and Safety Guide, underinflation can cause heat build-up and internal structural damage that may lead to tire failure.
Use a Shop Vac on Stubborn Water
A shop vac is best used after the tire is off the vehicle and preferably after it has been demounted. If the tire is still mounted on the wheel, vacuuming through the valve stem may remove only a small amount of water. A tight seal around the valve opening can improve suction, but it still will not dry the tire completely.
Use these rules if you try vacuum assistance:
- Remove the valve core first so air and moisture can move freely.
- Use only soft, narrow tubing that will not scratch or damage the valve stem.
- Do not drill a hole in the tire.
- Stop if the tubing snags, the valve threads feel damaged, or the wheel has TPMS hardware in the way.
- Follow up with professional demounting and inspection if water is confirmed.
[Products Worth Considering]
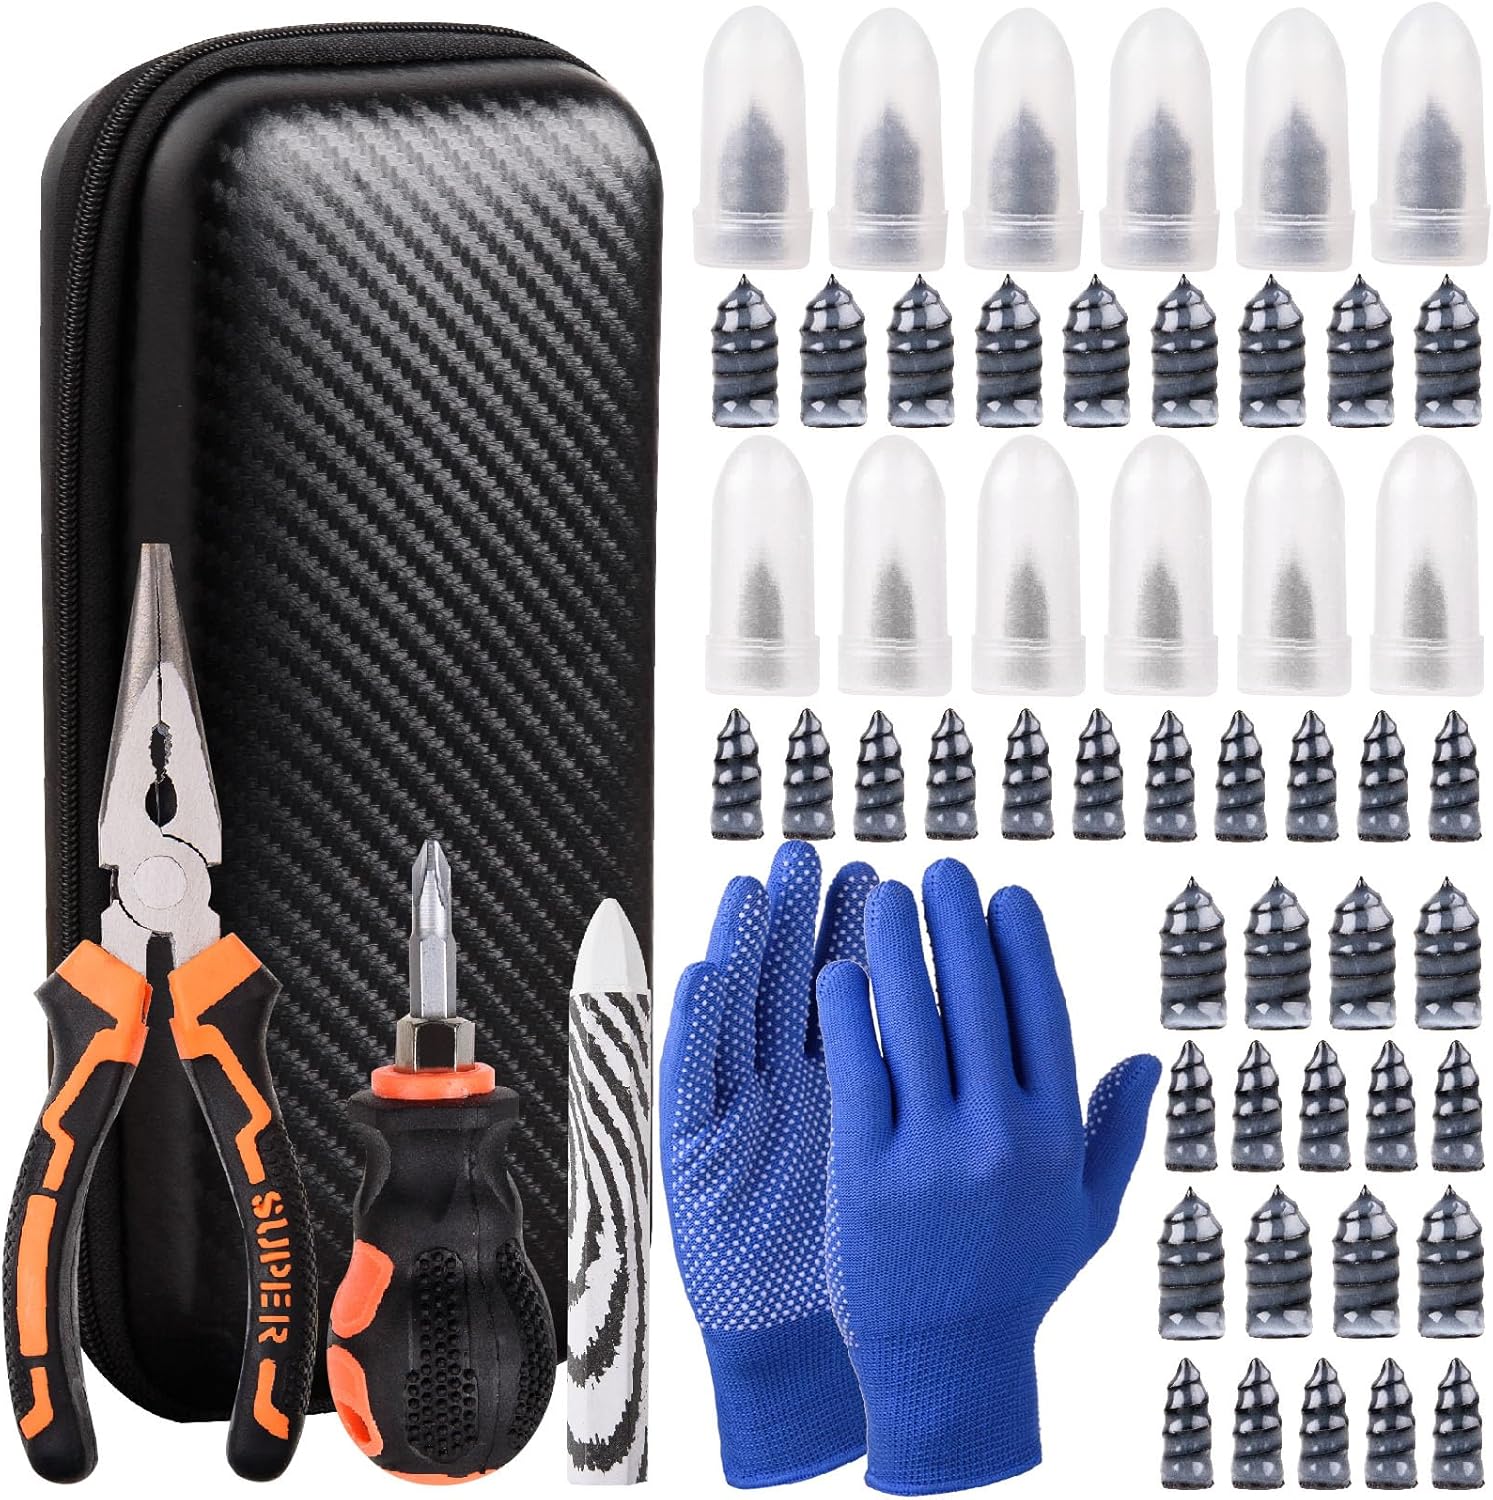
This tire sidewall puncture repair kit fixes flats fast without removing the tire, helping you get back on the road in minutes. It includes self-tapping repair nails, essential tools, gloves, and a portable storage bag for convenient roadside use. Designed for tubeless tires, it helps create a tight, leak-resistant seal for cars, motorcycles, trucks, SUVs, and ATVs.

This multi-function tire valve stem removal tool set makes it fast to remove, install, bleed, and clean valve cores for easier tire maintenance. It includes valve core removers, a 4-way spool tool, replacement valve caps, and spare cores to handle replacements and repairs with confidence. Universal compatibility suits cars, trucks, motorcycles, bicycles, and more for roadside convenience.
Dry Out the Last Moisture Inside
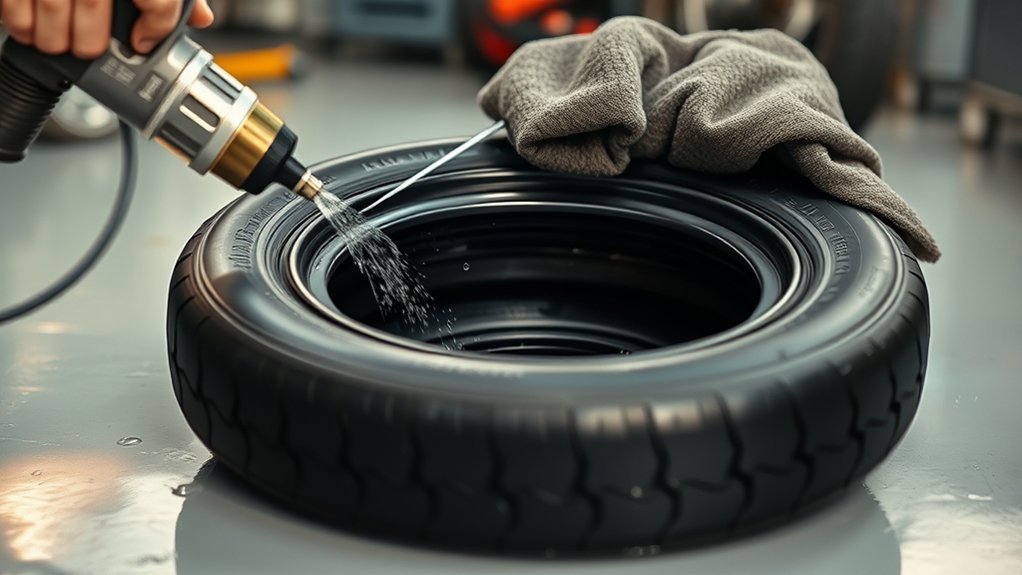
The best way to dry the last moisture inside a tire is with the tire demounted. Wipe the inner liner with a clean towel, dry the rim channel, clean the bead seats, and check for corrosion or debris. If the wheel has direct TPMS, the sensor and valve assembly should be inspected before the tire is reassembled. Continental explains that direct TPMS systems use sensors in each tire, often in the valve stem area, to monitor pressure and temperature.
Do not seal the tire back up while moisture is still inside. Trapped moisture can keep causing imbalance, corrosion, pressure irregularities, and sealing problems.
Patch the Leak and Recheck Pressure
After the tire is dry, the leak source has to be fixed. If the problem is a valve core or valve stem, replace the faulty part. If the bead was leaking, the rim and bead seat should be cleaned and resealed. If the rim is bent or badly corroded, it may need repair or replacement.
If the tire has a puncture, it is only repairable if it meets industry repair limits. The Michelin repair guidance says proper repairs require removing the tire from the wheel for inspection and using a combined plug-and-inside-patch repair. USTMA also says puncture repairs are generally limited to the tread area and to injuries no larger than 1/4 inch, or 6 mm.
| Check | Correct Action |
|---|---|
| Valve core or stem leak | Replace the leaking valve part and retest with soapy water. |
| Bead leak | Dismount, clean the rim bead seat, inspect for corrosion or damage, then reseal. |
| Tread puncture | Repair only if it is in the repairable tread area and within size limits, using an approved plug-and-patch repair. |
| Sidewall or shoulder damage | Replace the tire; do not patch or plug sidewall damage. |
| Pressure after service | Inflate to the vehicle placard pressure when cold, then recheck after driving. |
After service, the wheel should be balanced again. Water inside the tire changes weight distribution, and draining it can change the balance. A final leak test with soapy water around the valve stem, bead, and repaired area helps confirm the tire is sealed.
Keep Water Out of Tires Next Time
Prevention is mostly about keeping the tire airtight, clean, and correctly serviced. Water should not keep returning. If it does, the tire has a leak path, a mounting problem, a rim problem, or a service problem that needs correction.
- Replace cracked rubber valve stems and damaged valve cores.
- Clean rim bead seats before mounting tires.
- Ask the shop to inspect for rim corrosion or bent bead flanges.
- Use an air source with proper moisture control when inflating tires.
- Store loose tires and mounted wheel assemblies dry and covered.
- Check cold tire pressure monthly and before long trips.
- Have repeated pressure loss inspected instead of topping off the tire over and over.
Note: Nitrogen inflation is sometimes dry, but it is not a substitute for regular pressure checks. Whether a tire is filled with air or nitrogen, it still needs correct cold inflation pressure and leak-free hardware.
Frequently Asked Questions
How do you get water out of a tire quickly?
Remove the wheel if needed, remove the valve core, and rotate the wheel so the valve stem is at the lowest point. Loose water may drain through the stem. That is only a quick first step. For a complete fix, have the tire demounted, dried, inspected, repaired or replaced, balanced, and leak-tested.
Can I drain a tire without taking it off the rim?
You may be able to drain some water through the valve stem without taking the tire off the rim, but that does not fully dry or inspect the tire. If water is confirmed, the tire should be removed from the rim so the inner liner, bead, rim, valve, and TPMS sensor can be checked.
Should I drill a hole in a tire to drain water?
No. Do not drill a hole in a tire. Drilling creates a puncture, can damage the tire structure, and may make the tire unsafe or unrepairable. Use the valve stem for limited draining, then have a tire professional demount and inspect the tire.
What happens if water stays inside a tire?
Water can shift inside the tire and create vibration or imbalance. It can also contribute to rim corrosion, valve problems, TPMS sensor issues, pressure instability, and hidden damage if the tire has a puncture or damaged inner liner.
How long does a wet tire take to dry?
A demounted tire can often be towel-dried and air-dried fairly quickly, but a mounted tire may trap moisture where you cannot reach it. Do not guess based on time alone. The tire should be opened, wiped dry, inspected, and reassembled only after the inside and rim are dry.
Can water inside a tire cause the TPMS light to come on?
Water itself does not usually trigger the TPMS light directly, but the same leak that let moisture in may also cause low pressure. If the wheel has a direct TPMS sensor, moisture and corrosion around the valve assembly can also create service issues that need inspection.
Can I keep driving if I hear water sloshing in a tire?
Do not keep driving normally if the tire vibrates, wobbles, loses pressure, or feels unstable. Slow down, stop safely, and inspect the tire. Use the spare or call for roadside help if the tire may be damaged or underinflated.
Conclusion
Water inside a tire should be handled carefully because it can point to a leak, poor mounting, rim corrosion, valve trouble, TPMS issues, or hidden tire damage. You can drain loose water through the valve stem as a first step, but the complete fix is to demount the tire, dry and inspect the inside, repair the actual leak correctly, rebalance the wheel, and reset cold pressure to the vehicle placard. Never drill a tire to drain it, and do not treat an outside-only plug as a permanent repair.
Sources
- National Highway Traffic Safety Administration: TireWise — correct tire pressure, cold-pressure checks, TPMS basics, and tire safety.
- U.S. Tire Manufacturers Association: Tire Repair Basics — tire repair limits, demounting, inner-liner inspection, and plug/patch requirements.
- Tire Industry Association: Tire Repair — why proper repairs require removing the tire from the rim and inspecting the inside.
- USTMA Tire Care and Safety Guide — proper inflation, underinflation risks, and routine tire pressure maintenance.
- Michelin: Can My Tire Be Repaired? — repair eligibility and combined plug-and-inside-patch guidance.
- Continental Tires: Tire Pressure Monitoring System — direct and indirect TPMS basics.

Related Articles
Which Part of a Tire Can Be Patched Safely?
When can a tire be safely patched, and why do some punctures spell trouble?
Read More
What Are Tire Valve Stems and How Do They Work?
Mysterious tire valve stems quietly seal air in and dirt out, but what happens when they fail might surprise you.
Read More
Why Do Tires Lose Pressure? 9 Real Causes
Puzzled by tire pressure loss? Discover 9 real causes behind slow leaks, aging, and cold weather, and find out which one is affecting yours.
Read More