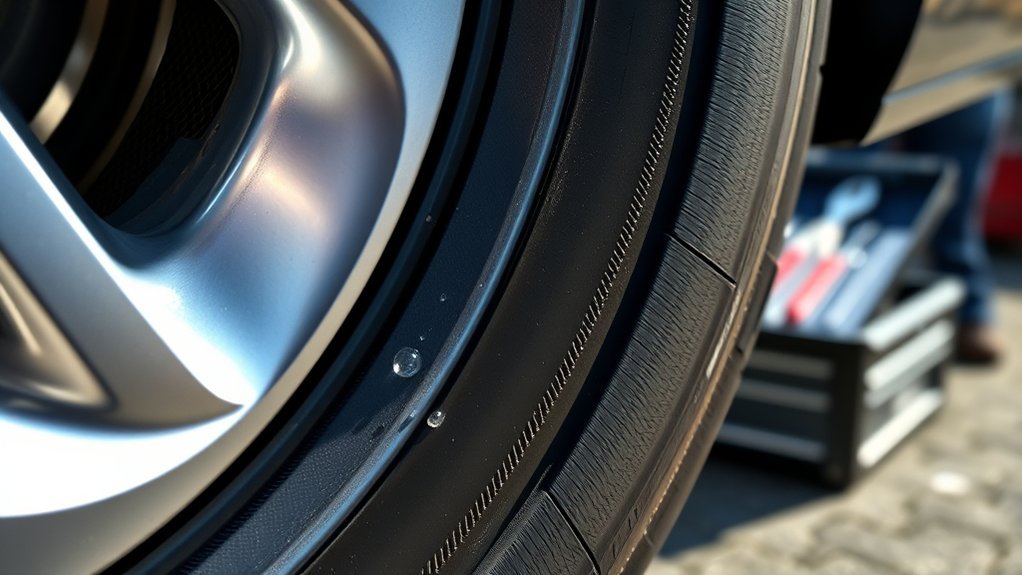
If your Honda Accord keeps losing air and you cannot find a nail in the tread, the leak may be coming from the tire bead, where the tire seals against the wheel rim. A bead leak often shows up as slow pressure loss, bubbles around the rim during a soapy-water test, or corrosion where the tire meets the wheel. You can diagnose the problem at home, but the actual reseal usually belongs at a tire shop because the tire must be safely deflated, broken down, cleaned, resealed, inflated, and balanced.
Quick Answer
A Honda Accord tire bead leak is usually caused by wheel corrosion, dirt on the bead seat, a bent rim, bead damage, or poor tire mounting. Confirm it with soapy water around the rim. Minor bead leaks usually need bead cleaning and bead sealer, not emergency tire sealant.
Key Takeaways
- Use soapy water to test the bead, valve stem, tread, and rim before assuming the bead is the problem.
- Check the cold tire pressure listed on your Accord’s door placard or owner’s manual, not the maximum PSI molded on the tire sidewall.
- Emergency tire sealant is mainly a short-term puncture aid; bead leaks usually need rim cleaning, bead sealer, or wheel/tire repair.
- Do not keep driving on a tire that is visibly low, rapidly losing pressure, shaking, or separating from the rim.
- Replace the tire or wheel if the bead is torn, the rim is cracked or badly bent, the sidewall is damaged, or tread is at 2/32 inch.
At a Glance
| Time Required | 10–20 minutes to diagnose; 30–60 minutes for a tire shop to reseal and rebalance |
| Difficulty | Easy to diagnose; moderate to advanced to repair safely |
| Tools Needed | Tire pressure gauge, spray bottle, dish soap and water, air compressor, flashlight, valve stem tool, jack and stands if removing the wheel, plus tire machine and bead sealer for proper repair |
| Cost | Diagnosis is usually low-cost or DIY; professional bead resealing often costs less than replacing a tire, but a bent wheel or damaged tire raises the cost |
What Causes Tire Bead Leaks in Honda Accords?
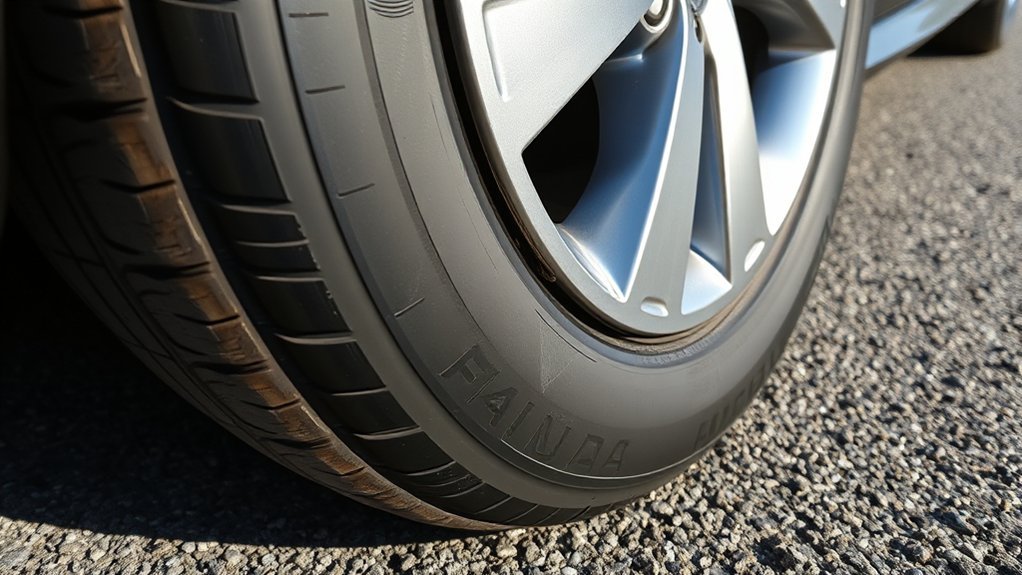
A tire bead leak happens when air escapes between the tire bead and the wheel rim. On a Honda Accord, this can happen after curb impact, pothole damage, corrosion on the rim, dirt trapped at the bead seat, old bead sealer, or mounting damage from a previous tire installation.
Road salt and moisture can corrode alloy or steel wheels around the bead seat. Even a small rough spot can stop the tire from sealing evenly. A bent rim can do the same thing, especially if the leak appears on one section of the wheel instead of around the full bead.
Improper installation can also cause problems. If the bead is mounted dry, forced onto the wheel, or seated unevenly, the bead can tear or fail to seal. This is why tire mounting lube, correct pressure control, and clean wheel surfaces matter.
Regular routine inspections help you catch early tire damage before a slow leak becomes a roadside problem.
Warning: Do not use fire, starting fluid, ratchet straps, or unsafe pressure bursts to seat a tire bead. Bead seating can injure you if the tire, wheel, or equipment fails. Use a qualified tire shop if the tire must be removed from the rim.
How to Tell If It Is a Bead Leak or Another Tire Leak
A slow leak does not always mean the bead is leaking. Your Accord may have a tread puncture, loose valve core, cracked valve stem, TPMS sensor seal leak, cracked rim, or bead leak. Check each area before choosing a repair.
| Leak Source | What You May Notice | Best Fix |
|---|---|---|
| Tire bead | Bubbles where the tire meets the rim | Clean bead seat, inspect rim, apply bead sealer, reseat and balance |
| Valve stem or valve core | Bubbles around valve base or valve opening | Tighten or replace valve core, stem, or TPMS service kit |
| Tread puncture | Nail, screw, or bubbles in tread grooves | Internal patch-plug repair if the puncture is repairable |
| Cracked or bent rim | Leak returns after reseal or bubbles from a damaged wheel area | Wheel repair or replacement |
| Sidewall damage | Cuts, bulges, cracks, or cords visible | Replace the tire |
How to Identify a Tire Bead Leak
Start with a cold tire pressure check. The correct pressure for your Accord is listed on the Tire and Loading Information Label on the driver’s door area or in the owner’s manual. NHTSA advises checking tire pressure when the tires are cold and reminds drivers that TPMS is not a substitute for regular pressure checks.
Next, inspect the bead area, valve stem, sidewall, and tread. Look for cuts, curb marks, rim corrosion, lodged screws, or cracks around the wheel lip.
Signs of a Leak
A bead leak usually acts like a slow leak. You may need to add air every few days or weeks, even though the tread looks clean. You may also notice bubbles around the rim during testing, mild vibration, or uneven tire wear if the tire has been driven underinflated.
| Sign | What It Means | What to Do |
|---|---|---|
| Repeated pressure loss | Air is escaping somewhere | Test bead, valve, tread, and rim |
| Bubbles at rim edge | Likely bead-seat leak | Have the bead cleaned and resealed |
| Bubbles at valve stem | Valve core, valve stem, or TPMS seal leak | Service valve or TPMS hardware |
| Vibration or shaking | Low pressure, damaged tire, bent wheel, or balance issue | Stop driving and inspect before continuing |
| Uneven tire wear | Possible underinflation, alignment issue, or suspension issue | Check pressure, alignment, and tire condition |
Visual Inspection Tips
Park on level ground, set the parking brake, and inspect the tire in good light. If you remove the wheel, support the vehicle with jack stands. Never work under a vehicle supported only by a jack.
- Check the outer bead where the tire meets the wheel.
- Look for corrosion, flaking finish, dirt, or old bead sealer on the rim lip.
- Inspect the sidewall for cuts, bulges, cracking, or scuffing from curb impact.
- Check the valve stem and valve core for bubbles or movement.
- Scan the tread for nails, screws, glass, or small punctures.
Testing With Soapy Water
A soapy-water test is the easiest way to confirm a slow leak. Mix dish soap and water in a spray bottle. Inflate the tire to the recommended cold pressure, then spray the tread, valve stem, rim lip, and both sides of the bead area. Bubbles that keep growing mark the leak.
If bubbles appear around the rim, mark the spot with chalk or tape. This helps the tire shop find the exact leak. If bubbles appear at the valve, follow a soapy water valve-stem diagnosis before blaming the bead.
Pro Tip: Test the tire after it has been sitting overnight. Slow bead leaks often show up more clearly when the tire is cold and pressure has had time to drop.
Step-by-Step Guide to Fixing a Tire Bead Leak
Fixing a bead leak means restoring the seal between the tire bead and wheel. You can do the inspection yourself, but a proper repair usually needs a tire machine and balancing equipment.
- Confirm the leak. Use soapy water around the bead, valve stem, tread, and rim. Mark the leaking area.
- Check whether the tire is safe to service. Do not repair a tire with sidewall bulges, exposed cords, bead tears, severe cracking, or tread worn to 2/32 inch.
- Remove the wheel if needed. Use the correct jack point and jack stands. Keep the vehicle stable before removing lug nuts fully.
- Have the bead broken down safely. A shop will deflate the tire, break the bead, and inspect both the tire bead and rim seat.
- Clean the bead seat. The rim surface should be cleaned of corrosion, old sealant, dirt, and flaking finish without gouging the wheel.
- Inspect the rim and tire bead. A bent, cracked, or badly corroded rim may need repair or replacement. A torn bead means the tire should be replaced.
- Apply bead sealer when appropriate. A thin, even coat of bead sealer can help seal minor rim imperfections after cleaning.
- Reseat, inflate, and balance. The tire should be seated with proper equipment, inflated to the vehicle-recommended cold pressure, checked for bubbles again, and balanced before driving.
If the tire was driven while very low, ask the technician to inspect the inside of the tire. Hidden heat damage can make a tire unsafe even if the tread looks fine from the outside.
[Products Worth Considering]
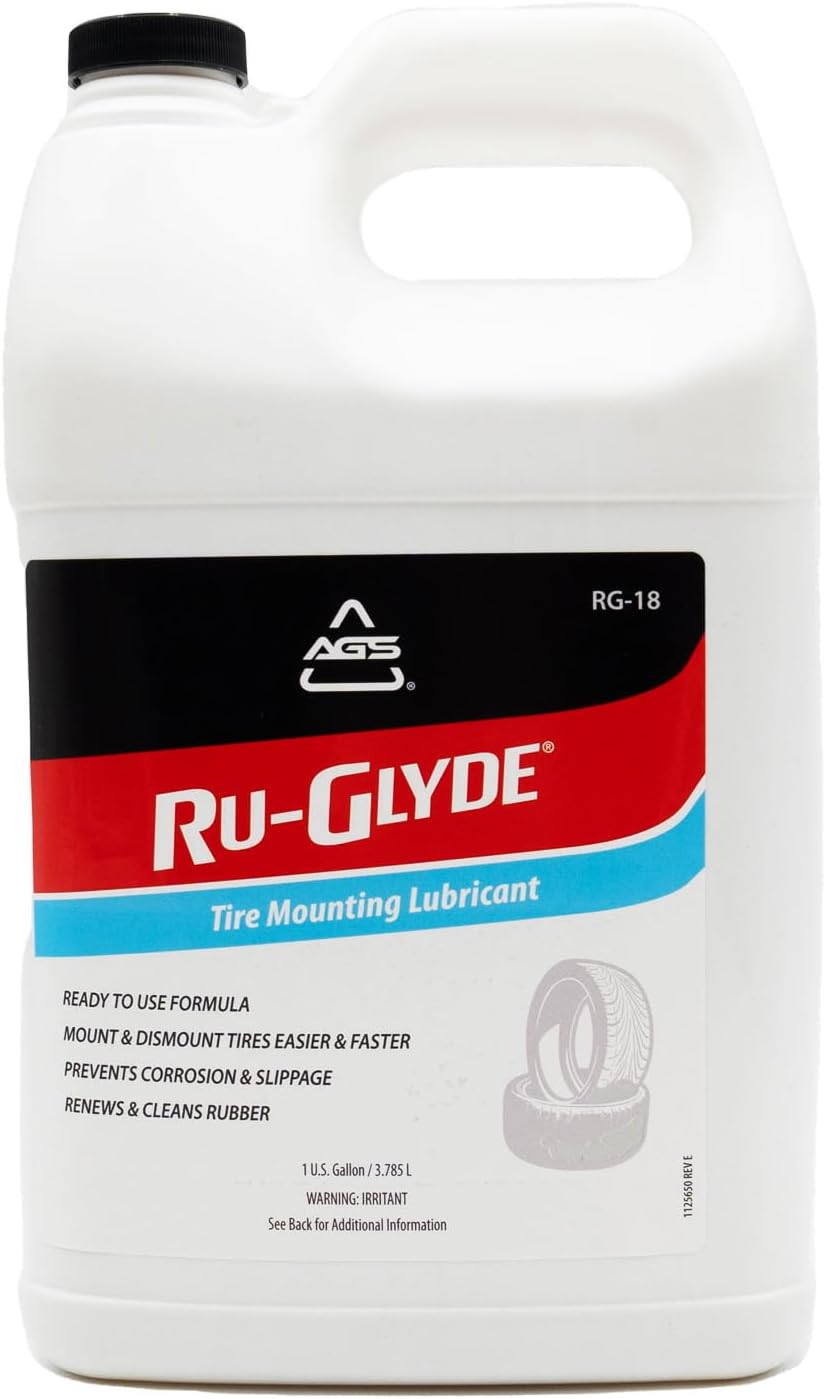
Ru-Glyde tire mounting lubricant from AGS seats tire beads smoothly on the first try with a thick, stay-put formula. It is ready to use with no mixing or dilution, helps prevent rim rust, and dries completely without causing bead slip residue. The water-based formula also conditions aged rubber, making it useful for sidewalls, gaskets, and door seals while remaining safe for tire, wheel, and technicians.

Malco tire mounting and demounting lubricant is a ready-to-use tire lube formulated to reduce friction during tire installation for passenger cars, light trucks, farm tires, and heavy-duty equipment. It provides rust-inhibiting protection to help reduce corrosion on rims and wheels, and helps support proper tire bead seating during inflation to reduce air leakage. The silicone-free, soap-free formula is whitewall safe to help prevent discoloration on whitewall tires and sensitive sidewall markings.

TireJect Off-Road Tire Sealant Kit provides 5-in-1 sealing to help fix tread punctures up to 3/8", sidewall punctures up to 3/8", bead leaks, slow leaks, and minor dry rot on low-speed tires. It permanently seals with liquid rubber, recycled tire particles, and Aramid fibers, making it ideal for flats caused by thorns, nails, and screws. The included dispensing cap attaches to the valve stem for a no-mess installation, along with a metal valve core remover tool and valve stem cap. This kit is for off-road use only.
Bead Sealer vs Tire Sealant: When and How to Use Each
Bead sealer and emergency tire sealant are not the same product. Bead sealer is applied to the bead seat during tire mounting. It helps seal small imperfections between the tire and rim. Emergency tire sealant is usually injected through the valve stem to slow air loss from a small tread puncture until you can get proper service.
For a Honda Accord bead leak, emergency tire sealant is usually not the best fix. It may not reach the bead evenly, can create tire-balance issues, and can make future TPMS or tire service messier. If you already used sealant, tell the tire shop before they dismount the tire.
[Products Worth Considering]

Monitor tire tread wear with a smart, color-coded depth gauge that shows clear condition ranges at a glance. The bar is range marked for fast, easy readings, helping you maintain safer traction and performance. Each gauge is portable with a pocket clip, and the set includes 20 units for daily use and sharing.

Steelman white tire marking crayons provide high-contrast, semi-permanent marks for repairing and inspecting tires and equipment. They write on wet or dry, smooth or coarse surfaces including rubber, metal, glass, and wood, making them ideal for puncture location and damage outlining. The lead- and zinc-free crayons resist weather and fading yet wipe away when you no longer need the marks.

Vigorder rubber cement glue delivers superior adhesion and cures quickly within about 30 seconds for seamless rubber bonding. Once cured, it helps provide a strong, durable, waterproof seal that holds up to vehicle weight, pressure, and heat. Suitable for cars, motorcycles, trucks, bicycles, and off-road tires, it’s designed for emergency patch and maintenance repairs.
When to Use Bead Sealer
Bead sealer can help when the wheel has minor pitting or surface roughness after cleaning. It should not be used to hide serious rim damage, a cracked wheel, or a torn tire bead. If the bead seat is badly corroded, the wheel may need professional refinishing or replacement.
When Emergency Tire Sealant Makes Sense
Emergency tire sealant may help you move the car from an unsafe roadside location after a small tread puncture. Treat it as temporary. Drive slowly, avoid long distances, and get the tire inspected as soon as possible. Do not use it as a long-term fix for a bead leak.
Note: Some Honda Accords use direct TPMS sensors in the wheel, while some later models use indirect monitoring through wheel-speed data. Either way, check tire pressure with a gauge. A dashboard warning does not replace monthly pressure checks.
Proper Tire Installation and Seating Matter
The tire bead must sit evenly against the wheel’s bead seat to hold air. If the bead is pinched, dry-mounted, seated over debris, or forced over corrosion, the leak may return soon after repair.
A qualified technician will use tire mounting lubricant, correct equipment, safe inflation practices, and a final leak check. The wheel should also be balanced after the tire is dismounted and remounted. NHTSA notes that tire balancing helps wheels rotate properly and helps prevent shaking or vibration.
Do not inflate the tire to the maximum pressure molded on the sidewall unless a service procedure specifically calls for it. Your normal driving pressure should match the Honda tire placard or owner’s manual. The tire sidewall lists the tire’s maximum limit, not your Accord’s normal cold inflation setting.
Common Mistakes to Watch Out for When Repairing Tires
A bead leak can return if the repair only adds air without correcting the sealing surface. Avoid these common mistakes:
- Skipping the leak test: Always confirm the exact leak source before buying parts or sealant.
- Ignoring the valve stem: Valve leaks can look like bead leaks if you only check pressure loss.
- Using emergency sealant as a permanent repair: It can mask the problem and complicate service.
- Mounting over corrosion: Dirt, rust, and flaking finish can prevent a clean seal.
- Overinflating during DIY work: Excessive pressure can damage the tire or wheel and create a safety hazard.
- Skipping rebalancing: A tire that has been dismounted and remounted should be balanced.
- Driving on a visibly low tire: Underinflation can overheat and damage the tire internally.
Regular tire pressure checks help you catch a bead leak before the tire runs dangerously low.
Preventing Future Tire Bead Leaks in Your Honda Accord
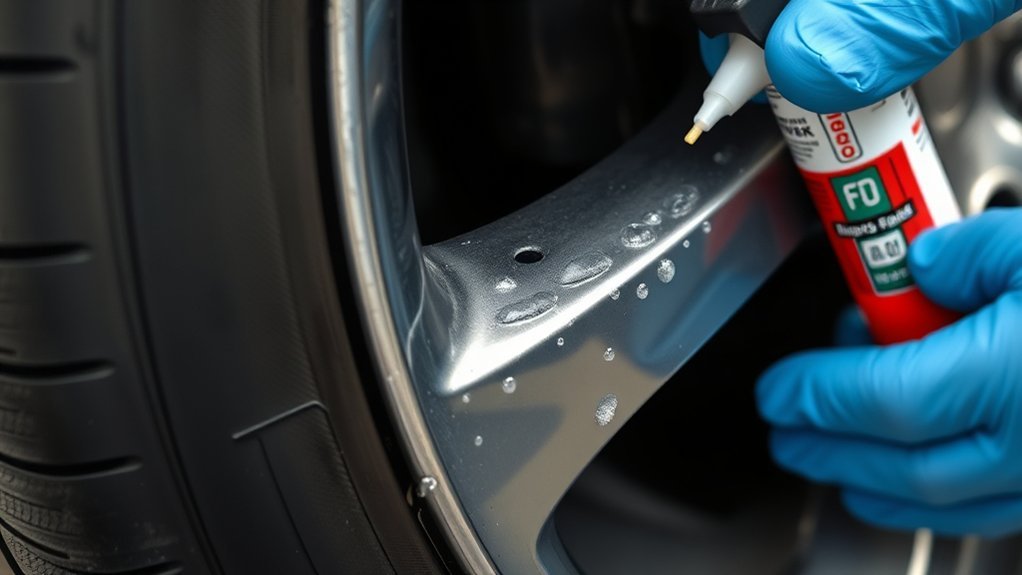
You cannot prevent every road-impact leak, but you can reduce the risk with routine tire care. Check your Accord’s tire pressure at least monthly when the tires are cold. Check the spare too if your model has one.
NHTSA reported 511 tire-related traffic fatalities in 2024, so slow leaks and low tire pressure deserve quick attention, not guesswork.
- Check pressure monthly: Use a gauge, even if the TPMS light is off.
- Inspect after impacts: Check the tire and rim after hitting a pothole or curb.
- Clean rim surfaces during tire service: Ask the shop to clean corrosion and old sealer from the bead seat.
- Rotate by the owner’s manual: Many vehicles fall around 5,000–8,000 miles, but follow your Honda maintenance guidance.
- Replace damaged valve hardware: Valve stems, cores, and TPMS service kits can leak as they age.
- Watch tire age and condition: Cracks, bulges, sidewall cuts, or exposed cords mean the tire needs replacement, not resealing.
Understanding proper tire bead maintenance also helps you explain the problem clearly when you visit a tire shop.
When to Seek Professional Help for Tire Issues
Get professional help if the leak returns after inflation, bubbles appear at the bead, the wheel is bent or cracked, the tire shakes, or the tire was driven while low. You should also visit a tire shop if the TPMS light stays on after correcting pressure.
Do not repair a tire with sidewall damage, bead damage, exposed cords, deep cracking, or tread at or below 2/32 inch. Puncture size and location also affect repairability, so compare your situation with puncture repair limits before assuming the tire can be saved.
If you suspect a tire defect rather than normal damage, check NHTSA’s recall database by tire brand, vehicle, or VIN. Recalls and manufacturer communications can affect tire safety decisions.
[Products Worth Considering]

Measure tire tread depth quickly and accurately with this LUMITECO dial gauge that reads in 1/32" increments up to 14/32". The color-coded green/yellow/red zones make it easy to judge tire wear and know when replacement is needed. A rugged, compact design with a protective pouch helps keep the gauge ready for use on cars, trucks, motorcycles, and more.
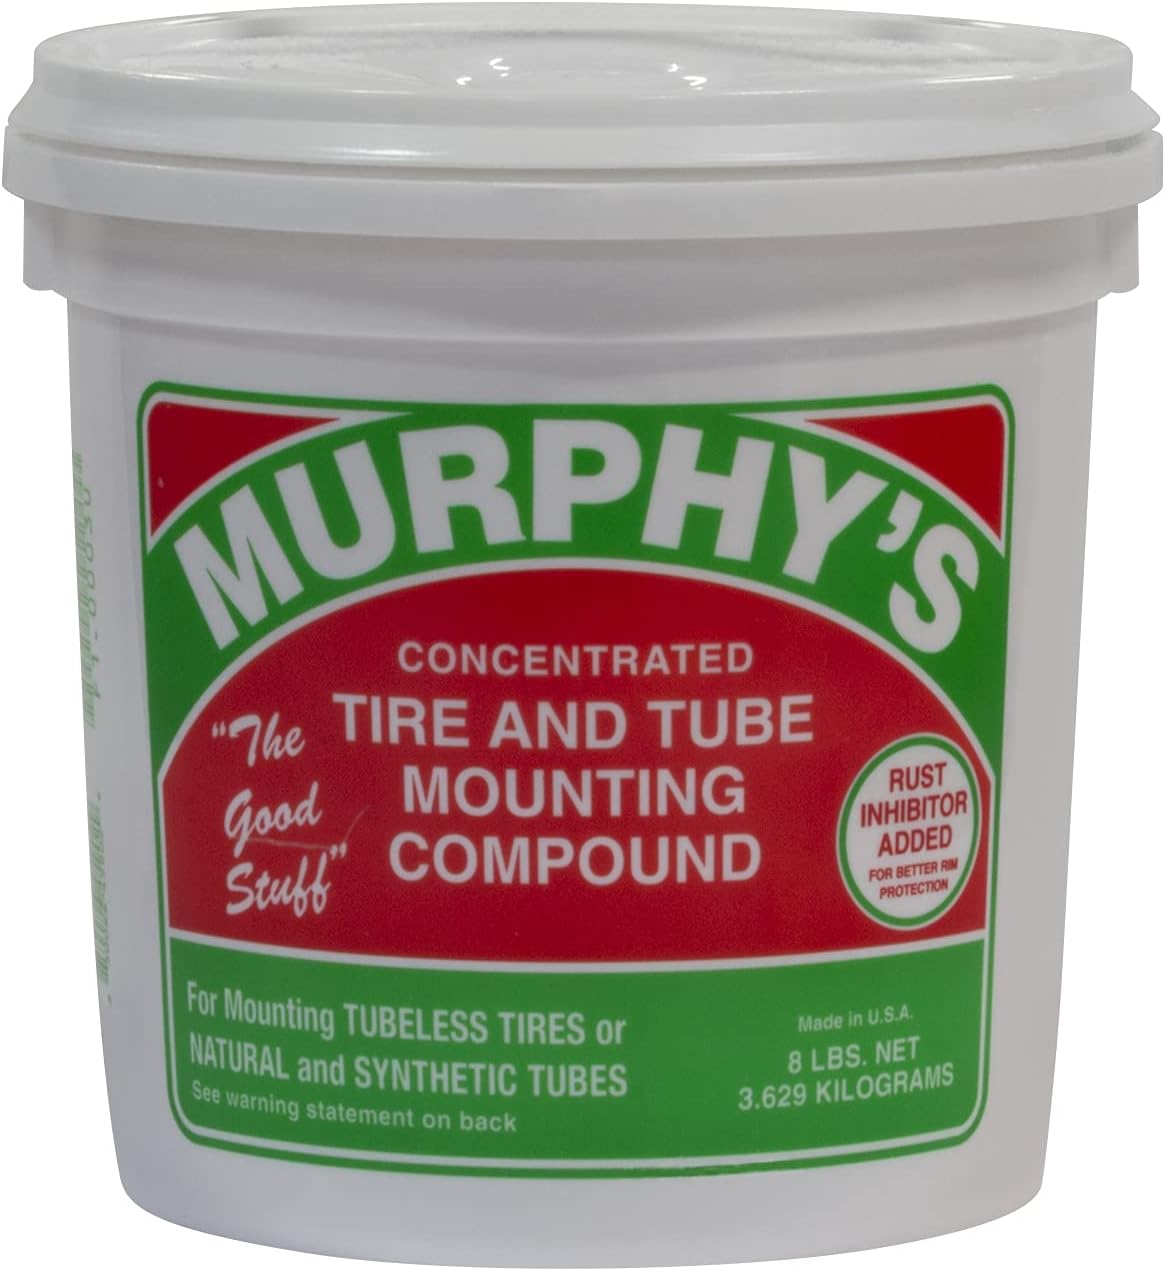
A concentrated tire and tube mounting compound designed to help simplify mounting rubber tires and tubes on passenger, semi truck, construction, and OTR applications. Its ultra-thick formula packs beads effectively and includes rust inhibitors to help protect against corrosion during use.

These aluminum alloy tire valve stem caps protect the valve core from corrosion and help prevent air leakage for more stable tire pressure. The rubber ring design helps support a secure, safe seal while adding a stylish look to your Honda wheels. Easy to install by hand, these caps are ideal for everyday driving and weather exposure.
Frequently Asked Questions
Can I drive with a tire bead leak temporarily?
You can drive a short distance only if the tire holds the correct pressure, the leak is slow, and the tire is not visibly low or vibrating. Check pressure before driving and again after a short trip. Do not drive on a rapidly leaking, flat, or shaking tire.
How often should I check my tire bead condition?
Check tire pressure monthly and inspect the bead area during tire rotations, seasonal tire changes, or after curb and pothole impacts. You do not need to break the bead for routine checks. Look for bubbles, corrosion, rim damage, and repeated pressure loss.
What tools do I need to diagnose a tire bead leak?
For diagnosis, you need a tire pressure gauge, spray bottle, dish soap and water, flashlight, and air source. For actual bead repair, you need tire-service equipment, mounting lube, bead sealer, safe inflation equipment, and a balancer, so most drivers should use a tire shop.
Are tire bead leaks common in older Honda Accords?
They can happen on older Honda Accords, but they are not unique to Accords. Age, road salt, wheel corrosion, curb impacts, worn valve hardware, and repeated tire changes can all increase the chance of a slow bead-area leak.
How can I tell if my tire needs replacing instead?
Replace the tire if the bead is torn, cords are visible, the sidewall has a bulge or cut, tread is at or below 2/32 inch, or the tire was driven while severely underinflated. Replace or repair the wheel if it is cracked, badly bent, or too corroded to seal.
Will bead sealer fix every rim leak?
No. Bead sealer can help with minor surface imperfections after the rim is cleaned, but it will not fix a cracked wheel, badly bent rim, torn tire bead, or severe corrosion. If a leak returns after resealing, the wheel or tire may need replacement.
Conclusion
A Honda Accord tire bead leak is usually a slow leak at the tire-to-rim seal, not a problem you should ignore. Start with a cold pressure check and a soapy-water test around the tread, valve stem, rim, and bead. If bubbles form at the bead, the safest long-term fix is to clean the bead seat, inspect the wheel and tire, apply bead sealer when appropriate, reseat the tire, and rebalance the wheel.
Handle the diagnosis at home if you are comfortable, but leave bead breaking, tire mounting, and high-pressure seating to trained technicians. Your tires are the only contact between your Accord and the road, so a slow leak deserves a proper repair.
Sources
- NHTSA TireWise — tire pressure checks, tread depth, tire maintenance, TPMS guidance, rotation guidance, and tire-related crash data.
- NHTSA Recalls — vehicle, tire, and equipment recall lookup guidance.
- Honda Accord Hybrid Owner’s Manual — official Honda owner-manual context for tire and wheel condition warnings.