
How to Seal a Bead on a Tire: Methods for an Air-Tight Seal
First, find the leak with soapy water, then clean the rim and bead area until both are dry, bare, and free of corrosion or debris. Set the bead with a tie strap if needed, then apply a thin, even coat of bead sealer around the bead. Inflate to the recommended pressure and check again for bubbles. Hair spray can work as a temporary fix, but it’s not permanent. Keep going to see the full process.
Key Takeaways
- Identify the leak first by using soapy water on the bead, valve stem, sidewall, and tread.
- Clean the rim and tire bead thoroughly, removing dirt, grease, rust, and corrosion for a better seal.
- Use a tie strap to help seat the bead evenly against the rim before inflating the tire.
- Apply bead sealer in a thin, even coat, then inflate the tire to the recommended pressure.
- Recheck for bubbles and pressure loss; use hair spray only as a temporary backup, not a permanent fix.
Find the Cause of the Leak
Start by spraying soapy water over the tire tread and watching for bubbles, which indicate escaping air. This Check Tire step isolates the leak fast and keeps you from wasting time on guesswork. Move methodically across the tread, then inspect the valve stem with the same soap solution if the tread stays quiet. Any bubble stream marks a leak point. Next, examine the bead where the tire seats against the wheel. Air loss here often comes from poor sealing or corrosion, and you need to identify it before you try to seal anything.
Keep your inspection regular. Early leak detection helps you avoid sudden flats, protect your freedom to move, and cut repair costs. Regular rotations and proper inflation enhance tread life and tracking this information shows patterns over time and makes future maintenance more effective. When you know the cause, you can choose the right fix and move forward with confidence.
Clean the Rim and Bead Area
Clean the rim and bead area with a suitable solvent to remove dirt, grease, and debris, then scrub away corrosion or pitting with a wire brush or sandpaper. Inspect the bead itself for cracks or deformities, since a damaged bead won’t seal correctly. Dry both surfaces completely before you apply any sealant. Additionally, ensure that the tire is free of any temporary fixes that could interfere with achieving a proper seal.
Remove Dirt And Corrosion
A clean, smooth rim and bead area are essential for an airtight seal, so scrub away dirt, rust, and corrosion with a wire brush or sandpaper. You need to remove dirt and corrosion from every contact surface, because even light buildup can break the seal. Clean the rim and tire bead with degreaser or soap and water to strip grease and contaminants that block adhesion. Work methodically around the full circumference, and clear out any debris trapped in the bead seat. Inspect the rim for pitting or cracks as you clean; damaged metal may need repair or replacement before you proceed. When you’re done, the surfaces should be bare, smooth, and ready for the next sealing step, giving you a tighter, more reliable fit.
Dry Surfaces Before Sealing
Once the rim and bead area are free of dirt and corrosion, wipe them down with a clean cloth or paper towel until every surface is dry. You need dry surfaces on both the rim and the tire bead before you apply sealant. Any trapped moisture can weaken adhesion and let air escape. Inspect the rim for pits, bends, or rust that could block a tight seal; fix or replace damaged parts before moving on. Let the components air dry completely if needed, then confirm the bead area feels smooth and clean. When you seal clean, dry surfaces, you give the bead the best chance to lock in air and stay secure. That small step helps you claim reliable pressure and keeps leaks from taking back control.
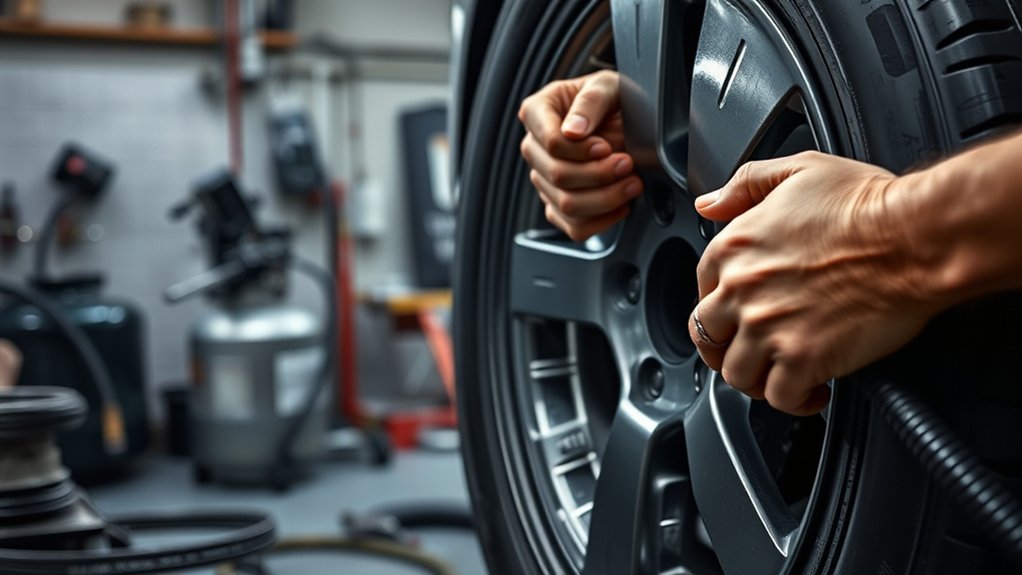
Set the Bead With a Tie Strap
Wrap the tie strap tightly around the tire’s circumference so it applies even pressure to both sidewalls. Crank it until the sidewalls push upward and seat the bead against the rim on both sides. Then visually check that the bead is fully set before you release the strap tension. This process is critical, especially when dealing with emergency field repairs, as it ensures an air-tight seal before continuing your ride.
Strap Placement
Set the tire completely off the rim and raise the vehicle securely before using a tie strap to seat the bead. Good strap placement centers load and keeps both sidewalls moving together.
| Check | What to do | Why it matters |
|---|---|---|
| Tire position | Keep it fully off the rim | Prevents pinching and misseat |
| Strap path | Wrap through the center tread | Balances pressure evenly |
| Tension point | Align strap flat, not twisted | Spreads force cleanly |
Place the strap around the tire’s center, then verify it sits level all the way around. This even contact helps the sidewalls rise together and pushes the bead toward the rim. Stay deliberate, because poor placement can block a clean seal and waste your effort. When the tire looks uniform, you’re ready for the next step.
Cranking the Strap
Tighten the strap until it compresses the tire’s circumference and drives both sidewalls up against the rim. Keep the tire elevated and secured so the bead can move freely while you crank. Turn the strap steadily; you’re forcing the carcass inward to raise local Tire Pressure at the bead and help it lock against the rim flanges. Stop when the sidewalls are visibly pushed into place on both sides. Don’t overdo it or distort the casing. Once the bead looks seated, release the strap only after you’re satisfied it’s holding shape. Then inflate the tire to the recommended Tire Pressure to finish the seal and return the wheel to service.
Checking Bead Set
With the vehicle secured and the tire fully off the bead, position a tie strap around the tire’s circumference and start cranking it down until the sidewalls compress evenly against the rim. Keep your hands clear, wear protective gear, and stay back while you’re checking bead set. Watch both sides as you tighten; the bead should rise and seat uniformly, not hang up in one spot.
- Inspect the rim edge for even contact.
- Confirm the bead line matches on both sides.
- Inflate to the maker’s recommended pressure immediately.
If the bead won’t seat cleanly, don’t force it—diagnose and replace damaged components before you continue. Then release the strap, recheck the seal, and move on with confidence.
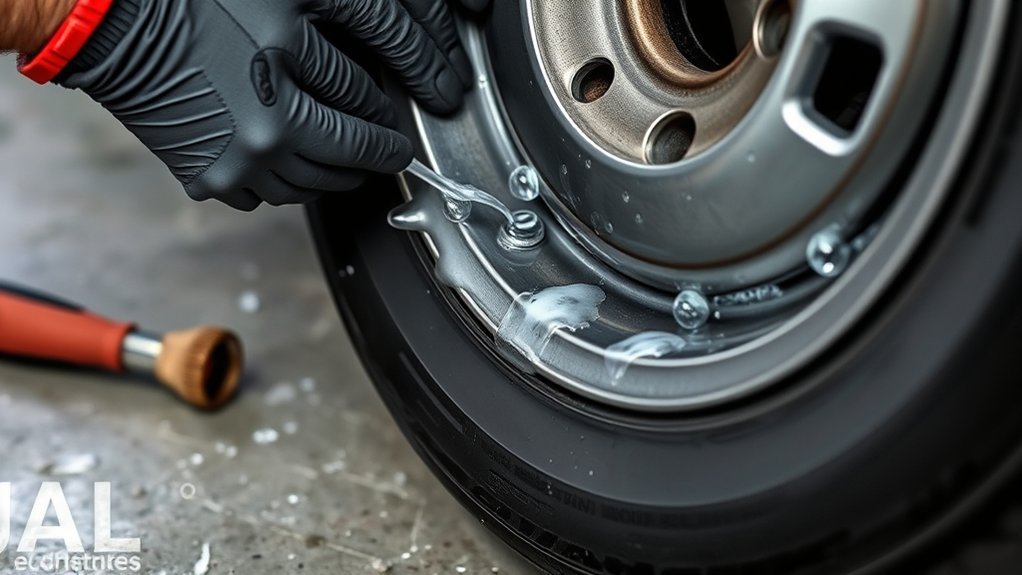
Apply Bead Sealer
Once the tire and wheel rim are clean and dry, apply a dedicated tire bead sealer evenly around the bead area to create a continuous, air-tight barrier. When you apply bead sealer, use a thin, uniform coat; gaps invite leaks and weak spots. Rotate the tire slowly so you can cover the full circumference without overspray or buildup. A comprehensive spare tire kit can enhance your readiness for any unforeseen punctures.
| Step | Action | Purpose |
|---|---|---|
| 1 | Clean and dry surfaces | Maximize adhesion |
| 2 | Apply bead sealer evenly | Seal the bead line |
| 3 | Inflate to spec | Seat and press the seal |
After you finish, inflate the tire to the recommended pressure and let the sealer cure per the manufacturer’s instructions. Don’t rush this stage; curing locks in performance and keeps the seal resilient. Then inspect the edge for seepage, bubbles, or damage. If you spot a fault, correct it now so you stay in control and keep your tire system free.
Use Hair Spray as a Backup
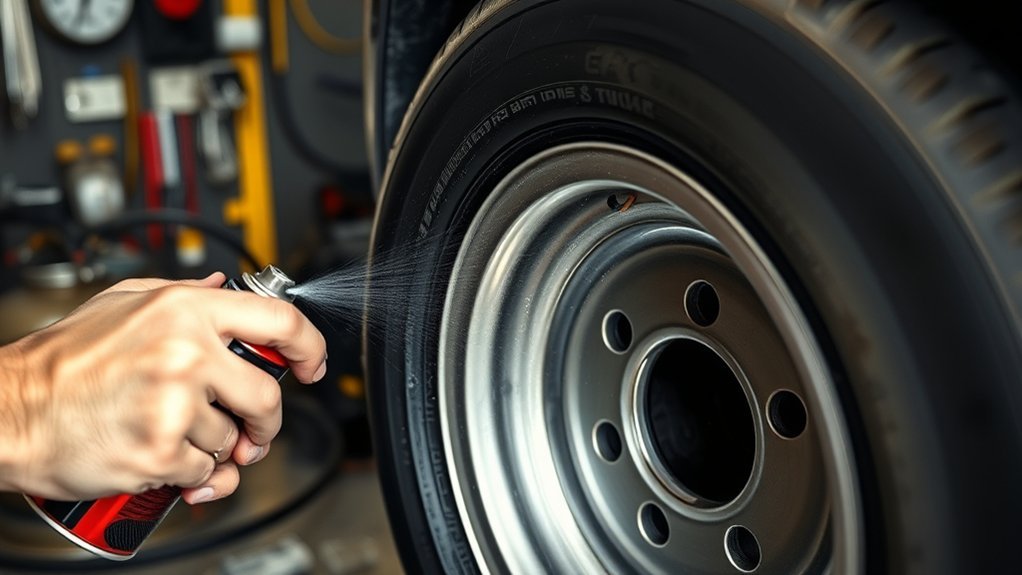
If you don’t have a dedicated bead sealer on hand, hair spray can serve as a temporary backup thanks to its adhesive properties. Use hair spray only as a stopgap, not a permanent fix. Clean the tire bead and rim thoroughly, then dry both surfaces so the spray can bond without contamination. Apply a light, even mist around the bead area; don’t soak it, because excess residue can interfere with seating.
- Wipe the bead and rim dry.
- Mist hair spray around the bead edge.
- Inflate to the recommended pressure and verify the seal.
This method can trap air long enough to get you moving, but it won’t replace proper repair. Afterward, check the tire regularly for leaks and treat any loss of pressure as a sign to revisit the bead. Keep control of your ride, use what works, and stay independent. Remember that maintaining consistent tire performance is crucial for safe driving.
Inflate and Check for Leaks
Pump the tire to the manufacturer’s recommended pressure so the bead seats fully and the seal holds under load. Keep the inflate step controlled, then inspect the tire with soapy water. Spray the bead and valve stem, and watch for bubbles. No bubbles mean your seal’s likely sound; bubbles mean air’s escaping.
| Check Point | What You See | Action |
|---|---|---|
| Bead | No bubbles | Hold pressure |
| Valve stem | Bubbles | Recheck core and seal |
| Sidewall | Slow seep | Pinpoint leak source |
If bubbles appear, locate the exact leak before you repair or reseal anything. Don’t guess; precision saves time and keeps you in control. Recheck pressure later to catch gradual loss that signals a weak seal. When you find a method that works, note it for future jobs. That record sharpens your DIY skill and helps you stay independent on the next tire. Additionally, maintaining proper tire pressure is crucial for ensuring vehicle safety and performance.
Frequently Asked Questions
What Can I Use to Seal a Bead on a Tire?
You can use dedicated tire bead sealant for the best seal. Your Sealant Options also include a light mist of hair spray as a temporary fix, but it’s not as reliable. Clean and dry the rim and bead first, then test for leaks with soapy water. If you see bubbles, reapply sealant or repair corrosion. Regular checks keep you moving free and prevent repeat failures.
Can You Use WD-40 to Seal a Tire Bead?
No, you shouldn’t use WD-40 to seal a tire bead. It isn’t a true sealant, so it won’t give you a reliable air-tight hold. You’ll get better results with dedicated Sealing Techniques like tire bead sealer or a approved mounting lubricant. WD-40 can also draw dirt into the bead area, which can worsen leaks and reduce safety. Choose the proper product and keep your wheel setup dependable.
Will Tire Slime Stop a Bead Leak?
Yes, tire slime can stop a bead leak if you’re dealing with a small gap or minor seep. You add it to a fully inflated tire, and Tire Maintenance benefits from the sealant’s motion-driven plug action. It won’t reliably fix major bead damage, and it can complicate future repairs. For durable, self-directed mobility, use it as a temporary measure and get the tire inspected for a proper long-term seal.
What Is an Alternative to Bead Sealer?
Hair spray can work as a temporary alternative, and you can also use rubber cement, soap-and-water mix, duct tape, or silicone as Sealant Options. You’ll want to clean the bead and rim first, then apply the material evenly so it fills gaps and helps air stay in. These fixes’re practical for emergencies, but they aren’t as durable as proper bead sealer, so treat them as short-term solutions.
Conclusion
Now you can confidently close the case on a stubborn tire leak. Clean the contact points, set the bead, seal the seam, and safely inflate to confirm a snug, secure seal. If the bead still slips, use hair spray as a quick, temporary trick. By following these simple steps, you’ll stop sneaky seepage and restore steady, reliable pressure. Check for leaks one last time, and you’re ready to roll with peace of mind.
Related Articles
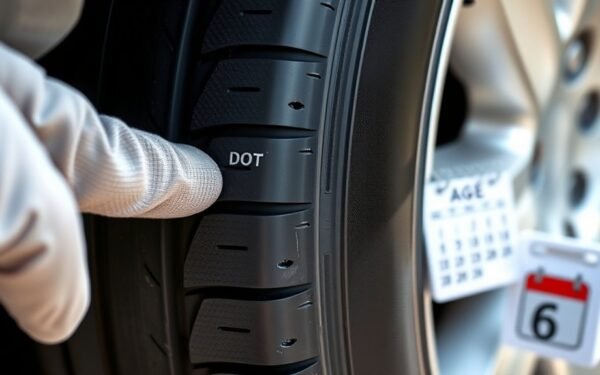
How to Tell What Year a Tire Was Manufactured: DOT Guide
Knowing a tire’s DOT code can reveal its exact manufacture year, but there’s one crucial detail most drivers miss.
Read More
How to Reset a Tire Gauge: Calibration & Accuracy Tips
Gauge your tire accuracy with simple reset and calibration tips that reveal why readings drift and how to fix them for safer inflation.
Read More
How to Reset Tire Pressure Light: Quick Step-by-Step Guide
Turn off your tire pressure light with quick steps, but one tricky reset detail could keep it on—find out what to check next.
Read More