
How to Rebead a Tire: Proven Methods for a Perfect Seal
To rebead a tire, you should clean the rim and bead surfaces, remove the valve core, and check for leaks with soapy water. Then break the bead safely, position the tire squarely, and inflate it with controlled air pressure until both beads seat evenly. If needed, use ratchet straps to press the sidewalls outward. Repair rust or rim damage first, avoid fire-based seating, and verify the final seal with a pressure check for a tighter result.
Key Takeaways
- Clean the rim and tire bead thoroughly, removing rust, dirt, and old residue before reseating.
- Remove the valve core and use soapy water to check for leaks during inflation.
- Use ratchet straps or a bead expander to push the bead outward against the rim.
- Inflate slowly with controlled air, keeping distance and stopping once both beads seat evenly.
- Inspect for damage or corrosion, repair leaks, and test pressure to confirm a lasting seal.
What You Need to Rebead a Tire
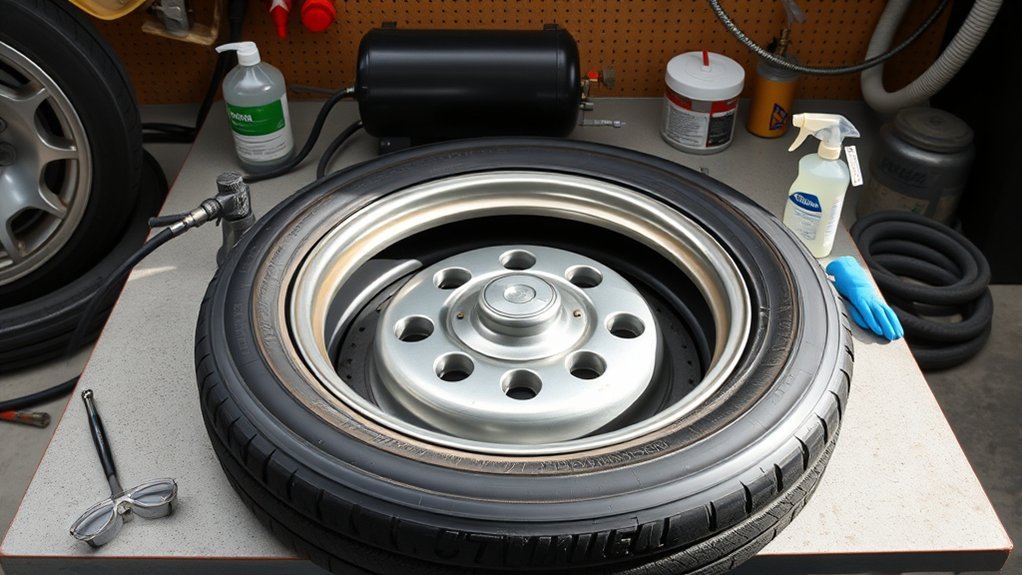
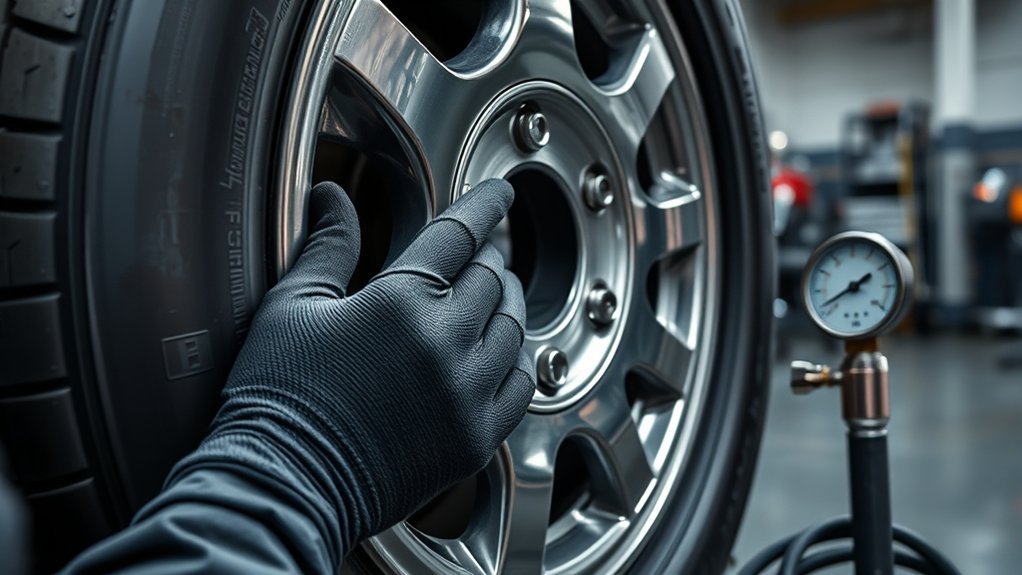
Before you start, gather the right gear: a tire setter tank with a 2-inch valve and valve core removal tool to help prevent bead collapse, ratchet straps to squeeze the beads tight against the rim, and a dependable air source such as a CO2 tank or pneumatic bead expander for controlled inflation. You’ll also want a clean rim; remove corrosion, dirt, and old residue so the tire bead can seat without obstruction. Use a dedicated tire bead sealer, or a light alternative like hair spray, to help seal the tire during rebedding. Check that every tool fits your wheel size and valve setup before you begin. With the right equipment, you keep control, reduce waste, and avoid dependence on guesswork. Prepare everything in reach, because once you reset the bead, speed and precision matter. When you work cleanly and methodically, you give the tire the best chance to lock in place and hold firm. Additionally, consider the tire’s load rating to ensure it meets your vehicle’s requirements for safety and performance.
How to Check for a Bead Leak
To check for a bead leak, spray soapy water along the tire bead and watch for bubbles where air escapes. Check the valve stem the same way, since bubbling there means the stem may be leaking. Inspect both the inner and outer bead edges so you don’t miss a leak on either side. Additionally, using Plug Bond rubber cement can enhance the sealing of any small punctures you may encounter during your inspection.
Bubble Test Method
A quick bubble test helps you confirm whether the tire is leaking at the bead or another point. Mix soapy water, spray it over the tire tread, and watch for bubbles. If you see foam forming, air’s escaping there. If the tread stays clean, move to the wheel interface and check the tire bead and valve stem area where they meet the rim. Spray those joints with the same solution. Bubbles around the bead or valve stem identify the leak source, so you can fix the true fault before resealing. Don’t guess; confirm the exact path of escape. Repeat this bubble test regularly to protect tire integrity, avoid surprise pressure loss, and keep your ride free from hidden failures.
Valve Stem Check
If the bubble test doesn’t show a leak at the tread, move on to the valve stem and bead area where the tire seals against the wheel. Remove the valve core first so air can escape freely, then spray soapy water on the valve and tire bead. Watch for steady bubble growth; that’s where pressure’s leaving. Check the valve stem closely, because a worn stem can leak just as easily as a loose bead. Keep your focus on the exact point where bubbles start, and confirm the source before you repair anything. This disciplined check saves time, reduces waste, and helps you keep control of your ride. Regular inspections of the valve and tire bead prevent future air loss and support consistent performance.
Bead Edge Inspection
Work around the bead edge with soapy water, and watch closely for bubble formation along the tire-to-rim seal, because that’s the clearest sign of a bead leak. Keep the bead of the tire fully seated, and inspect the rim for corrosion, dents, or grit that can break the seal. If you already checked the tire valve, confirm this leak source separately so you don’t chase the wrong fault.
- Spray a thin, even film along the bead edge.
- Watch for steady bubbles, not foam from runoff.
- Mark any leaking section for reseating or repair.
- Recheck after inflation to confirm the seal holds.
Break the Bead Safely
To break the bead safely, place a shovel between the tire and rim and apply steady downward pressure to create a gap, but remove the valve stem first so you don’t damage it. Keep the tire away from flammable objects, stay at a safe distance, and work in a clean area so debris doesn’t interfere with the seal. After the bead separates, inspect the rim and tire for corrosion or damage, and use a dedicated tire bead sealer if you have one before reseating. Additionally, ensure you select the right tire specifications overview to guarantee a proper fit and performance after the rebeading process.
Safe Bead Breaking
Before you break the bead, pull the valve stem core so the tire can vent easily, then set the wheel on a clean, stable surface with the rim free of dirt and debris. For safe bead breaking, remove the valve core, then work a shovel or similar tool around the bead and apply steady pressure. If you stomp the handle, keep your stance balanced and your body clear of the rebound path. Maintain distance from others so no one gets hit by flying hardware or sudden movement.
- Clean rim, clear floor
- Shovel edge at bead
- Controlled stomp, stable footing
- Inspect for corrosion or damage
Tool-Based Separation
With the valve stem core already removed, you can use a shovel or a dedicated bead breaker to apply firm pressure at the tire’s bead and separate it from the rim without gouging either surface. Place the tool at the bead line, then stomp or lever with your body weight until the bead drops free. Keep your hands clear and stand off to the side so the tire can release safely. If you’ve got a tire machine, use its bead-breaking arm to break the bead with controlled force. Work methodically around the circumference, and don’t rush the release. Once the bead is loose, inspect the rim and tire for corrosion, cuts, or deformation. A clean, undamaged interface gives you the freedom to reseat the tire and build a reliable seal later.
Rim And Tire Prep
Now that the bead is broken, inspect the rim and tire closely for corrosion, cuts, bends, or embedded debris before you try to reseat anything. Remove the valve stem core so trapped air can vent, then jack the vehicle securely and work in a stable zone. If you see rust or nicks, address them now; a flawed rim and tire interface won’t seal cleanly. Clean the rim with a wire brush and solvent until bare metal shows, then dry both surfaces fully. Apply tire bead sealer, or hair spray if needed, to the bead area before inflation.
- Check bead edges for damage
- Clear dirt from the rim
- Verify the valve stem core is out
- Prepare a dry, even sealing surface
Seat the Tire Bead on the Rim
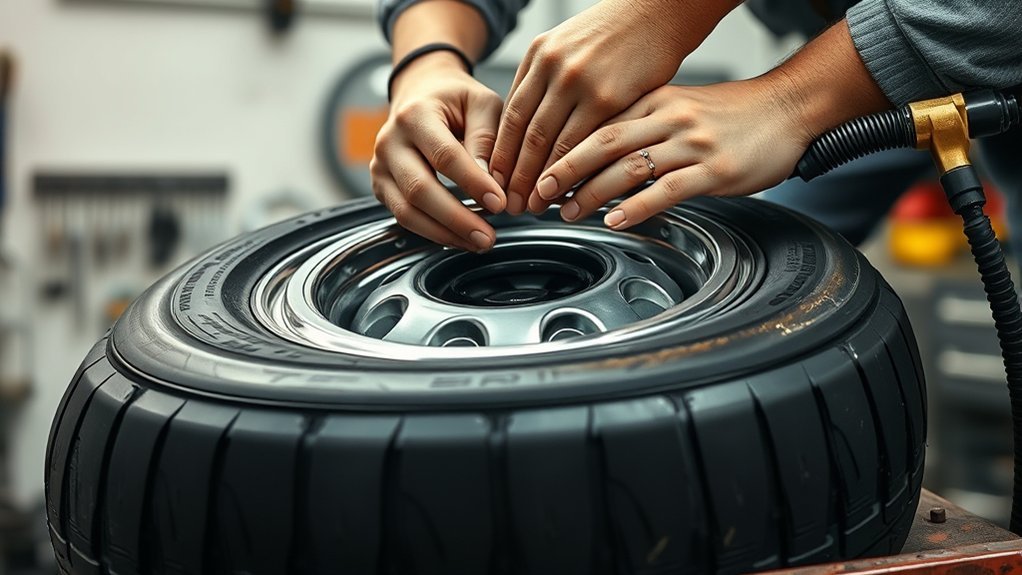
Seat the bead by making sure the tire and rim are clean and free of debris, since dirt can block a proper seal. To seat the tire bead on the rim, position the tire squarely, then use a reliable air source and inflate the tire slowly so the bead can move into place without shock.
| Checkpoint | Action |
|---|---|
| Rim edge | Wipe away grit |
| Tire bead | Inspect for twists |
| Air source | Confirm steady flow |
| Pressure | Verify recommended PSI |
Watch the sidewalls as pressure rises; you want even outward movement, not bulges or gaps. If the bead resists, maintain controlled airflow and let the tire settle instead of forcing unsafe methods. A pneumatic bead expander can help when the setup needs extra support, and it keeps the process practical and controlled. Once the bead seats, stop, measure pressure, and inspect both sides for a continuous seal. That final check confirms you’ve restored safe rolling freedom. Additionally, ensuring proper tire fitment is crucial for achieving a successful seal and optimal performance.
Use Ratchet Straps to Seat the Bead
A ratchet strap can help compress the tire sidewalls and push the bead against the rim during inflation. On a flat tire, you can use ratchet straps to force the bead outward without fighting the casing. Wrap the strap evenly around the tire’s circumference, then tighten it gradually until the bead touches the rim. Keep the load balanced so you don’t distort the tire or shift the strap.
- Position the strap midway on the tread.
- Tighten in small steps, checking bead contact.
- Connect the air hose to the valve stem.
- Remove the strap as soon as the bead seats.
Inflate carefully, watching for the bead to pop into place. Once both beads seat and pressure stabilizes, release the strap immediately. That keeps the tire from taking unnecessary stress and lets you move on with confidence. Before you start, inspect the tire and rim so you’re not forcing a compromised fit. Additionally, regular tire maintenance can help ensure a better fit and longer tire life.
Fix Rust and Rim Damage Leaks
If the bead still won’t seal, inspect the rim for corrosion, pitting, and other damage that can let air escape. You’re looking for rim damage that breaks the tire-to-rim contact and creates air leaks. Clean the entire bead seat with a wire brush or sandpaper, then remove every trace of dirt, rust, and debris. Smooth rough edges and rust spots so the bead can sit flat and lock in place. If corrosion has eaten deeper than surface scale, repair or replace the rim before you continue; a compromised wheel won’t hold pressure reliably. After cleaning, apply a rust-inhibiting primer or sealant to slow future oxidation and protect the sealing surface. Recheck the rim regularly, especially after off-road use or winter exposure, because ongoing maintenance keeps the seal tight and your machine ready to move free. Additionally, ensuring your tires are properly matched can further enhance the effectiveness of your tire seal.
Why Fire-Based Bead Seating Is Dangerous
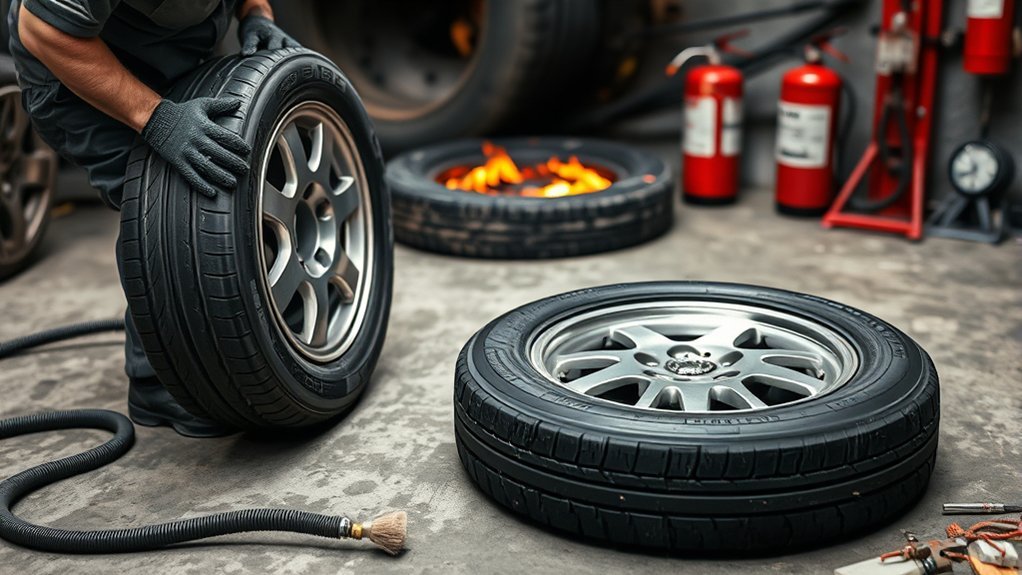
Fire-based bead seating is dangerous because igniting lighter fluid or another solvent can make the tire expand violently, causing a bead blow-off, flying debris, and severe injury or death. In tire repair, you don’t control the pressure spike; you trigger a flash event that can rupture the carcass, launch straps, and damage nearby equipment. Residual solvent can also stay inside the tire, weaken the air-proof seal, and set you up for later leaks or failure. Rubber scarring and burn marks often show the method’s hidden cost. Choose liberation through safer tools, not explosive shortcuts.
- Flame enters the bead gap
- Sidewall snaps outward without warning
- Broken hardware becomes a projectile
- Heat leaves long-term damage behind
Moreover, using methods like fire-based seating can lead to increased safety risks that greatly outweigh any potential benefits.
Test Pressure and Inspect the Final Seal
Once the bead is seated, verify the result with a reliable tire gauge and compare the pressure to the manufacturer’s specification. Set your test pressure carefully; underinflation can hide leaks, while overinflation can stress the bead. Next, inspect the final seal around the bead and valve stem. Look for visible gaps, uneven seating, or any distortion in the rim interface. Spray soapy water around these areas and watch for bubbles; even small streams reveal escaping air. If the pressure drops after a short wait, reinflate and check again until it holds steady. Then take a brief test drive and listen for hiss, thump, or vibration that suggests a seal problem. You’re not guessing here—you’re confirming a secure, liberated fit with evidence. When the pressure stays stable and the bead stays clean, you’ve got a seal you can trust. Additionally, ensure that your tires have good hydroplaning resistance to enhance safety during wet conditions.
Frequently Asked Questions
How to Rebead a Tire Easily at Home?
You can rebead a tire at home by deflating it, cleaning the rim and bead, then spraying bead sealer or a light mist of hairspray around the edge. Use DIY tools like a valve core remover, shovel, and tire gauge to seat the bead evenly, then inflate slowly. Check for leaks with soapy water and finish with proper tire maintenance. Don’t rush it; control gives you freedom.
What Is the 3 Tire Rule?
The 3 tire rule says you shouldn’t keep remounting a tire after three dismounts, because repeated removal can weaken tire maintenance and bead sealing. You should inspect the bead and rim each time for wear, leaks, or damage. If you’ve dismounted it three times, replace or professionally reseat it. That keeps you free from risky shortcuts and helps you use safer, steadier methods that protect your tire’s integrity.
Can You Use WD-40 to Rebead a Tire?
Yes, you can use WD-40 to help rebead a tire, but you shouldn’t rely on it. It’s a temporary lubricant, not a proper sealing technique, and its flammable propellant can ignite. For safe tire maintenance, you’d be better off using purpose-made bead sealants or professional equipment. Those tools give you a more reliable seal, protect tire integrity, and keep you in control without unnecessary risk.
How to Re-Seal a Tire Bead?
Clean the tire bead and rim first, then apply a dedicated bead sealer evenly around the bead area. If you don’t have one, a light mist of hair spray can help during inflation. Inflate the tire gradually to the recommended pressure so the bead seats fully. Check for leaks with soapy water and watch for bubbles. These tire maintenance and sealing techniques keep you mobile, independent, and in control.
Conclusion
Rebeading a tire is straightforward when you follow the right steps. Clean the rim, inspect the bead, and seat the tire with controlled pressure or ratchet straps. If you find rust, dents, or damage, fix them before inflating. Never use fire; it is unpredictable and dangerous. When the bead snaps into place and holds pressure, you’ve done the job right—tight as a drum and ready for safe service.
Related Articles
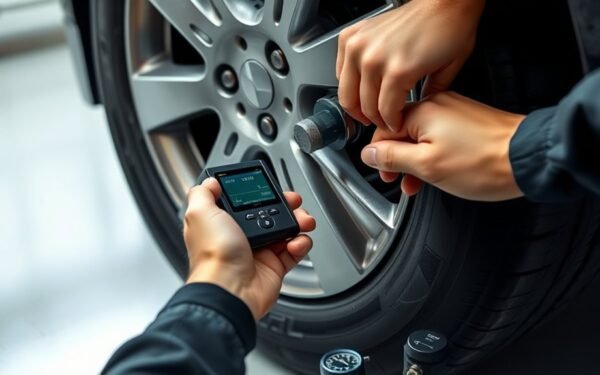
How to Program Tire Sensors (TPMS): Step-by-Step Guide
Master tire sensor programming with our step-by-step TPMS guide, and discover the crucial trick that can keep your warning light on.
Read More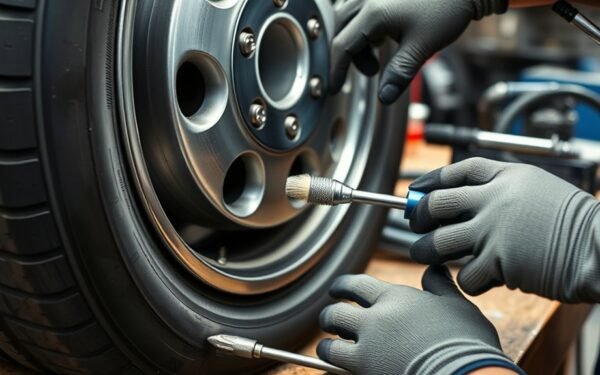
How to Bead a Tire: Methods, Tips & Tools You’ll Need
Just what you need to bead a tire safely, with the tools, tricks, and pitfalls that can make or break the job.
Read More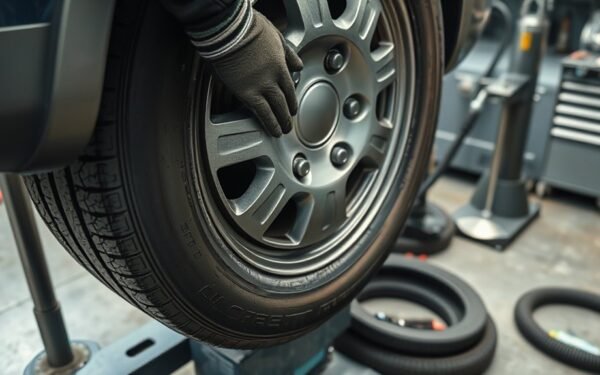
How to Work a Tire Machine: Step-by-Step Guide & Safety Tips
Master tire machine basics with step-by-step safety tips, and discover the crucial final checks that can save you time and trouble.
Read More