
How to Work a Tire Machine: Step-by-Step Guide & Safety Tips
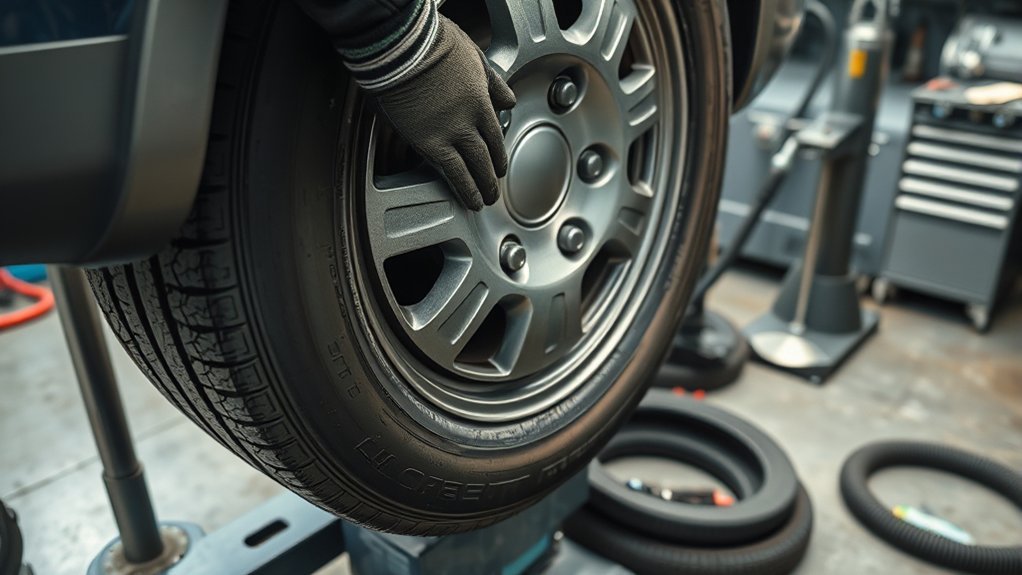
Working a tire machine is not just a matter of clamping a wheel and pressing the pedals. A tire changer can make tire removal and installation faster, but it can also damage a wheel, tear a bead, break a TPMS sensor, or create a serious inflation hazard if you rush the process. Use this guide as a practical overview, and always follow your tire machine owner’s manual, the tire manufacturer’s instructions, and the safety rules for the type of wheel you are servicing.
Quick Answer
To work a tire machine safely, inspect the tire, wheel, valve stem, and TPMS first. Put on PPE, fully deflate the tire, break both beads, clamp the wheel securely, lubricate the beads, dismount the old tire, mount the new tire, then seat the beads and inflate only within the tire and machine manufacturer’s limits.
Key Takeaways
- Wear safety glasses, snug gloves, fitted clothing, and protective footwear before using a tire machine.
- Check tire size, wheel width, bead diameter, rim condition, valve stem, and TPMS location before mounting or dismounting.
- Remove the valve core and fully deflate the tire before bead breaking or demounting.
- Use nonflammable rubber lubricant on bead and rim mating surfaces unless the tire or wheel maker says not to.
- During inflation, stay outside the trajectory, use the minimum pressure needed to seat the bead, and never exceed the tire or machine manufacturer’s bead-seating limit.
At a Glance
| Time Required | About 15–30 minutes per wheel for an experienced operator; longer for first-time practice or difficult beads. |
| Difficulty | Intermediate. Best for trained users who understand tire, rim, TPMS, and inflation hazards. |
| Tools Needed | Tire changer, valve core tool, nonflammable rubber lubricant, tire pressure gauge, clip-on air chuck or machine inflation system, valve stem or TPMS service kit, leak-check solution, and PPE. |
| Cost | Usually no extra cost if you already have shop equipment; expect small costs for lubricant, valve stems, valve cores, TPMS service kits, and balancing weights. |
Warning: Do not use this guide to service split rims, multi-piece rims, commercial truck rims, agricultural rims, or damaged wheels unless you have the required training, equipment, restraining device, and written procedure for that wheel type. Tire inflation can be dangerous when the tire, wheel, or method is wrong.
NHTSA reported 511 fatalities in tire-related crashes in 2024, which is why correct tire service, inflation, pressure checks, and inspection procedures matter long after the tire leaves the machine.
Tire Machine Basics
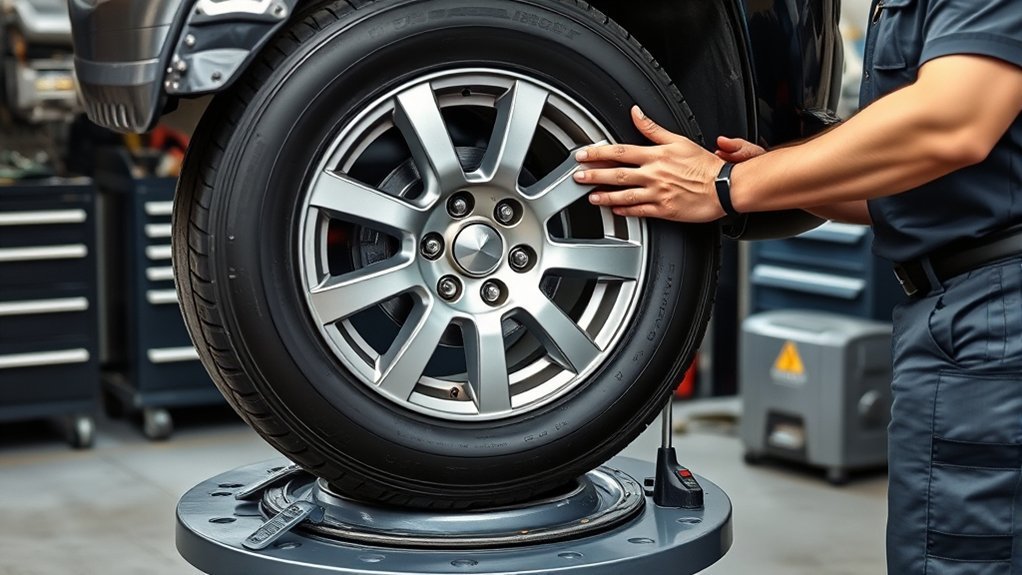
A tire machine, also called a tire changer, helps remove and install tires on wheels with less manual force than hand tools. Most common shop machines include a bead breaker, turntable or clamping table, rim clamps, mounting head, bead lever or tool head, foot pedals, and an inflation system.
The bead breaker separates the tire bead from the rim. The turntable and clamps hold the wheel while the machine rotates it. The mounting head guides the bead over the rim edge. Lubricant reduces friction so the bead can move without tearing, stretching, or gouging the wheel.
Different machines handle different work. Swing-arm, tilt-back, leverless, motorcycle, and heavy-duty tire changers all have different controls and limits. Before you start, confirm the machine is rated for the wheel diameter, wheel width, tire type, and rim style you are servicing.
[Products Worth Considering]

This 4-in-1 tire valve core removal tool helps you deflate, unblock, and remove or install valve cores quickly for easier tire repair. The multifunction design also supports re-taping damaged threads and reaming inside the valve stem for smoother service. Included as a 2-pack, it’s compact for convenient carry and works for cars, bicycles, and motorcycles.

This VEVOR tire bead breaker uses a slide-hammer impact and wedge tip to separate tire beads from rims quickly and efficiently without damaging hub surfaces. The long handle and sturdy steel construction help reduce user strain while providing reliable, portable tire changing for cars, trucks, and more. Ideal for home mechanics and repair shops handling multiple vehicle tire sizes.
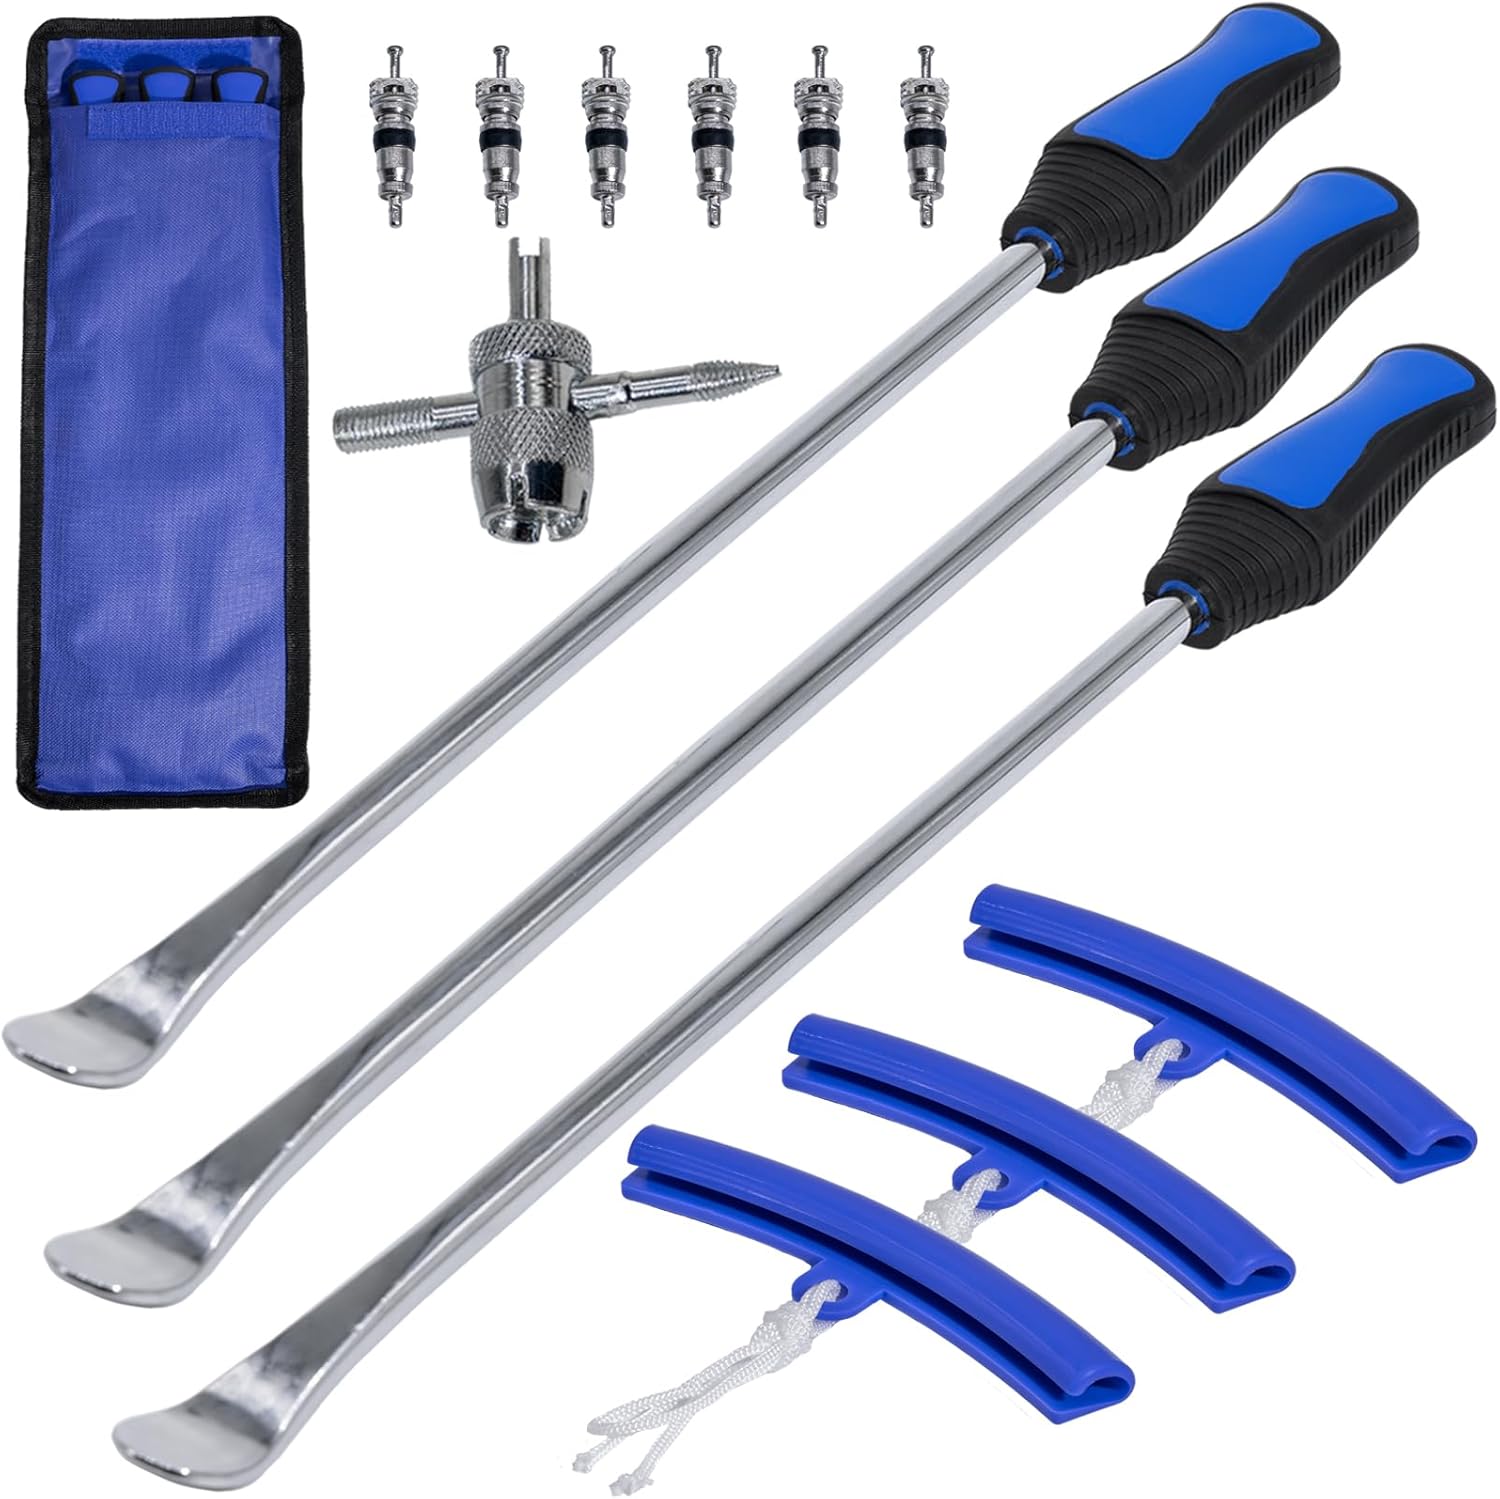
This tire spoon set helps you remove and install motorcycle, dirt bike, lawn tractor, and bicycle tires with extra leverage from a 14.5-inch spoon length. The kit includes tire removal tools, rim protectors, and a valve tool to simplify repairs and help protect rims during changing. Designed for quick, on-the-go service, it’s convenient for garage work, trails, and track-side fixes.
Before You Start: Safety Gear and Setup
Start with personal protection and a clean workspace. OSHA describes personal protective equipment as gear that helps reduce exposure to workplace hazards, including items such as gloves, safety glasses, safety shoes, and hearing protection. Use PPE that fits well enough to protect you without catching in moving parts. OSHA’s PPE overview also emphasizes proper fit, maintenance, and training.
- Wear safety glasses or a face shield to protect your eyes from debris, lubricant splash, and air blasts.
- Use snug leather or mechanic-style gloves that protect your hands without loose material.
- Wear fitted work clothing. Avoid loose sleeves, hoodie strings, jewelry, watches, and dangling accessories.
- Use steel-toed or safety-toe shoes with slip-resistant soles.
- Keep the floor dry and clear of valve cores, tools, air hoses, weights, and old stems.
- Check that pedals, guards, clamps, duckhead, bead breaker pads, inflation gauge, and emergency stops work correctly.
Note: A tire machine is not a substitute for training. Read the machine manual before use, especially if you are working on low-profile, run-flat, reverse-mount, motorcycle, or heavy-duty tires.
Inspect the Tire, Rim, Valve, and TPMS
Do not mount a tire just because it fits over the rim. First, confirm that the tire and wheel are compatible. OSHA’s rim-wheel standard says the tire and wheel size, bead diameter, width, and type should be checked for compatibility before assembly. It also says bent, cracked, corroded, or broken wheel components should not be used, and damaged or leaky valves should be replaced. OSHA 1910.177 provides detailed rim-wheel safety requirements.
Check Tire and Wheel Size
Read the tire sidewall and confirm the rim diameter, width range, load rating, and tire type match the wheel and vehicle requirements. For vehicles, NHTSA says the correct tire size and recommended pressure are found in the owner’s manual or on the Tire and Loading Information Label on the driver’s side door edge or post. NHTSA TireWise also explains why tire pressure, tread, tire size, TPMS, rotation, and inspection matter for safe driving.
Inspect Rim Condition
Look closely at both bead seats, flanges, and the wheel well. Do not use a wheel with cracks, severe corrosion, a bent flange, damaged bead seats, elongated bolt holes, or evidence of previous welding or heating. Clean loose rust, flaked rubber, old bead sealer, and dirt from the bead seating area before mounting.
- Check for bent flanges and cracks.
- Clean bead seats and rim gutters.
- Replace damaged or leaky valve stems.
- Do not try to straighten, heat, weld, or rework a damaged wheel.
Protect TPMS Sensors
If the wheel has TPMS, locate the sensor before placing tools on the bead. Keep the bead breaker, tire lever, and mounting head away from the sensor area. Many direct TPMS sensors attach to the valve stem inside the wheel, so prying near the valve can crack the sensor, damage the stem, or trigger a warning light.
Use a new TPMS service kit when required by the sensor manufacturer or vehicle procedure. After installation, set the final cold pressure to the vehicle placard pressure and perform the vehicle’s TPMS relearn or reset procedure if needed.
Step 1: Fully Deflate and Break the Bead
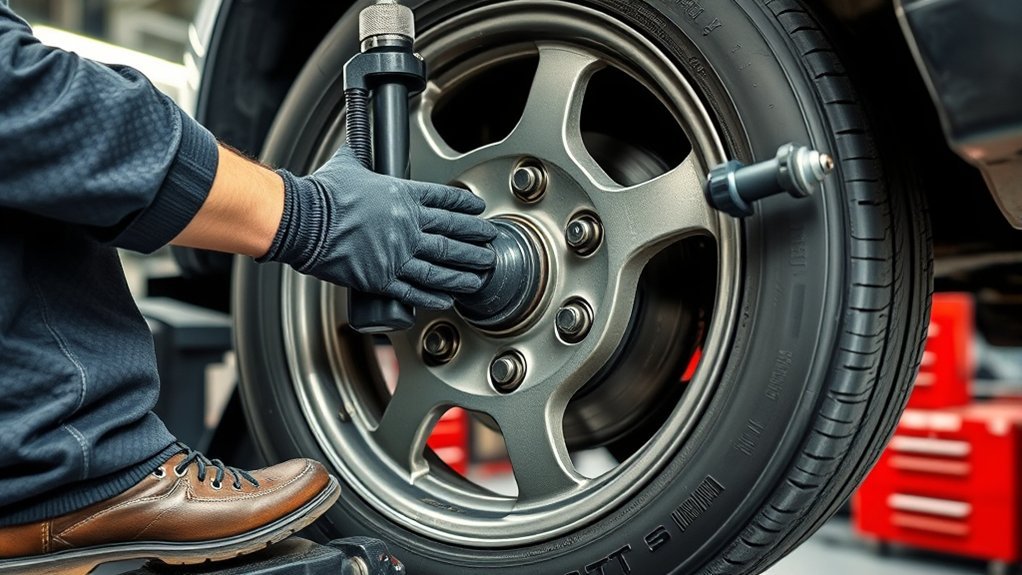
Remove the valve cap, then remove the valve core so the tire fully deflates. Do not start bead breaking while air remains trapped in the tire. Once the tire is flat, position it against the bead breaker pad according to your machine manual. Keep the bead breaker shoe close to the rim edge but not on the rim itself.
- Place the wheel so the bead breaker contacts the tire sidewall near the bead, not the middle of the sidewall.
- Keep your hands, feet, and legs clear of the bead breaker arm.
- Press the pedal or control smoothly until the bead separates from the rim.
- Rotate the tire and repeat until the bead is loose all the way around.
- Flip the wheel and break the bead on the other side.
If the bead does not release, stop and reposition. Do not force the tool into the wheel or sidewall. Add approved rubber lubricant around the bead area and work in small sections until the bead drops into the wheel well.
Pro Tip: Mark the valve stem or TPMS position before you break the bead. That quick visual cue helps you keep the bead breaker and lever away from the sensor.
Step 2: Clamp the Wheel Securely
Center the wheel on the turntable and choose the clamping method recommended for the rim and machine. Some wheels are clamped from the outside. Others are clamped from the inside. Custom, polished, painted, reverse-mount, or alloy wheels may require protective jaw covers or a different setup.
- Clean the wheel and clamps so grit does not scratch the rim.
- Open the clamps wide enough for the wheel diameter.
- Set the wheel flat and centered on the table.
- Clamp evenly so the wheel cannot wobble or shift.
- Confirm the mounting head clears the rim without touching it.
Do not over-clamp. Excessive jaw pressure can mark, bend, or distort a rim. If the wheel slips during rotation, stop, unclamp, clean the contact points, and reset the wheel.
Step 3: Dismount the Tire
Lubricate the upper bead and rim edge with nonflammable rubber lubricant. Set the mounting head close enough to guide the bead, but leave the clearance recommended by your tire changer manual so the head does not scrape the rim.
- Push the bead down into the drop center opposite the mounting head.
- Use the bead lever or machine tool to lift the upper bead over the mounting head.
- Rotate the turntable slowly while keeping the bead in the drop center.
- Stop if the bead stretches, binds, or climbs out of the wheel well.
- Repeat the process for the lower bead until the tire comes off the rim.
Controlled pressure matters more than speed. If you fight the machine, the bead is probably not in the drop center, the tire is dry, the mounting head is mispositioned, or the tire type needs an assist arm or leverless tool.
Step 4: Mount the New Tire
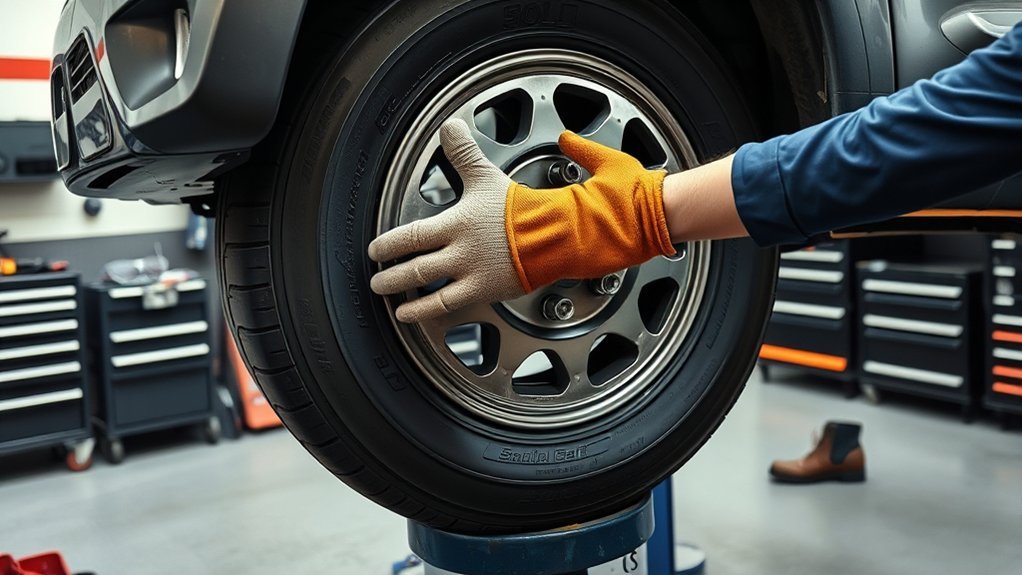
Before mounting, inspect the new tire one more time. Confirm the size, load rating, speed rating, rotation arrow, inside/outside marking, and bead condition. Replace the valve stem or TPMS service parts if needed before inflation. Lubricate both beads and the rim bead seats with approved rubber lubricant.
- Place the tire over the rim at an angle.
- Position the lower bead under the mounting head.
- Keep the bead pressed into the wheel’s drop center.
- Rotate the table slowly until the lower bead slips onto the rim.
- Repeat for the upper bead, using steady pressure rather than force.
For directional tires, make sure the arrow points in the correct rolling direction for the wheel’s vehicle position. For asymmetrical tires, make sure the side marked “outside” faces outward. For run-flat or very low-profile tires, use the assist arm or approved leverless procedure instead of forcing the bead.
[Products Worth Considering]

Universal magnetic jack pad with aluminum grooved design to protect vehicle pinch welds during lifting. Durable nylon pad inserts are upgraded and secured with screws to resist damage and keep in place. Designed to fit most single vehicle pinpoint welds for safer, stable jacking when changing tires, repairs, or performing oil changes.
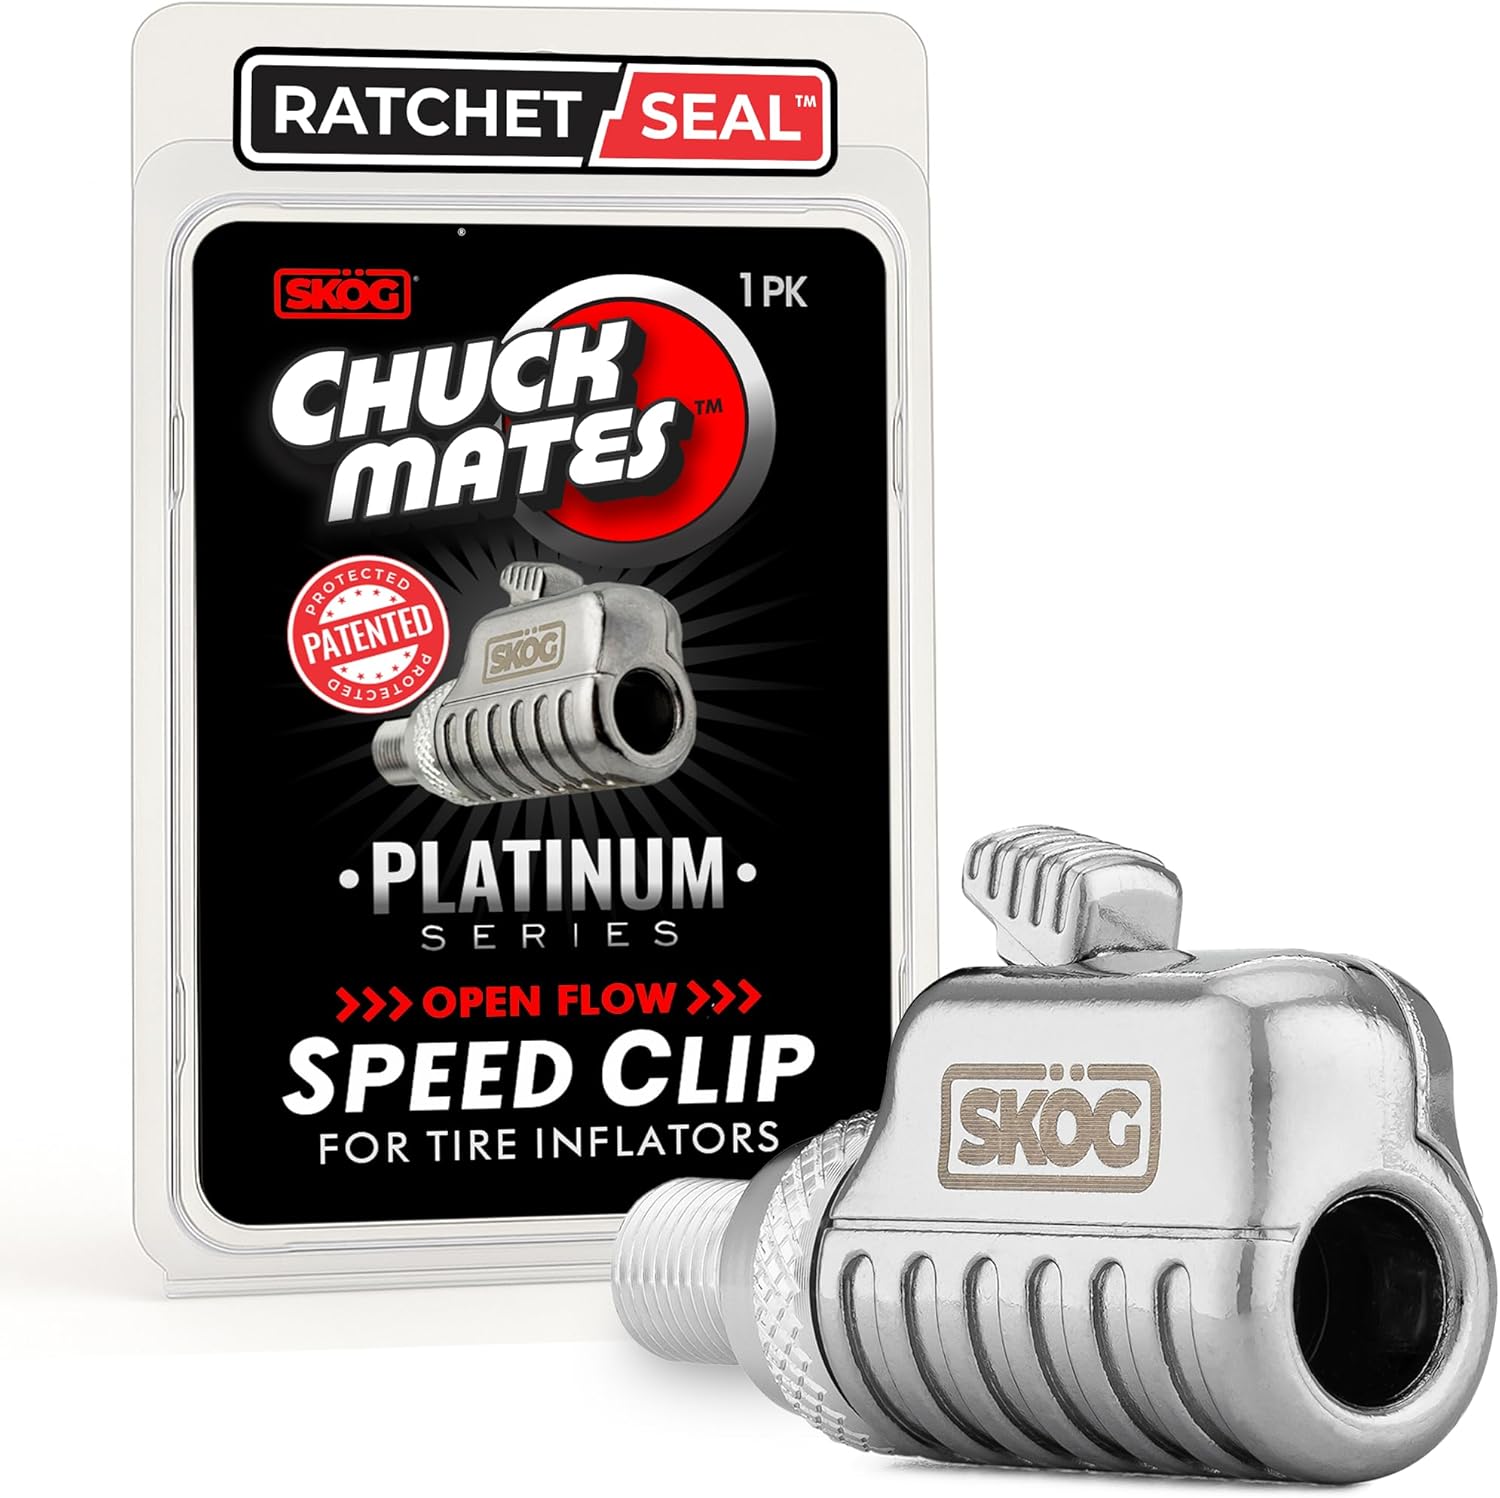
The SKÖG Chuck Mates Platinum uses a patented RatchetSeal push-to-connect system for instant, secure, air-tight attachment to standard tire valve stems. It features an easy push-button release for quick disconnects, plus 360° swivel open-flow airflow to keep operation smooth and kink-free. Universal Schrader compatibility makes it ideal for cars, bikes, motorcycles, RVs, trucks, and more.
Step 5: Seat the Beads and Inflate Safely
Inflation is the highest-risk part of the job. Before adding air, confirm both beads are evenly positioned, the valve stem is secure, the wheel is stable, and the tire is compatible with the rim. Use a clip-on chuck, working pressure gauge, and enough hose or machine setup to keep your body out of the tire’s trajectory.
Bead Seating Pressure
Use only the pressure needed to move the beads onto the rim ledges and create an airtight seal. Do not exceed the tire manufacturer’s bead-seating limit, the tire machine manufacturer’s limit, or any lower limit printed on the tire or wheel. For many passenger and light-truck tires, shops use 40 PSI as a hard stop for bead seating, but the manufacturer’s instructions always control.
Warning: If the beads do not seat before the stated limit, stop. Deflate the tire completely, remove the valve core, relubricate the beads, check tire/wheel compatibility, inspect for damage, and try again only after correcting the problem.
Safe Inflation Steps
| Before inflation | Check bead position, valve stem, TPMS clearance, tire/wheel match, lubricant, and pressure limit. |
| During seating | Stand outside the trajectory, add air gradually, watch the gauge, and listen for the bead seating pops. |
| After bead seating | Stop, inspect the bead line all the way around, install the valve core if it was removed, and set final pressure to the vehicle placard or service information. |
Confirm Final Pressure and Seating
Once both beads are seated, inspect the molded bead line around both sidewalls. The line should sit evenly above the rim all the way around. Then adjust the tire to the correct cold inflation pressure listed by the vehicle manufacturer, not the maximum pressure molded on the tire sidewall. Reinstall the valve cap and check for leaks around the bead and valve stem.
Troubleshooting Common Tire Machine Problems
| Problem | Likely Cause and Fix |
| Bead will not break | The tire may not be fully deflated, the bead breaker may be too far from the rim, or corrosion may be holding the bead. Remove the valve core, relubricate, reposition, and work around the tire in sections. |
| Wheel slips in clamps | The rim may be dirty, wet, off-center, or clamped with the wrong method. Stop, clean the contact points, protect the rim, and reclamp evenly. |
| Bead tears or stretches | The bead is not staying in the drop center, the tire is dry, or the mounting head is mispositioned. Stop, relubricate, reset the bead, and use an assist arm if needed. |
| Air leaks at bead | The bead seat may be dirty, corroded, dry, or damaged. Deflate fully, clean the bead seat, inspect for rim damage, relubricate, and reseat. |
| TPMS light stays on | The tire may be underinflated, a sensor may be damaged, or the vehicle may need a relearn. Set pressure to the placard value and follow the vehicle reset procedure. |
Common Tire Machine Mistakes to Avoid
- Skipping deflation: Always remove the valve core and fully deflate before demounting.
- Ignoring tire and wheel compatibility: Match bead diameter, width, tire type, load rating, and vehicle requirements before mounting.
- Using the wrong lubricant: Use nonflammable rubber lubricant, not petroleum products, oil, grease, or random shop soap.
- Forcing the bead: If the bead fights the machine, stop and correct the position instead of adding force.
- Working over the TPMS sensor: Keep bead tools away from the valve/sensor area.
- Overinflating during seating: Follow the tire and machine limits. Do not keep adding air when the bead will not seat.
- Skipping final checks: Always check bead seating, leaks, final pressure, valve cap, and balance after mounting.
Tire Machine Safety Checklist
- Read the tire changer manual for your specific model.
- Wear eye protection, snug gloves, fitted clothing, and safety footwear.
- Confirm the machine is rated for the wheel and tire size.
- Inspect the tire, rim, bead seats, valve stem, and TPMS sensor.
- Verify tire/wheel compatibility before assembly.
- Remove the valve core and fully deflate before bead breaking.
- Keep hands and feet clear of moving arms, clamps, and pinch points.
- Use approved rubber lubricant on bead and rim mating surfaces.
- Stay outside the inflation trajectory and use a safe inflation setup.
- Stop if you see cracks, severe corrosion, damaged beads, mismatched parts, or abnormal resistance.
Frequently Asked Questions
How does a tire machine work?
A tire machine clamps the wheel, uses a bead breaker to separate the tire bead from the rim, and rotates the wheel while a mounting head guides the bead on or off the rim. The operator controls the clamps, bead breaker, turntable, mounting head, lubricant, and inflation process.
Can a beginner use a tire machine?
A beginner should use a tire machine only with hands-on training and the correct manual for that machine. Start with standard passenger tires in good condition, not run-flats, low-profile tires, reverse-mount wheels, motorcycle wheels, split rims, or damaged wheels.
What PSI should I use to seat a tire bead?
Use the minimum pressure needed to seat the bead and follow the tire and tire machine manufacturer’s limits. Many passenger and light-truck tire procedures use 40 PSI as a hard stop for bead seating, but a lower printed or manual limit always takes priority.
Why will the bead not seat on the rim?
The bead may be dry, the tire may not be centered, the bead seat may be dirty or corroded, the tire and wheel may be mismatched, or the bead may be damaged. Deflate the tire fully, inspect everything, relubricate, and try again only after correcting the cause.
How do I protect TPMS when changing a tire?
Locate the TPMS sensor before breaking the bead or using a tire lever. Keep the bead breaker and mounting tools away from the valve area, replace service parts when required, inflate to the placard pressure, and complete the vehicle’s relearn procedure if the system calls for it.
What should I do after mounting a tire?
Check that both beads are evenly seated, inspect for leaks at the bead and valve stem, set pressure to the vehicle placard value, reinstall the valve cap, balance the wheel, and recheck TPMS operation if equipped.
Conclusion
A tire machine can save time and effort, but safe results come from methodical work. Inspect the tire, wheel, valve, and TPMS first. Deflate completely before bead breaking. Clamp the wheel correctly, use rubber lubricant, keep the bead in the drop center, and never force the machine. During inflation, stay outside the trajectory and follow the tire and machine manufacturer’s limits. When in doubt, stop and get help from a trained tire technician.
Sources
- OSHA 1910.177 — Servicing multi-piece and single piece rim wheels — supports deflation, rim inspection, compatibility, rubber lubricant, restraining devices, trajectory, and inflation safety.
- OSHA Personal Protective Equipment Overview — supports PPE selection, fit, use, and training basics.
- NHTSA TireWise — supports vehicle placard pressure, tire sizing, TPMS, monthly pressure checks, tire maintenance, and 2024 tire-related crash fatality data.

Related Articles

How to Book a Costco Tire Center Appointment
Tired of guesswork? Learn how to book a Costco Tire Center appointment and avoid surprises before your next visit.
Read More
How to Use Costco Tire Inflation: Step-by-Step
Never overinflate at Costco—learn the exact steps, tools, and tips to fill your tires safely and leave with confidence.
Read More
How to Book a Tire Appointment at Walmart
Mysterious steps make booking a Walmart tire appointment simpler than you think, but one crucial detail could save you time and money.
Read More