
How to Deflate a Tire: Quick Step-by-Step Guide for Any Vehicle
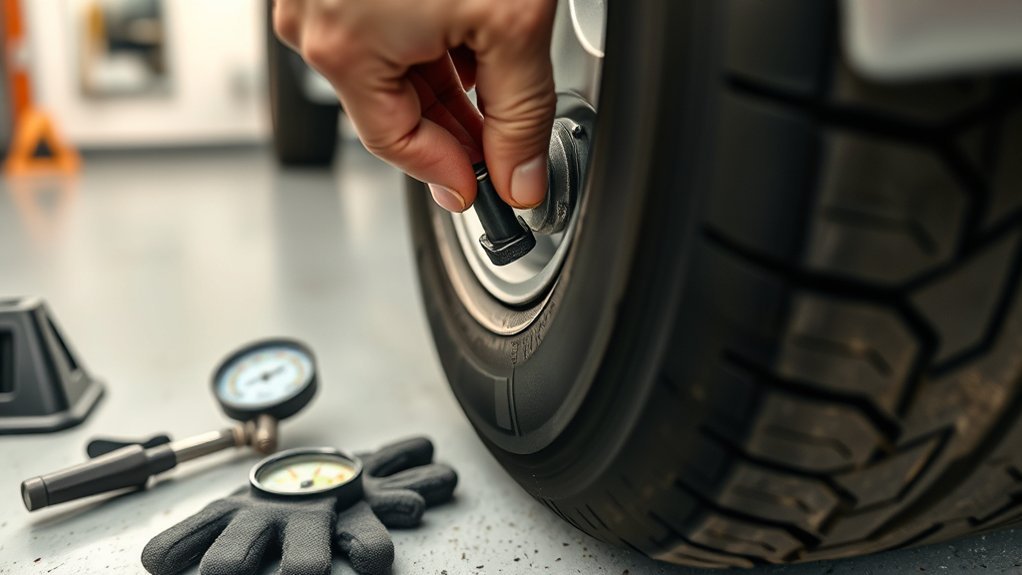
To deflate a tire safely, park on level ground, turn off the engine, and work only on a vehicle you own or have permission to service. Remove the valve cap, press the valve pin in short bursts, and check PSI often with a tire pressure gauge. Stop at your target pressure, reinstall the cap, and reinflate to the vehicle placard pressure before normal road or highway driving.
Quick Answer
Deflate a tire by removing the valve cap and pressing the small valve pin inside the valve stem with a tire gauge, valve tool, or similar blunt tool. Release air in short bursts, check PSI every few seconds, and stop when you reach the target pressure. For normal driving, use the PSI on the vehicle’s tire placard or owner’s manual.
Key Takeaways
- Use a tire pressure gauge, not guesswork, so you do not over-deflate the tire.
- For normal street pressure, follow the vehicle’s tire placard or owner’s manual, not the maximum PSI printed on the tire sidewall.
- Check pressure when tires are cold whenever possible; do not bleed air from a hot tire just because the reading looks high.
- Airing down can help at low speeds on sand, mud, snow, or rocks, but very low PSI can damage tires or unseat the bead.
- Reinflate before returning to paved roads, higher speeds, or highway driving.
At a Glance
| Time Required | 2–10 minutes, depending on how much air you release and whether you use a deflator tool. |
| Difficulty | Easy, as long as you monitor pressure and keep the valve stem clean. |
| Tools Needed | Tire pressure gauge, valve cap, optional tire deflator, optional valve core tool, and an air compressor for reinflation. |
| Cost | No cost if you already have a gauge; otherwise, the cost depends on the gauge, deflator, or compressor you choose. |
Warning: Do not drive at highway speed on intentionally deflated tires. Low pressure can create excess heat, reduce load capacity, damage the tire structure, and affect handling. Air down only for a clear purpose, such as low-speed off-road traction or correcting overinflation, and reinflate before normal road use.
What You Need Before Deflating a Tire
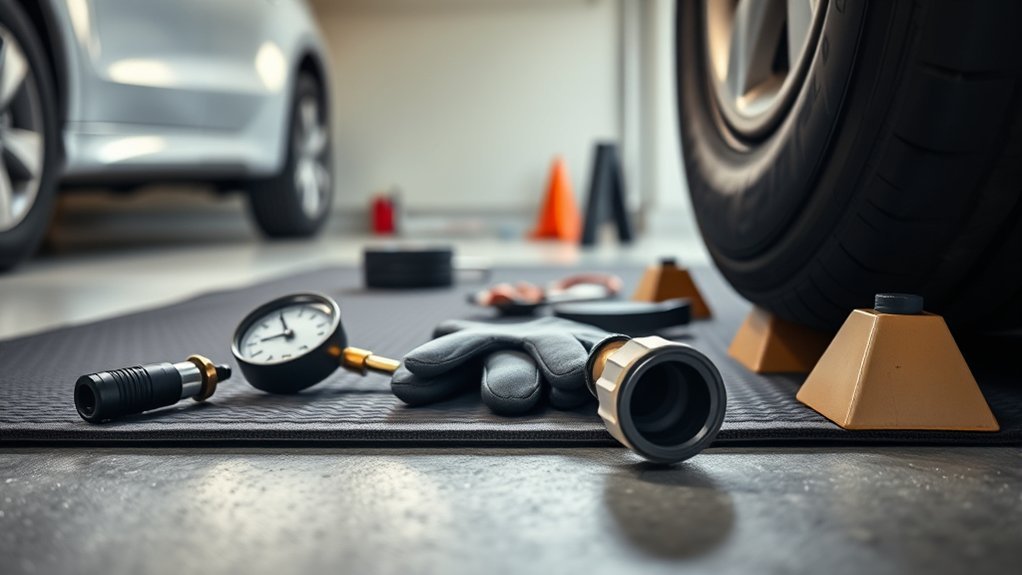
Before you begin, gather the right tools so you can control the process safely and accurately. A tire pressure gauge is the most important tool because it tells you when to stop. A screw-on tire deflator can make airing down faster, especially if you are adjusting all four tires. A valve core removal tool releases air very quickly, but it should be used carefully because the tire can lose pressure much faster than expected.
You may also use a blunt tool, such as the edge of a tire gauge or a small flathead screwdriver, to press the valve pin. Avoid sharp objects that can damage the valve stem. Keep gloves and eye protection nearby if you are removing the valve core or working around dirt, sand, or trail debris.
For normal street pressure, find the recommended PSI on the tire information placard, certification label, or owner’s manual. The correct cold inflation pressure is set by the vehicle manufacturer, not by the maximum pressure printed on the tire sidewall. NHTSA’s TireWise guidance recommends checking the placard or owner’s manual and measuring pressure when the tires are cold.
[Products Worth Considering]
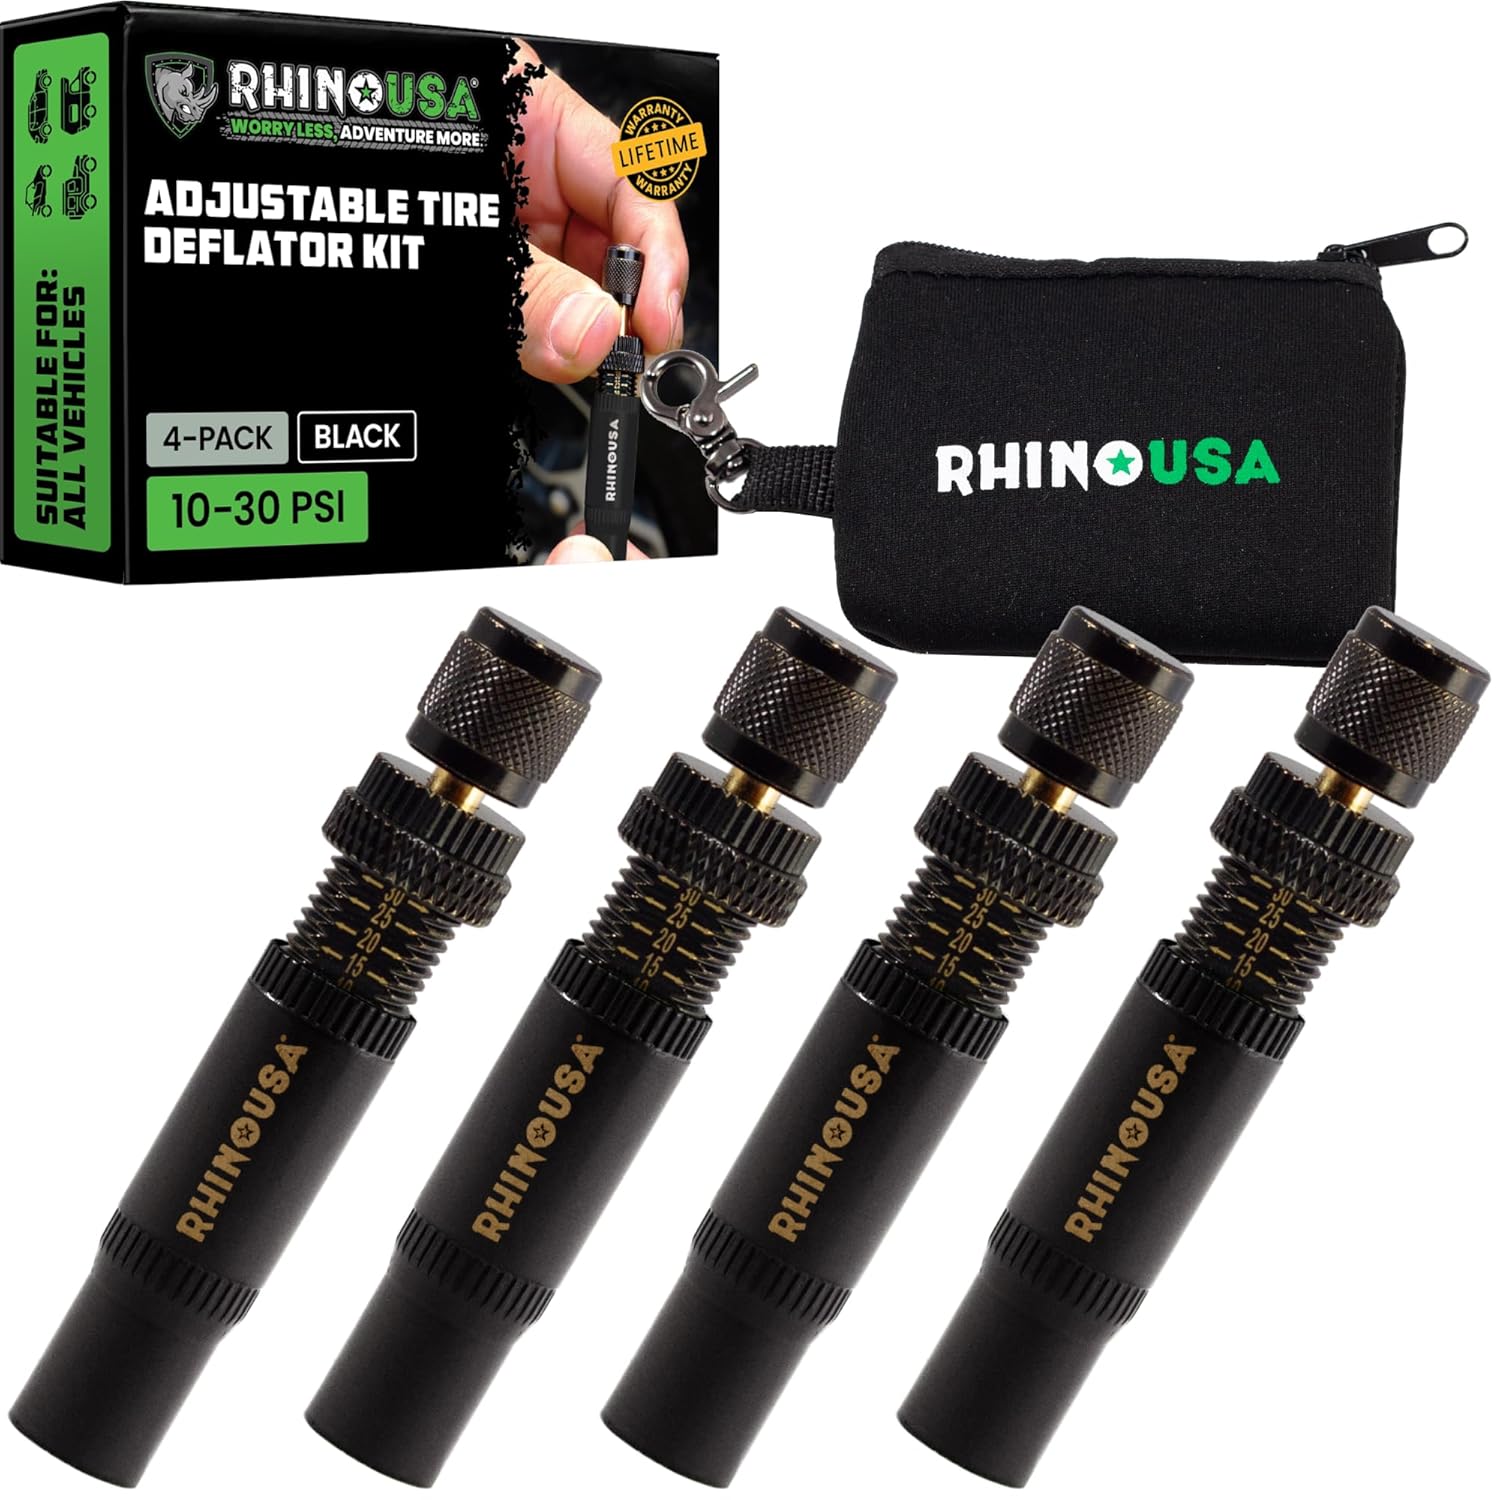
Use the Rhino USA adjustable tire deflators to air down all four tires at once by screwing one deflator onto each valve stem, letting you step away while the tires reach your preset pressure. Each deflator independently adjusts across a 10–30 PSI range with laser-etched indicators for quick setup and verification, making it ideal for beach, sand, and rocky off-road trails.

This 4-in-1 tire valve core removal tool helps you deflate, unblock, and remove or install valve cores quickly for easier tire repair. The multifunction design also supports re-taping damaged threads and reaming inside the valve stem for smoother service. Included as a 2-pack, it’s compact for convenient carry and works for cars, bicycles, and motorcycles.

The AstroAI 2 pack air chucks provide a heavy-duty, closed-flow locking design that helps keep air flowing during inflation while securely attaching to the valve stem. Built with 250 PSI rated brass components and compatible with Schrader valves, they feature 1/4" female NPT threads for a wide fit with common inflators. The straight tip and locking clip make filling tires and monitoring pressure more convenient.
How to Deflate a Tire Safely
Start by parking on a flat, stable surface. Put the vehicle in park, set the parking brake, and turn off the engine. If you are working near traffic, move to a safe location first. Never deflate someone else’s tire or a public vehicle unless you are authorized to service it.
- Find the valve stem. It is the small rubber or metal stem sticking through the wheel.
- Remove the valve cap. Turn it counterclockwise and place it somewhere clean so it does not pick up dirt.
- Check the current PSI. Press your gauge firmly and evenly onto the valve stem until the hissing stops.
- Release air in short bursts. Press the valve pin with the edge of your gauge or another blunt tool for 1–3 seconds at a time.
- Recheck pressure often. Check every few seconds so you do not drop below your target.
- Stop at the target PSI. Reinstall the valve cap tightly to help keep dirt and moisture out of the valve.
Note: If you are correcting overinflation for normal driving, check pressure when the tire is cold. Bridgestone advises checking cold tires and not bleeding pressure from a hot tire, because heat from driving can temporarily raise the reading.
How to Deflate a Tire by Hand
You can deflate a tire by hand through the valve stem. This is best for small adjustments, such as lowering a tire by a few PSI after overinflation or fine-tuning pressure while airing down.
Locate the Valve Stem
The valve stem is usually near the outer edge of the wheel, not in the tire tread. It has a small cap that protects the valve from dirt and moisture. Remove the cap by turning it counterclockwise. If the cap is stuck, use gentle hand pressure rather than pliers whenever possible, because crushing or cracking the cap can make it harder to seal the valve cleanly.
- Park on level ground before working.
- Keep the valve cap clean while it is off.
- Inspect the valve stem for cracks, looseness, or visible damage.
Press the Valve Pin
Inside the valve stem is a small metal pin. Press that pin inward to let air escape. Use steady, light pressure and listen for the hiss of escaping air. Release in short bursts, then measure with your gauge.
| Step | Action | Result |
|---|---|---|
| 1 | Press valve pin briefly | Air releases |
| 2 | Check with gauge | PSI is confirmed |
| 3 | Repeat in short bursts | Pressure drops slowly |
| 4 | Stop at target PSI | Tire stays controlled |
| 5 | Replace valve cap | Valve is protected |
Use a Tire Deflator to Deflate Faster
A tire deflator helps release air faster and more consistently than pressing the valve pin by hand. Screw-on deflators attach to the valve stem and bleed pressure steadily. Preset deflators can be adjusted to stop near a chosen PSI, depending on the model. Rapid deflators remove air quickly and are useful for off-road vehicles, but they require close attention because pressure can drop fast.
- Set or confirm your target PSI before you begin.
- Attach the deflator squarely so it does not cross-thread the valve stem.
- Check pressure with a separate gauge if the deflator’s gauge is hard to read or unverified.
- Use the same process on all tires that need matching pressure.
Pro Tip: When airing down for off-road driving, record your starting PSI and target PSI. This makes it easier to keep all four tires even and to reinflate accurately before driving home.
How to Check Tire Pressure While Deflating
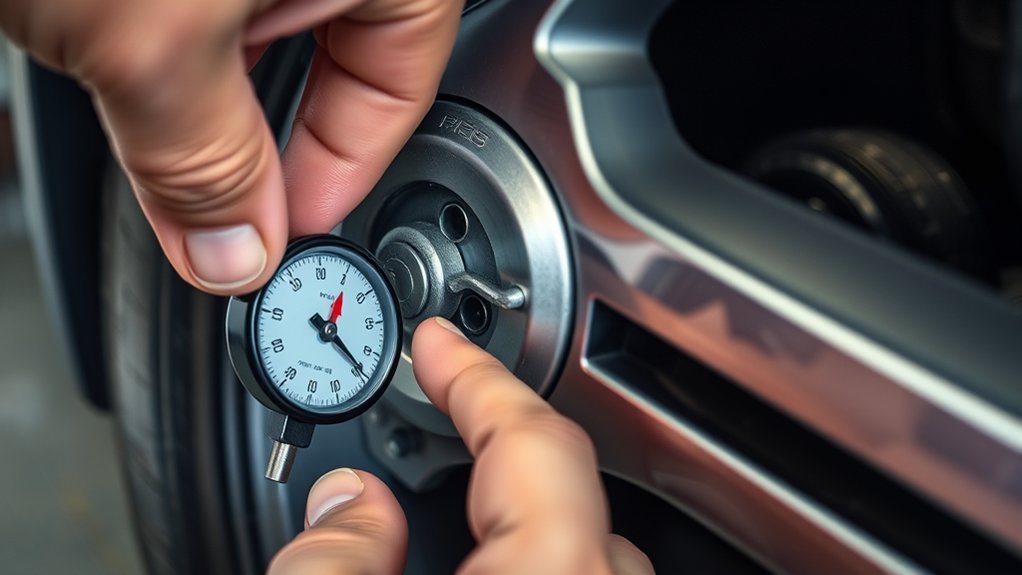
Use a tire pressure gauge throughout the process. For accurate normal-pressure readings, check tires cold, meaning the vehicle has been parked for at least three hours or has been driven less than about one mile at moderate speed. Bridgestone’s tire inspection guidance recommends pressing the gauge evenly onto the valve stem and comparing the reading with the vehicle’s recommended inflation pressure.
If you are releasing air, work in small steps. Press the valve pin, pause, then check the gauge. Repeat until you reach the target. Avoid guessing by tire shape, because many modern tires can look acceptable even when pressure is too low.
If the tire keeps losing air after you stop pressing the valve pin, check whether the valve core is loose, dirty, or damaged. Reinstall the cap and monitor the pressure. If pressure continues to drop, the tire, valve stem, wheel, or TPMS valve assembly may need professional inspection.
How Low Should You Air Down?
There is no single safe PSI for every tire, vehicle, and trail. The right pressure depends on vehicle weight, tire size, tire load rating, wheel type, terrain, speed, and how much sidewall flex the tire can safely handle. Lower pressure can increase the contact patch and help the tire conform to loose or uneven surfaces, but it also reduces load capacity and increases heat and sidewall stress.
Yokohama Tire warns that reducing inflation pressure for off-road traction can cause over-deflection, excessive heat buildup, and tire failure if misused. If you lower pressure for low-speed off-road traction, reinflate before highway driving or higher-speed travel.
[Products Worth Considering]

This dual head and ball air chuck set provides closed-flow tire inflation that routes air only through the chuck engaged with the valve. It includes both dual-head and ball-head chucks plus quick plug fittings for easy, fast connections to air lines and compressors. Built for reliable, leak-resistant operation, it’s ideal for filling Schrader valves on bikes, motorcycles, cars, trucks, and more.
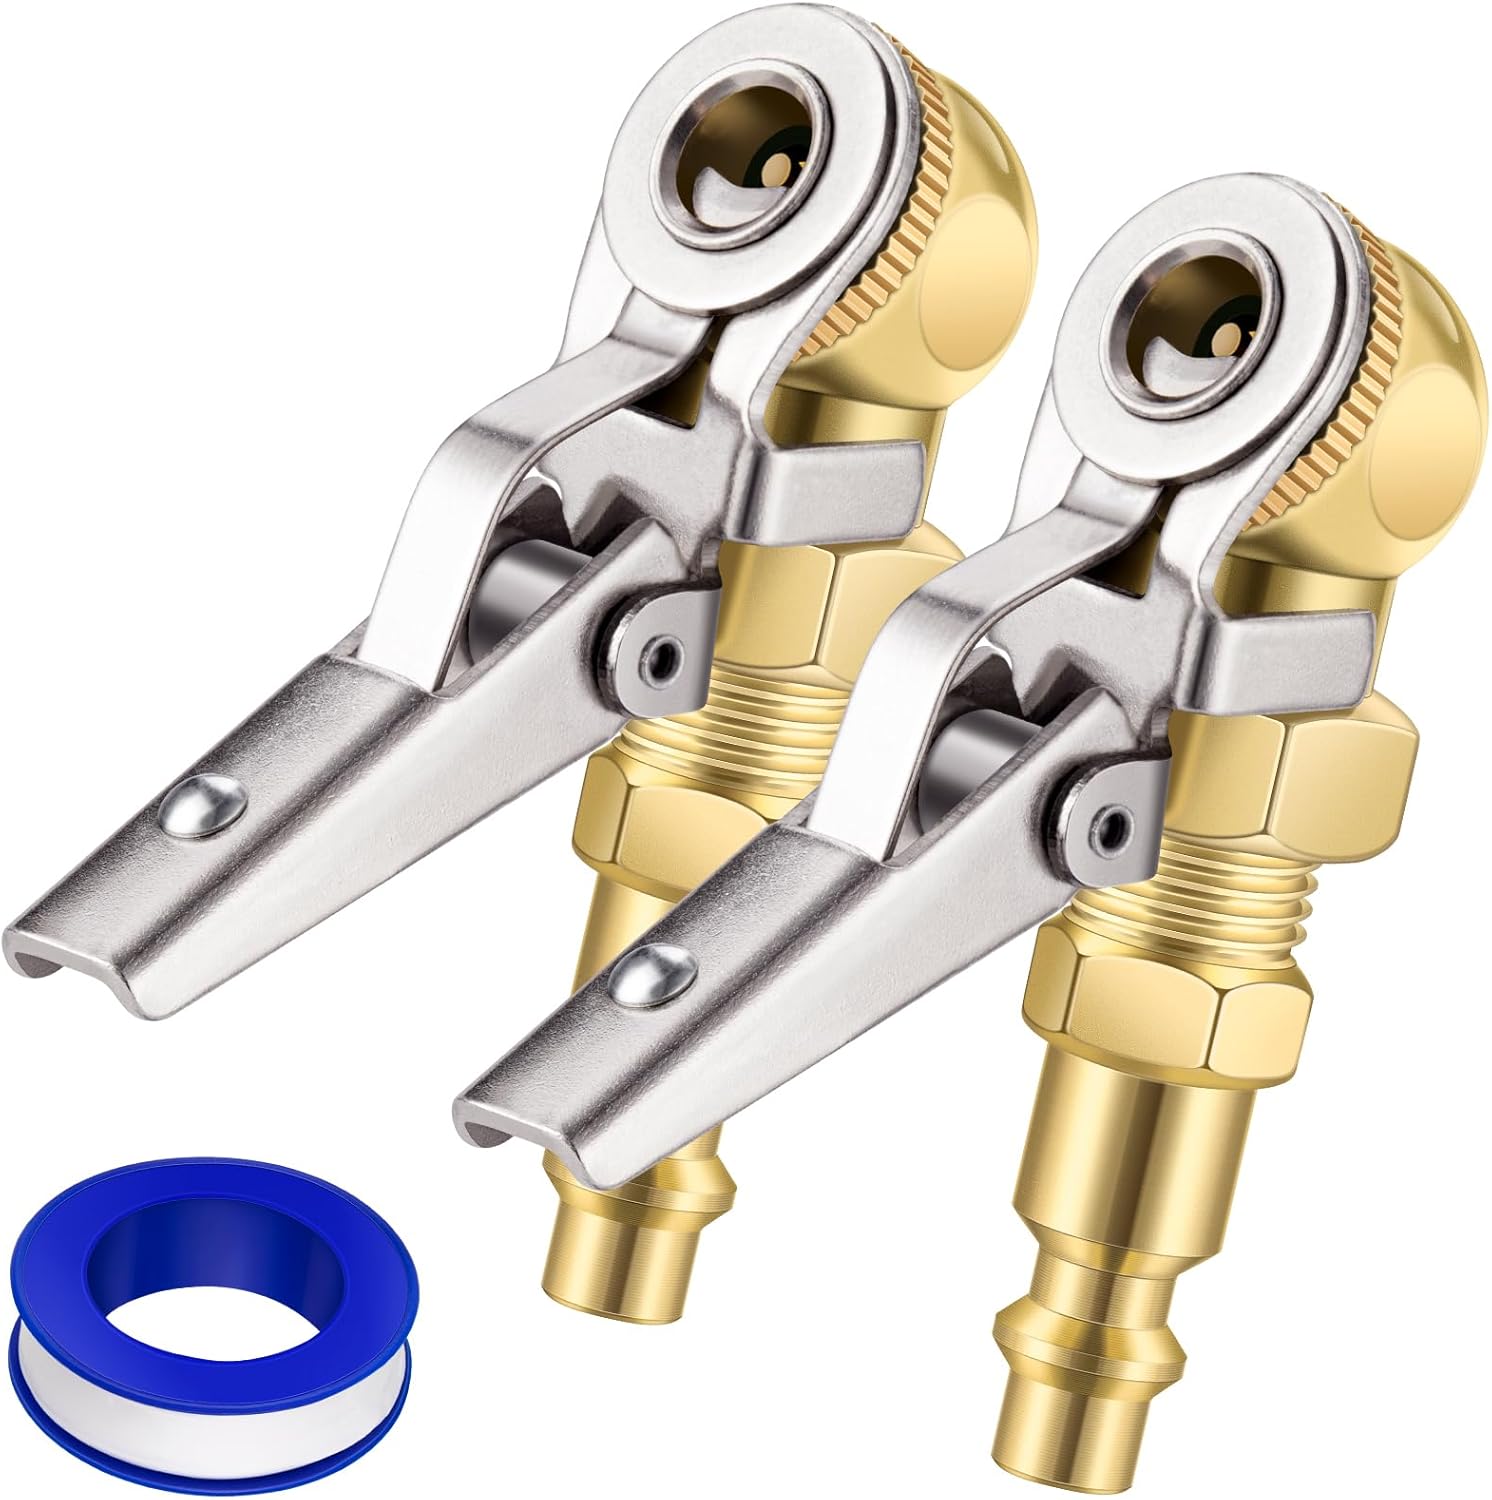
EVOULTES 2-pack closed ball tire chucks lock onto Schrader valves to help you inflate tires hands-free. The set includes both chucks with quick plug compatibility and a 2-way connection approach for easy setup to your air line or compressor. Durable metal construction supports reliable use for cars, trucks, RVs, bikes, and other Schrader-valve tires up to 250 PSI.
Recommended PSI Range
Use PSI ranges as cautious starting points, not fixed rules. If you are new to airing down, start higher, test traction, and lower pressure gradually only when needed. Avoid very low pressure unless you understand the risk of debeading and tire damage.
| Terrain | General Starting Point | Main Caution |
|---|---|---|
| Gravel or mild trails | Slightly below street pressure, if needed | Do not reduce pressure if speed will increase. |
| Sand | Often lower than trail pressure for flotation | Too low can unseat the bead during turns. |
| Mud or snow | Moderately reduced pressure may improve grip | Traction needs vary widely by tire and depth. |
| Rocks or uneven ground | Enough reduction for flex, not so much that the wheel is exposed | Sidewall cuts and wheel damage become more likely. |
Match Terrain Needs
Match pressure to the surface and your driving speed. Sand usually rewards flotation, mud and snow may need a wider footprint, and rocks often need enough sidewall flex to conform without pinching the tire. Move slowly, avoid sharp steering at very low PSI, and stop if the tire looks unstable on the rim.
Warning: Very low PSI can let the tire bead separate from the wheel, causing a sudden flat. Standard wheels rely on air pressure to keep the bead seated, so do not copy extreme off-road PSI numbers unless your wheel, tire, load, and use case support it.
Common Tire Deflation Mistakes to Avoid
Even a simple tire deflation task can go wrong if you rush or rely on guesswork. Avoid these common mistakes:
- Using the tire sidewall as the target PSI. The sidewall usually shows maximum pressure, not the recommended vehicle pressure.
- Bleeding air from hot tires for normal driving. Heat can raise pressure temporarily, so cold readings are more reliable.
- Forgetting to check all tires. Uneven pressure can affect handling and braking.
- Removing the valve core without a plan. This releases air quickly and can drop the tire below the safe target before you react.
- Losing the valve cap. A cap helps keep dirt and moisture out and supports a clean seal.
- Ignoring TPMS warnings. If your tire pressure monitoring light appears after airing down, reinflate before road driving and check the system if the warning remains.
- Driving fast while aired down. Low pressure is for controlled, low-speed situations, not sustained pavement speed.
The safest tire pressure target is the one specified for your vehicle, load, and use case. Use a gauge, adjust slowly, and reinflate before speed increases.
How to Reinflate a Tire After Deflating It
After deflating a tire, reinflate it with a portable air compressor, shop compressor, or gas station air pump. Use the vehicle’s tire placard or owner’s manual as your normal-driving target. NHTSA says the manufacturer’s recommended cold inflation pressure is the proper PSI for the vehicle when the tire is cold.
| Step | Action | Purpose |
|---|---|---|
| 1 | Attach the air hose securely | Prevent leaks while filling |
| 2 | Add air in short intervals | Avoid overinflation |
| 3 | Check with a gauge | Confirm PSI accurately |
| 4 | Stop at placard pressure | Restore normal driving pressure |
| 5 | Replace the valve cap | Protect the valve from debris |
If you inflated the tire while it was warm, recheck it later when cold. If one tire repeatedly loses pressure, inspect for punctures, rim leaks, valve damage, or TPMS valve issues, and have a tire professional check it if the leak continues.
When to Deflate Tires for Better Traction
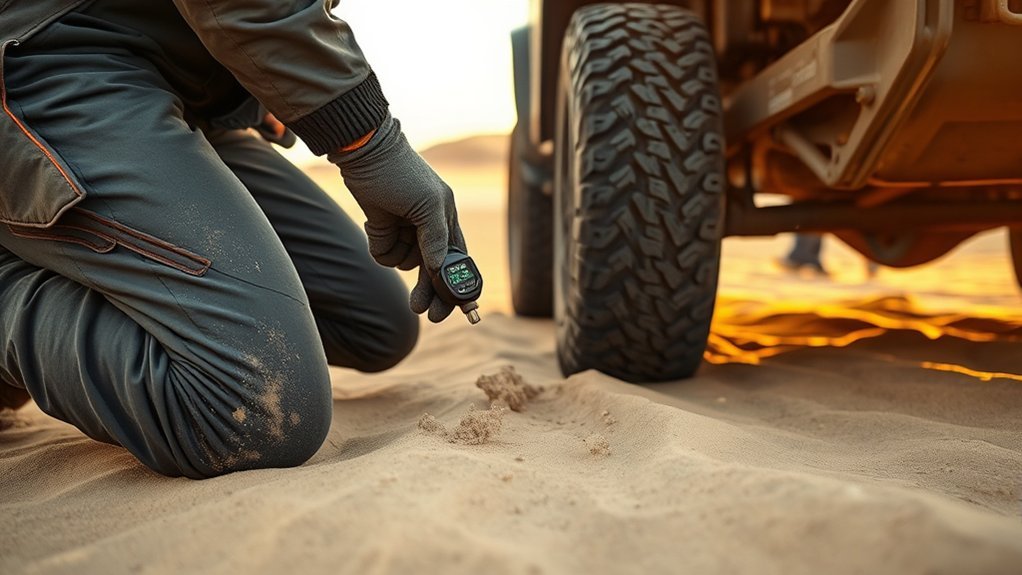
Deflating tires makes the most sense for low-speed driving on loose or uneven surfaces such as sand, mud, snow, washboard roads, or rocky trails. Lower pressure can let the tire flex and create a larger contact patch, which may improve grip and ride comfort. It is not a fix for worn tires, damaged tires, overloaded vehicles, or unsafe driving conditions.
- Air down only when the terrain justifies it.
- Inspect tires first for cuts, bulges, punctures, and valve stem damage.
- Keep speed low while pressure is reduced.
- Use a compressor or reliable air source to reinflate before pavement.
- Do not ignore a TPMS warning light after returning to normal driving.
The Tire Industry Association notes that many TPMS sensors are part of the valve stem assembly and that TPMS warnings commonly appear when pressure is significantly below the vehicle placard value. Treat that warning as a prompt to check pressure manually.
Frequently Asked Questions
What is the fastest way to deflate a tire?
The fastest way is to remove the valve core with a valve core tool, but that also makes the tire lose air very quickly. Use this method only when you are ready to monitor PSI closely and reinstall the core promptly. For most people, a screw-on tire deflator is safer and more controlled.
How do you air down tires quickly?
Use a tire deflator on each valve stem and check pressure every few seconds. Preset deflators can help you reach a repeatable PSI, but you should still verify the final reading with a reliable gauge before driving.
How do you let air out of a car tire without a special tool?
Remove the valve cap and press the valve pin with the edge of a tire gauge or another small blunt object. Release air in short bursts and check PSI often. Do not use sharp objects that can damage the valve stem.
How do you remove too much air from a tire quickly?
Press the valve pin briefly, then check the tire with a gauge. Repeat until the tire reaches the correct pressure. If you remove too much air, use a compressor or pump to bring the tire back to the recommended PSI.
Can you drive on aired-down tires?
Only at low speed and only when the reduced pressure is appropriate for the surface, such as off-road sand, mud, snow, or rocks. Reinflate before paved roads, higher speeds, or highway driving because low pressure can overheat and damage the tire.
Will deflating a tire trigger the TPMS light?
Yes, it can. A TPMS warning may appear when tire pressure falls significantly below the vehicle’s recommended placard pressure. After you reinflate the tires, the light may turn off after driving, but check the owner’s manual if it stays on or flashes.
Conclusion
Deflating a tire is simple, but it should be done slowly and with a gauge. Remove the valve cap, press the valve pin in short bursts, check PSI often, and stop at the target pressure. For normal driving, return the tire to the vehicle manufacturer’s recommended cold PSI. For off-road use, air down only when the terrain calls for it, keep speeds low, and reinflate before returning to pavement.
Sources
- NHTSA TireWise — supports placard PSI, cold tire pressure checks, and safe pressure adjustment.
- Bridgestone Americas Tire Inspection — supports cold tire checking, gauge use, and the warning not to bleed pressure from a hot tire.
- Yokohama Tire Pressure Guidance — supports off-road low-pressure risks and reinflation before highway driving.
- Tire Industry Association TPMS Overview — supports TPMS valve-stem and warning-light guidance.
- AAA: How to Check and Correct Tire Pressure — supports valve cap purpose, monthly checks, and cold-pressure best practices.

Related Articles

How to Book a Costco Tire Center Appointment
Tired of guesswork? Learn how to book a Costco Tire Center appointment and avoid surprises before your next visit.
Read More
How to Use Costco Tire Inflation: Step-by-Step
Never overinflate at Costco—learn the exact steps, tools, and tips to fill your tires safely and leave with confidence.
Read More
How to Book a Tire Appointment at Walmart
Mysterious steps make booking a Walmart tire appointment simpler than you think, but one crucial detail could save you time and money.
Read More