
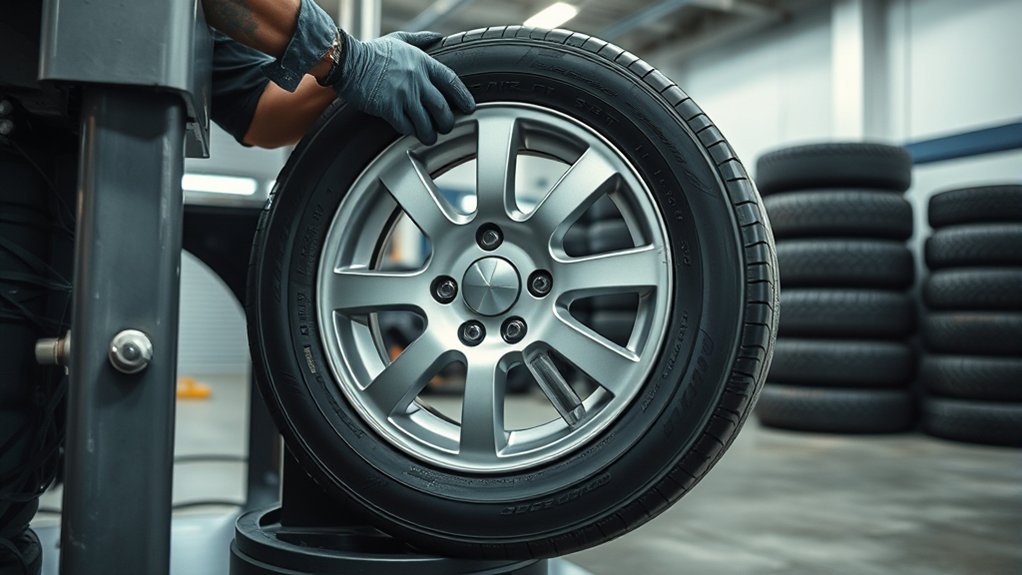
Tire mounting is the process of fitting a tire onto a wheel rim so the tire can seal, hold air, and roll safely on your vehicle. It sounds simple, but a proper mount depends on the right tire size, clean wheel surfaces, bead lubricant, controlled inflation, valve or TPMS service, and balancing after the tire is seated.
Quick Answer
Tire mounting means installing a tire onto a wheel rim. A shop removes the old tire, checks the wheel, lubricates the tire beads, mounts and seats the new tire, inflates it to the correct pressure, and usually balances the tire-and-wheel assembly before it goes back on the vehicle.
Key Takeaways
- Tire mounting is the shop process of installing a tire on a wheel rim and seating the beads so the tire seals correctly.
- Mounting is not the same as balancing, alignment, or full installation, although those services are often done during the same visit.
- A proper shop mount includes wheel inspection, tire-size verification, bead lubrication, valve or TPMS attention, controlled inflation, and leak checks.
- New tire pairs should usually go on the rear axle for better wet-road stability and hydroplaning resistance.
- Pricing is usually quoted per tire, but the real total depends on tire type, wheel size, balancing, valve stems, disposal, TPMS parts, and local shop pricing.
At a Glance
| Time Required | About 15 to 45 minutes for a standard set at many shops, depending on workload, tire type, TPMS service, balancing, and whether the wheels are already off the vehicle. |
| Difficulty | Professional service recommended. Tire beads, pressurized inflation, TPMS sensors, and wheel finishes can be damaged without proper equipment and training. |
| Tools Needed | Tire machine, bead breaker, bead lubricant, valve stem or TPMS service tools, inflation equipment, pressure gauge, torque wrench, and wheel balancer. |
| Cost | Often quoted per tire. Current retailer examples show prices can vary from basic carry-in mounting to installation packages, so ask what includes balancing, valve stems, TPMS parts, disposal, and lifetime service. |
What Is Tire Mounting?
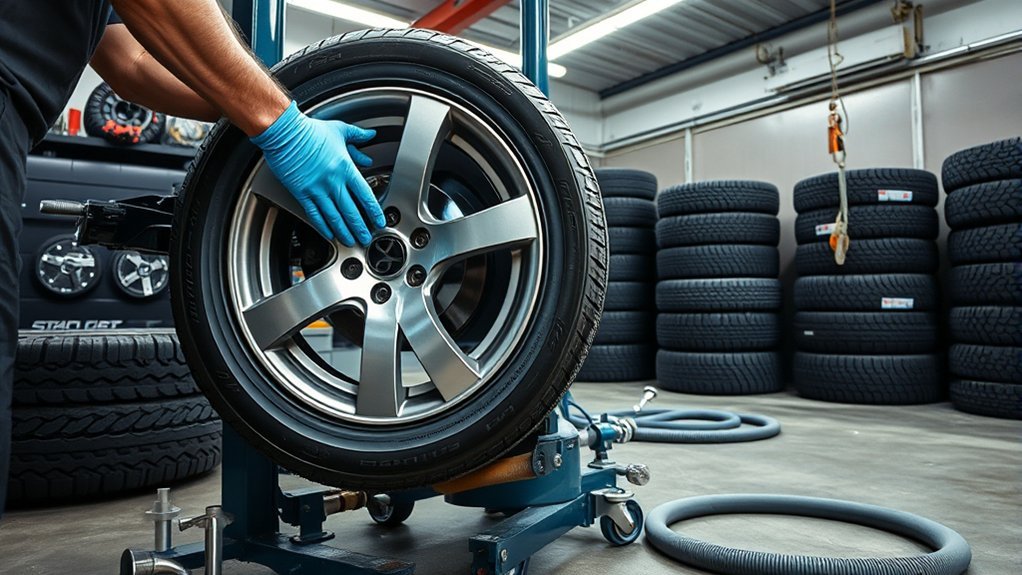
Tire mounting is the process of installing a tire onto a wheel rim so it fits securely and can hold air under load. The tire has two bead areas, one on each side, and those beads must seat evenly against the rim. If the bead is damaged, dirty, dry, or forced into place, the tire may leak, vibrate, or fail to seal correctly.
At a professional shop, tire mounting is part of a controlled service process. The technician confirms the tire size, checks the wheel for damage, lubricates the beads, mounts the tire with a tire machine, inflates it carefully, checks for leaks, and then balances the assembly. The U.S. Tire Manufacturers Association maintains tire service publications covering demounting, mounting, bead damage, tire-mounted sensors, and related shop procedures.
Warning: Tire mounting is not a casual driveway job. Tire and wheel assemblies are pressurized, and incorrect tools, damaged beads, mismatched parts, or unsafe inflation can cause serious injury and expensive damage. Use a trained tire technician unless you have the correct equipment, training, and service information.
Tire Mounting vs. Balancing, Installation, and Alignment
People often use “mounting,” “installation,” “balancing,” and “alignment” as if they mean the same thing. They are related, but they are not identical.
| Tire Mounting | Fitting the tire onto the wheel rim and seating the beads. |
| Tire Balancing | Correcting weight imbalance in the tire-and-wheel assembly so it rotates smoothly. |
| Tire Installation | The broader service of putting the mounted and balanced wheel assembly back on the vehicle, tightening lug nuts correctly, and checking pressure. |
| Wheel Alignment | Adjusting suspension angles so the tires contact the road correctly. Alignment is not automatically included with mounting. |
The short version: mounting gets the tire onto the rim, balancing helps it spin smoothly, installation puts it back on the vehicle, and alignment corrects the vehicle’s suspension geometry.
How Tire Mounting Works at the Shop
At the shop, the process usually starts with removing the wheel from the vehicle or placing a loose wheel on the tire machine. The technician removes the valve core to deflate the tire fully, breaks the old tire bead away from the rim, and demounts the old tire.
Before installing the new tire, the technician checks the wheel for bends, corrosion, cracks, old adhesive, bead-seat damage, or anything that could prevent a clean seal. The new tire should match the wheel size and the vehicle’s required tire size, load index, and speed rating. If the tire is directional or asymmetric, the technician also checks the sidewall markings so the tread faces the correct way.
Next, the beads and rim surfaces are lubricated with proper tire bead lubricant. The tire machine then guides the tire over the rim without tearing the bead or scraping the wheel. Once mounted, the tire is inflated until the beads seat evenly, then adjusted to the vehicle’s recommended cold tire pressure.
The final shop steps matter just as much as the mount. The technician should check for air leaks, balance the tire-and-wheel assembly, install the wheel on the vehicle, torque the lug nuts to specification, and reset or relearn the TPMS if the vehicle requires it.
Tools Used to Mount Tires
Proper tire mounting depends on the right tools. The goal is not just to get the tire onto the rim. The goal is to do it without damaging the tire bead, wheel finish, valve stem, TPMS sensor, or the person doing the work.
[Products Worth Considering]
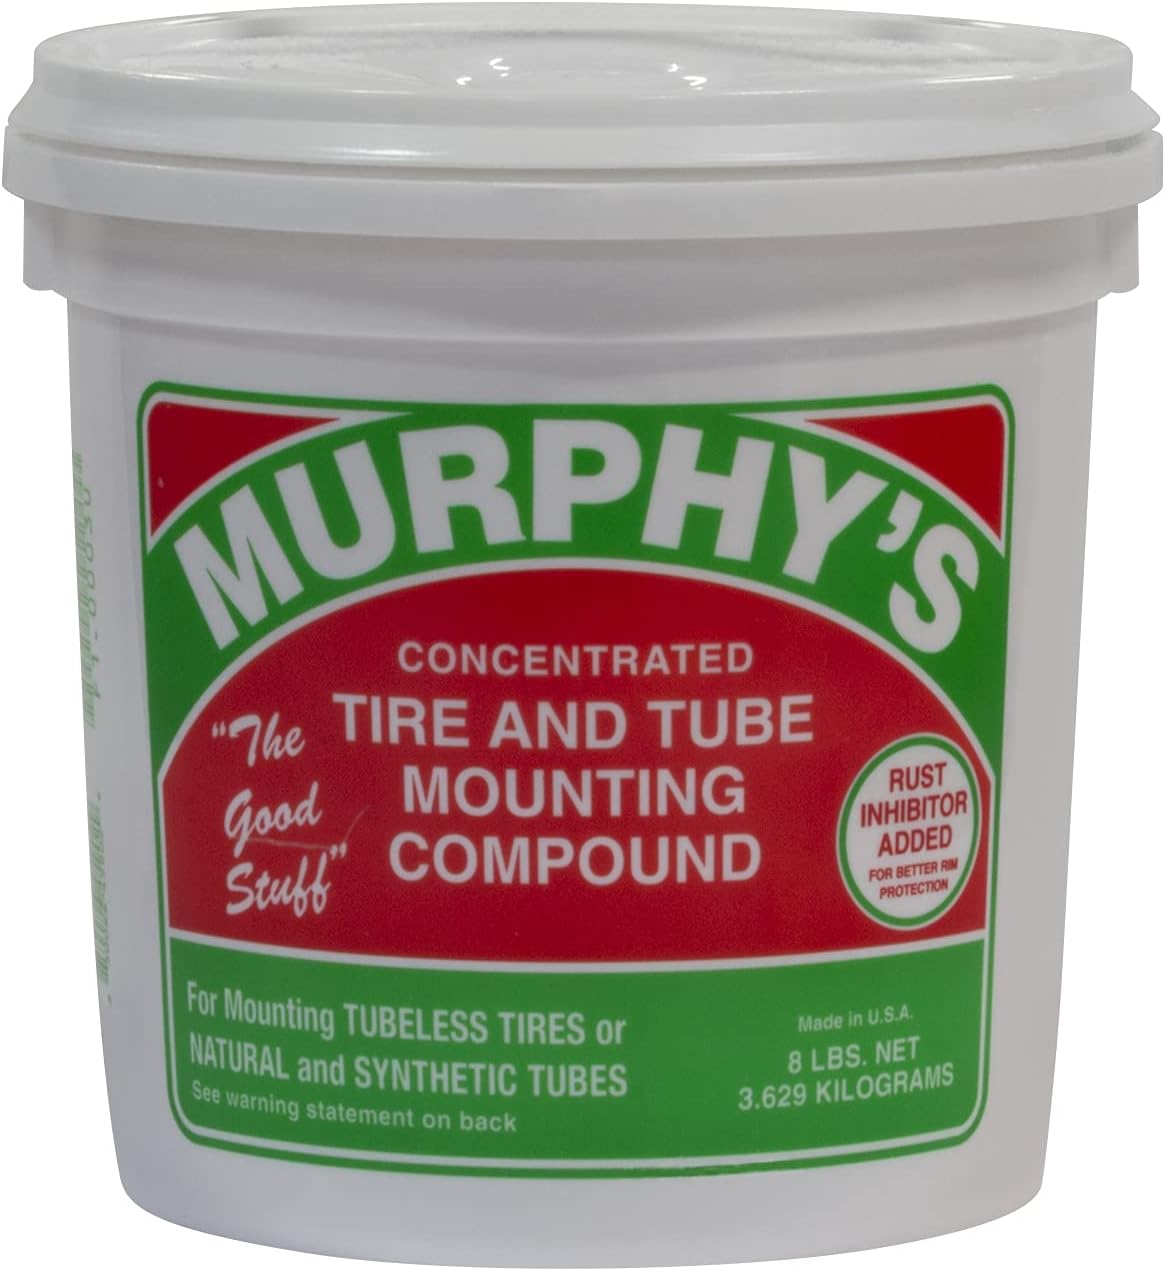
A concentrated tire and tube mounting compound designed to help simplify mounting rubber tires and tubes on passenger, semi truck, construction, and OTR applications. Its ultra-thick formula packs beads effectively and includes rust inhibitors to help protect against corrosion during use.

Malco tire mounting and demounting lubricant is a ready-to-use tire lube formulated to reduce friction during tire installation for passenger cars, light trucks, farm tires, and heavy-duty equipment. It provides rust-inhibiting protection to help reduce corrosion on rims and wheels, and helps support proper tire bead seating during inflation to reduce air leakage. The silicone-free, soap-free formula is whitewall safe to help prevent discoloration on whitewall tires and sensitive sidewall markings.
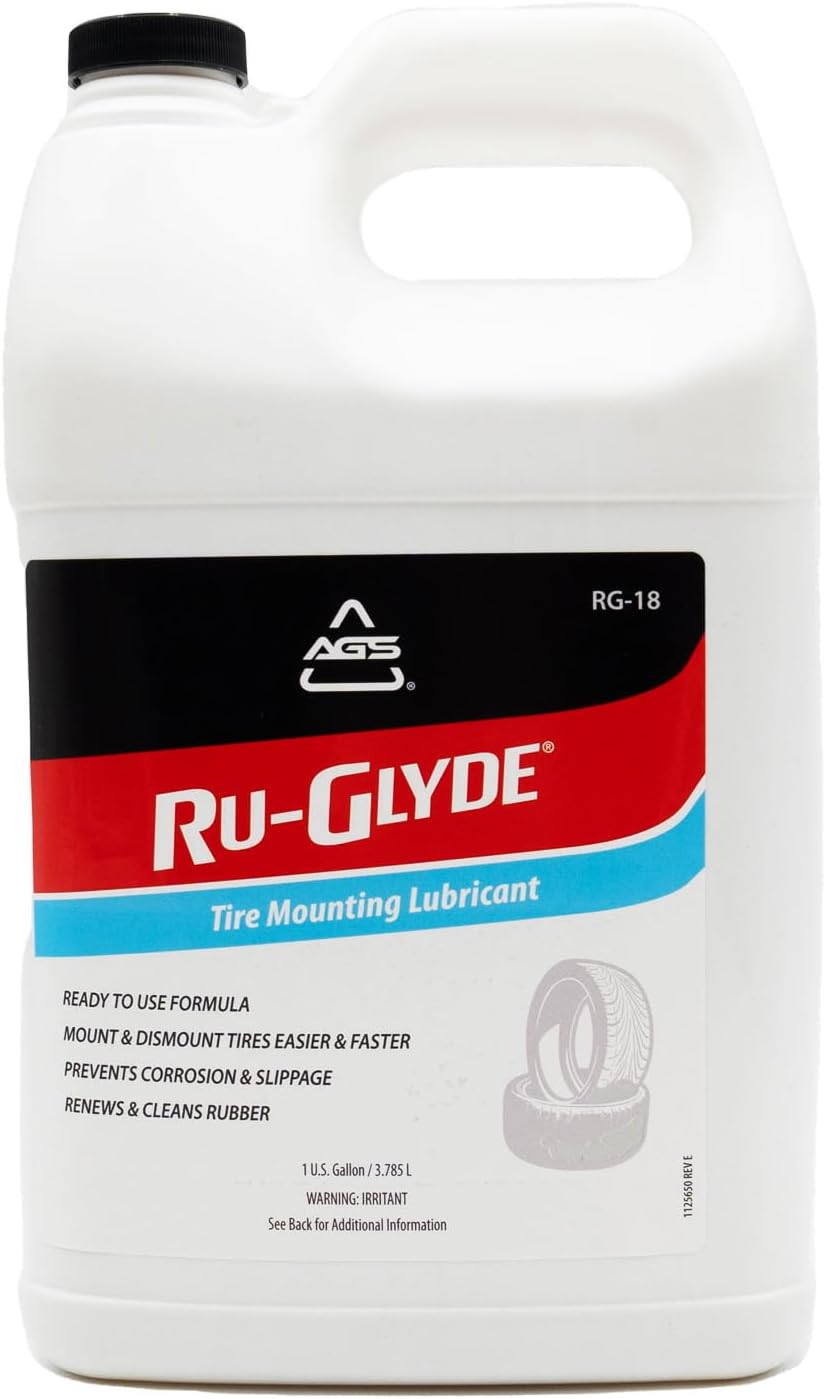
Ru-Glyde tire mounting lubricant from AGS seats tire beads smoothly on the first try with a thick, stay-put formula. It is ready to use with no mixing or dilution, helps prevent rim rust, and dries completely without causing bead slip residue. The water-based formula also conditions aged rubber, making it useful for sidewalls, gaskets, and door seals while remaining safe for tire, wheel, and technicians.
Tire Bead Lubricant
Tire bead lubricant reduces friction so the beads slide into place instead of dragging, folding, or tearing. Use tire bead lubricant made for tire service. Grease, oil, and random household substitutes can affect the tire, rim, or seal and may create problems later.
| Benefit | Result |
|---|---|
| Less drag | Smoother mounting |
| Better bead seating | Secure rim fit |
| Lower wear | Longer component life |
| Safer workflow | Less injury risk |
| Machine aid | Faster shop output |
Apply the lubricant evenly on both beads before inflation. That small step helps protect the bead and rim while making the process more controlled.
Bead-Breaking Tools
Bead-breaking tools separate the tire bead from the rim during demounting. A bead breaker arm applies controlled force to the tire sidewall near the rim so the tire can be removed without tearing the bead or bending the wheel.
This is one place where the right tool matters. Aggressive prying, steel hammers, or poor technique can scar alloy wheels, damage TPMS sensors, or weaken the tire bead. A trained technician uses the bead breaker in the correct position and inspects the wheel as the tire comes off.
Balancing Equipment
| Tool | Function | Benefit |
|---|---|---|
| Bubble balancer | Spots static imbalance | Simple, fast |
| Dynamic balancer | Measures spin imbalance | Higher accuracy |
| Tire machine | Mounts beads on rim | Correct alignment |
| Inflation jet | Seats beads with air | Secure fit |
| Valve stem core tool | Manages valve cores | Maintains tire pressure |
Balancing equipment finds heavy and light spots in the mounted tire-and-wheel assembly. The technician adds clip-on or adhesive wheel weights where needed. NHTSA TireWise says new tires should always be balanced when installed because balancing helps the wheels rotate properly and reduces shake or vibration.
What Tire Mounting Costs
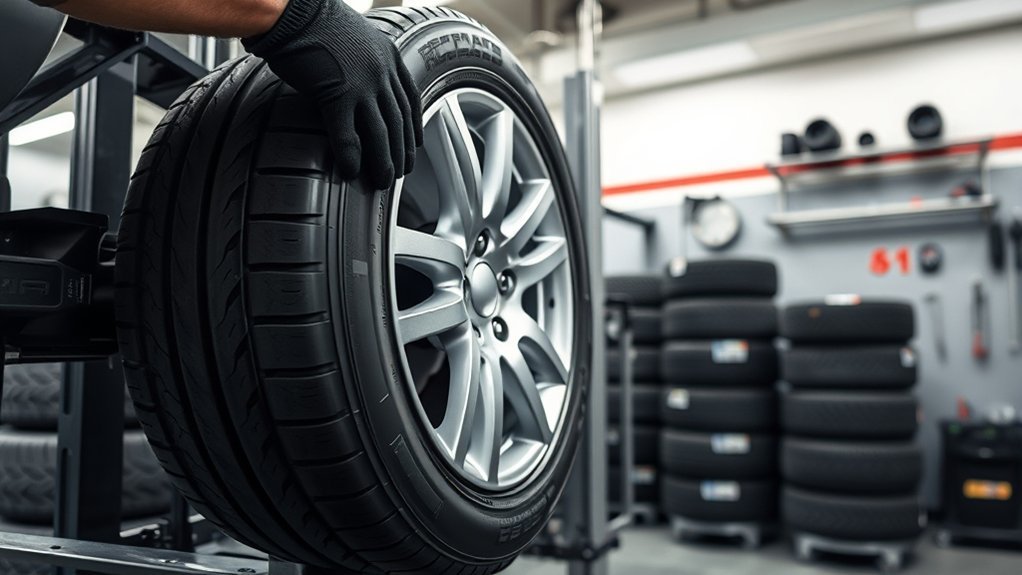
Tire mounting cost depends on the shop, region, tire type, wheel size, and what is included in the service. A basic carry-in mount may cost less than a full installation package that includes balancing, valve stems, lifetime rotation, road-hazard coverage, disposal, or TPMS parts.
For a current pricing example, Walmart Auto Care lists per-tire pricing for services such as carry-in tire mounting and tire installation packages. Discount Tire explains that mounting and balancing tires not purchased through them is charged per tire and can vary by store region.
- Mounting only: usually the lowest line item, but it may not include balancing or valve service.
- Mounting plus balancing: the most common service package for new tires.
- Valve stem or TPMS service: may be added if the valve is old, leaking, or part of a TPMS rebuild kit.
- Run-flat, low-profile, and large wheels: often cost more because they require more care and equipment.
- Disposal and shop fees: may be separate, so ask for the out-the-door price.
Note: Ask the shop, “Does this price include mounting, balancing, valve stems or TPMS parts, disposal, tire pressure reset, and lifetime balancing?” That one question prevents most surprise tire-installation charges.
[Products Worth Considering]

The VEHLIVE SU-50448 II TPMS relearn tool provides a fast activation reset to restore accurate tire pressure monitoring after sensor replacement or tire rotation. It supports 315 MHz and 433 MHz GM series sensors and helps clear dashboard pressure warnings. With simple two-button operation and horn-confirmed relearning order, you can reprogram sensors conveniently at home.

Keep your tires performing with these valve core removal tools designed to quickly disassemble and reinstall standard valve cores. The compact, portable design makes it easy to carry for bicycle, motorcycle, car, or truck repairs. Durable stainless steel construction helps you handle routine tire maintenance with less hassle.

This TPMS relearn tool helps you quickly activate, match, and reset GM tire pressure sensors to keep the vehicle monitoring system working properly. It clears tire pressure alarms and dashboard warning lights after sensor replacement or tire rotation, and supports learning for common 315/433 MHz TPMS sensors. Designed for simple one-button operation, it can help you avoid unnecessary trips to repair shops.
Why New Tires Belong on the Rear
When you replace only two tires, the new pair should usually go on the rear axle, even on many front-wheel-drive vehicles. The reason is stability. Deeper rear tread helps the back of the vehicle resist hydroplaning and sliding in wet conditions.
Continental Tire explains that if you choose two new tires, placing them on the rear gives the rear axle deeper tread and better hydroplaning resistance. That helps reduce the chance of the rear of the vehicle losing grip first.
Rear Traction Advantage
It may seem logical to put the newest tires on the front because the front tires steer and often do more braking work. In wet conditions, however, rear grip is critical. If the front tires lose some grip first, the vehicle is more likely to understeer, which many drivers can correct by easing off the accelerator. If the rear tires lose grip first, the vehicle can rotate into oversteer, which is harder to control.
- Install a new tire pair on the rear axle unless the vehicle maker or tire maker gives a different instruction.
- Keep tires matched on each axle by size, type, and tread pattern whenever possible.
- Do not mix tires in a way that creates unpredictable wet-road handling.
- Replace all four tires when tread depth, age, or vehicle requirements make a pair replacement unsuitable.
Hydroplaning Risk Reduction
Hydroplaning happens when water prevents the tire from maintaining effective contact with the road. Deeper tread channels water better than worn tread, so the tire with more tread usually has more wet-road reserve. When that better tread is on the rear, the back of the vehicle is less likely to step out in rain.
Pressure still matters. NHTSA recommends checking tire pressure at least once a month when tires are cold and using the pressure shown on the vehicle’s Tire and Loading Information Label or owner’s manual, not the maximum pressure molded on the tire sidewall.
Stability In Wet Turns
In wet turns, rear-tire grip helps the vehicle track predictably. If the rear tires have less tread than the front, the rear can slide before the driver expects it. Putting the new pair on the rear gives the vehicle a better chance of staying balanced during rain, lane changes, and sweeping turns.
Pro Tip: If your front and rear tires are different sizes, your vehicle may not allow normal tire rotation. Check the owner’s manual before replacing only two tires or moving tires between axles.
Tire Balancing After Mounting
After mounting, the tire-and-wheel assembly should be balanced. Even a small weight difference can create vibration once the wheel is spinning at road speed. Balancing helps reduce steering-wheel shake, uneven tread wear, suspension stress, and driver fatigue.
A shop may use static balancing, dynamic spin balancing, or road-force balancing. Dynamic balancing is common for modern passenger vehicles because it measures imbalance while the assembly spins. Road-force balancing can help diagnose harder vibration problems by measuring how the tire and wheel behave under load.
Balancing is especially important after new tire installation, tire repair, seasonal tire swaps, wheel damage, or a vibration complaint. If the steering wheel shakes after service, return to the shop and ask them to recheck balance, wheel seating, lug torque, tire pressure, and wheel condition.
[Products Worth Considering]

The 22800 wheel stud installer makes replacing wheel studs quick and secure, saving time and effort during tire service. It uses a ratchet or impact wrench to pull new studs firmly into place, helping when existing studs are too long. Compatible with most automotive wheels and light-duty truck wheel studs, it’s designed for easy, tool-assisted installation.

These aluminum alloy tire valve stem caps protect the valve core from corrosion and help prevent air leakage for more stable tire pressure. The rubber ring design helps support a secure, safe seal while adding a stylish look to your Honda wheels. Easy to install by hand, these caps are ideal for everyday driving and weather exposure.

This VEVOR tire bead breaker uses a slide-hammer impact and wedge tip to separate tire beads from rims quickly and efficiently without damaging hub surfaces. The long handle and sturdy steel construction help reduce user strain while providing reliable, portable tire changing for cars, trucks, and more. Ideal for home mechanics and repair shops handling multiple vehicle tire sizes.
Tire Mounting Mistakes That Damage Tires
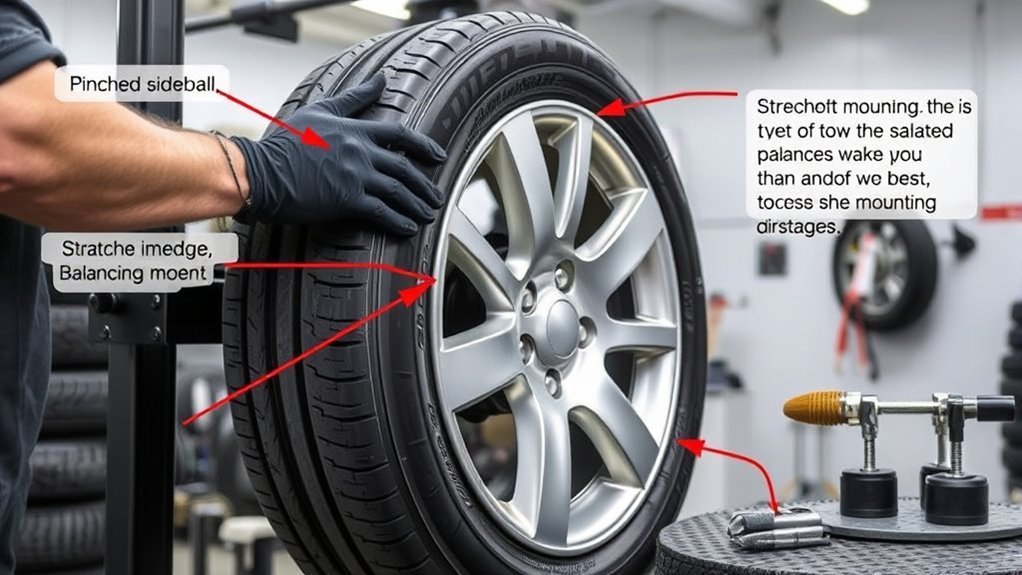
A few common mounting mistakes can damage the tire or wheel before the vehicle leaves the shop. Most problems come from rushing, using the wrong lubricant, ignoring sidewall markings, or failing to protect the valve and TPMS sensor.
- Wrong tire size: never force a tire onto a rim it was not designed to fit.
- No bead lubricant: dry mounting can tear or distort the bead.
- Wrong lubricant: grease, oil, or harsh substitutes can create sealing and material problems.
- TPMS damage: careless tool placement can break the sensor or valve stem.
- Ignoring directional markings: some tires must face a specific rolling direction or outside position.
- Skipping balancing: unbalanced assemblies can vibrate and wear unevenly.
- Wrong lug torque: over-tightening or under-tightening lug nuts can create safety and brake-rotor problems.
Professional service protects the tire, wheel, sensor, and vehicle. It also gives you a chance to catch wheel damage, pressure problems, or tread issues before they become road problems.
Before You Leave the Tire Shop
After tire mounting and installation, do a quick check before driving far. You do not need to inspect every tool mark, but you should confirm the basics.
- Pressure: Ask whether all tires were set to the vehicle placard pressure when cold or adjusted appropriately after warm service.
- TPMS: Make sure the TPMS light is off or that the shop completed the relearn procedure if required.
- Lug nuts: Confirm the wheels were tightened with a torque wrench to the vehicle specification.
- Valve stems: Look for new valve stems or TPMS service parts if those were included in the quote.
- Balance weights: Ask whether each wheel was balanced and whether any wheel had unusual weight needs.
- Leaks: A shop should check the bead and valve area for leaks after mounting.
- Road feel: If you feel vibration, pulling, thumping, or air loss, return to the shop promptly.
A smooth tire mount is not finished when the bead seats. It is finished when the tire is balanced, leak-checked, inflated to the vehicle placard pressure, and safely installed on the vehicle.
Frequently Asked Questions
What does it mean to mount a tire?
To mount a tire means to fit the tire onto a wheel rim and seat the beads so the tire can hold air. A proper mount includes bead lubrication, controlled inflation, valve or TPMS attention, leak checking, and balancing after the tire is on the rim.
How much does it cost to just mount tires?
The price depends on the shop, region, tire type, and what is included. Basic carry-in mounting may be cheaper than a full installation package with balancing, valve stems, disposal, TPMS service, or lifetime rotation and balancing. Always ask for the out-the-door price per tire.
Is tire mounting the same as installation?
No. Mounting puts the tire on the wheel rim. Installation is the broader service of putting the mounted wheel assembly back on the vehicle, tightening the lug nuts to specification, setting pressure, and checking systems such as TPMS. Balancing is a separate step that is usually done after mounting.
What tire pressure should I use for a Kia Forte?
Use the tire pressure listed on your Kia Forte’s driver-door placard or in the owner’s manual. Do not rely on a universal number or the maximum pressure printed on the tire sidewall. Check pressure when the tires are cold for the most accurate reading.
Do new tires need balancing after mounting?
Yes. New tires should be balanced after mounting because even a new tire-and-wheel assembly can have uneven weight distribution. Balancing helps prevent vibration, uneven tread wear, and unnecessary suspension stress.
Can I mount tires myself?
Most drivers should not mount tires themselves. Tire mounting requires the correct tire machine, bead tools, lubricant, inflation equipment, pressure control, and safety training. A mistake can damage the tire, wheel, TPMS sensor, or cause injury during inflation.
Do I need an alignment after tire mounting?
Not always. Mounting and balancing do not adjust suspension angles. You may need an alignment if the old tires had uneven wear, the vehicle pulls to one side, the steering wheel is off-center, or the vehicle recently hit a curb or pothole.
Where should two new tires be mounted?
When replacing only two tires of the same size, the new pair should usually be mounted on the rear axle. Better rear tread helps improve wet-road stability and reduces the chance of rear-tire hydroplaning or oversteer.
Conclusion
Tire mounting is the foundation of a safe tire installation. When it is done correctly, the tire seats cleanly on the rim, holds air, balances smoothly, and works with the vehicle instead of fighting it. The best result comes from a shop that checks the wheel, uses proper bead lubricant, protects the valve and TPMS sensor, balances the assembly, sets the right pressure, and torques the wheel correctly.
If you are replacing only two tires, put the new pair on the rear unless your vehicle or tire maker gives a different instruction. If you feel vibration, air loss, pulling, or a TPMS warning after service, return to the shop and have the tire mounting, balance, pressure, and installation checked.
Sources
- U.S. Tire Manufacturers Association — Tire Service Professionals — tire-service publications for mounting, demounting, bead damage, lubricants, and tire-mounted sensors.
- NHTSA TireWise — tire pressure, balancing, tread, TPMS, and tire-maintenance guidance.
- OSHA 29 CFR 1910.177 — rim-wheel servicing safety requirements for covered workplace tire service.
- Continental Tire — Mixing Tires — guidance on installing two new tires on the rear axle.
- Walmart Auto Care Tire Maintenance — current examples of per-tire mounting and installation service pricing.
- Discount Tire — Mounting and Balancing — mounting, balancing, regional pricing, and lifetime balancing details.

