
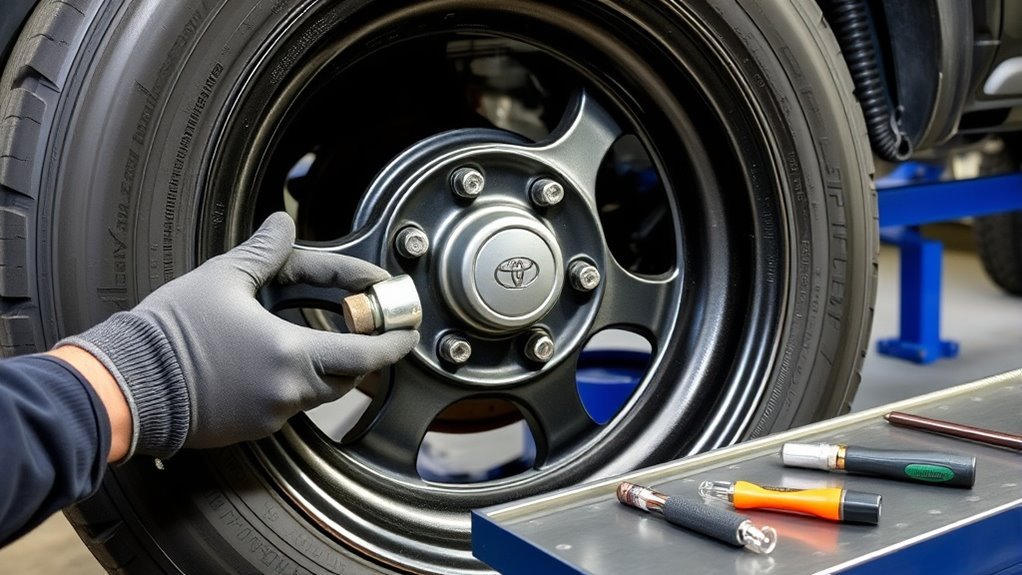
You replace a Toyota 4Runner TPMS sensor when the warning light keeps returning after the tires are correctly inflated, when a scan tool shows a dead or missing sensor, or when old sensor batteries start failing. The job is simple for a tire shop, but it is not just a “swap the valve stem” repair: the tire bead must be broken, the seal must be replaced, the sensor ID must be registered or cloned, and the wheel should be leak-checked and balanced before it goes back on the road.
Quick Answer
Replace a 4Runner TPMS sensor only after checking cold tire pressure and confirming the sensor fault with a Toyota-capable TPMS scan tool. Buy sensors and service kits by VIN, install them with new seals, register or clone the sensor IDs, then drive as prompted until the TPMS light clears.
Key Takeaways
- A solid TPMS light usually means low tire pressure; a light that flashes for about a minute and then stays on points to a system malfunction.
- Toyota part numbers must be confirmed by VIN, wheel type, and market. Do not buy sensors based on model year alone.
- OEM sensors usually need ID registration. Programmable aftermarket sensors may be cloned before mounting if your shop has the right tool.
- Always replace the valve-stem seal, washer, and nut if the service kit calls for it. Reusing old seals is a common leak source.
- TPMS is a warning system, not a tire-maintenance replacement. Check all tires with a gauge at least monthly when cold.
At a Glance
| Time Required | 30-60 minutes at a tire shop for four sensors; longer if IDs must be diagnosed or re-registered |
| Difficulty | Moderate to advanced DIY; easy for a shop with a tire machine and TPMS tool |
| Tools Needed | TPMS scan/programming tool, tire machine or bead breaker, inch-pound torque wrench, valve-core tool, soapy water, air source, wheel balancer |
| Cost | Varies by OEM vs aftermarket sensors, service kits, mounting/balancing, and registration labor; expect a higher total when replacing all four sensors |
NHTSA reported 511 motor vehicle traffic fatalities in tire-related crashes in 2024, and it still recommends checking tire pressure monthly because TPMS only warns after a tire is significantly underinflated.
Is Your 4Runner’s TPMS Sensor Actually Failing?

Start with the warning light, but do not stop there. A solid TPMS light usually means one or more tires are significantly underinflated. A light that flashes for about 60-90 seconds and then stays on usually means the TPMS has a malfunction, such as a dead sensor, unregistered sensor ID, incompatible wheel or sensor, or communication problem. The federal TPMS rule also requires a malfunction warning when the system cannot generate or transmit the right signals.
Before buying sensors, check the simple things first:
- Check all tire pressures cold. Use the pressure on the driver-door Tire and Loading Information label or the exact pressure listed in your owner’s manual, not the maximum pressure molded on the tire sidewall.
- Inspect for slow leaks. Spray soapy water around the valve stem, bead area, tread punctures, and repaired spots. Bubbles mean air is escaping.
- Consider temperature changes. A tire that was barely acceptable in warm weather can trigger the light after an overnight temperature drop.
- Scan each sensor. A TPMS tool can read sensor ID, pressure, temperature, battery status if supported, and signal strength. This is the cleanest way to separate a pressure problem from a sensor problem.
- Review recent tire work. New tires, a wheel swap, a rotation involving a second wheel set, or a broken valve stem can all trigger TPMS trouble if the IDs were not registered correctly.
Note: TPMS is not a substitute for regular pressure checks. NHTSA recommends checking tire pressure at least once a month when the tires are cold, even on vehicles equipped with TPMS.
Before You Buy: Confirm the Right Sensor by VIN
The original article names Toyota TPMS sensor 42607-48101 and service kit 04423-33060. Treat those as candidates, not a blind-buy guarantee. Toyota part fitment can vary by model year, production date, market, wheel package, sensor frequency, and replacement history. The safest move is to confirm the sensor and service-kit numbers by VIN through Toyota Genuine Parts, a Toyota dealer parts counter, or the Toyota service information your shop uses.
Have this information ready before ordering:
- VIN and model year
- Trim and wheel size
- Whether you are replacing one sensor, all four, or setting up a second wheel set
- Whether your sensors are original Toyota sensors, aftermarket programmable sensors, or a mixed set
- Whether the TPMS light is solid, flashing-then-solid, or only comes on after driving
Do not assume the spare tire has a monitored TPMS sensor. Check your Toyota owner’s manual for your exact 4Runner and wheel setup.
OEM or Aftermarket: Which Sensors Work for Your 4Runner?
You have two practical choices: Toyota OEM sensors or quality aftermarket programmable sensors. Neither choice is automatically wrong. The best option depends on your budget, tool access, and how much diagnostic risk you want to accept.
| Sensor Type | Best For | Watchouts |
|---|---|---|
| OEM Toyota sensor | Owners who want the most straightforward fitment path when the part is confirmed by VIN. | Usually needs sensor ID registration with a Toyota-capable scan tool unless the system supports a specific wheel-set procedure. |
| Aftermarket programmable sensor | Second wheel sets, budget repairs, and shops that can clone or program Toyota-compatible sensors correctly. | Wrong frequency, wrong protocol, or poor programming can keep the TPMS light on. |
| Cheap unknown sensor | Rarely the best choice. | May not wake up, may not register, may leak, or may fail early. |
If your 4Runner is old enough that one original sensor battery has failed, replacing all four can make sense. It prevents another tire dismount when the next old battery dies. If the other sensors scan strong and you are controlling costs, replacing only the failed sensor is reasonable.
[Products Worth Considering]

Marsflex brand TPMS replacement sensors help restore tire pressure monitoring for compatible Toyota, Lexus, Scion, and Pontiac models. Each sensor is pre-programmed for the vehicle application and includes a long-life battery for up to 8 years of normal use. Designed to replace common OE numbers and requires relearning using a TPMS scan tool after installation.

Replace your worn or missing TPMS sensors with pre-programmed, direct-fit sensors for compatible Ford, Lincoln, and select Mazda models. Each sensor comes ready to activate with a scan tool, helping restore accurate tire pressure monitoring and trouble-free installation. Built with a long-life CR2032 battery and tested before factory release, this set provides dependable performance with a one-year warranty.

The VEHLIVE SU-50448 II TPMS relearn tool provides a fast activation reset to restore accurate tire pressure monitoring after sensor replacement or tire rotation. It supports 315 MHz and 433 MHz GM series sensors and helps clear dashboard pressure warnings. With simple two-button operation and horn-confirmed relearning order, you can reprogram sensors conveniently at home.
What You’ll Need: Tools, Torque Specs, and Service Kits
Gather everything before the tire comes off the wheel. At minimum, you need the correct TPMS sensor, a matching service kit with a new seal and hardware, a TPMS tool that supports Toyota registration or cloning, and tire-service equipment.
| Component | Specification or Requirement |
|---|---|
| TPMS sensor | Confirm by VIN. Toyota p/n 42607-48101 may be a match for some 4Runner applications, but verify before purchase. |
| Service kit | Use the matching seal, washer, nut, valve core, and cap for the exact sensor. Do not reuse old rubber seals. |
| Torque wrench | Use an inch-pound torque wrench. If your Toyota service data or sensor kit specifies 35 in-lbs, follow that exact spec; otherwise use the spec supplied for your sensor. |
| TPMS tool | Must read/trigger Toyota sensors and either clone programmable sensors or register new IDs to the vehicle. |
| Tire equipment | Tire machine or proper bead breaker, air source, valve-core tool, soapy water, and wheel balancer. |
Warning: Breaking a tire bead and remounting a tire can damage the tire, rim, or TPMS sensor if done incorrectly. If you do not have tire-service equipment and balancing equipment, let a qualified tire shop handle the physical installation and use your TPMS tool only for diagnosis or registration.
[Products Worth Considering]
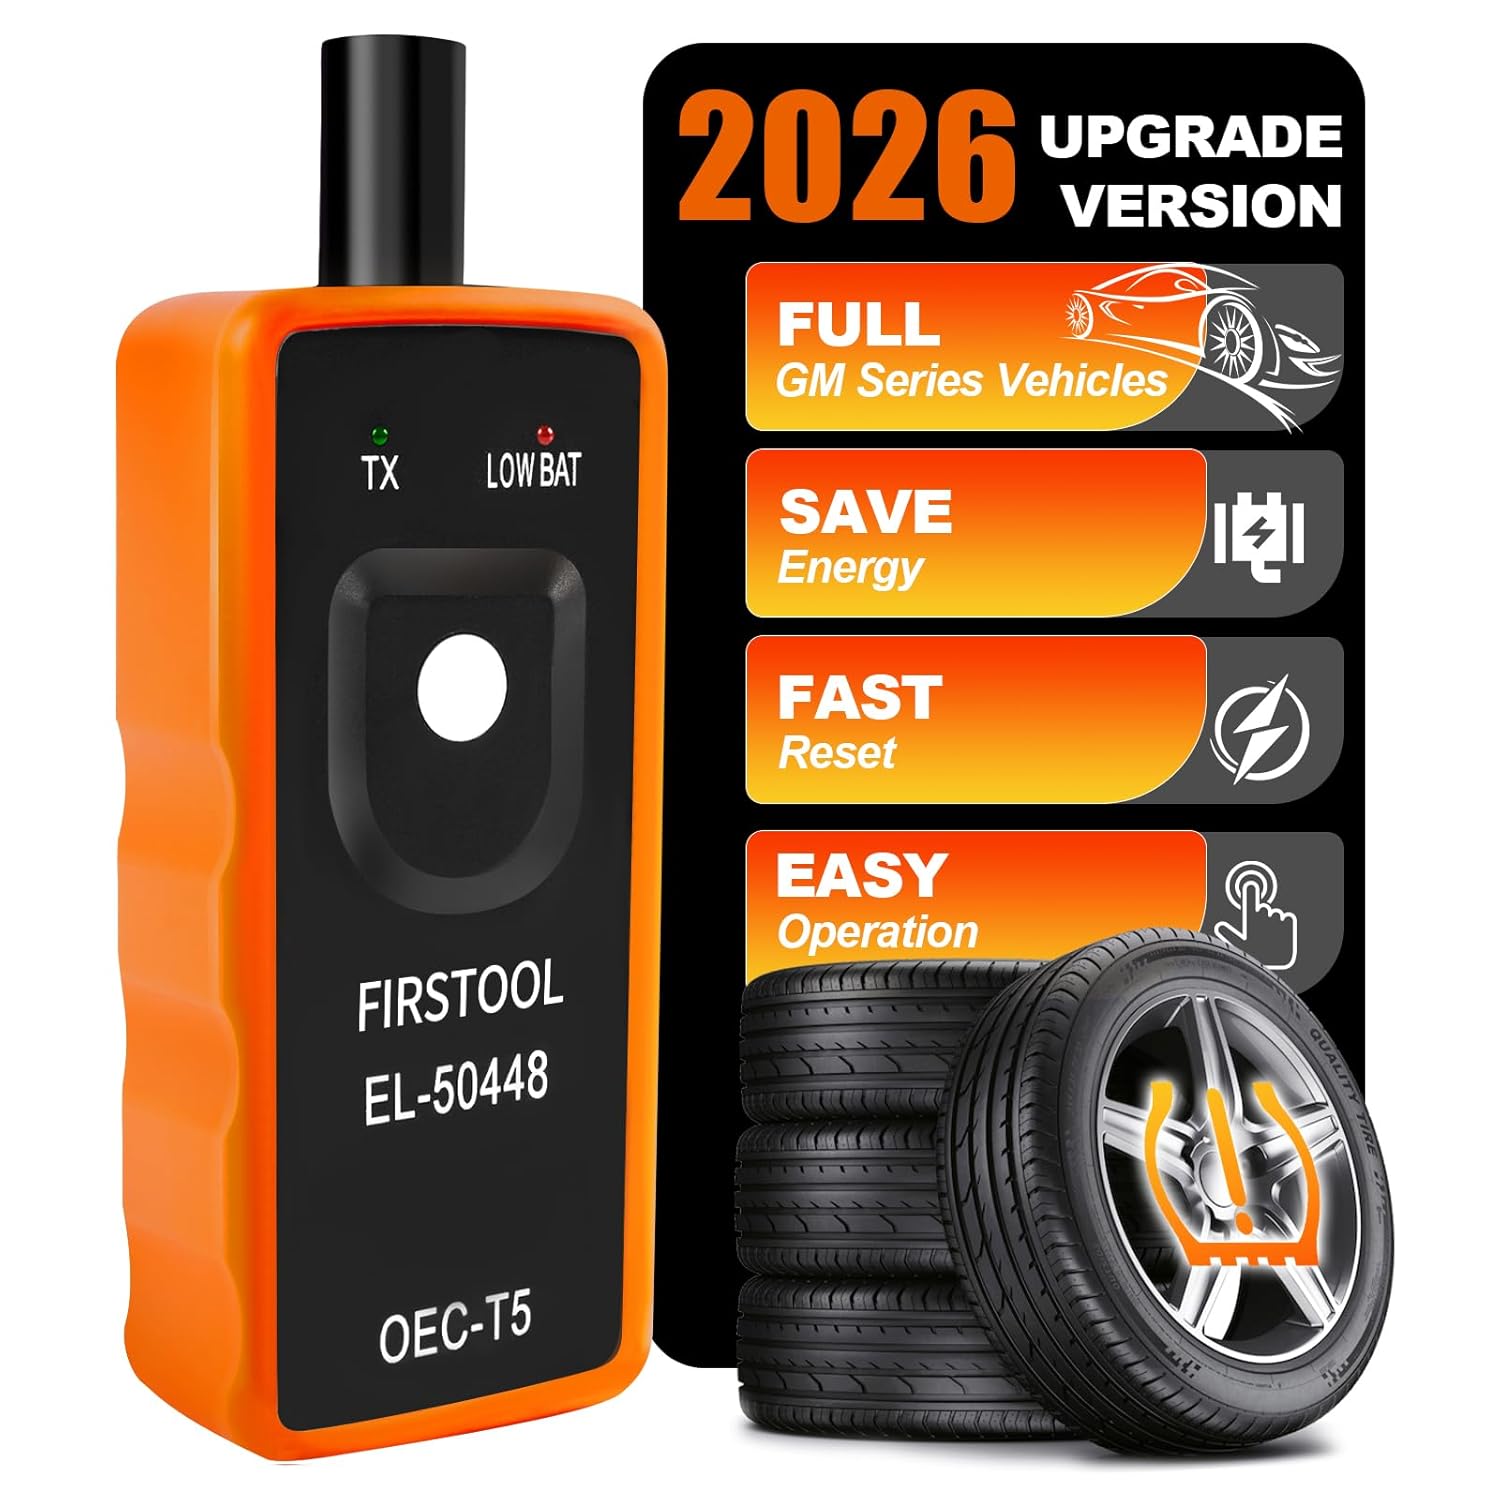
This TPMS relearn tool helps you quickly activate, match, and reset GM tire pressure sensors to keep the vehicle monitoring system working properly. It clears tire pressure alarms and dashboard warning lights after sensor replacement or tire rotation, and supports learning for common 315/433 MHz TPMS sensors. Designed for simple one-button operation, it can help you avoid unnecessary trips to repair shops.

Replace worn or malfunctioning GM TPMS sensors with this 433MHz pre-programmed sensor set designed for compatibility with many Chevrolet, Buick, GMC, and Cadillac models. It includes guidance for proper OBDII relearning/pairing after installation and supports reliable long-term operation with a high-performance CR2032 battery. Quality tested for durability and performance to help restore accurate tire pressure monitoring.
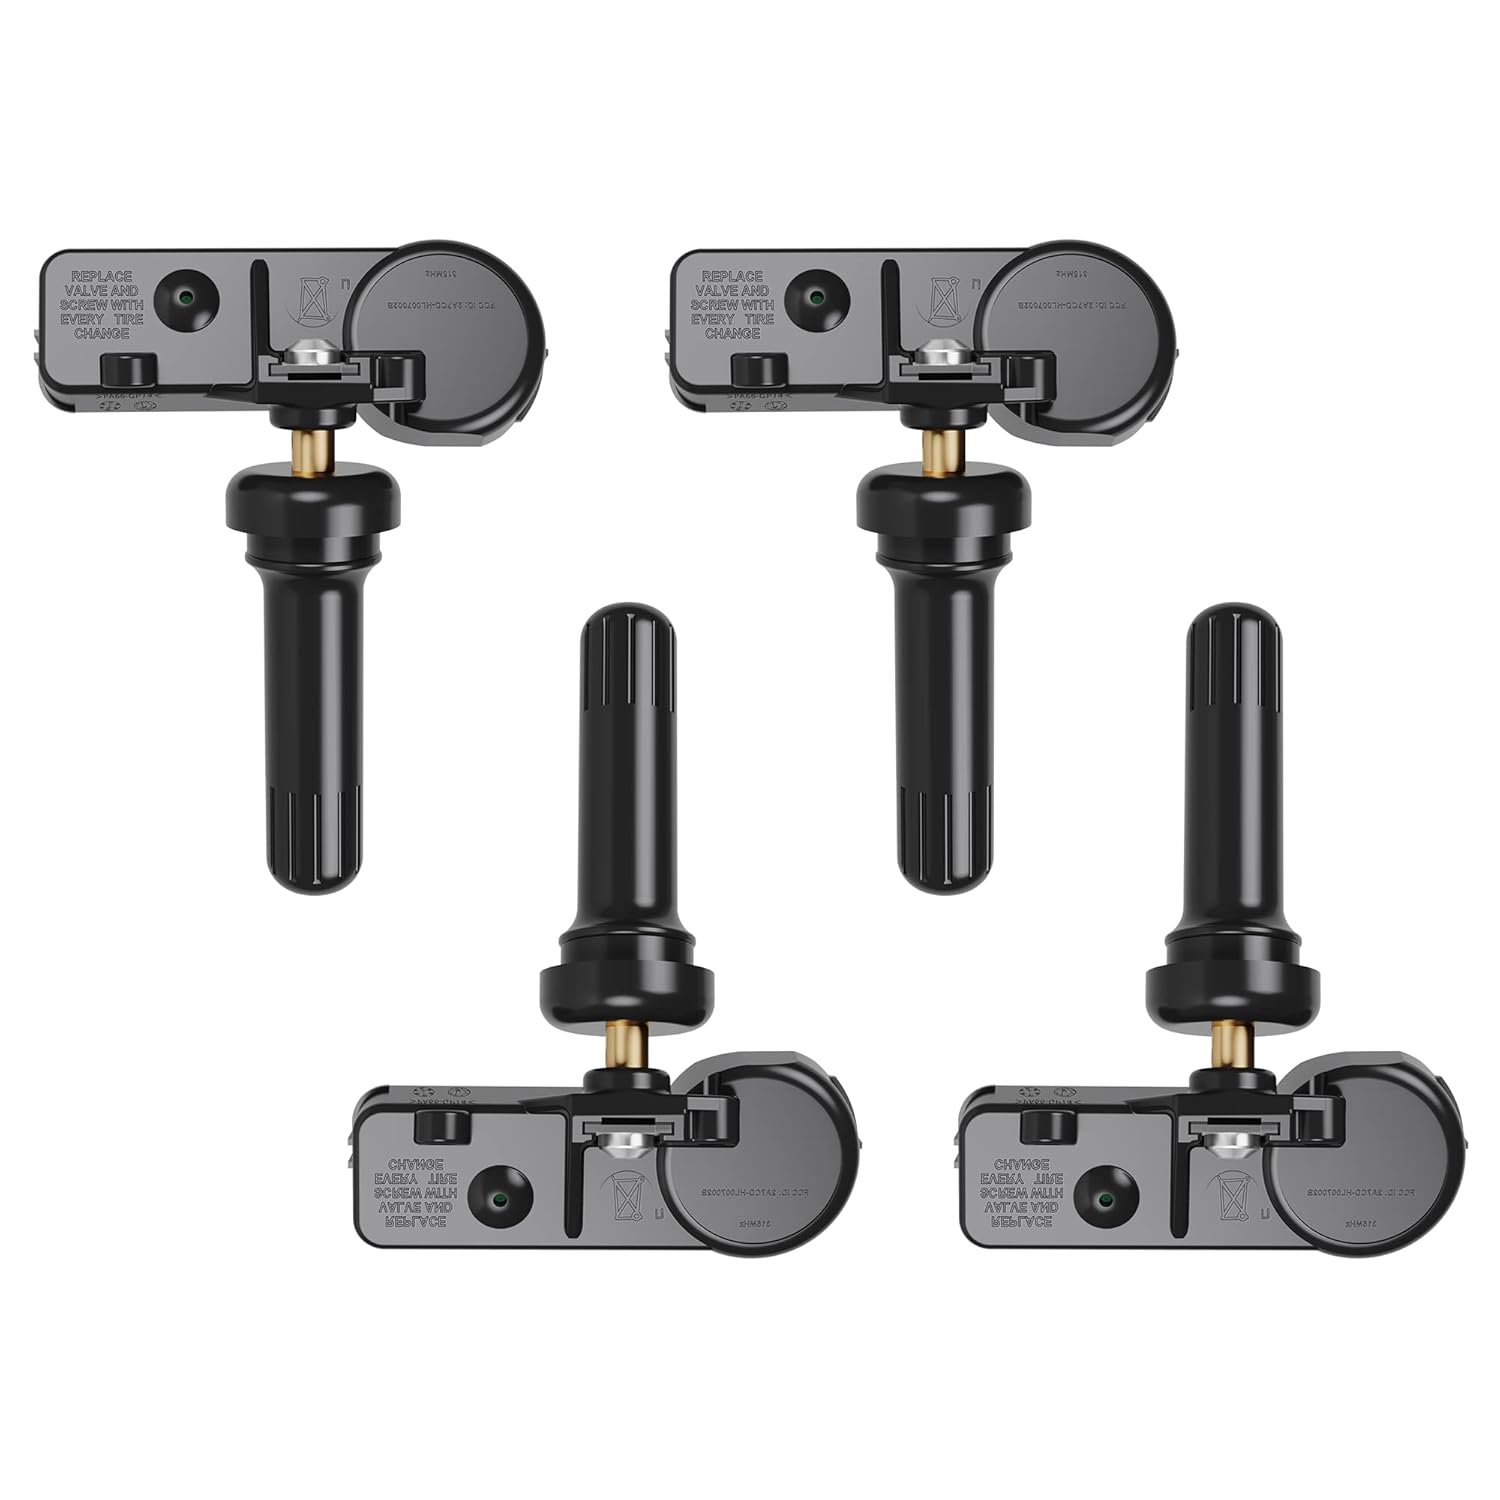
Replace worn or faulty TPMS sensors with this brand new 315MHz GM-compatible replacement set for select Chevy, GMC, Buick, Cadillac, and similar vehicles. These sensors are pre-programmed for your make/model/year and typically only require activation with a scan tool. Built for long service life with a high-temperature battery, they help maintain reliable tire pressure monitoring for safer driving.
Programming Before You Mount: 4Runner Registration Methods

There are two separate tasks that people often call “programming.” Mixing them up causes many TPMS headaches.
Clone vs. Register: Know Which Job You Are Doing
- Cloning copies the old sensor ID onto a programmable aftermarket sensor. If done correctly, the vehicle thinks the same sensor is still installed. This is useful for second wheel sets or replacing a failed sensor when the old ID is readable.
- Registration writes the new sensor IDs into the 4Runner’s TPMS ECU. This is usually needed for new OEM sensors or any sensor with a new ID.
Before mounting, trigger each sensor with your TPMS tool and record the ID. If you are using programmable aftermarket sensors, clone or program them before the tire is mounted. If you are using OEM Toyota sensors, make sure the ID is readable and then register the ID with a Toyota-capable tool after installation or according to your vehicle’s wheel-set procedure.
Pro Tip: Photograph or write down each sensor ID before the tire is mounted. If registration fails later, you can verify whether the IDs in the TPMS ECU match the sensors actually installed in the wheels.
What About “Change Wheel Set”?
Some Toyota systems include a wheel-set selection or “Change Wheel Set” style menu. Use it only if your specific 4Runner displays that option and your owner’s manual explains the procedure. If the menu is not present, use a scan tool, Toyota Techstream, or a tire shop that can register TPMS IDs.
After ID registration, drive the vehicle as prompted by the tool or the owner’s manual until the system completes learning. Avoid relying on the old “drive above 50 mph” shortcut. Normal road-speed learning requirements vary by Toyota system, sensor type, and tool procedure.
Installing TPMS Sensors: Torque, Sealing, and Leak Checks
Once the sensor ID is read or programmed, install the sensor with clean parts and controlled torque. Precision matters because overtightening can crack the sensor or deform the seal, while undertightening can allow a slow leak.
- Deflate the tire fully. Remove the valve core and release all air before breaking the bead.
- Break the bead near the valve carefully. Keep the bead breaker or tire machine head away from the TPMS sensor body.
- Remove the old sensor. Save the old ID if it can still be scanned.
- Clean the valve hole. Remove corrosion, dirt, and old rubber residue without gouging the wheel.
- Install the new seal and hardware. Follow the order supplied with the sensor kit. For clamp-in sensors, the seal, washer, and nut must sit squarely so the rim is sealed evenly.
- Torque the nut with an inch-pound wrench. Use the exact Toyota service information or sensor-kit specification. If your confirmed kit calls for 35 in-lbs, use 35 in-lbs—do not guess by feel.
- Mount and inflate the tire. Use correct tire-machine technique so the bead does not strike the sensor.
- Leak-check the valve stem. Apply soapy water around the valve stem, nut, core, and bead. Any bubbles mean the seal must be corrected before driving.
- Balance the wheel. Sensor replacement can change wheel balance, especially when replacing multiple sensors or installing new tires at the same time.
- Register or confirm the IDs. Use your TPMS tool to confirm the vehicle sees all installed sensors.
After Installation: Relearn Drive and Verification
With the tires mounted, inflated, and leak-free, complete the vehicle-side learning process. Use the procedure shown by your Toyota-capable TPMS tool or your owner’s manual. The TPMS light may not clear instantly in the driveway; the system often needs a short drive to receive each sensor signal.
During the verification drive:
- Drive at normal road speeds where safe and legal.
- Avoid hard braking, rough off-road surfaces, and stop-and-go testing if the tool calls for a steady drive.
- Let the vehicle complete the learning cycle before assuming the repair failed.
- Recheck cold pressure after the tires sit for several hours.
Federal TPMS rules require the system to warn for significant underinflation and to indicate malfunctions, but the exact Toyota learning sequence is vehicle-specific. That is why the owner’s manual, Toyota service information, or a Toyota-capable TPMS scan tool should control the final steps.
Troubleshooting: Why the TPMS Light Is Still On
If the light stays on after replacement, do not keep replacing parts blindly. Work through the problem in this order:
| Symptom | Likely Cause | Fix |
|---|---|---|
| Solid light | One or more tires are still below the placard pressure, or pressure was checked warm. | Check all tires cold and inflate to the door-label pressure. |
| Flashes, then stays on | TPMS malfunction, missing ID, incompatible sensor, or sensor not transmitting. | Scan each wheel, confirm IDs, then register or reprogram as needed. |
| One wheel will not read | Dead new sensor, wrong frequency/protocol, damaged sensor, or tool issue. | Trigger the sensor with a second tool if possible and confirm the part number by VIN. |
| Slow pressure loss after install | Pinched seal, reused seal, corrosion at valve hole, loose nut, or damaged valve core. | Deflate, reseat with a new service kit, torque correctly, and leak-check again. |
| Light returns after tire rotation or wheel swap | Second wheel set not registered, wrong wheel-set selected, or IDs assigned incorrectly. | Use the wheel-set menu if equipped, or register the installed IDs with a scan tool. |
Should You Replace One Sensor or All Four?
Replace only the failed sensor when the other sensors are newer, scan correctly, and you are trying to keep the repair cost low. Replace all four when the sensors are original and aging, when you are already buying new tires, or when more than one sensor has weak signal or battery warnings. Replacing all four during a tire change can save labor because the tires are already off the beads.
The practical decision is simple: if one sensor died young because of damage, replace one. If one original sensor died because the battery aged out, the other three may not be far behind.
[Products Worth Considering]
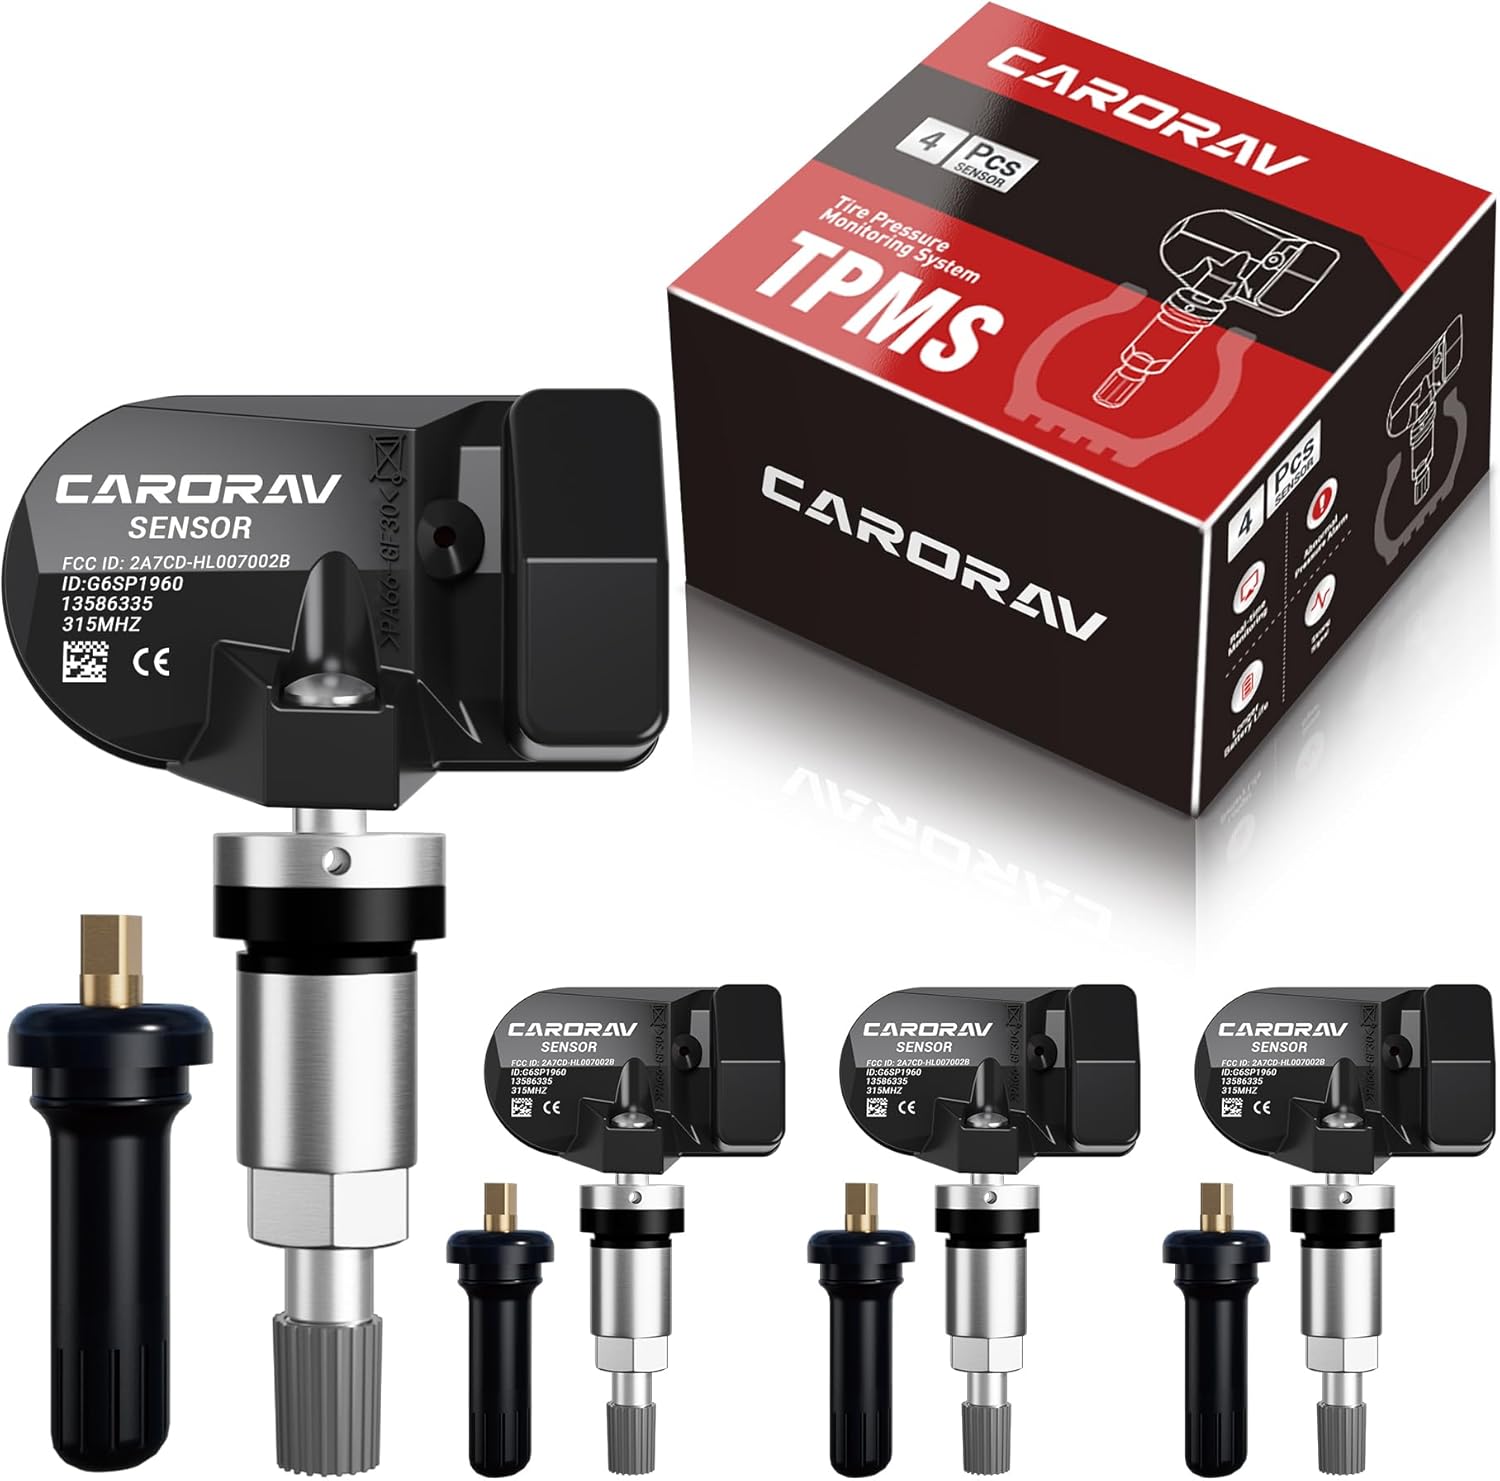
Replace worn or missing TPMS sensors with CARORAV pre-programmed GM-compatible sensors for a smoother installation experience. These 315MHz replacement sensors help monitor tire pressure in real time with long battery life, and they are designed to withstand harsh temperatures. Manual or OBDII relearn may be required to reset the system for proper recognition.
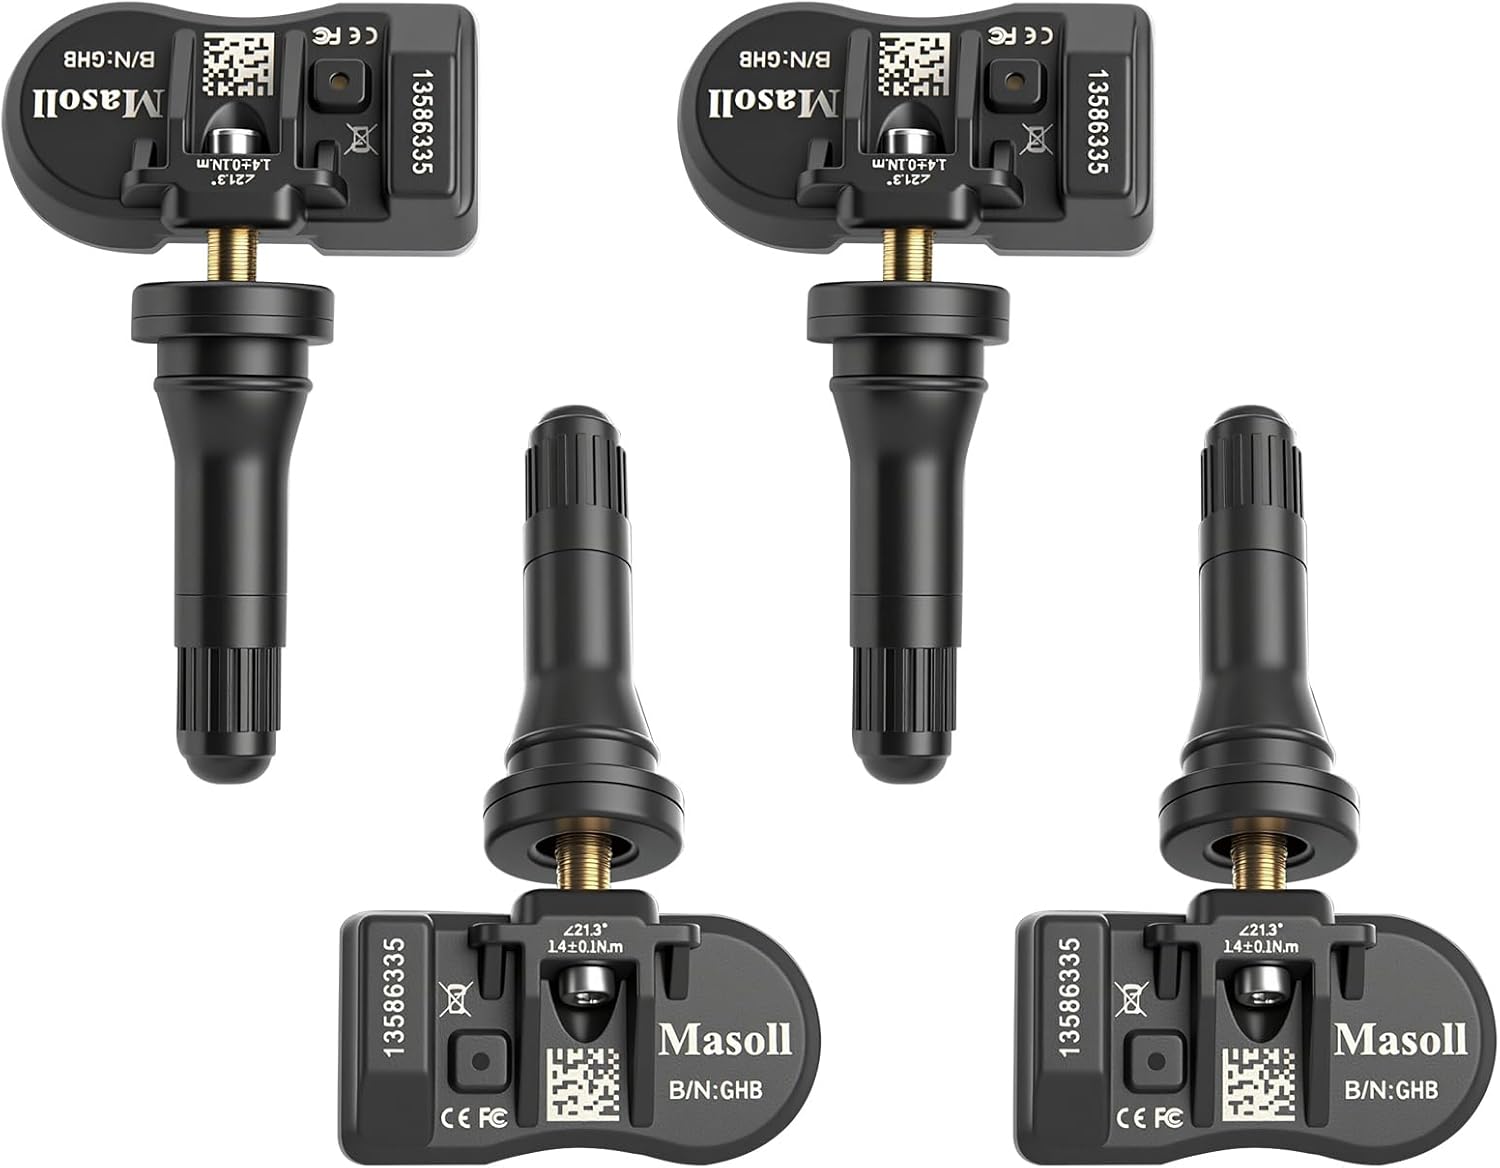
Masoll TPMS sensors are designed for most GM vehicles after 2006, helping you clear tire pressure warnings with OEM-level 315/433MHz compatibility. The 4-pack includes pre-programmed sensors, but re-learning is required after installation using a GM TPMS relearn tool or scan tool. Built with a dual-antenna design and a long-life CR2050 battery, these sensors deliver reliable performance in extreme temperatures with corrosion-resistant valve construction.

This TPMS sensor training and relearn reset tool is customized for Ford, Lincoln, and Mercury vehicles to help activate tire pressure programming after sensor replacement or tire rotation. It can activate individual tire pressure sensors with one-button operation, helping prevent TPMS warning light illumination. It is not a sensor programming tool and cannot program replacement sensors—use it to trigger/activate sensors only.
Frequently Asked Questions
How much does it cost to replace a tire sensor on a 4Runner?
The cost depends on sensor brand, whether you choose OEM or aftermarket, local labor, tire dismounting, balancing, service kits, and TPMS registration. A single sensor is cheaper than replacing all four, but replacing all four during a tire change can reduce repeat labor later.
How do I know when to replace a TPMS sensor?
Replace it when a TPMS scan tool confirms the sensor is dead, missing, transmitting bad data, or has a failed battery. Do not replace a sensor just because the light is solid; first check the tire pressure cold and inspect for leaks.
Can I replace a 4Runner TPMS sensor myself?
You can handle diagnosis and registration if you have the right TPMS tool, but the physical sensor replacement requires deflating the tire, breaking the bead, installing a new valve-stem seal, inflating the tire, leak-checking it, and balancing the wheel. Most owners should have a tire shop do the mounting work.
Do 4Runner TPMS sensors need to be programmed before installation?
Programmable aftermarket sensors may need to be cloned or programmed before mounting. OEM Toyota sensors usually come with their own IDs and must be registered to the vehicle with a Toyota-capable scan tool or the vehicle’s supported wheel-set procedure.
Does a flashing TPMS light mean low tire pressure?
A flashing TPMS light that then stays solid usually points to a TPMS malfunction, not just low pressure. A solid TPMS light usually means at least one tire is significantly underinflated. Check pressure first, then scan the sensors if the light keeps returning.
Should I use Toyota OEM or aftermarket TPMS sensors?
Use OEM sensors when you want the safest fitment path and can confirm the part by VIN. Use quality programmable aftermarket sensors when your shop can clone or program them correctly. Avoid unknown low-cost sensors that do not clearly support your 4Runner’s TPMS protocol.
Conclusion
A 4Runner TPMS sensor replacement is not hard when you separate the job into the right steps: diagnose the light, confirm sensor fitment by VIN, install the sensor with a fresh service kit, torque the valve hardware to the correct spec, leak-check the stem, balance the wheel, and register or clone the sensor IDs. Do that, and you avoid the repeat failures that come from guessing, reusing seals, or skipping the relearn process. Your 4Runner gets reliable pressure monitoring, and you get back to driving without staring at a warning light.
Sources
- Toyota Manuals and Warranties — vehicle-specific owner’s manual lookup for exact 4Runner procedures.
- Toyota Genuine Parts — official Toyota parts resource for VIN/model-specific fitment checks.
- Toyota USA Newsroom: 2022 Toyota 4Runner — official model-year context for the 2022 4Runner.
- NHTSA TireWise — tire pressure, TPMS warning behavior, and monthly cold-pressure maintenance guidance.
- 49 CFR § 571.138: Tire pressure monitoring systems — federal TPMS performance and malfunction-warning requirements.

