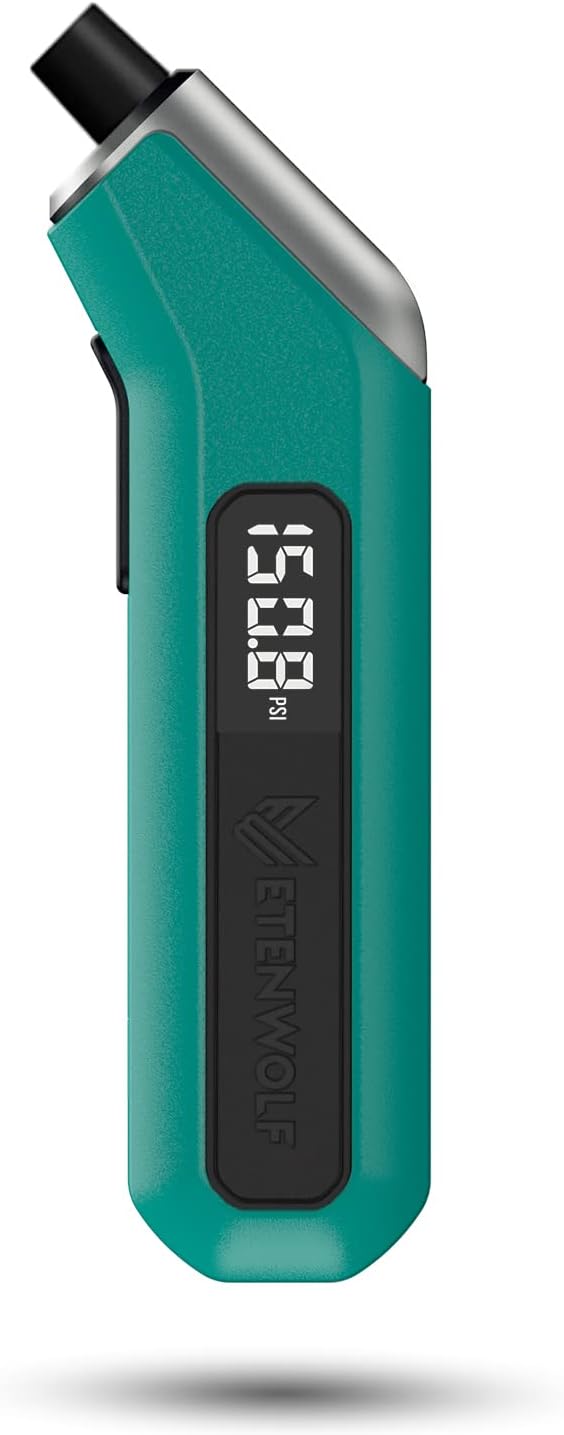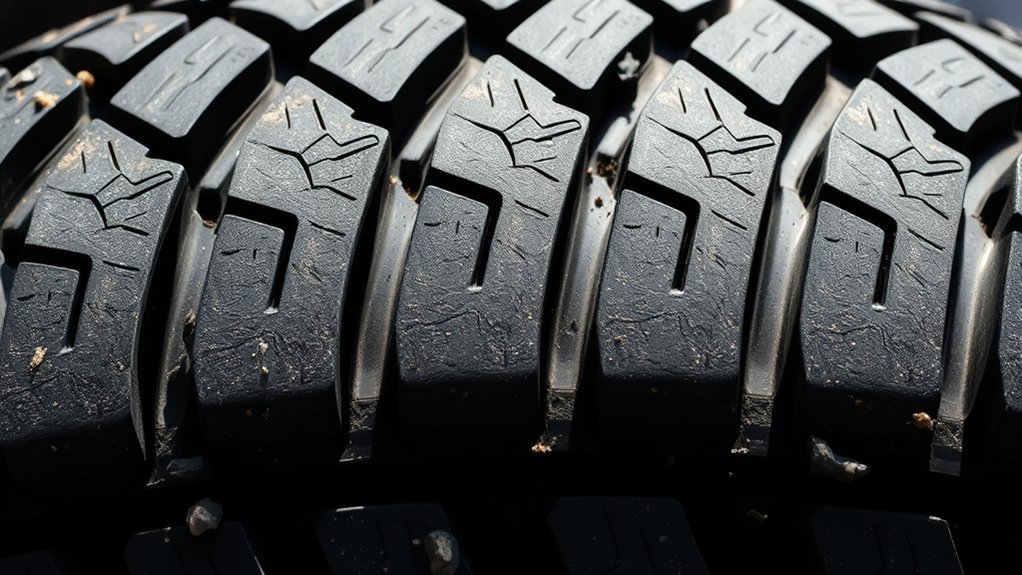
Understanding tire wear patterns helps you spot pressure, alignment, suspension, and braking problems before they shorten tire life or affect safety. This guide explains what the most common tread patterns usually mean, how to inspect your tires at home, and when a qualified technician should check the vehicle.
Quick Answer
To diagnose tire wear, compare the center, shoulders, inside edge, outside edge, and repeated high-low patches across all four tires. Center wear often points to high pressure, both-edge wear to low pressure, one-sided or feathered wear to alignment, cupping to suspension or balance issues, and flat spots to braking, skidding, or long storage.
Key Takeaways
- Check tire pressure and tread depth at least once a month, using the pressure on your vehicle’s door placard or owner’s manual.
- Replace tires at 2/32 inch of tread depth, or sooner if you see cords, bulges, cracks, rapid air loss, or severe uneven wear.
- Uneven wear is usually a symptom, not the root problem. The next step is checking pressure, alignment, balance, suspension, brakes, and rotation history.
- Do not rely only on TPMS. A tire can be low, aging, damaged, or wearing unevenly before the warning light appears.
At a Glance
| Time Required | 10–20 minutes for a basic inspection |
| Difficulty | Easy for inspection; professional help may be needed for alignment, suspension, or brake diagnosis |
| Tools Needed | Tire pressure gauge, tread-depth gauge or penny, flashlight, gloves, and a notepad or phone camera |
| Cost | Usually free if you already own a pressure gauge; a tread-depth gauge is inexpensive |
Why Diagnosing Tire Wear Is Essential for Safety
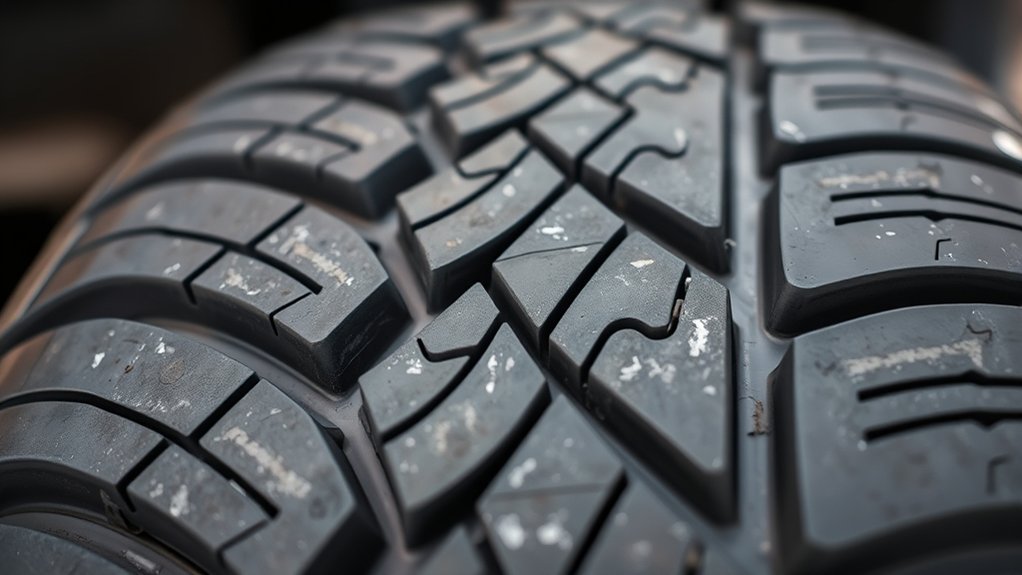
Tires are the only parts of your vehicle that touch the road, so uneven tread wear can affect traction, braking, ride comfort, fuel use, and steering response. The National Highway Traffic Safety Administration says poor tire maintenance, including low pressure and failure to rotate tires, can contribute to flat tires, blowouts, or tread separation.
Diagnosing tire wear early also saves money because the tire is often showing you a service problem before it becomes severe. A tire with mild feathering may need alignment correction. A tire with cupping may point to worn shocks, struts, bearings, or balance issues. A tire with both shoulders worn may simply need proper inflation before the damage gets worse.
Warning: Do not keep driving on a tire with exposed cords, a sidewall bulge, a visible split, rapid air loss, severe vibration, or tread worn to 2/32 inch. Install the spare if safe to do so, or call roadside assistance.
Common Tire Wear Patterns and Their Causes
Most tire wear patterns fall into a few recognizable categories. Use this table as a first diagnosis, then confirm with pressure readings, tread-depth measurements, and a professional inspection when needed.
| Wear Pattern | What It Usually Suggests | What to Check Next |
|---|---|---|
| Center tread wears faster than shoulders | Tire may be overinflated or loaded lightly for the pressure used | Cold pressure, door placard pressure, load, and tire size |
| Both inner and outer shoulders wear faster | Tire may be underinflated or overloaded | Cold pressure, slow leaks, valve stems, load rating, and rotation history |
| Only one shoulder wears faster | Camber or alignment issue | Wheel alignment, worn suspension parts, impact damage |
| Feathered or saw-tooth tread blocks | Toe alignment issue or irregular rotation wear | Toe settings, alignment, rotation schedule |
| Cupping or scalloping | Tire bouncing, imbalance, suspension wear, or bearing issues | Shocks, struts, wheel balance, bearings, alignment |
| Flat spot in one section | Hard braking, wheel lockup, skidding, storage flat-spotting, or brake issue | Brake operation, ABS warning lights, vibration, storage history |
| Random bald patches or exposed cords | Severe wear, damage, or structural problem | Stop driving and have the tire inspected or replaced |
Bridgestone notes that improper inflation pressure and out-of-spec alignment are two common causes of early or irregular tire wear. That is why a wear pattern should always lead to a pressure check and, when the pattern is uneven from side to side, an alignment or suspension inspection.
How to Inspect Tire Wear Step by Step
- Park safely on level ground. Set the parking brake and turn the steering wheel to expose the front tire tread if needed.
- Check pressure when tires are cold. Cold means the vehicle has been parked for at least three hours. Use the pressure listed on the driver-side door placard or owner’s manual, not the maximum pressure molded on the tire sidewall.
- Measure tread depth in several places. Check the center, inner shoulder, and outer shoulder of each tire. Record the lowest reading.
- Compare tires side to side. A problem on one front tire but not the other often points to alignment, suspension, brake, or wheel damage.
- Feel the tread surface carefully. Run your hand lightly over the tread. A saw-tooth feel can indicate feathering or toe wear.
- Look for damage beyond tread wear. Check for nails, cuts, cracks, bubbles, exposed cords, and sidewall damage.
- Match the pattern to the likely cause. Use the table above to decide whether the next step is inflation, rotation, alignment, balancing, brake service, suspension inspection, or replacement.
Pro Tip: Photograph each tire before service. A clear picture of the wear pattern helps a technician diagnose whether the problem is pressure, alignment, suspension, braking, or rotation-related.
[Products Worth Considering]

Steelman white tire marking crayons provide high-contrast, semi-permanent marks for repairing and inspecting tires and equipment. They write on wet or dry, smooth or coarse surfaces including rubber, metal, glass, and wood, making them ideal for puncture location and damage outlining. The lead- and zinc-free crayons resist weather and fading yet wipe away when you no longer need the marks.

Measure tire tread depth quickly and accurately with this LUMITECO dial gauge that reads in 1/32" increments up to 14/32". The color-coded green/yellow/red zones make it easy to judge tire wear and know when replacement is needed. A rugged, compact design with a protective pouch helps keep the gauge ready for use on cars, trucks, motorcycles, and more.

Monitor tire tread wear with a smart, color-coded depth gauge that shows clear condition ranges at a glance. The bar is range marked for fast, easy readings, helping you maintain safer traction and performance. Each gauge is portable with a pocket clip, and the set includes 20 units for daily use and sharing.
Identifying Center Wear on Your Tires
Center wear means the middle of the tread is wearing faster than the inner and outer shoulders. This often points to overinflation, but it can also be influenced by load, tire construction, vehicle use, and whether the tire pressure matches the manufacturer’s recommendation.
Causes of Center Wear
The most common cause is too much air pressure for the vehicle’s actual use. When pressure is too high, the center of the tread can carry more of the load than the shoulders, which speeds up wear in the middle. Center wear may also show up when a tire is repeatedly driven at high speeds with light loads or when the tire size or pressure does not match the vehicle placard.
Diagnosing Overinflation Issues
Use a pressure gauge before the vehicle has been driven for the day. Compare the reading with the Tire and Loading Information Label on the driver-side door area or the owner’s manual. If the tire is above the recommended cold pressure, release air slowly and recheck. Then monitor the tire over the next few weeks to see whether the center-wear pattern continues.
If center wear is already severe, adjusting pressure will not restore lost tread. It can only help prevent the remaining tread from wearing incorrectly. Replace the tire if tread depth is at or below 2/32 inch, if wear bars are flush with the tread, or if cords are visible.
Recognizing Edge Wear From Underinflation
Edge wear usually appears as faster wear on both the inner and outer shoulders of the tire. It commonly suggests underinflation, overloading, or repeated driving on a tire that does not have enough air to support the load properly.
Causes of Edge Wear
- Low tire pressure: An underinflated tire flexes more and can wear both shoulders faster.
- Overloading: Carrying more weight than the tire or vehicle is designed for can create similar shoulder wear.
- Slow leaks: A nail, damaged valve stem, bead leak, or corroded wheel can make the tire repeatedly lose air.
- Delayed pressure checks: Tires can lose pressure before they look low, so visual checks alone are not enough.
Prevention Strategies for Edge Wear
Check pressure monthly and before long trips. Include the spare if your vehicle has one. If one tire keeps dropping pressure, do not just refill it again and again; have it inspected for a puncture, valve-stem leak, bead leak, or wheel damage.
Also check the vehicle’s load rating before towing or carrying heavy cargo. Proper inflation helps, but it cannot make an overloaded vehicle safe.
Identifying Cupping and Scalloping: What They Reveal About Your Tires
Cupping and scalloping look like repeated high and low patches around the tread. You may also hear rhythmic road noise or feel vibration at certain speeds. These patterns often mean the tire is not staying in smooth, even contact with the road.
Cupping and scalloping are not just cosmetic tread marks. They often point to a mechanical condition that should be inspected before the new tire wears the same way.
- Worn shocks or struts: Weak damping can let the tire bounce, creating repeated low spots.
- Wheel imbalance: An unbalanced assembly can produce vibration and patchy wear.
- Loose or worn suspension parts: Ball joints, bushings, and bearings can affect how the tire meets the road.
- Alignment issues: Toe and camber problems may contribute to irregular wear and noise.
If you see cupping, have the vehicle inspected before replacing the tire. Otherwise, the replacement tire may develop the same wear pattern.
Diagnosing Flat Spots and Their Implications
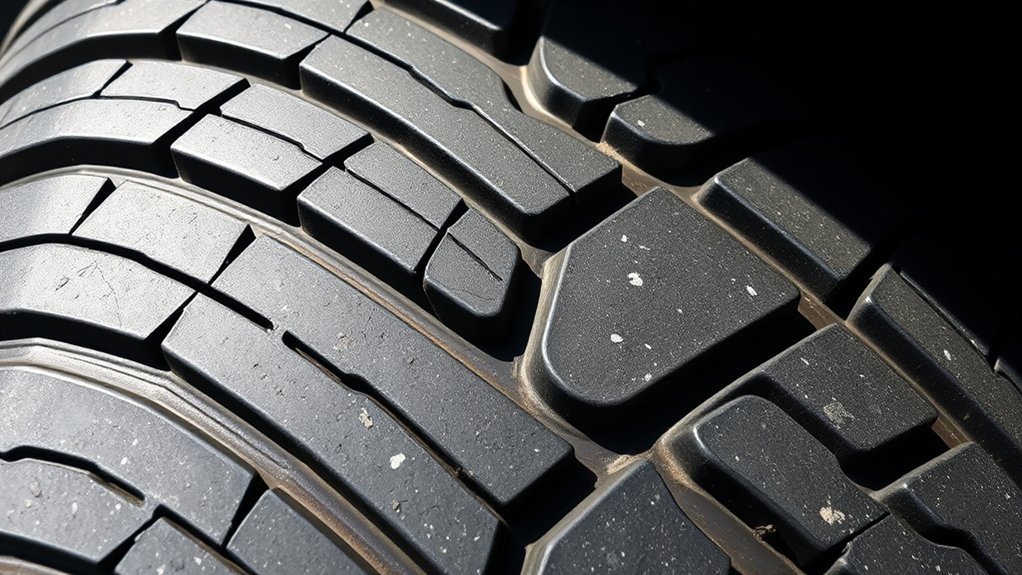
Flat spots are localized areas where one section of the tread is worn flatter than the rest. They can happen after hard braking, wheel lockup, skidding, dragging brakes, or long storage with the tire carrying weight in one position.
Common Causes of Flat Spots
- Hard braking or skidding: The tire may stop rotating while the vehicle is still moving, scraping one section of tread.
- Brake problems: A sticking caliper, dragging brake, or uneven braking force can create abnormal heat and wear.
- Long-term parking: Tires can develop temporary or lasting flat spots when a vehicle sits for a long period, especially if pressure is low.
- Aggressive driving: Repeated abrupt braking and acceleration can shorten tire life and create uneven tread surfaces.
Inspection Techniques for Flat Spots
Look for one smooth or bald patch that interrupts the normal tread pattern. Then drive slowly in a safe area and listen for thumping or feel for vibration. If vibration is strong, the tire may be unsafe even if the tread is not fully worn out.
Also inspect the brake system if the flat spot appeared after a braking event or if you smell hot brakes, feel pulling while braking, or notice one wheel getting much hotter than the others.
Preventive Measures for Flat Spots
- Maintain brakes: Repair sticking calipers, worn pads, and brake imbalance promptly.
- Avoid panic stops when possible: Leave enough following distance to brake smoothly.
- Prepare vehicles for storage: Inflate tires to the vehicle manufacturer’s recommended pressure and move the vehicle periodically if practical.
- Inspect after a skid: If the vehicle skidded or locked a wheel, check tread immediately.
The Impact of Toe Wear on Tire Performance
Toe wear usually feels like a saw-tooth or feathered edge across tread blocks. When toe alignment is out of specification, the tire can scrub slightly sideways as it rolls. That scrubbing wears one side of each tread block more than the other.
Toe wear can make a vehicle feel unstable, increase road noise, and shorten tire life. It may also cause the vehicle to pull or require steering correction on a straight, level road. A proper wheel alignment checks toe, camber, and caster against the vehicle manufacturer’s specifications.
If you feel feathering with your hand or see diagonal wear across the tread, schedule an alignment inspection. Also ask the technician to check for worn steering or suspension parts, because an alignment cannot hold if parts are loose or damaged.
How to Measure Tire Tread Depth Like a Pro
Measuring tread depth tells you whether a tire still has enough tread to grip the road, especially in wet conditions. In the United States, tread depth is commonly measured in 32nds of an inch.
- Use a tread-depth gauge: Insert the probe into the groove and press the shoulders of the gauge flat against the tread. Measure the inner, center, and outer grooves.
- Check treadwear indicators: Tire wear bars are raised sections inside the tread grooves. Under 49 CFR 571.139, treadwear indicators are designed to visually show when tread has worn to 1/16 inch, which equals 2/32 inch.
- Use the penny test: Place a penny into a tread groove with Lincoln’s head upside down and facing you. If you can see the top of Lincoln’s head, the tread is at or below the common replacement threshold.
- Record the lowest reading: A tire is only as safe as its shallowest usable groove. Uneven readings can also reveal alignment or inflation problems.
Note: The 2/32-inch mark is a replacement threshold, not a performance goal. Wet-road traction can decline before a tire reaches the legal minimum, so inspect tread regularly and adjust driving to road conditions.
[Products Worth Considering]

The SAFELIFE dial tire tread depth gauge measures tread depth in 1/32 inch increments with clear, easy-to-read 2-inch dial face. Color zones using a traffic light system help you quickly judge whether tread is low, marginal, or ample for safer driving. Built with a durable zinc cast body and a metal detect probe for precise, comfortable use across cars, motorcycles, trucks, and buses.

Accurately measure tire tread depth with a calibrated gauge marked from 0 to 1 inch in 1/32 inch increments. The color-coded bar helps you quickly identify tread condition ranges, supporting safe driving for trucks, motorcycles, automobiles, and passenger vehicles.
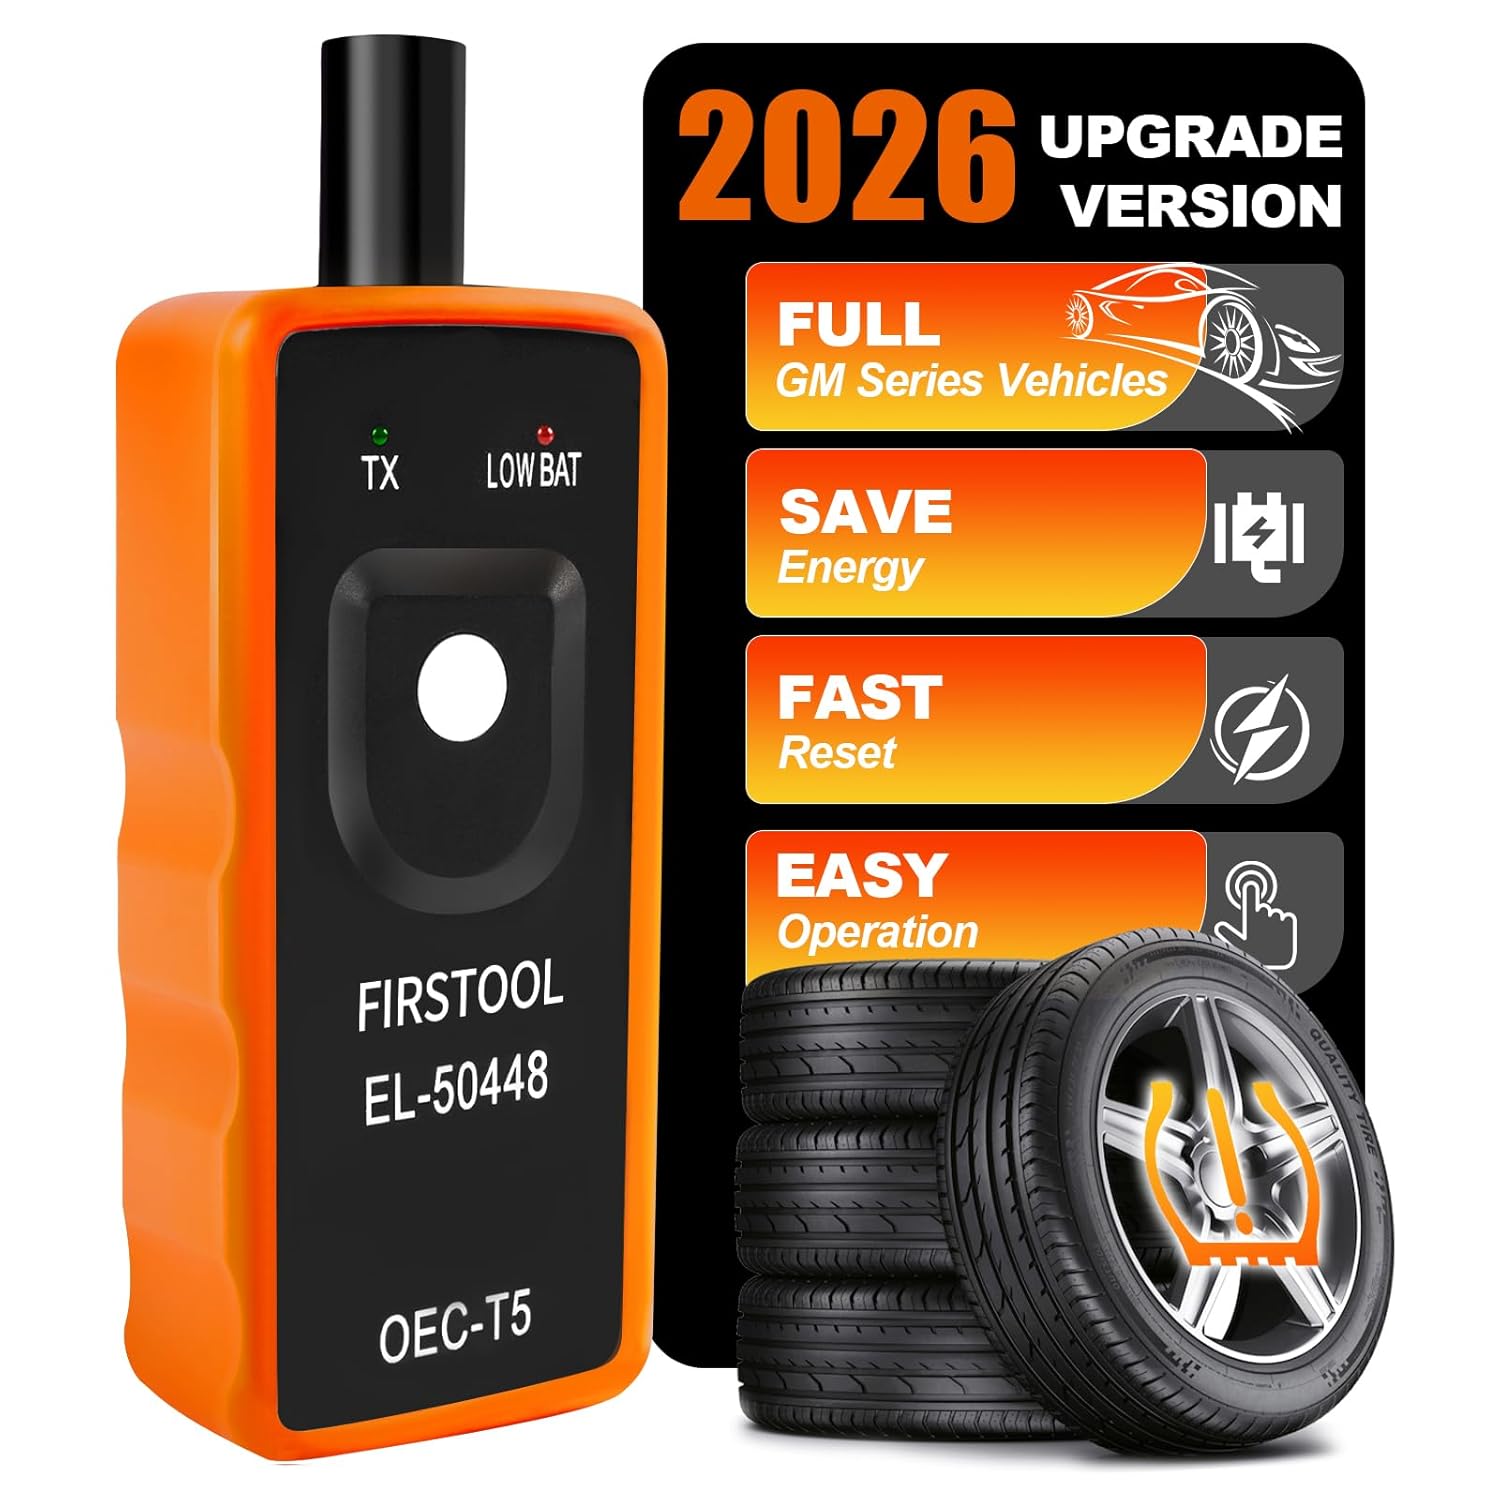
This TPMS relearn tool helps you quickly activate, match, and reset GM tire pressure sensors to keep the vehicle monitoring system working properly. It clears tire pressure alarms and dashboard warning lights after sensor replacement or tire rotation, and supports learning for common 315/433 MHz TPMS sensors. Designed for simple one-button operation, it can help you avoid unnecessary trips to repair shops.
Maintenance Practices for Reducing Tire Wear
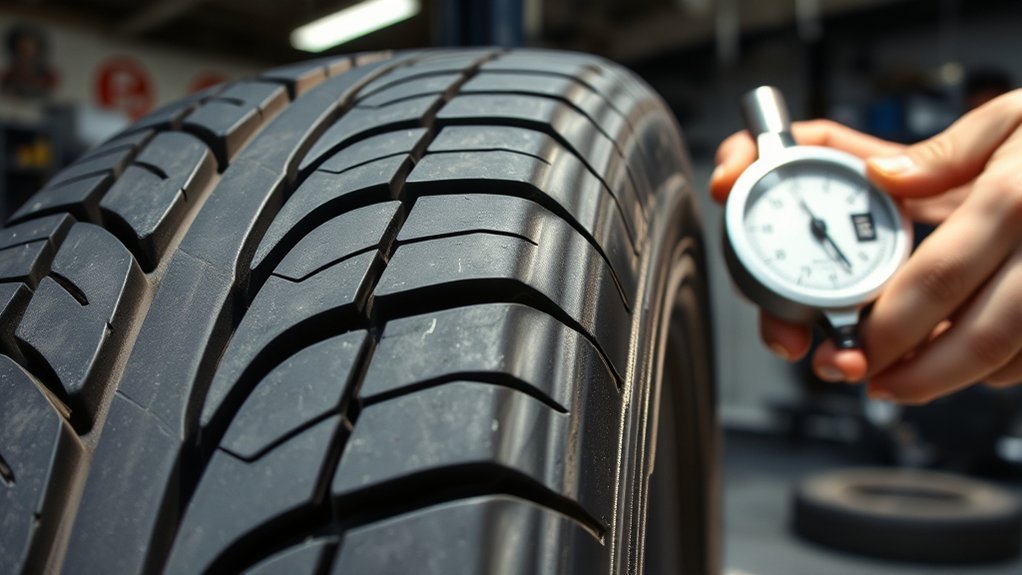
The best way to reduce tire wear is to prevent the conditions that cause it. Focus on pressure, rotation, alignment, balance, suspension, and driving habits.
- Check cold tire pressure monthly: NHTSA recommends checking all tires, including the spare, at least once a month when cold. Use the vehicle placard or owner’s manual pressure.
- Rotate tires when recommended: NHTSA advises checking your owner’s manual for the correct rotation pattern and frequency. If the vehicle manufacturer recommends rotation, 5,000 to 8,000 miles is a common interval.
- Balance tires when needed: Balance new tires at installation and rebalance if you feel vibration or see patchy wear.
- Check alignment after symptoms: Schedule alignment if the vehicle pulls, the steering wheel is off-center, tread is feathered, or one shoulder wears faster.
- Inspect suspension parts: Worn shocks, struts, bushings, ball joints, and bearings can create cupping, scalloping, and poor handling.
- Drive smoothly: Hard braking, fast cornering, and rapid acceleration can increase tread wear.
[Products Worth Considering]

TireJect Off-Road Tire Sealant Kit provides 5-in-1 sealing to help fix tread punctures up to 3/8", sidewall punctures up to 3/8", bead leaks, slow leaks, and minor dry rot on low-speed tires. It permanently seals with liquid rubber, recycled tire particles, and Aramid fibers, making it ideal for flats caused by thorns, nails, and screws. The included dispensing cap attaches to the valve stem for a no-mess installation, along with a metal valve core remover tool and valve stem cap. This kit is for off-road use only.
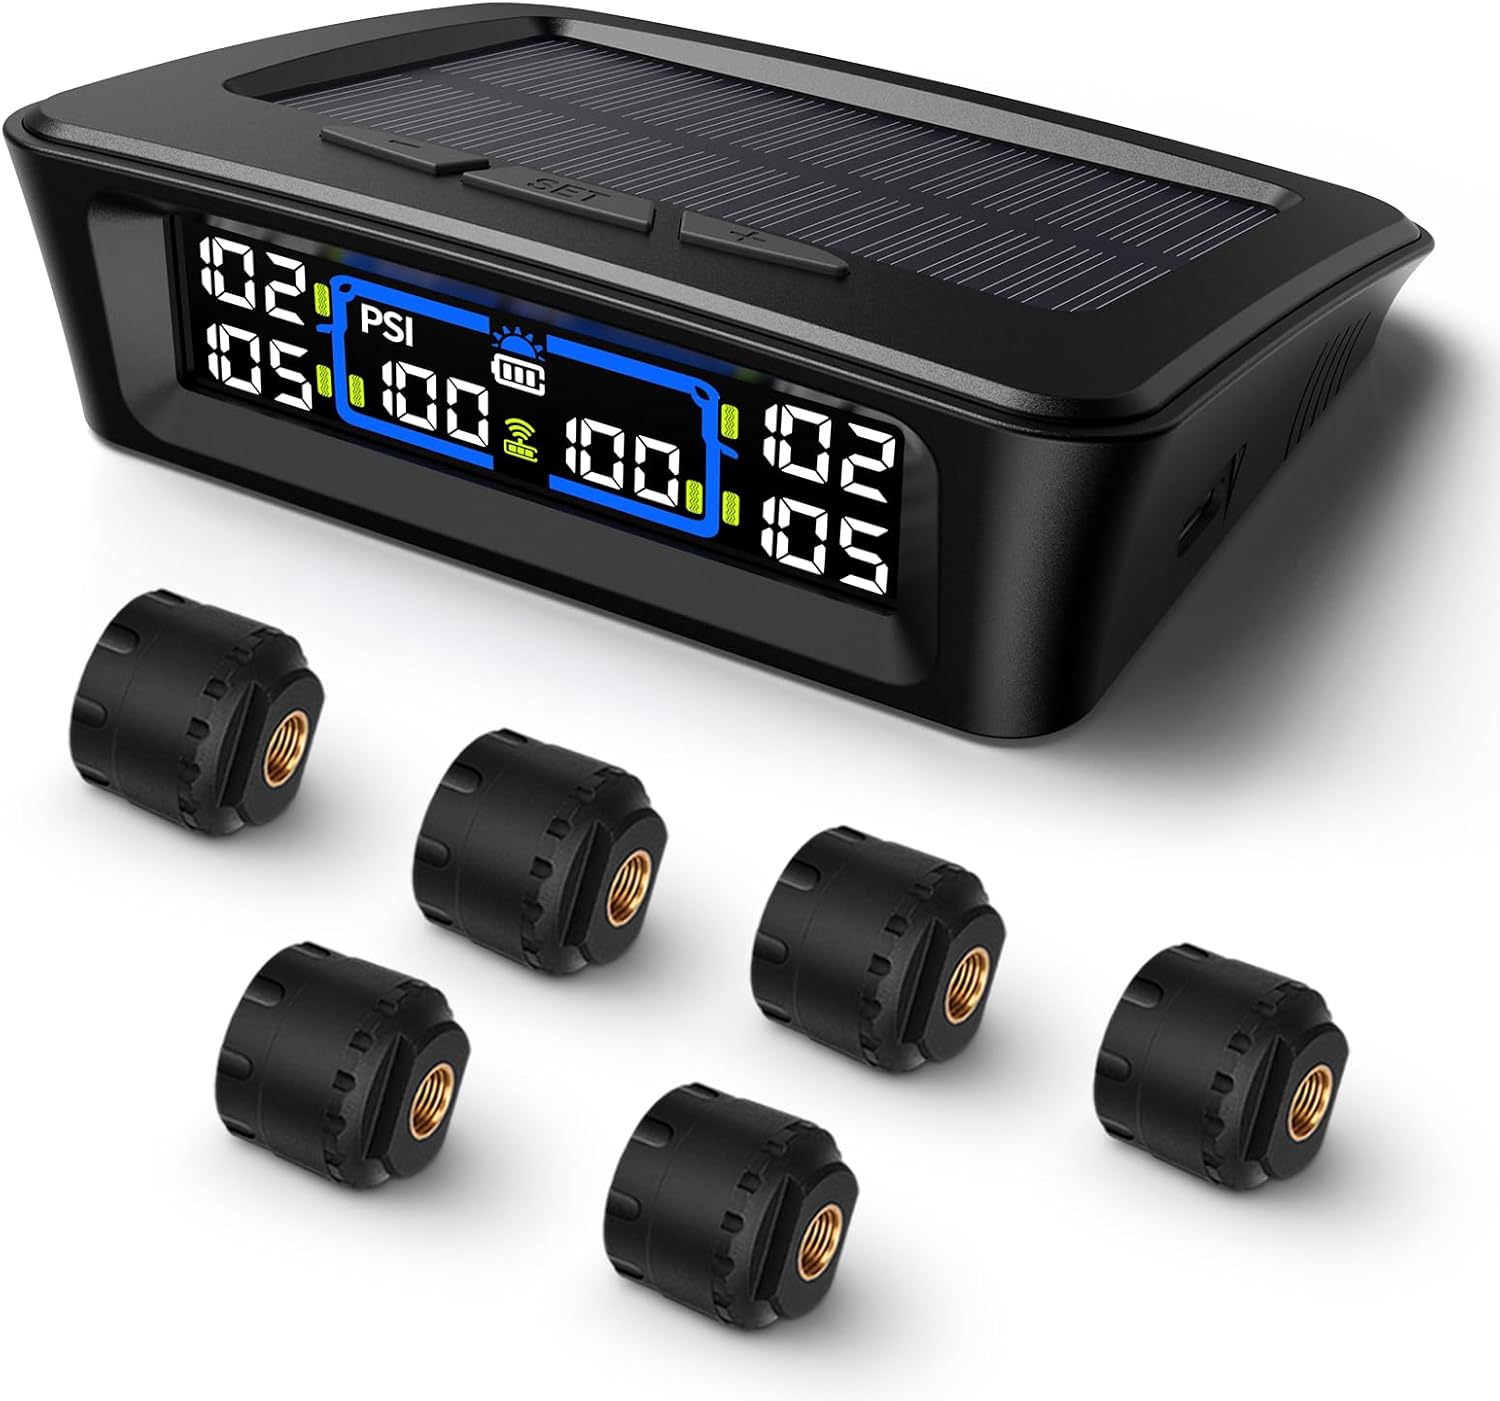
The Tymate TM12 RV TPMS delivers real-time tire pressure and temperature monitoring with a stable 433Hz display for safer long-distance driving. It supports simultaneous monitoring across vehicle and trailer zones, includes six alarm modes for pressure, temperature, leakage, battery, and signal loss, and features easy DIY installation with auto calibration. Power is supplied via USB-C charging or solar recharging, with a wide 0–144 PSI range and up to 50 ft signal coverage for RVs and towable trailers.
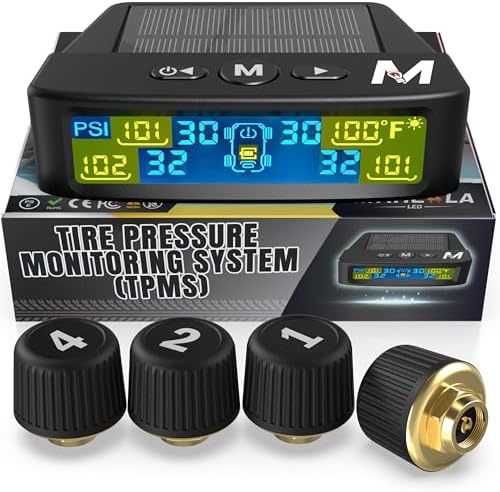
Marcala’s TPMS set of four sensors helps you monitor tire pressure and temperature in real time while driving, with updates every second. The bright color LCD uses auto-dimming for easy viewing, powered by dual solar and USB charging, and offers six alarm modes. Built for trailers, RVs, campers, trucks, and towing setups, the sensors support monitoring 1-4 wheels up to 98 PSI with IP67 waterproof protection.
When to Seek Professional Help for Tire Issues
Some tire checks are easy to do at home, but many causes of uneven tire wear require professional tools. Seek help from a tire shop or qualified repair facility if you notice any of these signs:
- Tread at or below 2/32 inch: Replace the tire.
- Exposed cords, bulges, cracks, or sidewall cuts: Stop driving and have the tire replaced or inspected immediately.
- Severe cupping or vibration: Ask for wheel balance, suspension, bearing, and alignment checks.
- One-sided shoulder wear: Have alignment and suspension inspected.
- Repeated pressure loss: Check for punctures, valve-stem leaks, bead leaks, or wheel damage.
- Flat spots after braking: Inspect the tire and brake system.
- TPMS light stays on or flashes: Check pressure right away and have the TPMS inspected if the warning indicates a malfunction.
Uneven tire wear is a clue. The safest repair is the one that fixes both the tire condition and the underlying cause.
Frequently Asked Questions
How often should I check my tire wear patterns?
Check tire pressure and tread condition at least once a month and before long trips. Look at the center, shoulders, sidewalls, and all four tires so you can spot uneven wear early.
Can tire rotation affect wear patterns?
Yes. Tire rotation helps spread wear more evenly when your vehicle manufacturer recommends it. Follow the owner’s manual because some vehicles use staggered tire sizes or directional tires that require special rotation patterns.
What tools do I need to measure tire wear?
Use a tire pressure gauge, tread-depth gauge, flashlight, and gloves. A penny can help with a quick tread check, but a tread-depth gauge gives more precise readings across the inner, center, and outer grooves.
Is tire wear affected by driving habits?
Yes. Hard braking, fast cornering, rapid acceleration, overloading, pothole impacts, and delayed rotations can all speed up wear. Smooth driving and regular maintenance help tires last longer.
How do weather conditions impact tire wear?
Temperature changes affect tire pressure, and low pressure can increase shoulder wear and heat buildup. Wet, icy, or hot roads also change traction demands, so check pressure and tread more carefully during seasonal changes and before long trips.
Can I drive on tires with cupping or scalloping?
Light cupping may not require immediate replacement, but it should be inspected because it often points to balance, suspension, bearing, or alignment issues. If the tire vibrates badly, makes loud noise, or has low tread, get it checked before continuing to drive.
Is the TPMS warning light enough to know my tires are safe?
No. TPMS warns when pressure is significantly low, but it does not replace monthly pressure checks, tread-depth checks, sidewall inspections, or checks for uneven wear. Use a gauge even if the warning light is off.
Conclusion
Reading tire wear patterns is one of the easiest ways to catch small vehicle problems early. Center wear, edge wear, cupping, scalloping, toe wear, and flat spots each point toward a likely cause, but the pattern is only the starting clue. Confirm it with pressure readings, tread-depth measurements, and a professional inspection when the wear is uneven, severe, or paired with vibration, pulling, or pressure loss.
Check your tires monthly, keep pressure at the vehicle manufacturer’s recommended cold setting, rotate tires according to your owner’s manual, and replace unsafe tires promptly. A few minutes of inspection can help protect traction, ride quality, tire life, and the safety of everyone in the vehicle.
Sources
- NHTSA TireWise: Tire Safety Ratings and Awareness — supports monthly cold pressure checks, tread checks, 2/32-inch replacement guidance, rotation guidance, TPMS cautions, and tire safety context.
- Bridgestone: Tire Tread Wear & Causes — supports irregular wear causes, inflation-pressure effects, tread-depth indicators, penny test guidance, and alignment-related wear patterns.
- 49 CFR 571.139: New Pneumatic Radial Tires for Light Vehicles — supports treadwear indicator definitions and the 1/16-inch treadwear indicator requirement.