
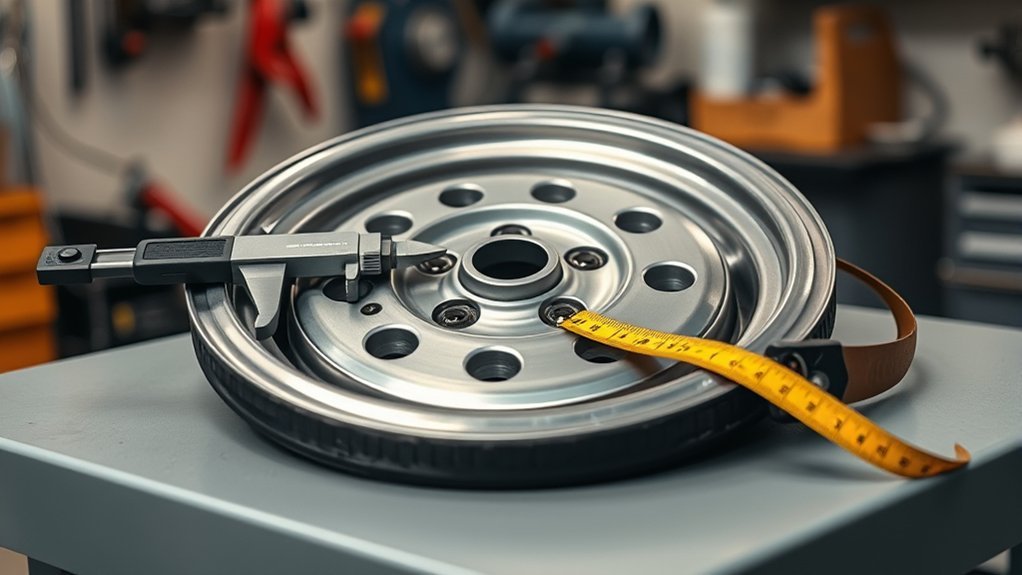
Quick Answer
Count the lug holes first. For 4-, 6-, and 8-lug wheels, measure straight across from the center of one lug hole to the center of the opposite hole. For 5-lug wheels, measure from the center of one hole to the outer edge of the hole two positions away.
Key Takeaways
- A tire lug pattern, or wheel bolt pattern, is written as lug count by bolt circle diameter, such as 5×114.3.
- Use millimeters when possible because most modern wheel fitment specs are listed in metric measurements.
- Measure even-lug wheels straight across from center to center.
- Measure 5-lug wheels from one lug-hole center to the outer edge of the hole two positions away.
- Confirm the bolt pattern, center bore, offset, lug-seat type, thread pitch, and load rating before buying wheels.
At a Glance
| Time Required | 5 to 10 minutes per wheel |
| Difficulty | Easy for 4-, 6-, and 8-lug wheels; moderate for 5-lug wheels |
| Tools Needed | Ruler, tape measure, digital caliper, or bolt-pattern gauge |
| Cost | Free with a ruler; usually low cost for a caliper or bolt-pattern gauge |
What Is a Bolt Pattern?
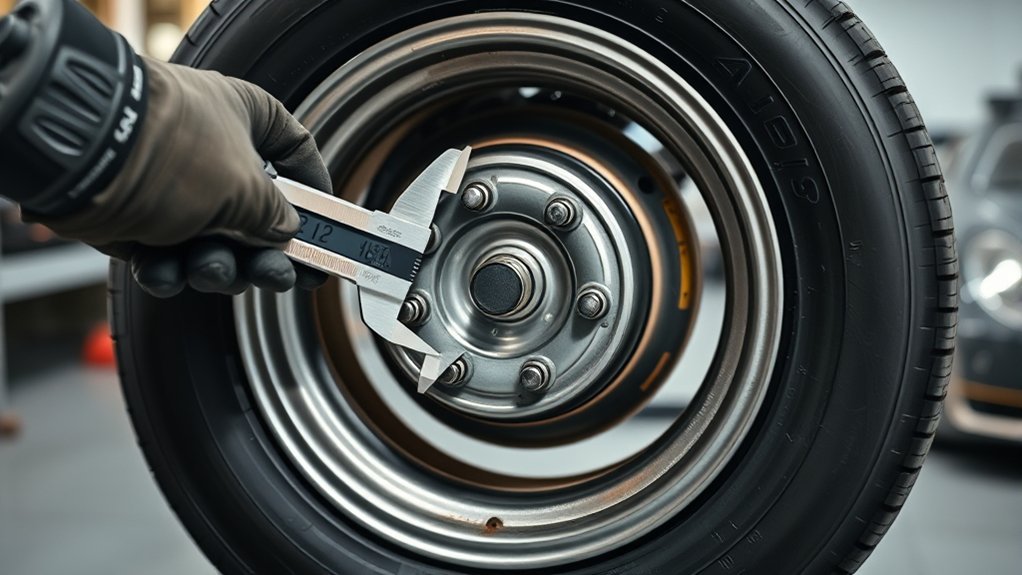
A bolt pattern is the wheel’s lug-hole layout. It tells you two things: how many lug holes the wheel has and the diameter of the circle those holes form. That circle is often called the bolt circle diameter, pitch circle diameter, PCD, or BCD.
You read the first number as the lug count and the second number as the circle diameter. For example, a 5×120 pattern means the wheel has five lug holes arranged around a 120 mm circle. Common examples include 4×100, 5×114.3, 5×120, 6×135, and 6×139.7, but the exact spec depends on the vehicle’s make, model, year, trim, and market.
This measurement helps you choose wheels that line up with your vehicle’s hub. It does not confirm complete fitment by itself. You still need to check center bore, offset, wheel width, diameter, lug-seat style, thread pitch, brake clearance, and the wheel’s load index or load rating before installation.
Note: “Tire lug pattern” is the phrase many drivers use, but the measurement belongs to the wheel and hub. The more technical term is wheel bolt pattern.
What You Need to Measure Wheel Bolt Pattern
To measure your wheel bolt pattern, you need a simple measuring tool and a clear view of the lug holes. A ruler or tape measure works for a quick check, but a digital caliper or bolt-pattern gauge gives a cleaner result. Measure in millimeters whenever possible because many wheel specs are listed that way. Also confirm your wheel’s rim diameter and other wheel specs before buying replacements.
[Products Worth Considering]

Upgrade your wheels with MIKKUPPA closed-end lug nuts designed for reliable fit and corrosion resistance. The one-piece, cold-forged and heat-treated steel construction helps resist rust and stripping, while the integrated finish delivers a durable black appearance. Built to OEM standards with a conical 60-degree seat, these nuts provide a secure solution for compatible Ford, Honda, Jeep, and Chevrolet models.

These M14x1.5 closed-end chrome lug nuts are a one-piece replacement designed for secure fitment on compatible GM, Ford, and select Chrysler/Dodge models. Featuring a 60-degree conical seat and anti-rust chrome plating, they help resist corrosion and maintain a bright look for everyday driving. Built for long-term durability, they include OEM-style part references and are backed by 12 months of support.

Upgrade your wheels with MIKKUPPA M12x1.5 mag seat lug nuts built for secure, corrosion-resistant performance. These closed-end chrome lug nuts are a direct replacement for select Toyota models, including Camry, Corolla, RAV4, Sienna, Avalon, Highlander, Matrix, Venza, and Prius. Triple-chromium plating and cold-forged, heat-treated steel help deliver strength for daily driving and replacement needs.
Measuring Tools
You can measure a bolt pattern with basic tools, but the right tool reduces mistakes. Use a flat ruler or tape measure if that is all you have. Use a digital caliper if you want a more precise reading. Use a bolt-pattern gauge if you measure wheels often or need to confirm a close size such as 5×114.3 versus 5×115.
- Ruler or tape measure for a quick measurement
- Digital caliper for better precision
- Bolt-pattern gauge for the most reliable reading
- Flashlight if the wheel is still mounted
- Pen and paper or phone note to record the lug count and diameter
Vehicle Information
Before measuring, gather the vehicle’s year, make, model, trim, and wheel size. Some models change bolt pattern by generation, trim, drivetrain, brake package, or market. Count the lugs first. Most passenger vehicles use 4, 5, 6, or 8 lugs, but some specialty applications can differ.
After you measure, compare your result with your owner’s manual, manufacturer support information, wheel manufacturer fitment notes, or a trusted fitment catalog. If you are installing aftermarket wheels, also check the tire information placard and safety guidance from sources such as NHTSA tire safety.
Accuracy Tips
For the most accurate wheel bolt pattern measurement, keep the measuring tool flat and line it up with the center of the lug hole. If the wheel is dirty, wipe the area first so you can see the hole edges clearly. If the wheel is still mounted, shine a flashlight into the lug holes and measure slowly.
- Count the lug holes before measuring.
- Use millimeters first, then convert to inches only if needed.
- Measure twice from a different starting hole.
- Do not measure from the outer edge to outer edge on even-lug wheels.
- Do not guess between close patterns such as 5×114.3 and 5×115.
- Confirm the final number against your exact vehicle specs.
How to Measure 4-, 6-, and 8-Lug Wheels
Measuring 4-, 6-, and 8-lug wheels is the easiest method because each of these patterns has a lug hole directly opposite another lug hole. Find two holes across from each other, then measure from the center of one hole to the center of the opposite hole. That distance is the bolt circle diameter.
- Count the lug holes. Confirm whether the wheel has 4, 6, or 8 lugs.
- Find the opposite lug hole. Choose one hole, then locate the hole straight across the wheel.
- Measure center to center. Place the ruler or caliper at the center of one hole and measure to the center of the opposite hole.
- Record the result. Write the lug count first, then the diameter. A 4-lug wheel with a 100 mm measurement is 4×100.
- Verify fitment. Compare your result with the vehicle’s factory wheel spec before buying.
For example, if an 8-lug wheel measures 170 mm from center to center across opposite holes, the bolt pattern is 8×170. If a 6-lug wheel measures 139.7 mm, the pattern is 6×139.7, also written as 6×5.5 inches.
Accurate measurement supports correct wheel fitment, but it should be checked along with tire pressure, tire condition, and wheel safety basics. Keeping accurate tire pressure also helps maintain stable handling and tire wear after the wheels are installed.
[Products Worth Considering]

The SEESII cordless impact wrench delivers high tightening and loosening power for fast wheel bolt and industrial bolt work. Its brushless motor and variable-speed 3 forward/2 reverse modes help you control precision installs and stubborn nut removal. A dual-battery system with rapid charging and an included storage case make it ready for home, car, and jobsite use.

This 1/2-inch drive breaker bar delivers powerful leverage for loosening and tightening stubborn lug nuts and automotive fasteners. The 180-degree flex head helps you reach tight spaces at the angle you need, making tire and brake jobs easier. A spring-loaded ball detent design holds 1/2-inch sockets securely while the chrome-moly head provides durable strength for everyday use.

The Trivd Frol 1/2" air impact wrench delivers high performance torque up to 1500 ft-lbs with a twin hammer impact mechanism for strong, balanced blows. It features an ergonomic grip, compact lightweight design, and quick-stop control with 3 forward speeds up to 8000 RPM plus a reverse speed. Built for demanding automotive repair and tire shop work, the rear exhaust helps keep debris away from the surface.
How to Measure 5-Lug Bolt Pattern
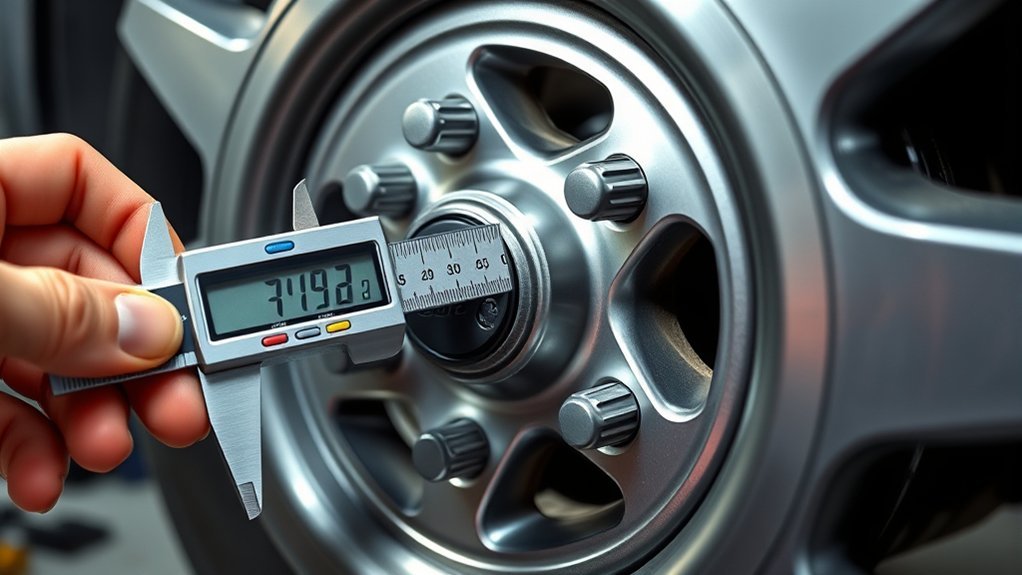
A 5-lug wheel is harder to measure because there is no hole directly opposite your starting point. The practical method is to measure from the center of one lug hole to the outer edge of the hole two positions away. Many guides describe this as measuring to the “third” hole when you count your starting hole as number one.
- Choose a starting hole. Pick any lug hole and identify its center point.
- Count two positions away. Skip the next adjacent hole and use the following hole as your target.
- Measure center to outer edge. Measure from the center of the starting hole to the far outer edge of the target hole.
- Write the number in millimeters. Common results include 5×100, 5×10⁸, 5×112, 5×114.3, 5×115, and 5×120.
- Double-check with a gauge or fitment chart. This matters when the measured number is close to another common pattern.
For a 5-lug wheel, measure from one lug-hole center to the outer edge of the hole two positions away.
A wrong measurement can cause poor lug seating, vibration, fastener stress, or an unsafe installation. Confirm the bolt pattern before you choose wheels, and check the full tire fitment for your vehicle before driving on the new setup.
Pro Tip: If your 5-lug reading lands between two common sizes, do not round blindly. Use a bolt-pattern gauge or verify by exact vehicle year, trim, and wheel package.
[Products Worth Considering]

This professional wheel and rim brush kit makes it easy to lift brake dust, grime, and dirt from wheels and tires without scratching finishes. The brushes feature soft, metal-free wool heads and a flexible 360-degree rim brush design for reaching hard-to-clean areas. Includes multiple brush types plus accessories for thorough car, motorcycle, and general vehicle detailing.

This car D-wheel lock nut key provides an anti-theft solution for D-shaped wheel lock bolts, helping keep your wheels secure. It features a flower-shaped internal pattern that resists micro-adjustment theft while allowing removal and mounting of compatible locking nuts. Made for reliable performance under high torque, it’s easy to use with standard socket wrench turning for quick tire maintenance and emergency repairs.

Monitor tire tread wear with a smart, color-coded depth gauge that shows clear condition ranges at a glance. The bar is range marked for fast, easy readings, helping you maintain safer traction and performance. Each gauge is portable with a pocket clip, and the set includes 20 units for daily use and sharing.
How to Measure With the Wheel On or Off
You can measure the lug pattern with the wheel on the vehicle, but it is easier and more accurate with the wheel removed. If the wheel stays on, keep the vehicle parked on level ground, use good lighting, and measure only the visible lug holes. If the wheel is off, lay it face up on a stable surface and measure across the lug holes without fighting shadows or brake parts.
| Wheel Position | Best Use | Accuracy Tip |
|---|---|---|
| Wheel on vehicle | Quick confirmation before shopping | Use a flashlight and keep the ruler flat against the wheel face. |
| Wheel removed | Most accurate manual measurement | Measure from clean hole edges and repeat from another starting hole. |
| Using a gauge | Confirming close or confusing sizes | Match the gauge holes directly to the wheel holes instead of estimating. |
Warning: If you remove a wheel, reinstall it only with the correct lug nuts or bolts and tighten them to the vehicle or wheel manufacturer’s torque specification. Recheck torque after driving if your manual, tire shop, or wheel maker recommends it.
Common Bolt Pattern Sizes and Conversions
Common bolt pattern sizes are usually written in millimeters, but some wheel catalogs also list inches. The first number is the lug count. The second number is the bolt circle diameter. A 5×114.3 pattern means five lugs on a 114.3 mm circle, which is also 5×4.5 inches.
| Metric Pattern | Inch Equivalent | Common Use Note |
|---|---|---|
| 4×100 | 4×3.94 | Small cars and compact applications |
| 5×100 | 5×3.94 | Some compact and performance cars |
| 5×114.3 | 5×4.5 | Common on many sedans, crossovers, and SUVs |
| 5×120 | 5×4.72 | Used on several GM, BMW, and other applications |
| 6×139.7 | 6×5.5 | Common on many trucks and SUVs |
| 8×170 | 8×6.69 | Heavy-duty truck applications |
To convert millimeters to inches, divide the bolt circle diameter by 25.4. To convert inches to millimeters, multiply by 25.4. Still, do not rely on conversion alone. A dual-drill wheel can list two patterns, and close sizes can look similar when measured by hand. Always confirm proper tire fitment and wheel specs before you buy.
Dual-Drill Wheels and Fitment
Dual-drill wheels use two sets of bolt holes on the same wheel. This lets one wheel design fit more than one bolt pattern, such as 5×100 and 5×114.3. With dual-drill wheels, you get more fitment flexibility, but you also need to confirm which hole set matches your vehicle.
- Check both bolt pattern options stamped or listed for the wheel.
- Match only the pattern that fits your vehicle’s hub.
- Verify center bore size and whether hub-centric rings are needed.
- Match wheel offset to your suspension and fender clearance.
- Confirm lug-seat style, thread pitch, and lug nut or lug bolt length.
- Check brake caliper clearance before final installation.
This setup can simplify inventory for a shop or give you more wheel choices, but compatibility is still technical. A wheel can have the correct bolt pattern and still be wrong for your vehicle if the center bore, offset, brake clearance, or hardware is incorrect. Use a full tire specifications overview and wheel fitment check before installation.
What to Check After You Measure the Bolt Pattern
The bolt pattern is only one part of wheel fitment. Before you buy or install wheels, check every part that affects how the wheel sits on the hub and clears the vehicle.
| Fitment Check | Why It Matters |
|---|---|
| Center bore | The wheel’s center hole must fit over the vehicle hub. A mismatch can prevent proper seating or require hub-centric rings. |
| Offset | Offset controls how far the wheel sits inward or outward and affects suspension, fender, and bearing loads. |
| Wheel width and diameter | The wheel must match the tire size range and clear brakes, suspension, and bodywork. |
| Lug-seat style | Conical, ball, mag, and flat seats are not interchangeable unless the wheel maker says they are. |
| Thread pitch and fastener type | Lug nuts and lug bolts must match the vehicle’s threads and provide enough engagement. |
| Load rating | The wheel must be rated to support the vehicle safely. |
If any of these specs are uncertain, contact the wheel manufacturer, tire shop, or vehicle dealer before installing the wheels. Do not force a wheel onto a hub, enlarge holes, use the wrong lug hardware, or rely on impact-gun tightening as your final torque method.
Why Bolt Pattern Accuracy Matters
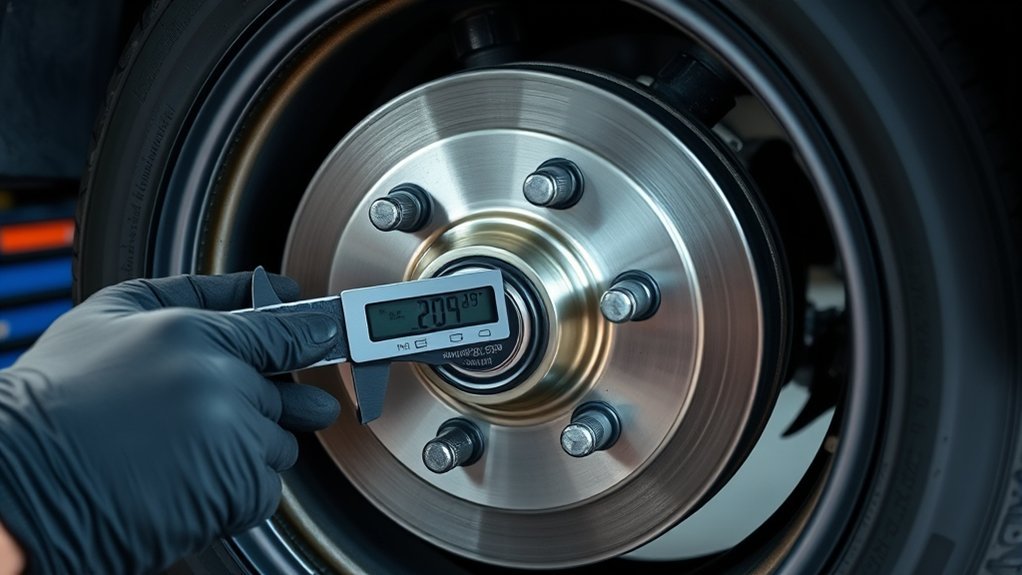
Accurate bolt pattern measurement matters because the lug holes must line up cleanly with the vehicle’s studs or bolt holes. If the pattern is wrong, the wheel may not seat flat against the hub. That can lead to vibration, uneven loading, damaged studs, damaged lug nuts or bolts, and unsafe wheel retention.
| Risk | Possible Result |
|---|---|
| Wrong bolt pattern | Wheel does not align or seat correctly |
| Wrong lug nuts or bolts | Poor clamping force or damaged threads |
| Wrong center bore | Vibration or improper hub seating |
| Wrong offset | Rubbing, poor clearance, or changed handling feel |
| Skipped torque check | Loose or overstressed fasteners |
When you confirm wheel fitment first, you protect the studs, hubs, bearings, brakes, and tires. It also helps you choose the recommended tire size and wheel combination for your vehicle instead of relying on a visual match.
Common Mistakes When Measuring Lug Pattern
Most lug pattern mistakes happen because the measurement starts from the wrong edge or because the reader rounds to the nearest common size too quickly. Use the same method from start to finish, then confirm the result against a trusted spec.
- Measuring edge to edge on even-lug wheels: Measure center to center instead.
- Using the wrong 5-lug target hole: Measure to the hole two positions away, not the adjacent hole.
- Rounding a close size: A small difference can matter, especially around 5×114.3, 5×115, and 5×120.
- Ignoring wheel hardware: Correct bolt pattern does not mean the lug nuts, bolts, or seats match.
- Skipping center bore and offset: These can stop an otherwise correct-looking wheel from fitting safely.
- Trusting only a marketplace listing: Verify with your exact vehicle and wheel specs before buying.
Frequently Asked Questions
How do you determine a lug bolt pattern?
Count the lug holes first, then measure the bolt circle diameter. For 4-, 6-, and 8-lug wheels, measure straight across from the center of one hole to the center of the opposite hole. For 5-lug wheels, measure from one hole center to the outer edge of the hole two positions away.
What is the bolt pattern on a Kia?
Many modern Kia models use a 5×114.3 mm bolt pattern, while some older or smaller models may use a different pattern such as 4×100. Do not buy wheels from that general rule alone. Check your exact Kia year, model, trim, and wheel package in the owner information, a trusted fitment catalog, or with a Kia dealer.
What is the bolt pattern on a 2016 Impala?
A 2016 Chevrolet Impala is commonly listed with a 5×120 mm bolt pattern, but you should verify the exact vehicle because Impala, Impala Limited, trim, wheel package, and market details can matter. Also confirm center bore, offset, lug hardware, and torque specs before installation.
How do you measure a bolt pattern on a 5-lug rim?
Measure from the center of one lug hole to the outer edge of the lug hole two positions away. This practical method estimates the bolt circle diameter on a 5-lug rim. A bolt-pattern gauge or manufacturer spec is best when the result is close to another common pattern.
Can a wheel fit if the bolt pattern is close but not exact?
No. The bolt pattern must match exactly unless the wheel is specifically engineered for that vehicle with approved hardware or adapters. A close pattern can prevent the wheel from seating flat and can overload the fasteners.
Is bolt pattern the only thing needed for wheel fitment?
No. You also need the correct center bore, offset, wheel width, wheel diameter, brake clearance, load rating, lug-seat style, thread pitch, and fastener length. A wheel with the correct bolt pattern can still be unsafe if these other specs are wrong.
Conclusion
Getting your bolt pattern right helps your wheels seat safely and keeps your vehicle driving smoothly. Start by counting the lug holes. Measure even-lug wheels straight across from center to center, and measure 5-lug wheels from one lug-hole center to the outer edge of the hole two positions away. Then verify the full fitment, including center bore, offset, lug hardware, and torque specs. When you measure carefully and confirm the details before buying, you avoid poor fitment and protect the wheel assembly.
Sources
- NHTSA Tire Safety — supports tire and vehicle safety verification before installation.
- Chevrolet Manuals and Guides — supports checking exact owner-manual specifications for Chevrolet vehicles.
- Kia Owner’s Manuals — supports verifying exact Kia specifications by year and model.
- SAE J2530 Aftermarket Wheels Standard — supports the importance of aftermarket wheel performance and fitment standards.
- Real-Time Wheel Detection and Rim Classification in Automotive Production — supports the safety relevance of identifying incorrect or mismatched wheels.
