
How to Fix a Flat Bicycle Tire: Step-by-Step Guide
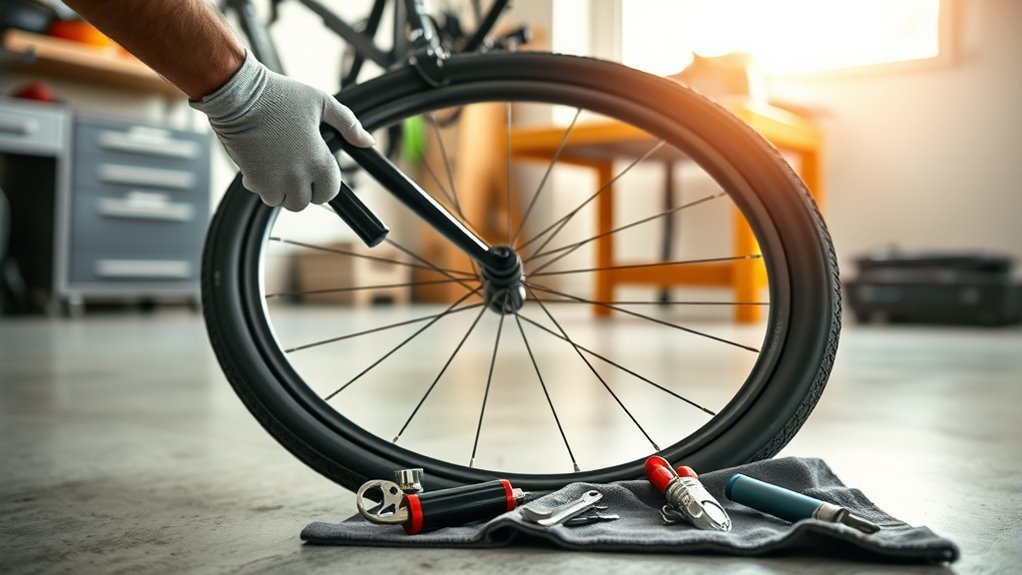
A flat bike tire is annoying, but it is usually a simple fix if your wheel uses an inner tube. The basic job is to remove the wheel, take out the tube, find what caused the leak, patch or replace the tube, reseat the tire, inflate safely, and check the wheel and brakes before riding again.
Quick Answer
To fix a flat bike tire, remove the wheel, fully deflate the tube, pry one tire bead off the rim, remove and inspect the tube, find the puncture cause, patch the tube or install a matching spare, reseat the tire, inflate within the tire and rim limits, then reinstall the wheel and test the brakes.
Key Takeaways
- Always find and remove the cause of the flat before installing a new or patched tube.
- Use plastic tire levers, not screwdrivers, so you do not damage the rim, tire bead, or tube.
- Match the replacement tube to the tire diameter, tire width range, valve type, and valve length.
- Inflate within the limits marked on the tire and rim, and use the lower maximum if they differ.
- After reinstalling the wheel, check that the axle is secure, the wheel is centered, and both brakes work.
At a Glance
| Time Required | 10–25 minutes, faster with practice |
| Difficulty | Beginner-friendly |
| Tools Needed | Tire levers, spare tube or patch kit, pump or CO2 inflator, and a wrench if your bike has axle nuts |
| Cost | Usually low: a patch kit or replacement tube is the main expense |
What You Need to Fix a Flat Bike Tire
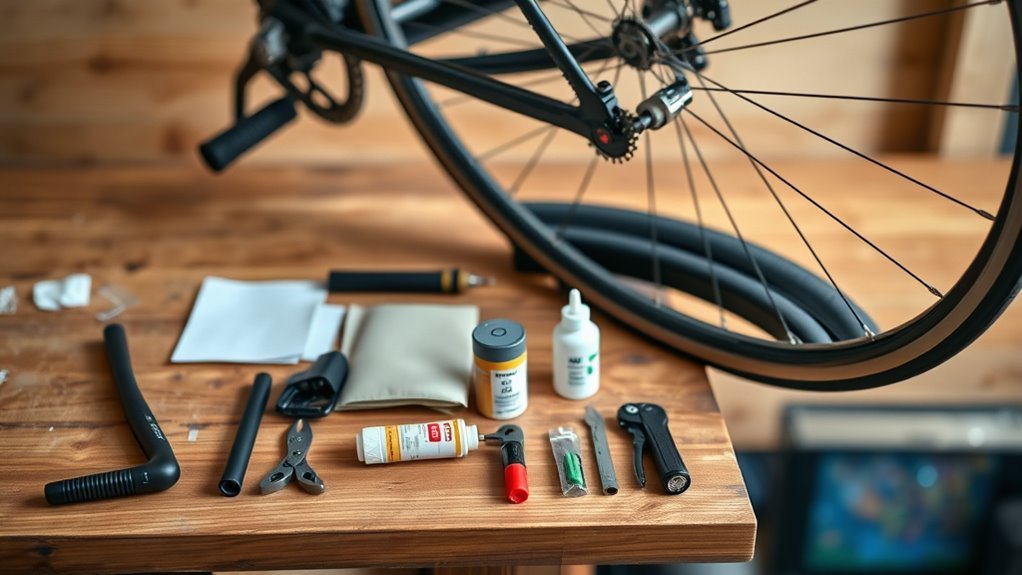
Before you start repairing a flat bike tire, gather the tools so the job stays quick and clean. For most bikes with inner tubes, you need plastic tire levers, a patch kit or a correctly sized spare inner tube, and a pump or CO2 inflator that fits your valve. Some bikes also need an adjustable wrench or the correct spanner for axle nuts.
Check the tire sidewall before you buy or carry a spare tube. Tube sizing should match the tire’s diameter and width range, such as 700 × 28–32c or 26 × 1.95–2.125. Also match the valve type: Presta valves are narrow and usually have a small lock nut at the tip; Schrader valves are wider and look like car tire valves. Deep-section rims may need a longer valve stem or a valve extender.
- Plastic tire levers
- Patch kit with sandpaper and rubber cement, or a glueless emergency patch kit
- Spare inner tube in the correct size and valve type
- Mini pump, floor pump, or CO2 inflator
- Wrench for solid axle nuts, if needed
- Small rag or gloves to keep hands and brake parts clean
- Tire boot or folded currency for a temporary fix on a cut tire casing
Note: This guide covers standard bike tires with inner tubes. Tubeless flats are handled differently: small holes may seal on their own, larger punctures often need a tubeless plug, and a tube can be installed as a backup if the tire will not seal.
[Products Worth Considering]

Tiakia’s mini high-pressure frame pump delivers up to 260 PSI for faster, more efficient inflations with an optimized intake volume. It features a double-head valve design compatible with Schrader and Presta, plus a conversion for Donlop, making it versatile for bikes and many inflatables. The lightweight anodized aluminum build includes a mounting bracket for convenient carry, while the flexible high-pressure hose and IPX4 waterproof body support outdoor use.

This 4-pack kit converts Presta bike valves to standard Schrader valves so you can inflate with any regular pump or air compressor. The solid brass adapters include an O-ring for a tight, leak-proof seal and provide a simple screw-on setup. Compatible with road bikes, mountain bikes, e-bikes, and e-scooters, it’s designed for convenient, everyday carry readiness.

Convert Presta bicycle valves to accept standard Schrader pump nozzles for fast, hassle-free inflation. This kit includes durable brass adapters with leak-resistant connections, plus sports inflation needles and protective valve caps for convenient use on bikes and ball sports equipment.
Remove the Wheel Quickly and Safely
Start by moving the bike to a safe, stable place. Shift the chain onto the smallest rear cog before removing the rear wheel; this gives the chain and derailleur more room and makes reinstallation easier. If your bike has rim brakes, release the brake caliper so the inflated tire can pass through. If your bike has disc brakes, avoid touching the rotor with greasy hands.
Warning: If your bike has disc brakes, do not squeeze the brake lever while the wheel is removed. Keep oil and grease away from the rotor and pads because contamination can reduce braking power.
Front Wheel Removal
For a front wheel with a quick-release skewer, open the lever fully and loosen the adjusting nut if the wheel will not drop out. For a thru-axle, open the lever or insert the correct hex key, then unthread and pull out the axle. For axle nuts, loosen both nuts evenly with the correct wrench.
Lift the bike’s front end and guide the wheel straight down out of the fork dropouts. Keep cables, brake pads, and disc rotors clear. Set the wheel down gently on the tire side, not on the rotor or cassette.
Rear Wheel Procedure
For the rear wheel, shift to the smallest rear cog first. Open the quick-release, unthread the thru-axle, or loosen the axle nuts. Pull the rear derailleur body back with one hand to create chain slack, then guide the wheel down and back until the cassette clears the chain.
If the bike is heavy, such as an e-bike or cargo bike, do not force the wheel out. Support the frame, watch for motor cables, and check the manufacturer’s wheel-removal instructions if the rear hub has wiring, torque washers, or special hardware.
Remove the Tire and Tube, and Inspect for Damage
Fully deflate the tube before using tire levers. On a Schrader valve, press the center pin until all air is out. On a Presta valve, unscrew the small tip first, press it down, and remove the valve lock ring if one is fitted. Push both tire beads toward the center channel of the rim; this gives the tire more slack and makes removal easier.
Remove Tire Carefully
Insert a plastic tire lever under one bead of the tire, starting opposite the valve. Pry the bead over the rim edge, then hook the lever to a spoke if the lever is designed for that. Insert a second lever a few inches away and work around the rim until one side of the tire is loose. You usually need to remove only one bead to pull out the tube.
- Use plastic tire levers, not screwdrivers or metal tools.
- Start opposite the valve stem for the easiest removal.
- Push the tire bead into the rim’s center channel before levering.
- Pull the valve stem through the rim carefully.
- Leave one tire bead on the rim when possible to speed up reinstallation.
Inspect Tube Thoroughly
Pull the tube out and inflate it slightly so it holds its shape. Listen for air, feel for a leak with your cheek or hand, and look for holes, tears, or damage near the valve stem. If you cannot find the leak, submerge the inflated tube in water and watch for bubbles.
| Step | Action | Tip |
|---|---|---|
| 1 | Deflate fully | Prevents pinching and makes tire removal easier |
| 2 | Remove tube | Start opposite the valve |
| 3 | Inspect | Match the tube hole to the tire and rim location |
Keep the tube lined up with the tire as you inspect it. If the hole is near a specific spot on the tube, check the matching spot on the tire and rim. This simple habit helps you find the thorn, glass shard, bad rim tape, or sharp spoke end that caused the flat.
Find the Cause of the Flat (Puncture, Pinch, or Valve)
Do not install a fresh tube until you know why the first one failed. A hidden thorn or piece of glass can puncture the new tube immediately. Run your eyes over the tread, then carefully run your fingers inside the tire casing. Move slowly so you do not cut yourself on sharp debris.
- Single small hole: Usually a puncture from glass, wire, a thorn, or another sharp object.
- Two side-by-side slits: Usually a pinch flat, also called a snakebite, often caused by hitting an edge with too little pressure.
- Damage at the valve: Often caused by a twisted tube, poor installation, valve movement, or riding on very low pressure.
- Hole on the rim side of the tube: Check rim tape, spoke holes, sharp spoke ends, and burrs around the valve hole.
- Cut in the tire casing: The tire may need a boot for a temporary ride home or replacement before regular riding.
Pro Tip: If you find a hole in the tube, line the valve stem up with the valve hole in the rim, then compare the tube’s hole position with the tire. That tells you exactly where to search for the sharp object.
Patch or Replace the Tube: Step by Step
Decide whether to patch the tube or install a new one. A small, clean puncture away from the valve is usually patchable. A large tear, a split seam, a damaged valve stem, or several old patches usually means replacement is the better choice. On the roadside, many riders install a spare tube first and patch the damaged tube later at home.
[Products Worth Considering]

This PXZBLG bike repair kit helps you tackle common tire and on-the-ride issues with a compact, ride-ready tool collection. It includes a mini tire pump supporting both Presta and Schrader valves, a 16-in-1 bike multitool, tire levers, glueless patches with a plastic box, plus 4mm and 5mm Allen wrenches. A convenient bike bag stores everything so you can mount it on your road bike or mountain bike for lightweight, portable preparedness.

This portable cordless tire inflator delivers up to 160 PSI with fast 17 L/min airflow to help you quickly top up tires and get back on the road. It features dual power mode, running on a 21V rechargeable battery or a 12V DC adapter for convenient roadside use. An automatic shut-off with digital pressure gauge helps prevent overinflation, and a built-in LED light improves visibility in low-light conditions.
How to Patch a Bike Tube
- Find the hole and mark it with chalk, a pen, or by keeping a finger on it.
- Dry the tube completely if you used water to find the leak.
- Lightly roughen the area around the hole with the sandpaper from the patch kit.
- Apply a thin, even layer of rubber cement if your kit uses glue.
- Wait until the cement looks dull and tacky, not wet.
- Press the patch firmly over the hole and hold it according to the kit instructions.
- Peel off any backing only if the patch instructions say to do so.
- Inflate the tube slightly and check that the patch seals.
Glueless patches are useful for quick emergency repairs, but a traditional vulcanizing patch is usually more reliable when applied carefully. Always follow the instructions in your patch kit because drying times and backing layers vary.
How to Install a New Inner Tube
Choose a tube that matches the tire size and valve type. Add just enough air for the tube to hold a round shape. Insert the valve straight through the rim hole first, then tuck the tube evenly inside the tire all the way around. A slightly inflated tube is less likely to twist or get pinched under the bead.
Reinstall, Inflate, Final Checks, and Prevention Tips
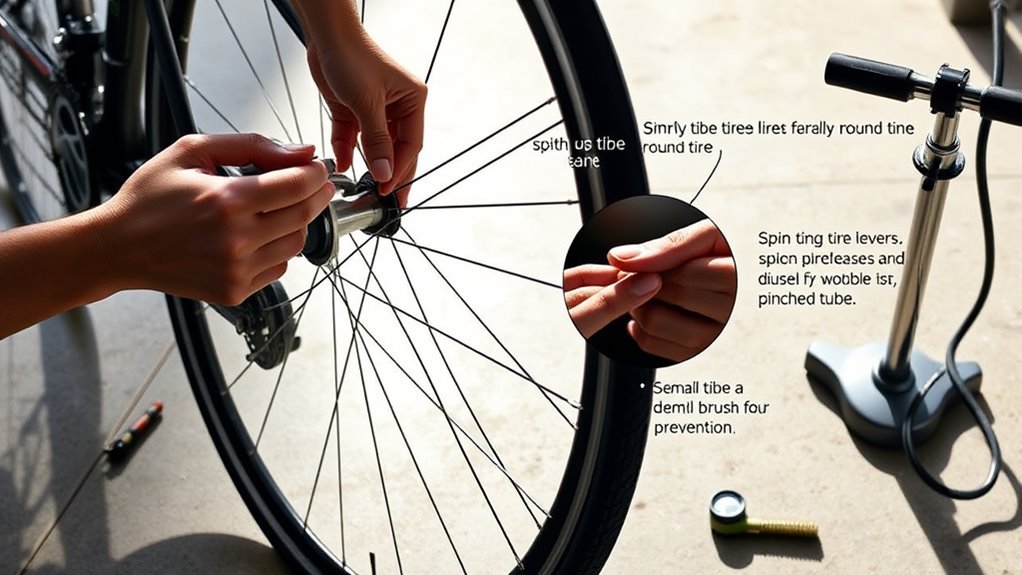
Starting near the valve, push the loose tire bead back onto the rim with your thumbs. Work evenly around both sides and save the tightest section for last. If the final part is stubborn, push the already mounted bead into the center channel of the rim to create more slack. Avoid using tire levers to force the last section unless absolutely necessary, because a lever can pinch the new tube.
Warning: Before full inflation, check both sides of the tire to make sure the tube is not trapped under the bead. A pinched tube can burst as you pump.
Inflate the tire halfway, then inspect both sides of the rim. The bead should sit evenly, and the molded line near the tire bead should look the same distance from the rim all the way around. If you see a bulge, dip, or exposed tube, stop, deflate, and reseat that section.
Inflate to an appropriate pressure for your tire, rim, rider weight, and terrain. The tire sidewall lists pressure information, but modern rims can also have their own limits. If the tire and rim limits differ, stay within the lower maximum. Continental notes that bicycle tire pressure depends on system weight, riding style, conditions, and preference, and that maximum pressure is found on the tire sidewall. Schwalbe also recommends checking and correcting pressure regularly because low pressure increases puncture risk.
Reinstall the Wheel
Place the wheel back into the dropouts or thru-axle mounts. For a rear wheel, guide the chain onto the smallest cog while pulling the derailleur back. Make sure the axle is fully seated and the wheel is centered in the frame or fork.
- Quick-release: Close the lever firmly so it leaves clear resistance as it folds shut. Do not use the lever like a wingnut.
- Thru-axle: Thread it in straight and tighten it according to the bike or axle manufacturer’s instructions.
- Axle nuts: Tighten both sides evenly with the correct wrench.
Reconnect rim brakes if you released them. Spin the wheel to confirm it does not rub the frame, fork, brake pads, or fender. Squeeze both brake levers before riding to confirm the brakes engage normally.
Prevent Future Flat Bike Tires
- Check tire pressure before regular rides, especially after the bike has sat for several days.
- Inspect the tread and remove glass, thorns, wire, and sharp stones before they work deeper into the tire.
- Replace cracked, badly squared-off, or cut tires.
- Keep rim tape centered and replace it if spoke holes or sharp edges are exposed.
- Use puncture-resistant tires or tire liners if you ride debris-heavy roads often.
- Carry a tube, levers, and a pump or CO2 inflator on every ride.
Common Mistakes to Avoid
- Skipping the cause check: A new tube will go flat again if the thorn, glass, or rim problem is still there.
- Installing the tube twisted: Add a little air first so the tube sits naturally inside the tire.
- Pinching the tube with a lever: Use your thumbs for the final bead section whenever possible.
- Overinflating: Never exceed the safe pressure limit for the tire or rim.
- Forgetting the brakes: Always test braking after reinstalling the wheel.
- Touching disc rotors with greasy hands: Keep rotors and pads clean to protect braking performance.
Frequently Asked Questions
How do you fix a flat bike tire step by step?
Remove the wheel, fully deflate the tube, remove one tire bead with plastic tire levers, pull out the tube, find the leak and the cause, patch the tube or install a matching spare, reseat the tire, inflate safely, reinstall the wheel, and test the brakes.
Can you fix a flat tire on a bike yourself?
Yes. Most flats on bikes with inner tubes can be fixed at home or roadside with tire levers, a spare tube or patch kit, and a pump. The most important step is finding and removing the object or rim problem that caused the flat.
Is it better to patch a bike tube or replace it?
Patch a small, clean puncture that is away from the valve. Replace the tube if it has a large tear, valve damage, a split seam, repeated leaks, or several old patches. On a ride, replacing the tube is usually faster; patch the old tube later as a spare.
Why did my new bike tube go flat right away?
The usual causes are a sharp object still stuck in the tire, exposed spoke holes or bad rim tape, the tube being pinched under the bead, the wrong tube size, or a valve installed at an angle. Deflate, remove the tube, and inspect the tire and rim carefully before trying again.
How much should I inflate my bike tire after fixing a flat?
Inflate within the safe range for your tire and rim. Check the tire sidewall, rim instructions, and wheel manufacturer guidance. If the tire and rim list different maximum pressures, use the lower maximum. Rider weight, tire width, surface, and weather can all affect the best pressure.
Conclusion
You’ve got this. With the right tools and a calm plan, you can remove the wheel, take out the tube, find the culprit, and either patch or replace the tube in a few efficient steps. The key is not rushing the inspection: remove the sharp object, check the rim tape, seat the bead evenly, inflate within safe limits, and test the brakes before you ride. A quick pressure and tread check before each trip can save you from a long walk home.
Sources
- Park Tool: How to Patch a Tire and Tube — supports tube inspection, leak finding, and patching procedure.
- Park Tool: Wheel Removal and Installation — supports wheel removal, installation, quick-release, thru-axle, and axle-nut guidance.
- Schwalbe: Bike Tire Fitting — supports tire fitting, bead seating, and safe inflation basics.
- Schwalbe: Optimum Puncture Protection for Bicycle Tires — supports pressure checks and puncture-prevention advice.
- Continental: Bicycle Tire Knowledge FAQ — supports tire pressure guidance and sidewall pressure information.
- Shimano: Disc Brake System User Instructions — supports disc brake safety, rotor and pad contamination warnings, and brake checks.

Related Articles

Are Premium Tires Worth the Extra Money?
Worth the extra money? Premium tires promise more grip, comfort, and longevity—but the real tradeoff may surprise you.
Read More
What Are OE Tires? Original Equipment Explained
Discover what OE tires really mean and why choosing the right replacement could change everything for your car’s ride, handling, and safety.
Read More
305 Tire Size Explained: How Big Is It?
I explain how big a 305 tire really is—and why the exact fit can surprise you.
Read More