
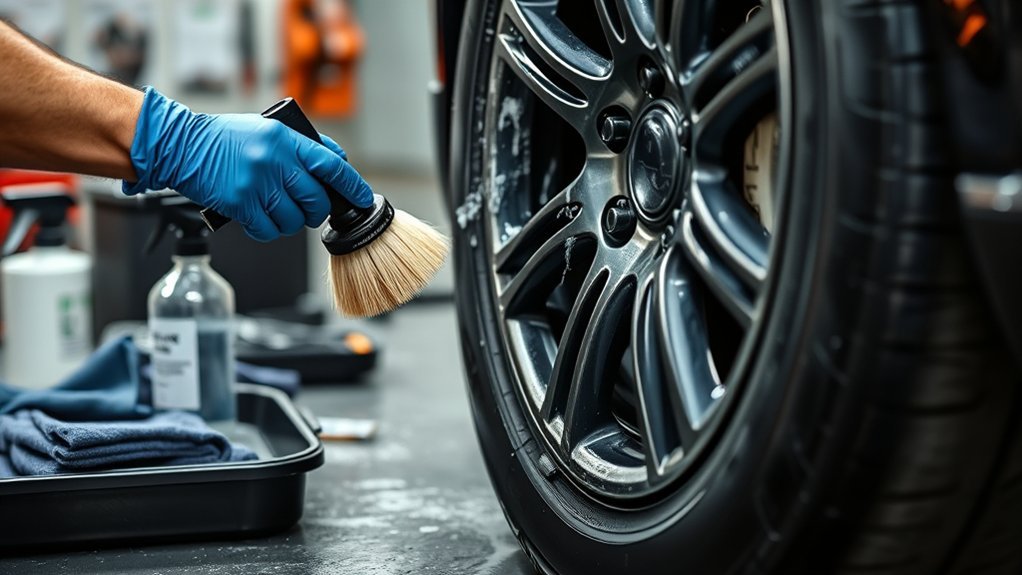
Before painting tire lettering or another manufacturer-approved decorative sidewall area, clean the rubber carefully so dirt, road film, and old tire dressing do not interfere with adhesion. The safest default is mild soap and water with a soft-bristle brush, followed by a thorough rinse and complete drying. Keep cosmetic paint off the tread and follow the instructions supplied with your tire paint or marker.
Quick Answer
Clean the tire sidewall with mild soap and water using a soft-bristle brush, rinse thoroughly, and let it dry completely. Avoid petroleum-based cleaners, harsh solvents unless specifically approved, and pressure washers. Remove old tire dressing from the paint area, then confirm the rubber is clean, cool, and dry before painting.
Key Takeaways
- Use mild soap, clean water, and a soft-bristle tire brush as your basic cleaning method.
- Do not rely on a universal APC dilution; follow the cleaner manufacturer’s directions if a stronger rubber-safe cleaner is required.
- Remove old tire dressing and oily residue from the exact sidewall area you plan to paint.
- Brown or yellow discoloration does not automatically mean iron contamination; it can be normal tire blooming or ordinary road soil.
- Let the rubber dry completely before painting, and keep cosmetic coatings off the road-contact tread.
At a Glance
| Time Required | Varies with tire condition; allow additional time until the cleaned rubber is completely dry. |
| Difficulty | Easy |
| Tools Needed | Bucket, mild soap, soft-bristle or soft Tampico brush, garden hose, microfiber towels, and optional low-pressure air for crevices |
| Cost | Low if you already have basic washing supplies; additional cost depends on the tire-safe cleaner and paint you choose. |
Warning: Limit cosmetic tire paint to sidewall areas specifically suited to the product you are using. Do not paint the road-contact tread. NHTSA explains that tire tread provides the gripping action and traction needed to prevent slipping and sliding. Also avoid covering DOT codes, tire size, load and speed information, or other important sidewall markings.
Tire Cleaning Supplies
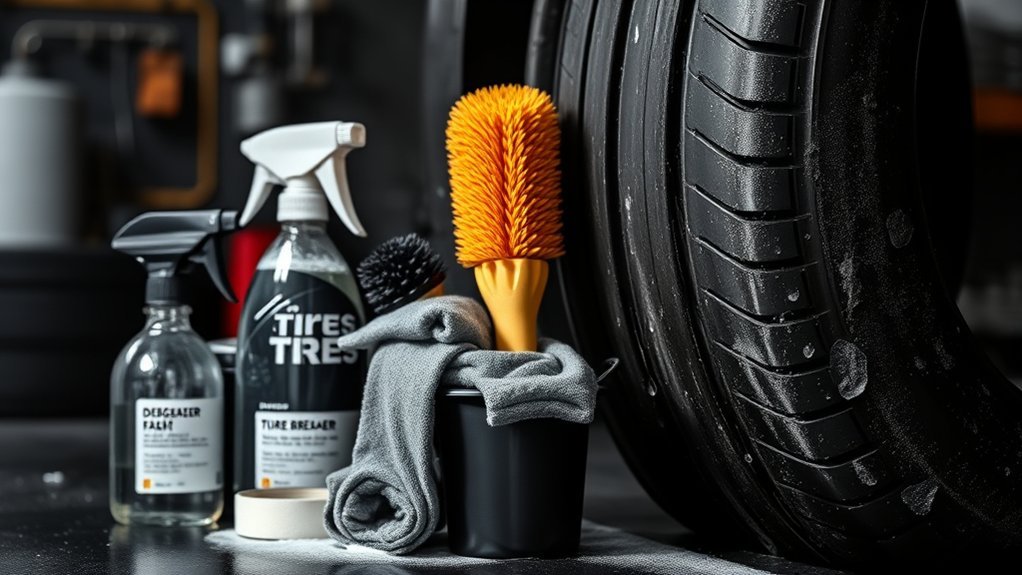
When you prep tires for paint, you do not need an aggressive chemical system. Start with clean water, mild soap or detergent, a soft-bristle brush, and clean microfiber towels.
USTMA recommends cleaning tires with soap and water and a soft-bristle brush or shop cloth. It also warns that incompatible dressings, harsh cleaners, petroleum-based products, pressure washers, and steam cleaners can damage or prematurely age tire rubber.
A soft Tampico brush can work well if the wet bristles remain gentle. The goal is to lift road film and old dressing from the sidewall without aggressively scouring the rubber.
If ordinary soap does not remove an old dressing, use a dedicated tire cleaner that specifically says it is suitable for rubber. Follow the product label rather than assuming a fixed dilution such as 15:1.
Pro Tip: Clean the entire sidewall, but give extra attention to the lettering or decorative area you plan to paint. Residual tire shine, silicone-like dressing, grease, or road film in that small area can cause uneven paint coverage or poor adhesion.
[Products Worth Considering]

This 3-piece wheel and tire brush set makes it easy to clean light, medium, and heavy dirt from wheels, rims, tires, and exterior surfaces. It includes both soft and stiff bristle options for gentle scrubbing and tough grime removal, helping lift brake dust and road buildup. The long-handle design supports comfortable cleaning across cars, trucks, SUVs, RVs, motorcycles, and more, with simple care instructions to restore brush shape.

Clean wheels and rims with soft feathered bristles that safely remove dirt and road grime while helping restore original luster. The short non-slip handle makes it easy to scrub in tight wheel wells, and the brush is suitable for vehicles and hard-to-reach areas. It can also be soaked and rubbed to help restore bristles to their shape after use.

This oesee 8-piece wheel care kit helps you clean, scrub, and dry wheels safely with purpose-built brushes and towels. The scratch-free microfiber wheel brush lifts brake dust and grime, while the stiff pro-grip tire brush removes tire browning and embedded dirt. A twist loop microfiber drying towel and an applicator help achieve a streak-free finish and cleaner, more even product application.
Check the Tire and Paint Before You Start
Before cleaning for a cosmetic paint project, inspect the tire. Do not use paint to hide cuts, bulges, exposed cords, cracking, or other damage. A damaged tire should be inspected by a qualified tire professional instead of cosmetically covered.
Also check the instructions for your tire paint, marker, or lettering product. Use a coating intended for the type of flexible rubber surface you are decorating. If the product manufacturer gives a specific preparation procedure, temperature range, drying time, or compatibility warning, follow that guidance.
Keep the paint area away from critical molded information. Tire sidewall markings identify information such as tire size, construction, load rating, speed rating, and DOT production data, so they should remain readable.
Rinse Off Loose Dirt and Grit
Begin by rinsing loose soil, grit, and debris from the tire with normal garden-hose flow. Work around the sidewall and grooves so loose particles are removed before brushing.
Avoid directing a pressure washer or steam cleaner at the tire. USTMA states that these methods may be damaging to tire rubber.
If the vehicle was recently driven and the tire is hot, allow it to cool before starting the paint-preparation process. A cool surface is also easier to evaluate and helps you stay within the temperature range specified by the coating manufacturer.
At this stage, you are simply removing loose contamination. Do not start scrubbing aggressively while gritty debris is still sitting on the sidewall.
Wash With Mild Soap or a Rubber-Safe Cleaner
Mix mild soap or detergent with water and apply it to the sidewall. Use enough solution to keep the area wet while you clean.
If mild soap does not remove a stubborn layer of old dressing, use a cleaner that is specifically labeled for tire rubber. Do not automatically mix an all-purpose cleaner at 15:1 or any other universal ratio because cleaner strengths and manufacturer directions vary.
Michelin advises using non-petroleum cleaning products or plain soap and water and warns that petroleum-based tire cleaners can deplete protective agents within the rubber compound.
Warning: Do not use gasoline, petroleum-based cleaners, or an aggressive solvent simply because it removes grease quickly. If a tire-paint manufacturer calls for a special surface-preparation chemical, confirm that it is compatible with your tire and follow that product’s safety directions exactly.
[Products Worth Considering]

P&S Dressed Tire Finish is a premium, water-based tire dressing that delivers a deep, rich high-gloss look without the greasy residue. Its polymer blend is designed to mimic the durability and shine of traditional solvent-based dressings while staying non-hazardous and eco-friendly. Apply with a brush or spray bottle for even coverage and a professional, factory-fresh finish.
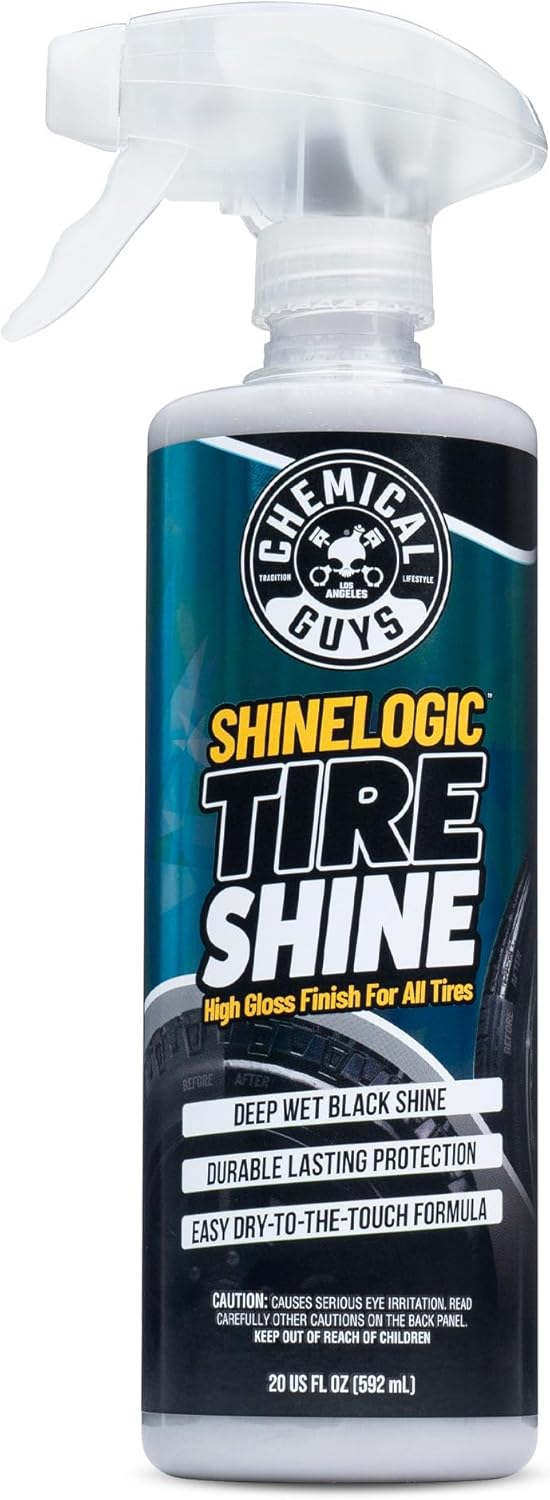
Chemical Guys ShineLogic Tire Shine delivers a deep wet black, high-shine finish for rubber tires with a sleek look. It’s designed for durable, one-step application with minimal drips, streaks, or runs, and it helps produce effortless, long-lasting shine. Choose aerosol or trigger spray for easy use on cars, trucks, motorcycles, RVs, and more.

This professional wheel and rim brush kit makes it easy to lift brake dust, grime, and dirt from wheels and tires without scratching finishes. The brushes feature soft, metal-free wool heads and a flexible 360-degree rim brush design for reaching hard-to-clean areas. Includes multiple brush types plus accessories for thorough car, motorcycle, and general vehicle detailing.
Scrub Tires With a Tampico Brush
Use a soft Tampico or other soft-bristle tire brush to work the cleaning solution across the sidewall. Apply enough pressure to loosen grime without trying to grind the surface clean.
Pay special attention to raised lettering, recessed edges, textured rubber, and other areas where old dressing can collect.
[Products Worth Considering]

Cristal Products Untouchable Tire Shine Spray delivers a deep, wet-look gloss that enhances your vehicle’s tires. It’s quick-drying and spreads smoothly for consistent, streak-free coverage, while forming a protective coating against UV rays, road grime, and weather. Suitable for all tire types, it helps restore dull, faded tires to a showroom-quality finish.

This wheel brush kit delivers pro-level cleaning at home, lifting dirt, grime, and brake dust to help restore wheel appearance. It includes multiple brush styles and applicator pads for tackling different wheel surfaces, with gentle, metal-free bristles designed to reduce scratching risk. The flat and double-ended brushes are built for comfort and reach, making wheel care easier for cars, trucks, and RVs.

Turtle Wax Hybrid Solutions Hyper Foam Wheel and Tire Cleaner uses an advanced high-foaming formula that clings to wheels and tires to dissolve tough road grime, embedded brake dust, and light iron deposits. It helps restore black tires while prepping surfaces for tire shine or protective coatings. The pH-balanced cleaner is safe for all wheel finishes and includes corrosion-repellent polymers that reduce future contaminant build-up.
Tampico Brush Benefits
A soft Tampico brush gives you controlled contact around raised lettering and small sidewall details. Its natural fibers soften when wet, which makes it useful for detailed cleaning when used gently.
| Benefit | Why It Matters | Result |
|---|---|---|
| Soft wet fibers | Provides gentler contact | Controlled cleaning |
| Fine bristles | Reach lettering and grooves | Better detail cleaning |
| Controlled contact | Reduces unnecessary abrasion | Safer surface preparation |
| Frequent rinsing | Removes loosened grit | Less dirt transferred back to the tire |
| Small-section cleaning | Improves coverage around details | More even paint preparation |
Gentle Scrubbing Technique
Work in small areas with light, even strokes. Follow the edges of raised letters and textured areas rather than repeatedly scrubbing the same spot with heavy force.
If residue remains, apply fresh soapy water or an approved tire cleaner and repeat the gentle wash. Let the cleaner do the work instead of increasing brush pressure.
Brush Rinse Frequency
Rinse the brush whenever the bristles collect visible dirt or dressing residue. A simple routine works well:
- Clean one small section.
- Rinse the brush thoroughly.
- Shake out excess dirty water.
- Move to the next section.
When you finish the tire, rinse the brush completely before using it again.
Remove Brake Dust and Old Dressing Residue
Old tire dressing is one of the most important residues to remove from a sidewall before cosmetic painting. Wash the area repeatedly with mild soap or an approved tire cleaner until the surface no longer looks slick or freshly dressed.
Brake dust is mainly a wheel contaminant, although road film and brake debris can also settle on the tire. Do not treat tire rubber with a strong wheel chemical simply because the nearby wheel has brake dust. Clean the wheel and tire according to the products intended for each surface.
For tire-paint adhesion, removing greasy dressing residue from the sidewall matters more than making the rubber look artificially deep black or glossy.
Rinse thoroughly after cleaning. Soap or cleaner left behind can become another layer between the rubber and the paint.
Rinse and Check for Remaining Contamination
Use clean water to rinse the sidewall until visible soap and loosened dirt are gone. Then inspect the exact section you intend to paint.
Initial Rinse Check
Look for trapped dirt around raised letters, grooves, and edges. If the surface still feels slick from old dressing or looks visibly greasy, wash that area again using the same gentle process.
A practical paint-prep surface should be free of loose soil, greasy dressing, cleaner residue, and standing water.
Understand Brown or Yellow Tire Discoloration
Do not assume that every brown or yellow tint is iron contamination. Tire rubber contains protective compounds that can migrate toward the surface as the tire ages and is exposed to air.
Michelin explains that an anti-ozone ingredient can migrate to the surface and appear as a brownish dust. Normal dirt and brake dust can also discolor the tire.
Note: A yellow or brown sidewall is not, by itself, a reason to apply an iron remover. Iron-removal products are commonly used for wheel and paint decontamination, but tire-rubber compatibility varies by product. Only use one on rubber if its manufacturer specifically allows that use.
If repeated gentle cleaning does not remove a stain, avoid escalating automatically to stronger chemicals. Check the tire manufacturer’s guidance and the label of any cleaner you are considering.
How to Know the Tire Is Clean Enough to Paint
Before drying, inspect the paint area closely. It should meet four simple conditions:
- No loose dirt is visible around the lettering or texture.
- No slick tire-dressing film remains.
- No soap or cleaner residue is visible.
- A clean towel does not immediately pick up greasy surface residue when you wipe the area lightly.
You do not need to scrub until the rubber changes color or looks unnaturally dry. The goal is a clean, residue-free surface suitable for the coating you plan to use.
Dry the Tires Completely Before Painting
Once the tire is clean, dry it completely before painting. Start with clean microfiber towels and blot the lettering, sidewall grooves, valve area, and other places where water can collect.
If needed, use gentle airflow to move trapped droplets out of recessed areas. Do not substitute high-pressure washing for drying.
Continental also recommends making sure cleaned tires are completely dry before moving to the next care or storage step.
There is no universal requirement to wait exactly one or two hours. Temperature, humidity, airflow, and tire design all affect drying. Continue only when the paint area is visibly and physically dry.
After that, follow the tire-paint manufacturer’s instructions for surface temperature, number of coats, drying between coats, and final cure time.
Troubleshooting Paint Adhesion Problems
Paint Beads or Pulls Away
The surface may still contain tire dressing, grease, cleaner residue, or another incompatible contaminant. Stop, remove the uncured coating according to the paint manufacturer’s instructions, and clean the area again.
Paint Peels After Drying
Possible causes include incomplete cleaning, painting damp rubber, using a coating that is not designed for flexible tire rubber, or driving before the coating has cured. Check the paint manufacturer’s preparation and cure requirements before reapplying.
Brown Color Returns After Cleaning
That does not automatically mean the tire is dirty again. Protective tire compounds can migrate toward the surface over time. Clean gently when necessary instead of repeatedly attacking the rubber with stronger chemicals.
Frequently Asked Questions
What should you clean wheels with before painting?
Wheel preparation is different from tire-rubber preparation. Wash away dirt, remove grease, wax, rust, and loose coating as required, then follow the exact wheel-paint manufacturer’s preparation system. For example, Dupli-Color’s Wheel Paint instructions specify grease/wax removal, light sanding with 600-grit paper, and another cleaning before coating.
How do you protect tires when painting wheels?
Clean the assembly first, then mask the tire carefully with automotive masking tape plus masking paper or plastic so the rubber is protected from overspray. Make sure the masking follows the rim edge closely. Work in the ventilation and temperature conditions required by the wheel-paint manufacturer.
What grit should you sand wheels with before painting?
There is no single grit sequence for every wheel and every coating. Follow the paint manufacturer’s instructions for the wheel’s existing finish. Dupli-Color currently specifies 600-grit sanding for its Wheel Paint, while other coating systems can specify different surface preparation.
How do you prep wheels for paint?
Remove dirt, grease, wax, loose paint, corrosion, and other contamination, then sand or scuff the surface exactly as the chosen coating requires. Clean the surface again, mask the tire and surrounding areas, apply primer if the coating system calls for it, and apply the wheel paint according to its instructions.
Can you use a pressure washer to clean tires before painting?
A normal hose, soap, and soft brush are the safer default. USTMA’s tire-care guidance states that using a pressure washer or steam cleaner may damage the tire, so there is no need to use high-pressure cleaning for ordinary sidewall paint preparation.
Does a brown or yellow tire mean it has iron contamination?
No. Brownish discoloration can come from normal antiozonant migration, road dirt, or brake dust. Color alone does not confirm embedded iron, so an iron remover should not be the automatic next step when preparing tire rubber for paint.
Can you paint the tread of a road tire?
Cosmetic tire painting should be kept off the road-contact tread. NHTSA explains that the tread supplies gripping action and traction. For decorative projects, limit the coating to sidewall lettering or another area specifically approved by the paint and tire manufacturers.
Sources
- U.S. Tire Manufacturers Association — Care and Service of Passenger and Light Truck Tires — tire-cleaning methods, harsh cleaner warnings, and pressure-washer caution.
- Michelin USA — Tire Care FAQs — non-petroleum cleaning guidance and explanation of brown antiozonant residue.
- Continental Tires — Storing Tires — detergent, water, tire-brush cleaning and complete drying guidance.
- National Highway Traffic Safety Administration — TireWise — tire-tread traction and safety information.
- Michelin USA — Tire Markings Explained — sidewall identification, size, load, speed, pressure, and DOT information.
- Dupli-Color — Wheel Paint — manufacturer-specific wheel cleaning and sanding preparation.
Conclusion
Good tire-paint preparation does not require aggressive chemicals or high-pressure washing. Clean the sidewall with mild soap and water, use a soft brush, remove old dressing, rinse thoroughly, and wait until the rubber is completely dry. If stronger cleaning is necessary, use only a product approved for tire rubber and follow its label.
Most importantly, treat tire painting as a cosmetic sidewall project. Keep paint off the tread, leave important sidewall information readable, and follow the coating manufacturer’s preparation and curing directions. A clean, residue-free surface gives your tire lettering or decorative sidewall paint the best chance to bond evenly and last.

