
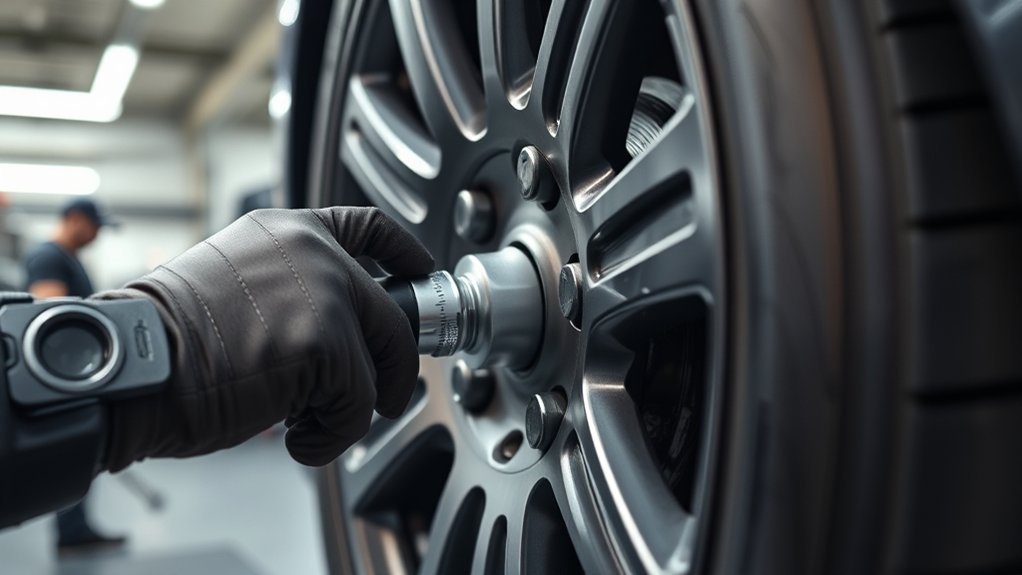
Do new tires need retorquing? The important point is that the tire itself is not retorqued; the wheel’s lug nuts or bolts are checked after the wheel has been removed and reinstalled. Because intervals vary by vehicle and wheel, the correct schedule comes from the manufacturer rather than one universal mileage rule.
Quick Answer
Usually, yes—but you are retorquing the wheel fasteners, not the tire. After a tire change that required wheel removal, recheck the lug nuts or bolts at the interval specified by your vehicle or wheel maker. Verified guidance ranges from about 30 miles to 100 miles, depending on the application.
Key Takeaways
- Retorquing means checking the wheel fasteners against the specified torque after a wheel has been installed.
- There is no single retorque distance for every vehicle; manufacturer instructions take priority.
- Dirt, corrosion, uneven seating, and improper initial tightening can reduce effective clamping force.
- Use the specified torque, the correct tightening sequence, and a torque wrench rather than tightening by feel.
- If you notice wheel movement, new vibration, clicking, or obviously loose fasteners, stop driving and have the wheel inspected.
Do New Tires Need Retorquing?
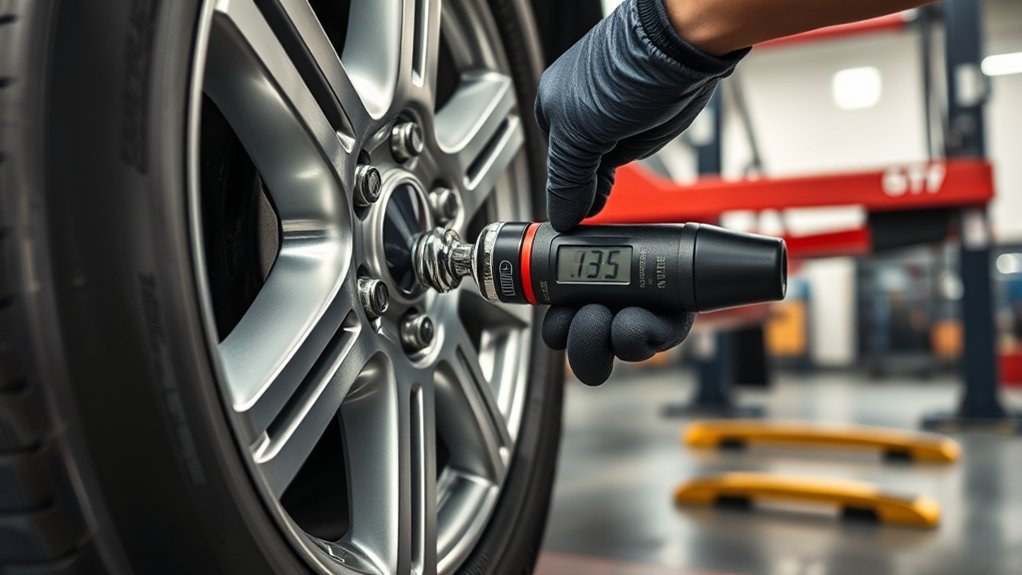
New tire installation often involves removing and reinstalling the wheels, so the wheel fasteners may need a follow-up torque check. The need comes from disturbing the wheel-to-hub connection, not from the new tire rubber itself.
After installation, the lug nuts or wheel bolts should already be tightened to the vehicle or wheel manufacturer’s specified torque. A later check confirms that the fasteners still meet that specification after the assembly has been driven.
The timing is not identical for every vehicle. Some manufacturers call for a check fairly soon after installation, while others specify a longer interval. If your owner’s manual, wheel instructions, or installer gives a specific procedure, follow that instead of assuming that 50 to 100 miles applies to every vehicle.
Use a suitable torque wrench for the final check. An impact wrench may be useful during professional installation, but it should not replace an accurate final torque measurement.
Why Lug Nuts Loosen After Installation
Wheel fasteners can lose effective clamping force when the wheel, hub, and fastener seating surfaces settle after installation. Correct clamping force is what holds the wheel firmly against the hub while the vehicle is braking, cornering, and traveling over bumps.
Dirt, rust, grit, paint, or other material trapped between mounting surfaces can also interfere with proper seating. Continental notes that contamination can create a misleading torque condition in which friction consumes part of the applied force instead of producing the intended clamp load.
The initial installation matters just as much as the later check. Fasteners that are tightened unevenly, installed against dirty mounting surfaces, or tightened to the wrong specification can create problems even before the retorque interval arrives.
That is why a retorque should be treated as a verification step, not as a substitute for correct wheel installation.
When to Retorque New Tires
Check the wheel fasteners at the interval specified for your vehicle or wheel. Verified manufacturer guidance shows that the interval can differ substantially, so there is no single mileage figure that applies to every passenger car, SUV, truck, or trailer.
| Source | Verified Retorque Guidance | Application |
|---|---|---|
| Continental wheel-retorquing guidance | About 50 km, roughly 30 miles, after a tire change | General passenger-vehicle tire guidance |
| Ford wheel lug nut specifications | 100 miles after wheel disturbance on the vehicle covered by the manual | Vehicle-specific owner guidance |
| Freightliner Cascadia wheel-nut guidance | 50 to 100 miles after a wheel has been installed | Commercial-truck maintenance |
These differences are why the owner’s manual or wheel manufacturer’s instructions should control your schedule. Do not extend or shorten the interval just because another vehicle uses a different recommendation.
A torque check can also be required after other work that disturbs the wheel, such as a tire rotation, flat-tire change, seasonal wheel swap, or brake service that required wheel removal.
How to Check Lug Nut Torque
You can check wheel torque yourself if you have the correct specification, the correct socket, and an accurate torque wrench. Work on level ground with the vehicle securely parked, and follow any vehicle-specific instructions in the owner’s manual.
Warning: If a wheel is visibly loose, wobbling, making repeated clicking or clunking noises, or has damaged studs or lug nuts, do not rely on a simple retorque and continue driving. Have the wheel assembly inspected before the vehicle is driven farther.
- Park safely. Use a level surface, select Park or the appropriate gear, and apply the parking brake.
- Find the exact torque specification. Use the vehicle owner’s manual, service information, or approved wheel documentation. Do not guess from another model.
- Fit the correct socket. Make sure it fully engages the lug nut or wheel bolt.
- Set the torque wrench. Set it to the specified value and keep the wrench square to the fastener.
- Use the specified tightening sequence. A crisscross or star-type sequence is common because it distributes load around the wheel, but follow the pattern specified for your vehicle.
- Apply smooth pressure. Stop when a click-type wrench signals the setting. Do not keep pulling after the signal.
- Check every fastener on the disturbed wheel. Complete the pattern rather than checking only one or two lug nuts.
If a fastener turns noticeably before the wrench reaches the specified torque, it was below the set value. If the wrench clicks immediately, that confirms the fastener has reached at least the wrench setting; it does not prove that someone did not previously overtighten it.
Do not loosen and retighten every fastener merely to test for overtorque unless the manufacturer’s procedure calls for that method. Fastener lubrication rules also vary, so never add oil, grease, or anti-seize unless the applicable manufacturer specifically instructs you to do so.
[Products Worth Considering]

The Trivd Frol 1/2" air impact wrench delivers high performance torque up to 1500 ft-lbs with a twin hammer impact mechanism for strong, balanced blows. It features an ergonomic grip, compact lightweight design, and quick-stop control with 3 forward speeds up to 8000 RPM plus a reverse speed. Built for demanding automotive repair and tire shop work, the rear exhaust helps keep debris away from the surface.

The 22800 wheel stud installer makes replacing wheel studs quick and secure, saving time and effort during tire service. It uses a ratchet or impact wrench to pull new studs firmly into place, helping when existing studs are too long. Compatible with most automotive wheels and light-duty truck wheel studs, it’s designed for easy, tool-assisted installation.

This car D-wheel lock nut key provides an anti-theft solution for D-shaped wheel lock bolts, helping keep your wheels secure. It features a flower-shaped internal pattern that resists micro-adjustment theft while allowing removal and mounting of compatible locking nuts. Made for reliable performance under high torque, it’s easy to use with standard socket wrench turning for quick tire maintenance and emergency repairs.
Signs Your Wheels Need a Retorque
A scheduled torque check should happen before symptoms develop, but certain changes after wheel service deserve immediate attention. New vibration, unusual noises, or visible wheel movement can signal a wheel-installation problem that needs inspection.
- New steering or body vibration: A vibration that appears soon after tire or wheel service should be investigated rather than assumed to be normal.
- Clicking, clunking, or metallic noises: Repeated sounds from a recently serviced wheel can indicate movement or another mounting problem.
- Visible wheel movement: Any obvious wobble or movement is a reason to stop driving.
- Rust or movement marks: Fresh marks around wheel fasteners or mounting areas can justify a closer inspection.
- A fastener below specification: If a lug nut moves before the torque wrench reaches the specified value, check the complete wheel and consider why torque was lost.
Vibration after new tires can also come from balance, tire uniformity, wheel damage, or other suspension and steering issues. Do not assume loose lug nuts are the only possible cause.
What Happens If You Skip Retorquing?
If your vehicle or wheel manufacturer specifies a follow-up torque check and you skip it, a fastener that lost clamp load can remain unnoticed. Too little torque can allow wheel movement, while excessive torque can damage fasteners or related wheel components.
The most serious outcome is wheel separation, although that is an extreme case. More subtle problems can include vibration, damaged studs, worn wheel mounting holes, or difficulty diagnosing a wheel that was not seated correctly.
Loose Lug Nuts
Loose lug nuts reduce the clamping force holding the wheel against the hub. Once the wheel begins moving relative to the mounting surface, repeated loads can damage the fasteners, wheel seats, or mounting holes.
If a lug nut repeatedly loses torque after being tightened correctly, do not simply keep tightening it. The stud, nut, wheel seat, hub surface, or installation method may need inspection.
- Stop using the vehicle if the wheel appears loose or unstable.
- Inspect the affected wheel and fasteners for obvious damage.
- Use the manufacturer’s specified torque and tightening sequence only if the hardware is serviceable.
- Replace damaged parts rather than trying to compensate with extra torque.
Wheel Vibration Issues
A loose or poorly seated wheel can create vibration, but vibration after tire installation has several possible causes. Tire imbalance, wheel runout, mounting problems, tire defects, and suspension issues can produce similar symptoms.
If vibration begins soon after wheel service, checking the wheel fasteners is a sensible safety step. However, do not keep tightening them above specification in an attempt to cure the vibration.
If torque is correct and the vibration remains, the next step is to have the tire and wheel installation inspected for balance, seating, runout, or damage.
Do Different Vehicles Need Different Retorque Schedules?
Yes. Retorque instructions can vary by vehicle, wheel system, and manufacturer. The verified examples above range from about 30 miles for Continental’s general tire-change guidance to 100 miles in the cited Ford documentation, while Freightliner specifies 50 to 100 miles for the covered commercial truck.
This variation is another reason not to treat a generic online mileage figure as a substitute for your vehicle documentation.
Vehicle-Specific Torque Needs
Every wheel installation should use the specified torque for that exact application. Torque values can change with vehicle design, fastener size, wheel design, and the type of mounting system.
- Identify the vehicle, wheel, and fastener specification.
- Use the tightening pattern required for that wheel.
- Check for aftermarket wheels, spacers, or different fasteners that may carry their own instructions.
If aftermarket wheels or fasteners are installed, make sure the wheel maker’s requirements are compatible with the vehicle. Correct seat shape and hardware matter just as much as the torque number.
Retorque Timing Differences
Retorque timing should come from the instructions for the actual vehicle and wheel setup. Passenger vehicles, commercial trucks, trailers, and aftermarket wheels may use different procedures and follow-up intervals.
The safest general rule is simple: after a wheel has been removed and installed, identify whether the manufacturer specifies a follow-up check and perform it at that interval. If the documentation gives no universal retorque mileage, do not invent one.
Can You Retorque Tires Yourself?
Yes, you can check your own wheel-fastener torque if you have the correct specification and a suitable torque wrench. The job is straightforward, but precision matters because both under-tightening and over-tightening can damage the wheel mounting system.
You generally need a torque wrench and the correct socket. A jack is not normally needed merely to check fastener torque with the vehicle parked on the ground unless your manufacturer specifies another procedure.
- Confirm the torque specification before touching the fasteners.
- Inspect the lug nuts, bolts, and wheel area for obvious damage.
- Check the fasteners in the specified crisscross or star-type sequence.
- Stop applying force when the torque wrench signals the set value.
- If a fastener will not tighten smoothly, feels damaged, or repeatedly loses torque, stop and have it inspected.
Note: If you do not know the correct torque value, do not have a suitable torque wrench, or find damaged threads, studs, wheel seats, or mounting surfaces, have a qualified tire or repair shop perform the check.
[Products Worth Considering]

These M14x1.5 closed-end chrome lug nuts are a one-piece replacement designed for secure fitment on compatible GM, Ford, and select Chrysler/Dodge models. Featuring a 60-degree conical seat and anti-rust chrome plating, they help resist corrosion and maintain a bright look for everyday driving. Built for long-term durability, they include OEM-style part references and are backed by 12 months of support.

Upgrade your wheels with MIKKUPPA closed-end lug nuts designed for reliable fit and corrosion resistance. The one-piece, cold-forged and heat-treated steel construction helps resist rust and stripping, while the integrated finish delivers a durable black appearance. Built to OEM standards with a conical 60-degree seat, these nuts provide a secure solution for compatible Ford, Honda, Jeep, and Chevrolet models.

This 1/2-inch drive breaker bar delivers powerful leverage for loosening and tightening stubborn lug nuts and automotive fasteners. The 180-degree flex head helps you reach tight spaces at the angle you need, making tire and brake jobs easier. A spring-loaded ball detent design holds 1/2-inch sockets securely while the chrome-moly head provides durable strength for everyday use.
Tire Shop Retorque vs. DIY Check
Either a competent shop or a careful DIY owner can perform a wheel-torque check. The better choice depends on whether you have the correct specification, suitable tools, and confidence that the wheel and hardware are undamaged.
A shop is particularly useful when a fastener has loosened significantly, the wheel has been moving, or you suspect damaged threads or mounting surfaces.
[Products Worth Considering]

Upgrade your wheels with MIKKUPPA M12x1.5 mag seat lug nuts built for secure, corrosion-resistant performance. These closed-end chrome lug nuts are a direct replacement for select Toyota models, including Camry, Corolla, RAV4, Sienna, Avalon, Highlander, Matrix, Venza, and Prius. Triple-chromium plating and cold-forged, heat-treated steel help deliver strength for daily driving and replacement needs.

The VEHLIVE SU-50448 II TPMS relearn tool provides a fast activation reset to restore accurate tire pressure monitoring after sensor replacement or tire rotation. It supports 315 MHz and 433 MHz GM series sensors and helps clear dashboard pressure warnings. With simple two-button operation and horn-confirmed relearning order, you can reprogram sensors conveniently at home.

Malco tire mounting and demounting lubricant is a ready-to-use tire lube formulated to reduce friction during tire installation for passenger cars, light trucks, farm tires, and heavy-duty equipment. It provides rust-inhibiting protection to help reduce corrosion on rims and wheels, and helps support proper tire bead seating during inflation to reduce air leakage. The silicone-free, soap-free formula is whitewall safe to help prevent discoloration on whitewall tires and sensitive sidewall markings.
Shop Torque Verification
A professional retorque should verify the wheel fasteners against the correct specification with an appropriate torque tool. It should not consist of simply hitting every lug nut again with an impact wrench.
A shop can also inspect the wheel, studs, nuts or bolts, hub surface, and seating area if anything looks abnormal. That extra inspection matters when one fastener has lost much more torque than the others or repeatedly loosens.
- Confirm which wheels were removed during the original service.
- Ask that the final check use the manufacturer’s specified torque.
- Mention any vibration, noises, or looseness that appeared after the service.
DIY Lug Check
A DIY torque check is reasonable when the wheel is securely installed and there are no signs of damage. Use the exact vehicle or wheel specification and keep the torque wrench aligned with the fastener.
Work through the correct sequence rather than going around the wheel in a circle unless that is the sequence your manufacturer specifies. Do not add extra force after the wrench reaches its set value.
If one fastener is substantially loose, cross-threaded, seized, or damaged, stop. That is an inspection problem, not something to solve by applying more torque.
Torque Tool Accuracy
Torque-wrench accuracy affects the value applied to the fastener, so use a tool that is in good condition and appropriate for the required range. A damaged, abused, or unreliable wrench can make a correct specification meaningless.
Follow the wrench manufacturer’s operating and storage instructions. With a click-type wrench, apply smooth pressure and stop at the signal instead of pulling farther for extra assurance.
Remember that a torque check is not the same as measuring the exact clamping force in the joint. Its purpose is to apply the manufacturer’s specified installation method as consistently as practical.
Why Retorquing Matters for Tire Safety
Retorquing matters because the wheel must remain firmly clamped to the hub after tire or wheel service. A follow-up check can catch a fastener that no longer meets the required torque before looseness causes further movement or damage.
Both too little and too much torque can be harmful. Continental warns that loose fasteners can contribute to wheel movement, while excessive tightening can damage threads or stretch studs. Freightliner likewise warns that insufficient torque can cause wheel shimmy and stud damage, while excessive torque can damage threads or wheel components.
Correct wheel torque is about maintaining the manufacturer’s specified clamp load, not making the lug nuts as tight as possible.
The best safety routine is therefore straightforward: install the wheel correctly, use clean and properly prepared mounting surfaces as specified, tighten fasteners in the required sequence, and perform any follow-up torque check required for that vehicle or wheel.
Frequently Asked Questions
Can Weather Changes Affect Lug Nut Torque?
Temperature changes can slightly change the dimensions of metal wheel components, but there is no universal rule requiring a retorque after every major weather change. Follow the vehicle or wheel manufacturer’s specified inspection interval, and investigate any new vibration, noise, or looseness regardless of temperature.
Should Aluminum Wheels Be Retorqued Differently?
Aluminum wheels should be checked according to the torque value and procedure specified for that wheel and vehicle. Do not assume they need a different torque simply because they are aluminum; use the approved specification and avoid adding extra torque for reassurance.
Do Tire Pressure Sensors Affect Retorquing?
No, a tire-pressure monitoring sensor does not normally change the wheel lug-nut or wheel-bolt torque procedure. TPMS service is a separate issue, although some vehicles may require sensor relearning after wheels are changed or moved to different positions.
Can Overtorquing Damage Wheel Studs?
Yes, excessive torque can damage wheel studs, threads, lug seats, or other wheel components. More torque is not safer once the specified value has been reached, so use a torque wrench and stop at the manufacturer’s setting.
Is Retorque Needed After Wheel Alignment?
A wheel alignment by itself does not automatically require a lug-nut retorque if the wheels were not removed or the wheel fasteners disturbed. If the shop removed a wheel during related work, follow the applicable post-installation torque instructions for that vehicle.
Conclusion
Yes, a torque recheck is often appropriate after new tires are installed because the wheels were removed and reinstalled. The important details are when your manufacturer requires the check and what torque it specifies. Use the correct wrench and tightening sequence, and have the wheel inspected if a fastener repeatedly loosens or you notice movement, vibration, or unusual noise.
Sources
- Continental Tires — Retorquing Wheels: Supports the passenger-vehicle retorque explanation, approximately 50 km timing, causes of torque change, tightening sequence, and risks of incorrect torque.
- Ford — Wheel Lug Nut Torque Specifications: Supports vehicle-specific torque requirements, clean mounting surfaces, and the cited 100-mile post-disturbance retorque interval.
- Daimler Truck North America — Freightliner Cascadia Wheel Nut Check: Supports the 50–100-mile commercial-vehicle example and warnings about both insufficient and excessive wheel-nut torque.
