
What Is Tire Mount? Complete Guide & Everything You Need to Know
A tire mount is the process of fitting a tire onto a wheel so it seals, seats, and performs correctly. You need the right tire size, rim compatibility, bead lubricant, and careful handling to avoid bead or sidewall damage. Proper mounting also helps prevent blowouts and vibration, especially when you balance the wheel afterward. Professional mounting follows safety standards and often includes inspection, inflation, and balancing. Keep going to see the full step-by-step process.
Key Takeaways
- Tire mounting is the process of fitting a tire onto a wheel, ensuring correct size, bead seating, and rim compatibility.
- Proper mounting prevents bead, rim, or sidewall damage and helps avoid blowouts or loss of vehicle control.
- Technicians use bead lubricant, valve tools, and inflation equipment to seat the tire evenly and safely.
- Tire balancing should be done after mounting to reduce vibration, improve handling, and protect suspension components.
- Professional mounting often includes inspection and balancing, with costs varying by tire type, vehicle, and shop.
What Is Tire Mounting?
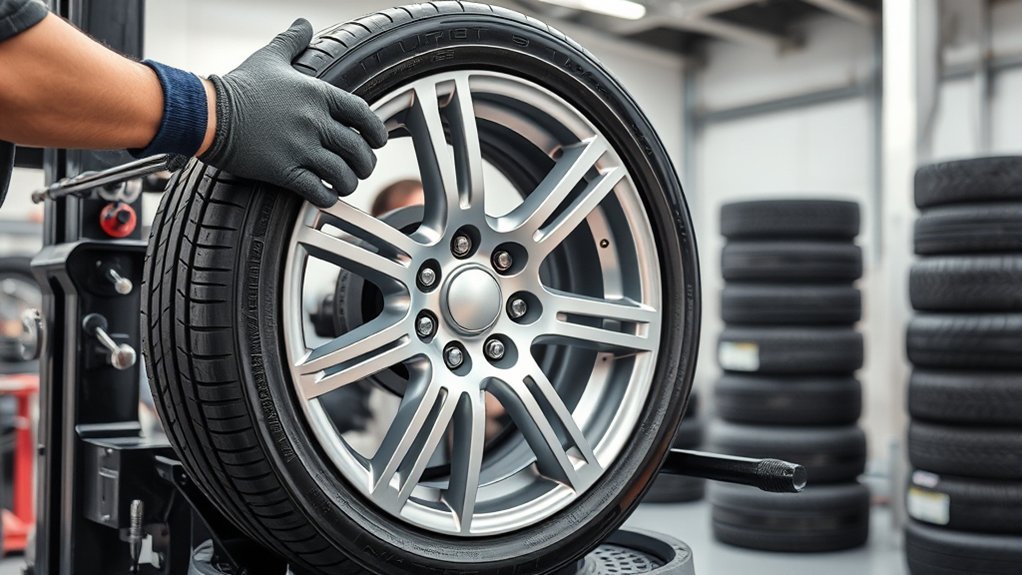
Tire mounting is the process of placing a new or replacement tire onto a vehicle wheel and securing it correctly for safe, efficient driving. You use the mounting process to fit the tire without damaging the bead, rim, or sidewall. A professional tire technician applies bead lubricant, then uses specialized equipment to seat the tire and create a proper seal. You should follow USTMA-style procedures because they help you avoid mistakes and protect your equipment. After installation, you need tire balance checked so the wheel rotates evenly and your drive stays stable. If the mount isn’t precise, you can get uneven wear and vibration at speed. Trained personnel should handle tire mounting because they know the tools, torque specs, and inspection steps that keep the job consistent. When you choose proper tire mounting, you support safety on the road and keep your vehicle ready for disciplined, independent travel. Additionally, choosing tires with a good tread life rating can significantly enhance your driving experience.
Why Tire Mounting Is a Safety Issue
You need proper mounting procedures because a tire that’s seated or inflated incorrectly can fail under pressure and cause serious injury. You should treat every step as a safety check, since bad handling or damaged tires can lead to blowouts and loss of vehicle control. You can reduce that risk by following trusted tire standards, including U.S. Tire Manufacturers Association guidelines, and using trained personnel for the job. Additionally, choosing tires with high treadwear ratings can further enhance safety and performance on the road.
Proper Mounting Procedures
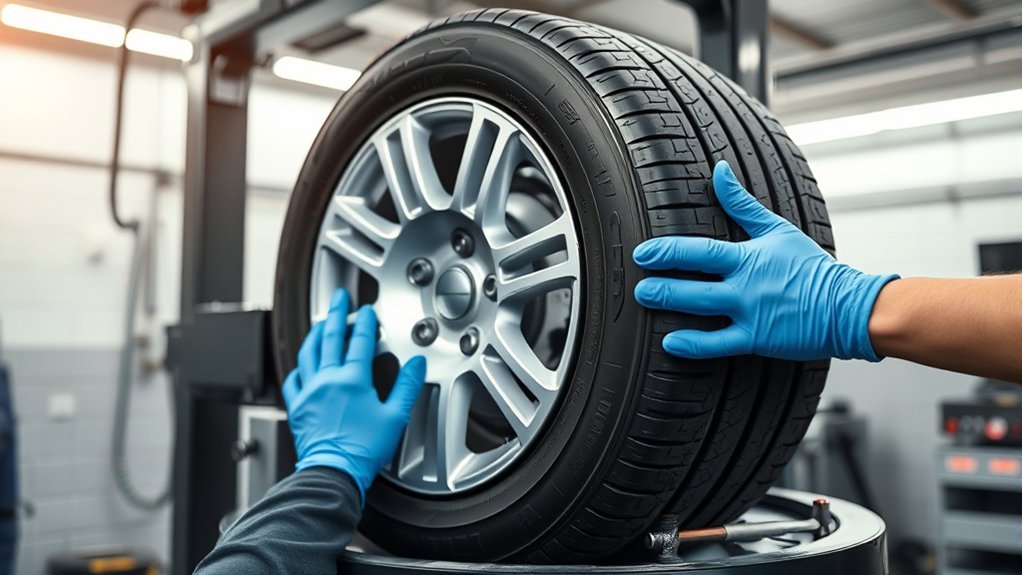
Proper mounting procedures are essential because a tire that isn’t seated and secured correctly can fail unexpectedly, creating a serious safety hazard. In tire mounting, you need the proper tire, correct tools, and exact weight distribution across the wheel. Trained personnel should follow USTMA safety protocols, inspect the tire and rim first, and reject any damage before installation. Use bead lubricant and a valve stem core tool to help the bead seat evenly and prevent air leaks.
- Verify size, load rating, and rim compatibility
- Clean the rim and check for cracks, bends, or corrosion
- Inflate only to the manufacturer’s specified pressure after seating
When you mount tires this way, you protect vehicle control, reduce mounting errors, and keep your hands on the freedom to move safely.
Injury Risks
Even a routine tire mount can turn dangerous fast if the tire, rim, or assembly steps are wrong, because improper handling can create explosive force and cause serious injury or death. You face risk when Tire mounting damaged parts, using the wrong bead seat, or skipping safety guidelines. A failed assembly can launch components, strike your hands, face, or chest, and trigger serious physical injury. You can also damage the tire, which may fail later on the road. Use proper tools, trained technique, and controlled inflation every time. Don’t improvise or force fit parts; that’s how accidents happen. Follow verified procedures, inspect every rim and tire first, and stop if anything looks compromised. Safe work protects your body, your vehicle, and your freedom.
Trusted Tire Standards
Trusted tire standards turn tire mounting from a routine task into a controlled safety procedure. You protect yourself and your vehicle’s performance by following Tire Manufacturers’ warnings, because bad tire installation can trigger explosive failure, wheel separation, or instability. Tire Mounting and Balancing should only happen with trained personnel who know the correct tools, torque, and rim alignment. USTMA guidelines set a clear baseline, and you should treat them as nonnegotiable.
- Verify bead seating and rim match
- Inspect Tire Pressure Monitoring components
- Recheck inflation, torque, and sidewall damage
When you skip these checks, you risk unsafe handling and premature wear. Regular inspections keep your setup compliant, precise, and ready for the road.
How Tire Mounting Works Step by Step
Tire mounting follows a straightforward sequence: you place the tire onto the wheel rim, apply lubricant to the bead and rim edge, and use a tire mounting machine to secure the wheel while a lever bar helps guide the tire into position without damage. You align the beads carefully so they seat evenly and seal against air leaks. With tire mounting, you can mount your tires cleanly and avoid stress on the rubber. Next, inflate the assembly so air pressure snaps the beads into place, then reinstall the valve stem core. Check the recommended pressure and confirm the tire balancing matches the vehicle’s weight for stable handling. Proper seating reduces vibration, uneven wear, and safety risks. When you follow this method, you keep control in your hands and free your vehicle from avoidable drag. Consistent installation protects performance, extends service life, and helps every mile feel steady, precise, and safe. Additionally, ensuring tire balancing aligns with your vehicle’s specifications is crucial for optimal performance.
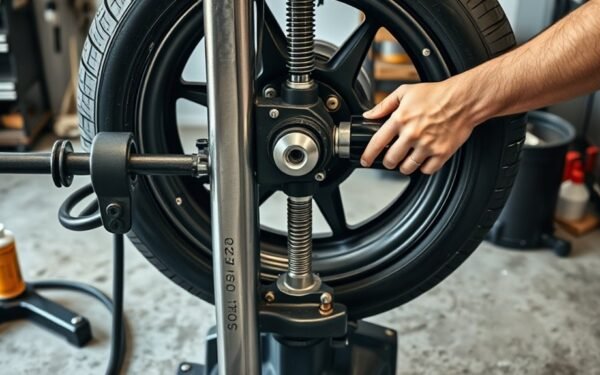
Tools and Equipment for Tire Mounting
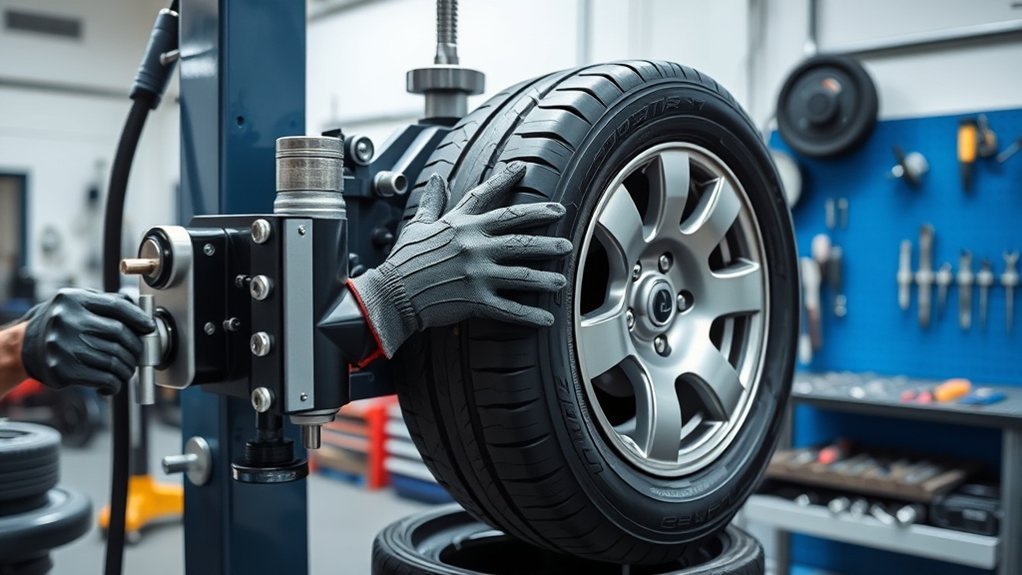
To mount a tire correctly, you need the right tools at each stage of the job. You use tire bead lubricant to cut friction, protect the bead, and help the tire seat cleanly on the rim. A clamping bell centers the wheel in the machine, so your mounting stays aligned and secure. Valve stem core tools let you remove and install cores fast, which helps you control pressure and avoid leaks in the vehicle’s setup. After mounting, inflation jets deliver the air needed to seat the bead with precision.
- Bead lubricant for smooth, safe seating
- Clamping bell for stable centering
- Valve stem core tools for pressure control
For checking fit and ride quality, balancing tools matter too. Bubble balancers and computerized machines reveal weight shifts that can affect control. Additionally, using the correct tire size ensures optimal performance and safety. With the right tools, you work efficiently, reduce damage, and keep your tire job clean, disciplined, and free from avoidable compromise.
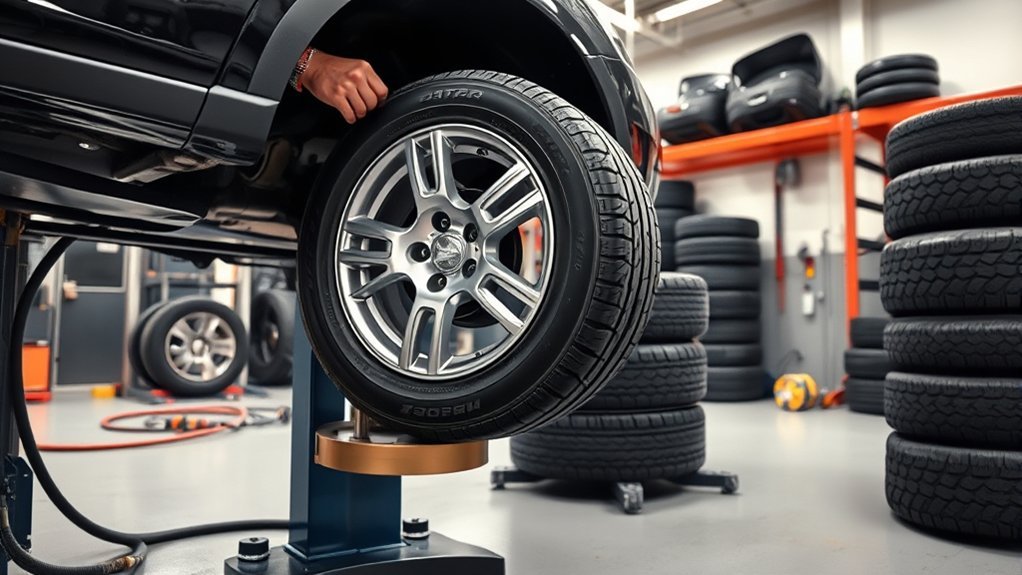
Do Tires Need Balancing After Mounting?
Yes—after mounting, you should balance the tires so weight distributes evenly and the wheel runs smoothly. When you mount and balance tires together, you reduce vibration and help your vehicle’s wheels stay stable, especially at 45 mph and higher. Wheel balancing uses specialized equipment to find small weight imbalances and correct them with precise adjustments. That even weight distribution improves handling, supports a smoother ride, and protects your suspension from long-term stress. It also helps prevent uneven wear and can improve fuel efficiency, so you get more from every mile. In practice, balancing is usually included in the mounting service, which lets you finish both steps at once and drive with confidence. For you, that means cleaner performance, less drag, and more control on the road. Additionally, choosing the right all-season tires can further enhance your vehicle’s stability and traction.
Common Tire Mounting Mistakes to Avoid
When you mount tires, a few avoidable mistakes can cause leaks, damage, or unsafe fitment. Mounting is the process of matching the tire size to the tire or rim correctly, then seating the bead and checking the balance. If you skip bead lubricant, the bead may not seat evenly and air can escape. If you ignore reverse-mount wheel instructions, you can install the tire backward and create unsafe clearance issues.
Mounting tires correctly helps prevent leaks, damage, and unsafe fitment.
- Use bead lubricant so the bead seats cleanly.
- Respect reverse-mount wheel requirements and verify orientation.
- Handle lever bars and bead breakers with control to protect sidewalls and rims.
You also need to account for TPMS sensors, because hidden hardware changes how you mount and verify the assembly. A rushed install can damage sensors, scratch the rim, or bruise the sidewall. Work methodically, confirm the tire size, and inspect the final fitment. That’s how you keep the setup stable, safe, and ready to roll with confidence. Additionally, ensure that you select tires with reliable traction to enhance safety and performance during driving.
How Much Tire Mounting Costs
Once you’ve avoided the common mounting errors, the next question is cost. Your tire mounting costs usually land between $13 and $45 per tire, but shop type, location, and tire design can shift the price. If you’re mounting new low-profile, run-flat, or off-road tires, expect higher labor because they demand more precision and time. When you bring in non-purchased tires, regional market rates often drive the fee up. Many shops include balancing in the package, and they’ll balance tires after a quick diagnostic test to catch imbalances first. That step helps deliver accurate results and keeps the setup stable. If you buy tires from the shop, you may get free tire lifetime spin balancing, which improves value. For two tires, ask for a line-item quote so you can compare labor, balancing, and any disposal fees before you commit. Additionally, certain tire types, such as all-terrain tires, may require specialized mounting techniques due to their unique construction.
Frequently Asked Questions
How Much Does It Cost to Fix a Tire Mount?
You’ll usually pay $13 to $45 to fix a tire mount, but specialty tires and urban shops can cost more. You can lower tire replacement costs by following tire maintenance tips, checking tire pressure monitoring, and comparing shop rates. Ask whether they include tire balancing techniques or wheel alignment importance in the quote. Diagnostic checks, rotation, and balancing may add fees, though some shops bundle them with tire purchases.
What Does Tire Mount Mean?
Tire mount means you fit a tire onto a wheel rim so you can drive safely. You’ll use tire mounting steps that match the tire types, lubricate the bead, seat it, then inflate it with the right tools required. When the bead clicks into place, you know alignment’s right. Follow safety precautions, because a bad mount can fail fast. Done correctly, the mounting process keeps you moving freely and securely.
How Long Do Tires Last if Not Mounted?
You can keep unmounted tires for about 6 to 10 years if you manage Tire storage well. Their Rubber composition degrades faster when Environmental factors like UV, heat, and humidity hit them. You should inspect them regularly for cracks and dry rot, and follow Maintenance tips: store them cool, dry, dark, upright, and away from chemicals. Smart storage slows Tire degradation and protects your freedom to use them later.
Is Mounting a Tire the Same as Installing?
No, you’re not doing the same job. You mount a tire onto the rim; you install it onto the vehicle and balance it. Using proper tire mounting equipment and tire installation techniques, you follow the tire mounting process, protect the bead, and avoid common mounting mistakes. The benefits of mounting include safety, stability, and better wear. If you want freedom from vibration and risk, get it done correctly.
Conclusion
Tire mounting is the last critical step before you hit the road, and it should fit as securely as a lock on a door. When you have your tires mounted correctly, you improve safety, reduce wear, and help your vehicle handle better. Always make sure the shop uses the right tools, checks bead seating, and balances the tires afterward. If you skip these steps, you’re risking performance, comfort, and safety.
Related Articles
How to Use a Manual Tire Machine: Beginner’s Step-by-Step Guide
Never miss the essential steps for using a manual tire machine—discover the beginner-friendly guide that helps you avoid costly mistakes.
Read More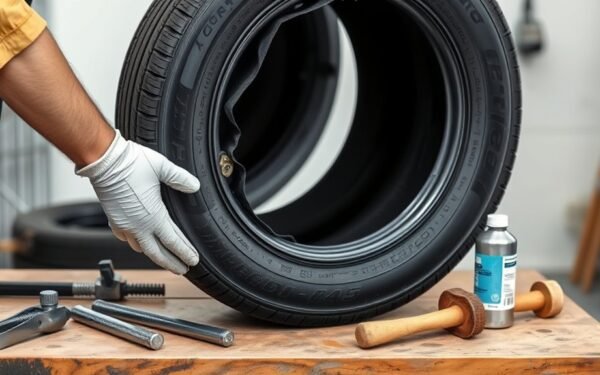
How to Turn a Tire Inside Out: Step-by-Step Method
A step-by-step method reveals how to turn a tire inside out safely, but the trick that makes the hardest part easy comes next.
Read More
How to Rebead a Tire: Proven Methods for a Perfect Seal
Great tire sealing starts with the right prep, but one overlooked step can make all the difference—discover the proven method inside.
Read More