
What Is Tire Mounting? Cost, Process & What Happens at the Shop
Tire mounting is when you install a tire onto a wheel rim so it fits securely and performs safely. At the shop, technicians remove the old tire, inspect the rim, lubricate the beads, mount the new tire, and balance the assembly. Costs usually run about $13 to $45 per tire, depending on tire type and service. New tires should go on the rear axle for stability, and proper balancing prevents vibration. There’s more to know.
Key Takeaways
- Tire mounting means installing a tire onto a wheel rim for a secure fit, safe handling, and proper weight distribution.
- At the shop, technicians demount the old tire, inspect the rim, verify tire size, and lubricate the beads before installation.
- They use tools like bead breakers, lubricant, and balancing equipment to mount the tire without damaging the wheel or tire.
- Tire mounting usually costs about $13 to $45 per tire, with higher prices for low-profile, run-flat, or off-road tires.
- After mounting, the tire is balanced, and new tires are often placed on the rear axle for better traction and stability.
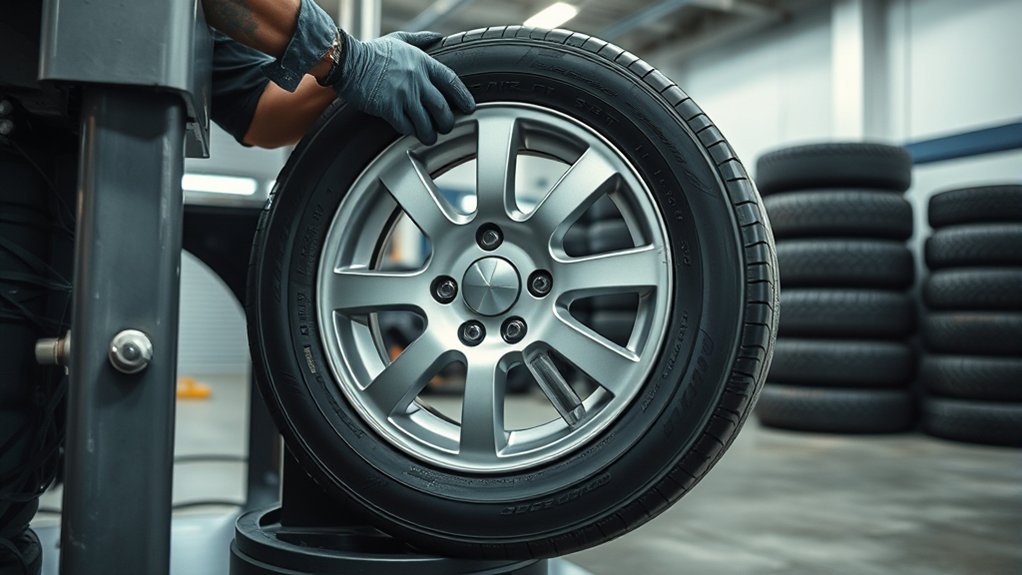
What Is Tire Mounting?
Tire mounting is the process of installing a tire onto a wheel rim so it fits securely and operates safely on your vehicle. You use Tire mounting to create a proper tire fit that supports even weight distribution, stable handling, and slower tread wear. During the mounting process, technicians lubricate the tire beads and rim so the tire slides on with less force and lower risk of damage. That detail matters because damaged beads can compromise sealing and performance. You should treat this as a precision task, not a casual swap, because USTMA-recommended procedures help reduce the chance of improper assembly. Professional service also protects your freedom to drive confidently, without avoidable vibration or instability. Costs usually run from $13 to $45 per tire, depending on tire type and service provider. In practice, Tire mounting sets the foundation for safe, efficient vehicle operation, making it essential to choose reliable all-season tires for optimal performance.
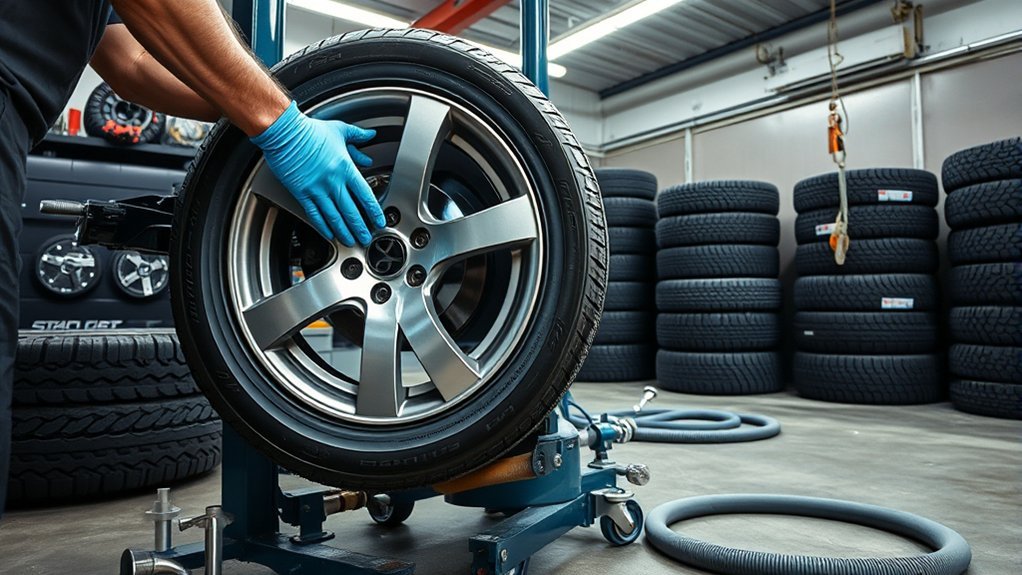
How Tire Mounting Works at the Shop
At the shop, the mounting process starts with demounting the old tire, then technicians inspect the rim for bends, corrosion, or other damage and confirm the new tire matches the wheel size and load requirements. During tire mounting, they lubricate the tire bead, position the tire on the wheel, and use controlled inflation to seat it evenly against the rim. This helps you get a secure seal and reduces the chance of air leaks or bead damage. After installation, the wheel goes through proper balancing so weight spreads evenly and you avoid vibration at speed. Most shops follow USTMA guidelines, because fit and safety have to work together. If you ask for a mount and balance service, they’ll handle both steps in one visit and return a wheel that’s ready to run cleanly, steadily, and without unnecessary drag. Costs usually fall between $13 and $45 per tire, depending on the shop. Additionally, selecting the right tires, such as those with a high UTQG rating, can significantly enhance overall performance and longevity.
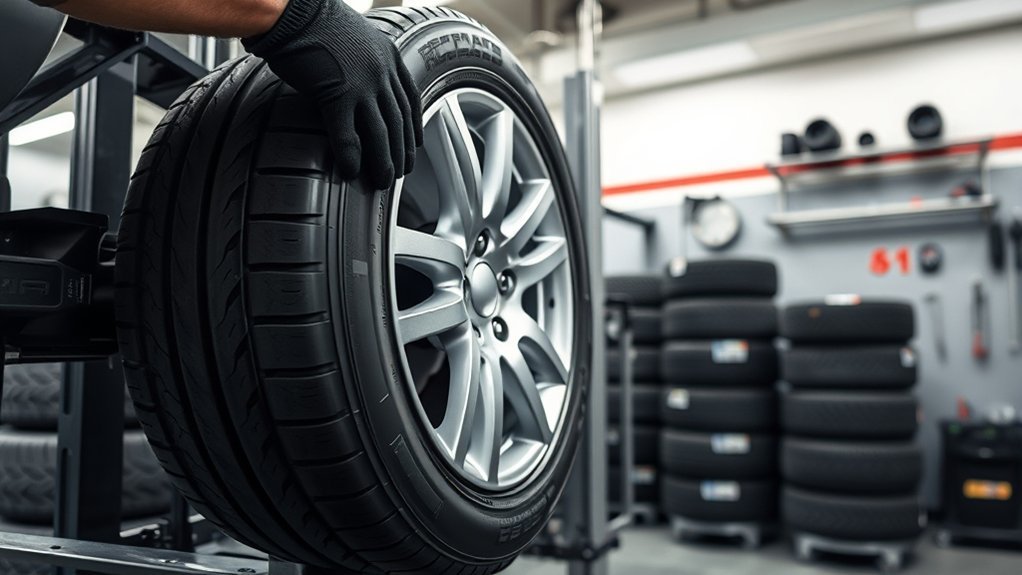
Tools Used to Mount Tires
You’ll use tire bead lubricant to lower friction so the bead seats cleanly on the rim. Bead-breaking tools let you release the tire from the wheel without damaging the assembly, and balancing equipment checks for uneven mass after mounting. Together, these tools help you mount the tire accurately and keep it running smoothly. Additionally, using proper treadwear ratings ensures that the tires will perform well throughout their lifespan.
Tire Bead Lubricant
A proper tire bead lubricant reduces friction during mounting, making it easier to install the tire and seat the bead correctly on the rim. You should use tire bead lubricant made for this task, not soapy water or grease, because poor choices can trigger air leaks.
| Benefit | Result |
|---|---|
| Less drag | Smoother mounting |
| Better bead seating | Secure rim fit |
| Lower wear | Longer component life |
| Safer workflow | Less injury risk |
| Machine aid | Faster shop output |
Apply it evenly on both beads before inflation. That proper coverage protects the bead and rim, helping you avoid damage while keeping the process controlled. Some mounting machines add lubricant automatically, which streamlines the job and frees you to work with confidence, precision, and less strain.
Bead-Breaking Tools
Bead-breaking tools let you separate the tire bead from the rim cleanly during demounting, so you can avoid damage to both components. You use a bead breaker arm to press the sidewall and free the bead with controlled force, not brute strength. That precision protects the tire or rim and keeps the sidewalls from tearing, which could cause leaks later. Hydraulic bead breaker models make the job easier and reduce strain, so you can work with more control and less risk. In mounting and balancing, this step sets up a safe, efficient install. Inspect and maintain your bead breaker regularly; worn pads or misalignment can ruin a bead break and shorten tool life. Clean tools help you stay effective and in command.
Balancing Equipment
| Tool | Function | Benefit |
|---|---|---|
| Bubble balancer | Spots static imbalance | Simple, fast |
| Dynamic balancer | Measures spin imbalance | Higher accuracy |
| Tire machine | Mounts beads on rim | Correct alignment |
| Inflation jet | Seats beads with air | Secure fit |
| Valve stem core tool | Manages valve cores | Maintains tire pressure |
You also use bead lubricant and inflation jets during mounting, then verify tire pressure before release. This process helps you drive free from shake, drag, and premature tread wear.
What Tire Mounting Costs
Tire mounting usually costs between $13 and $45 per tire, but the final price depends on the shop, dealership, and tire type. You’ll see higher tire mounting costs for low-profile, run-flat, and off-road tires because they need more care and equipment. Some tire manufacturers and retailers bundle mounting with a free tire purchase, and that package may include balancing tires at no extra charge. If you bring your own tires, ask about regional pricing before you authorize service.
- Mounting only: lowest base fee
- Mounting plus balancing: common add-on
- Free mounting: often tied to new tire sales
- Free lifetime balancing: sometimes included
- Diagnostic checks: can reveal hidden imbalance costs
You can also get free tire rotation, air pressure checks, and puncture repairs with qualifying purchases. Compare quotes, then choose the shop that gives you the clearest terms and the most value for your money. Additionally, consider the UTQG ratings to ensure you’re getting quality tires that fit your needs.
Why New Tires Belong on the Rear
You should mount new tires on the rear axle because they give you better traction where vehicle stability matters most. Their deeper tread lowers hydroplaning risk on wet or slippery roads and helps keep the rear planted in turns. That rear grip supports balanced handling and reduces the chance of oversteer. Choosing tires with effective water evacuation can further enhance safety and performance in wet conditions.
Rear Traction Advantage
Even though it may seem intuitive to put the newest tires on the front, the safer practice is to install them on the rear axle. When you Tire mount fresh rubber there, you improve stability, control, and the rear traction advantage your vehicle needs under load. Proper Balancing and rear placement help you keep the chassis composed and reduce oversteer. If you move worn tires forward, you can compromise handling and make loss of control more likely. You get better grip where it matters most: at the rear, where balance begins.
- Install new tires on the rear axle
- Keep rear stability higher than front wear
- Preserve predictable steering response
- Reduce oversteer risk
- Support safer, freer driving
Hydroplaning Risk Reduction
When roads are wet, new tires belong on the rear axle because deeper tread helps move water away more effectively, improving rear traction and reducing hydroplaning risk. You keep the most grip at the back, where loss of control becomes a serious hazard if water builds under worn tread. Hydroplaning happens when your tires can’t disperse water fast enough and lift off the pavement; new rear tires lower that chance by maintaining contact. Check Pressure, too, because underinflated tires worsen water handling and reduce tread efficiency. With better rear grip, you reduce spinout potential and keep the vehicle steadier under load. That means you drive with more freedom, less guesswork, and fewer wet-road surprises.
Stability In Wet Turns
In wet turns, new tires should go on the rear axle because deeper tread there gives the back end more grip and helps the vehicle stay balanced. You improve stability in wet turns when the rear axle has better tire tread than the front.
- New tires on the rear cut oversteer.
- Deeper tread boosts wet-surface traction.
- Rear grip helps you steer with control.
- Better balance lowers skidding risk.
- Fewer loss-of-control events mean less serious physical injury.
If you install worn tires on the rear, the vehicle can rotate faster than you can correct. Put the best rubber where it protects the whole chassis. That choice keeps steering response predictable, reduces hydroplaning, and gives you safer control in rain.
Tire Balancing After Mounting
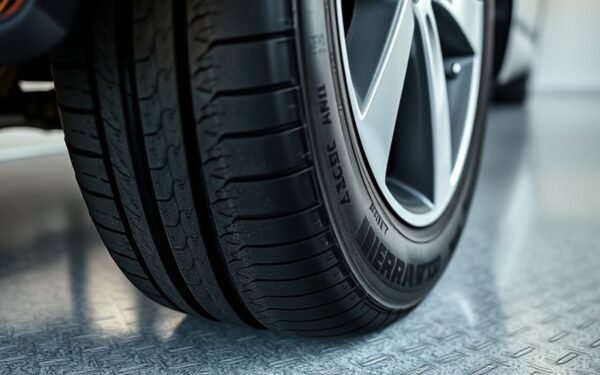
After mounting, you should always balance the tire and wheel assembly to distribute weight evenly and prevent vibration, especially at speeds of 45 mph or higher. Proper tire balance protects you from shake, premature tread wear, and avoidable suspension stress. Shops use static balancing with bubble balancers or dynamic balancing with computerized machines to find the exact correction points. If you drive a Passenger and Light Truck vehicle, ask for balancing whenever you’re mounting new tires, rotating them, or repairing a puncture. An unbalanced assembly can waste fuel and, over time, create conditions that increase the risk of serious injury. Many tire shops include free lifetime balancing with new tire purchases, so you can keep performance consistent without extra cost. You should treat balancing as routine maintenance, not an optional add-on. When done correctly, it keeps your ride stable, your tires wearing evenly, and your vehicle ready for the road. Additionally, dedicated winter tires can significantly enhance traction in cold weather conditions, making proper balancing even more critical during winter driving.
Tire Mounting Mistakes That Damage Tires

A few common mounting mistakes can damage both the tire and the wheel before the vehicle ever leaves the shop. You need to avoid tire mounting mistakes that compromise bead seating, rim finish, and your safety. Use the right bead lubricant, or you can create air leaks and incorrect air pressure. Respect TPMS components and reverse-mount wheel specs; ignoring them can trigger faulty installs and hidden hazards. Wrong tools, especially aggressive bead breakers, can scratch rims and weaken tire edges. If you don’t balance tires correctly, you’ll invite vibration, uneven wear, and sloppy handling.
- Apply bead lube evenly.
- Verify TPMS and valve placement.
- Identify reverse-mount wheels first.
- Use proper mounting tools.
- Balance tires to spec.
When you work carefully, you protect performance, reduce repair costs, and lower the risk of personal injury. Precision at the shop keeps the tire, wheel, and vehicle aligned for the road ahead, ensuring that you maintain consistent traction year-round and drive safely in various conditions.
Frequently Asked Questions
What Does It Mean to Mount a Tire?
You mount a tire when you fit it onto a wheel rim and secure it for use. During tire mounting, you use tire tools to lubricate the beads, position the tire, and inflate it so it seats correctly. The mounting process must follow safety measures to prevent leaks, imbalance, or failure. You should have a trained technician do it, because proper fit protects your vehicle and your freedom on the road.
How Much Does It Cost to Just Mount Tires?
You’ll usually pay $13 to $45 per tire for mounting alone, depending on your shop and tire type. Low-profile, run-flat, and off-road tires can cost more because they need specialized tire mounting techniques and mounting equipment types. You should also factor in tire balancing importance, since it’s often separate. DIY tire mounting can cut costs, but it demands precision, safety, and the right tools to avoid damage.
Is Tire Mounting the Same as Installation?
No, you don’t treat tire mounting as the same thing as installation. You mount the tire onto the wheel, then you need tire balancing and vehicle-specific fitting to complete installation. DIY mounting can work with the right installation tools, but professional services handle bead seating, lug nut torque, and alignment more safely. If you want reliable performance and fewer hazards, you should separate the two processes.
What Tire Pressure for Kia Forte?
You should keep your Kia Forte tire pressure around 32 to 35 psi, depending on your model year and trim. Check the driver’s door jamb for the exact label, because that setting reflects the manufacturer’s safety standards. Maintain ideal inflation to improve handling, fuel economy, and tire life. You’ll get better traction, less wear, and more predictable braking. Check pressure monthly and before long trips, and adjust when tires are cold.
Conclusion
Tire mounting is the final handshake between your new tires and your vehicle, and when it’s done right, the fit is snug, the ride is smooth, and the road feels less like rough gravel and more like a paved promise. You’ve seen the process, the costs, and the risks, so now you can choose wisely. Put the new rubber on the rear, balance it properly, and you’ll drive away with safer handling and longer tire life.
Related Articles
Is Tire Shine Bad for Tires? The Truth About Dressings & Safety
Depends on the formula—some tire shines protect, while others may harm rubber; discover which dressings are safe before you apply one.
Read More
Is It Free to Dismount a Tire? What Shops Charge & How to Save
Just wondering if tire dismounting is ever free? See what shops really charge and the simple questions that could save you more.
Read More
Where to Get Free Tire Air: Stations Near You & Best Options
Just when you think all air costs money, discover the best free tire air spots near you and the surprising rules that could save your trip.
Read More