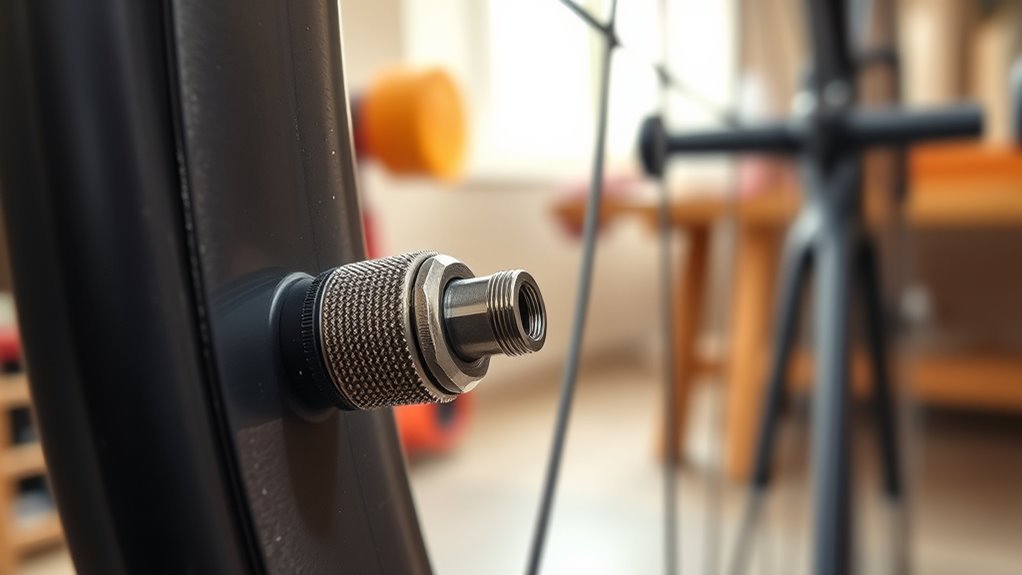
The Presta valve is the slim, threaded valve used on road and high-pressure bike tires. You’ll pick it for lighter rims, higher pressures (up to ~15 bar / 217 psi), and a more secure seal. Its narrow 6 mm stem barely weakens the rim and uses a screw-lock core to prevent air loss. Unscrew the lock-nut to pump or press the tip to release air. Use adapters or compatible pumps as needed. Keep it clean and you’ll avoid common leaks. More practical tips follow.
Quick Answer
A Presta valve is the slim, threaded bicycle valve used on road and performance bikes. To use one: remove the dust cap, unscrew the brass lock-nut, attach your Presta-compatible pump, inflate to the pressure on your tire sidewall, re-tighten the lock-nut finger-tight, and replace the cap. Most leaks are fixed in seconds by tightening the nut or swapping the valve core.
Key Takeaways
- Presta valves handle pressures up to ~15 bar (217 psi) and are lighter than Schrader valves, making them ideal for road, gravel, and performance bikes with narrow rims.
- Always unscrew the brass lock-nut before inflating or deflating — then re-tighten it finger-tight before replacing the dust cap.
- Choose valve length by rim depth: 32 mm for shallow rims, 40 mm for standard, 60 mm for deep-section wheels, and a 60 mm valve with an extender for aero rims deeper than 60 mm.
- Most leaks stop with a quick hand-tighten of the lock-nut or a cheap valve core replacement — carry a core tool in your saddle bag.
- Presta valves work with both inner tubes and tubeless setups; use a Presta pump head or a Schrader-to-Presta adapter, and carry a CO2 inflator with a compatible head for emergencies.
What Is a Presta Valve and Why Use It?
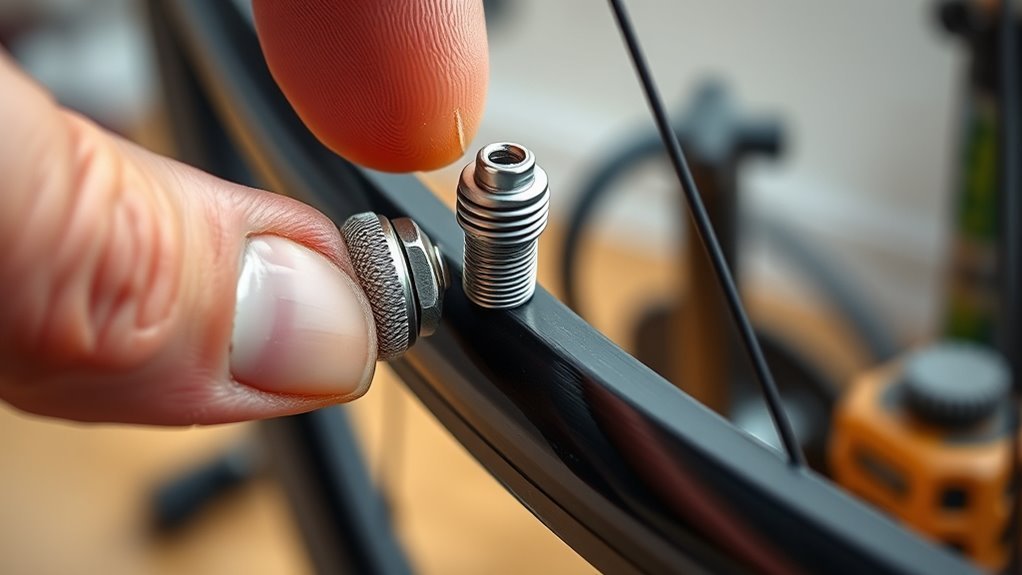
Presta valves are the slim, high-pressure option built for road bikes. The narrow threaded stem and brass lock-nut let you reach pressures up to about 15 bar (≈217 psi) — the valve’s rated upper limit — while keeping air loss low between rides.
Riders choose them because the smaller 6 mm base leaves narrow rims structurally stronger than the wider 8 mm hole required by a Schrader valve. The threaded stem and lock-nut create a secure seal without the spring-loaded check valve that Schrader designs rely on, which also makes Presta valves lighter. They are well-suited for high-pressure, performance-oriented riding — and their slim profile means even carbon rims with thin sidewalls can be drilled without compromising integrity.
Presta Valve Anatomy and Parts
Presta valves have a slim 6 mm outer diameter — compare that to 8 mm for a Schrader — which reduces rim drilling while still supporting pressures up to about 15 bar (≈217 psi). The threaded stem holds a small brass lock-nut that you unscrew before inflation. It seals the air when closed and prevents slow leaks without any spring mechanism.
At the center of the stem sits the removable valve core. Pressing the core tip gently releases trapped air for quick pressure adjustments. Presta threads allow compatible pump heads to lock on firmly for efficient inflation. A dust cap protects the exposed tip from grit and road debris. A valve core tool — a small, dedicated wrench that costs under $5 — lets you unscrew and replace the core in under a minute without removing the wheel or tube. Carry one in your saddle bag. See the full Presta valve breakdown on Wikipedia.
Note: The Presta valve core is removable and replaceable. If your valve leaks and tightening the lock-nut doesn’t help, the core is almost always the culprit — and replacing it costs less than $5.
Presta vs Schrader vs Dunlop: Which Fits Your Bike?
Valve choice depends on your tire type, riding style, and pump access. Choose a Presta when you need high-pressure performance and a slim profile for narrow rims. Presta advantages include higher inflation limits (up to ~15 bar) and lighter weight, which suit road, gravel, and cyclocross bikes.
Mountain or hybrid riders often prefer a Schrader because its wider, car-style stem is tougher and works with petrol-station air hoses and most floor pumps, even though it has lower max pressure and heavier fittings. Dunlop (also called Woods) valves are most common in the Netherlands, Germany, and parts of Asia — particularly Japan — where they appear widely on city and commuter bikes. They offer straightforward pumping but are rarely stocked at bike shops in North America or the UK. Keep threads clean, check cores, and confirm your pump head fits your valve type. Bicycling magazine explains the differences between all three valve types in detail.
[Products Worth Considering]

The Vibrelli Air Master mini bike pump locks securely to both Presta and Schrader valves, so you can inflate tires without changing adapters. It delivers high-pressure inflation up to 120 PSI for road bikes, MTB, BMX, and kids’ bikes, while staying compact and lightweight for easy carry. A frame mounting bracket with a Velcro strap helps keep the pump firmly in place with no rattles.

The TOOLITIN floor bike pump delivers high pressure performance with an easy-to-read gauge so you can dial in the right tire pressure for safer rides. It is compatible with both Presta and Schrader valves and features a stable, durable design for efficient pumping. Suitable for road, MTB, and hybrid tires as well as inflating sports balls and other inflatables, it also includes ball and bladder needles and convenient accessory storage.
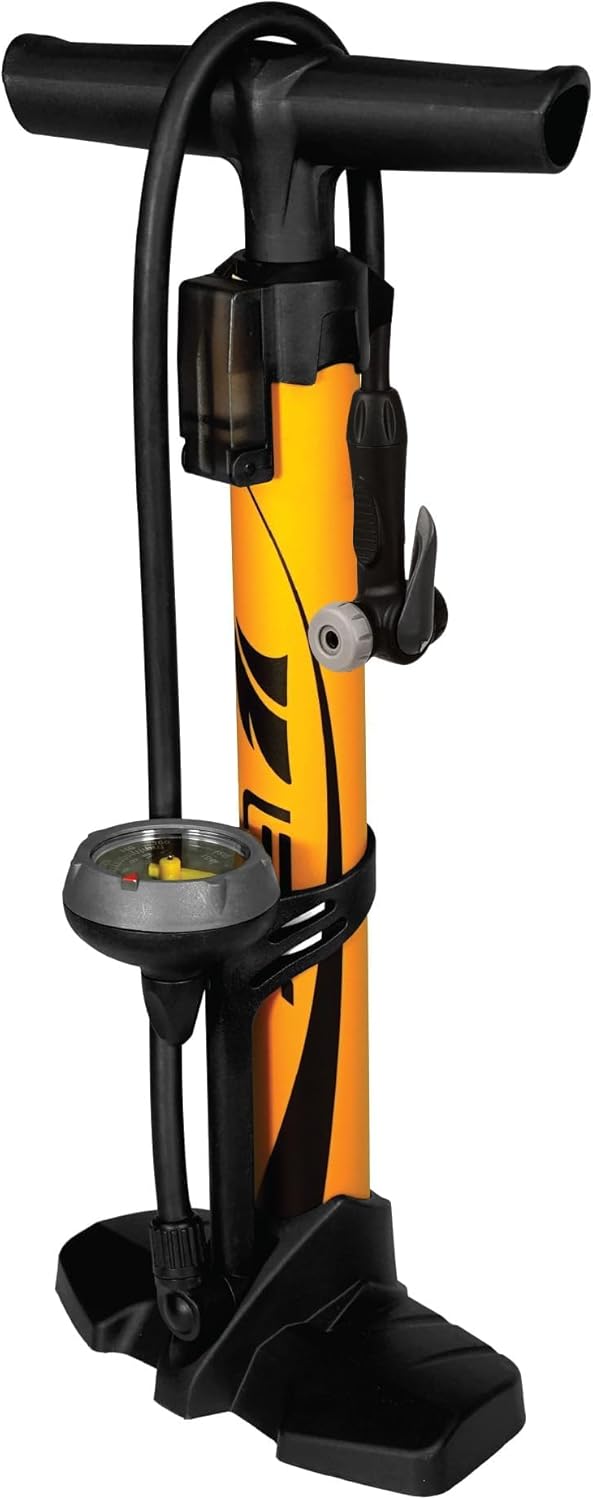
This durable BV floor pump delivers up to 160 PSI for confident inflation of bikes and other high-pressure uses. Its twin valve head lets you quickly switch between Presta and Schrader valves by reversing the components, with no compromise. The ergonomic handle makes pumping comfortable, and the compact size is easy to carry for rides and home storage.
Inflate a Presta Valve: Step-by-Step
At a Glance
| Time Required | 2–5 minutes |
| Difficulty | Beginner |
| Tools Needed | Floor pump or hand pump with Presta head (or Schrader pump + Presta adapter) |
| Cost | $0 with an existing pump; Presta adapters cost $2–$5 |
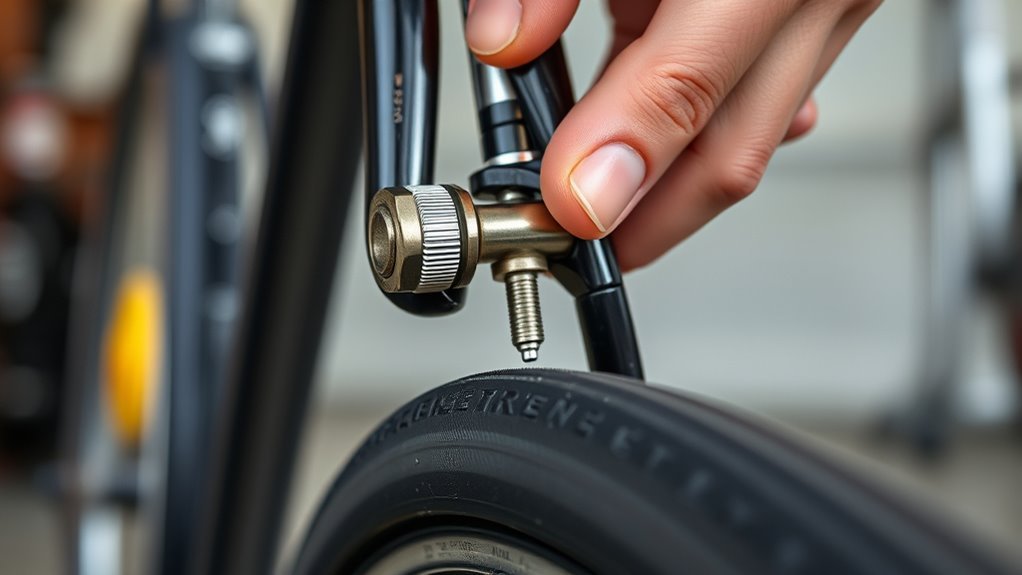
Inflating a Presta valve is simple once you know the steps. Remove the dust cap and unscrew the brass lock-nut until it stops — you don’t need to remove it entirely, just loosen it until the tip moves freely. Lightly press the valve tip to release a quick puff of air and confirm the passage is clear.
Fit the pump head securely onto the stem, engage any locking lever your pump provides, and watch the gauge as you pump. Road tires typically run 80–120 psi (5.5–8.3 bar); gravel tires run 40–70 psi (2.8–4.8 bar); always use the pressure range printed on your specific tire sidewall rather than a generic figure. When you reach your target, remove the pump head carefully, screw the lock-nut back down finger-tight, and replace the dust cap.
Warning: Never exceed the maximum pressure printed on your tire sidewall — overinflation can cause a sudden blowout. Also, tighten the brass lock-nut finger-tight only; forcing it with a tool strips the threads and can crack the core.
Deflate a Presta Valve and Check Pressure
Unscrew the Presta lock-nut fully so the tip is free. Press the tip gently to let air out in a controlled way while you watch the pressure drop on the gauge. When you finish, tighten the lock-nut and use the pump gauge to confirm the reading. Check the valve core for dirt or damage each time.
Prepare Valve and Pump
Remove the dust cap and unscrew the brass lock-nut until it stops. Press the tip gently to let a little air escape — this gives you controlled deflation and an accurate starting pressure. Look over the lock-nut and core for signs of wear, corrosion, or debris that might cause a slow leak.
Choose a pump with a dual head or a Presta-compatible chuck so you skip adapters entirely. After adjusting or checking pressure, screw the lock-nut down finger-tight and put the dust cap back on to protect the valve between rides.
Release Air and Measure
Unscrew the brass lock-nut, press the tip gently, and watch the pump gauge. Use short, controlled presses so you do not lose too much air at once. Stop when the gauge shows your target pressure, then tighten the lock-nut and replace the dust cap.
Listen for any hissing at the tip after tightening — if the valve keeps leaking, the core likely needs replacing rather than just a tighten.
Pro Tip: Check your tire pressure before every long ride — not just when a tire looks flat. Road tires can lose 10–15 psi overnight through normal permeation, even without a puncture.
Choose the Right Presta Valve Length
Measure your rim depth and pick a valve that leaves enough stem exposed above the rim for the pump head to seat securely. Use 32 mm for shallow rims, 40 mm for standard road rims, and 60 mm for deep-section wheels. For aerodynamic carbon rims deeper than 60 mm, use a standard 60 mm Presta valve with a threaded valve extender — a metal sleeve that screws onto the exposed stem and adds 30–40 mm of reach, allowing your pump head to engage cleanly. Note that thread pitch can vary between valve brands, so confirm the extender is compatible before you buy.
Short valves work reliably on shallow rims. Deep wheels need longer stems so the pump seats without forcing. This also protects the core from accidental side-loading when you attach the pump at an awkward angle. Keep the dust cap on and threads clean between rides.
| Rim Type | Typical Depth | Recommended Valve |
|---|---|---|
| Shallow | ≤20 mm | 32 mm |
| Standard | ~25–35 mm | 40 mm |
| Deep | ≥45 mm | 60 mm |
| Very Deep (aero) | ≥65 mm | 60 mm + valve extender |
Common Presta Valve Leaks and Quick Fixes
A few quick checks fix most Presta valve leaks. Tighten the knurled lock-nut by hand to stop slow seepage. Then inspect the removable core — if it is damaged or loose, swap it for an inexpensive replacement using a valve core tool.
Tighten the Presta lock-nut, check and swap a faulty core, and clear debris to stop most leaks.
- Tighten the lock-nut: hand-secure it finger-tight to stop slow leaks; do not use a tool or overtighten.
- Replace the core: use an inexpensive replacement core if threads or the rubber tip are damaged. A valve core tool makes this a one-minute roadside fix.
- Clear debris: blow out or use a pick to remove grit from the valve tip before inflating — grit can hold the core tip slightly open.
- Inspect seals and dust cap: worn rubber or a missing cap lets debris into the threads; replace the tube or valve if the base seal is compromised.
- Check the rim base (tubeless only): air loss at the valve base in a tubeless setup usually means the valve stem nut is loose. Re-seat and snug it with a valve stem wrench, but do not overtighten on carbon rims.
Using Adapters and Pumps for Presta Valves
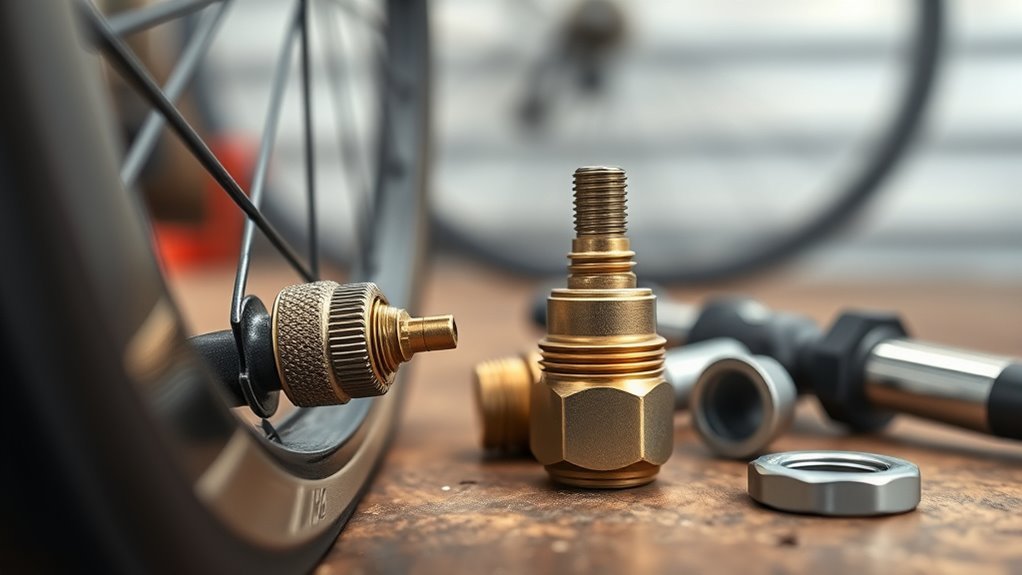
Presta’s slim 6 mm profile works perfectly with high-pressure road tires, but you need the right gear. Many floor pumps have dual heads — use the Presta side or flip the reversible chuck as needed. If your pump is Schrader-only, a compact Presta-to-Schrader adapter (cost: $2–$5) screws onto the stem and lets you use any standard pump head. Unscrew the lock-nut, press the tip briefly to clear air, thread on the adapter, then lock the pump head on and inflate to the recommended pressure.
CO2 inflators: Many cyclists carry a CO2 cartridge for emergency roadside inflation. CO2 inflators work with Presta valves — most modern inflator heads are dual-compatible, but check yours before you need it in the field. Attach the inflator, release the cartridge in one controlled burst, then re-tighten the lock-nut and replace the dust cap. One important caveat: CO2 molecules permeate rubber faster than air, so your tire will lose pressure noticeably faster than usual in the days after use. Top up with a regular pump within 24 hours of using a CO2 cartridge.
Pro Tip: After using a CO2 cartridge to inflate a flat, pump the tire up with a regular floor pump when you get home. CO2 diffuses through latex and butyl rubber faster than air, so the pressure will drop more quickly than you expect — sometimes within a few hours.
[Products Worth Considering]
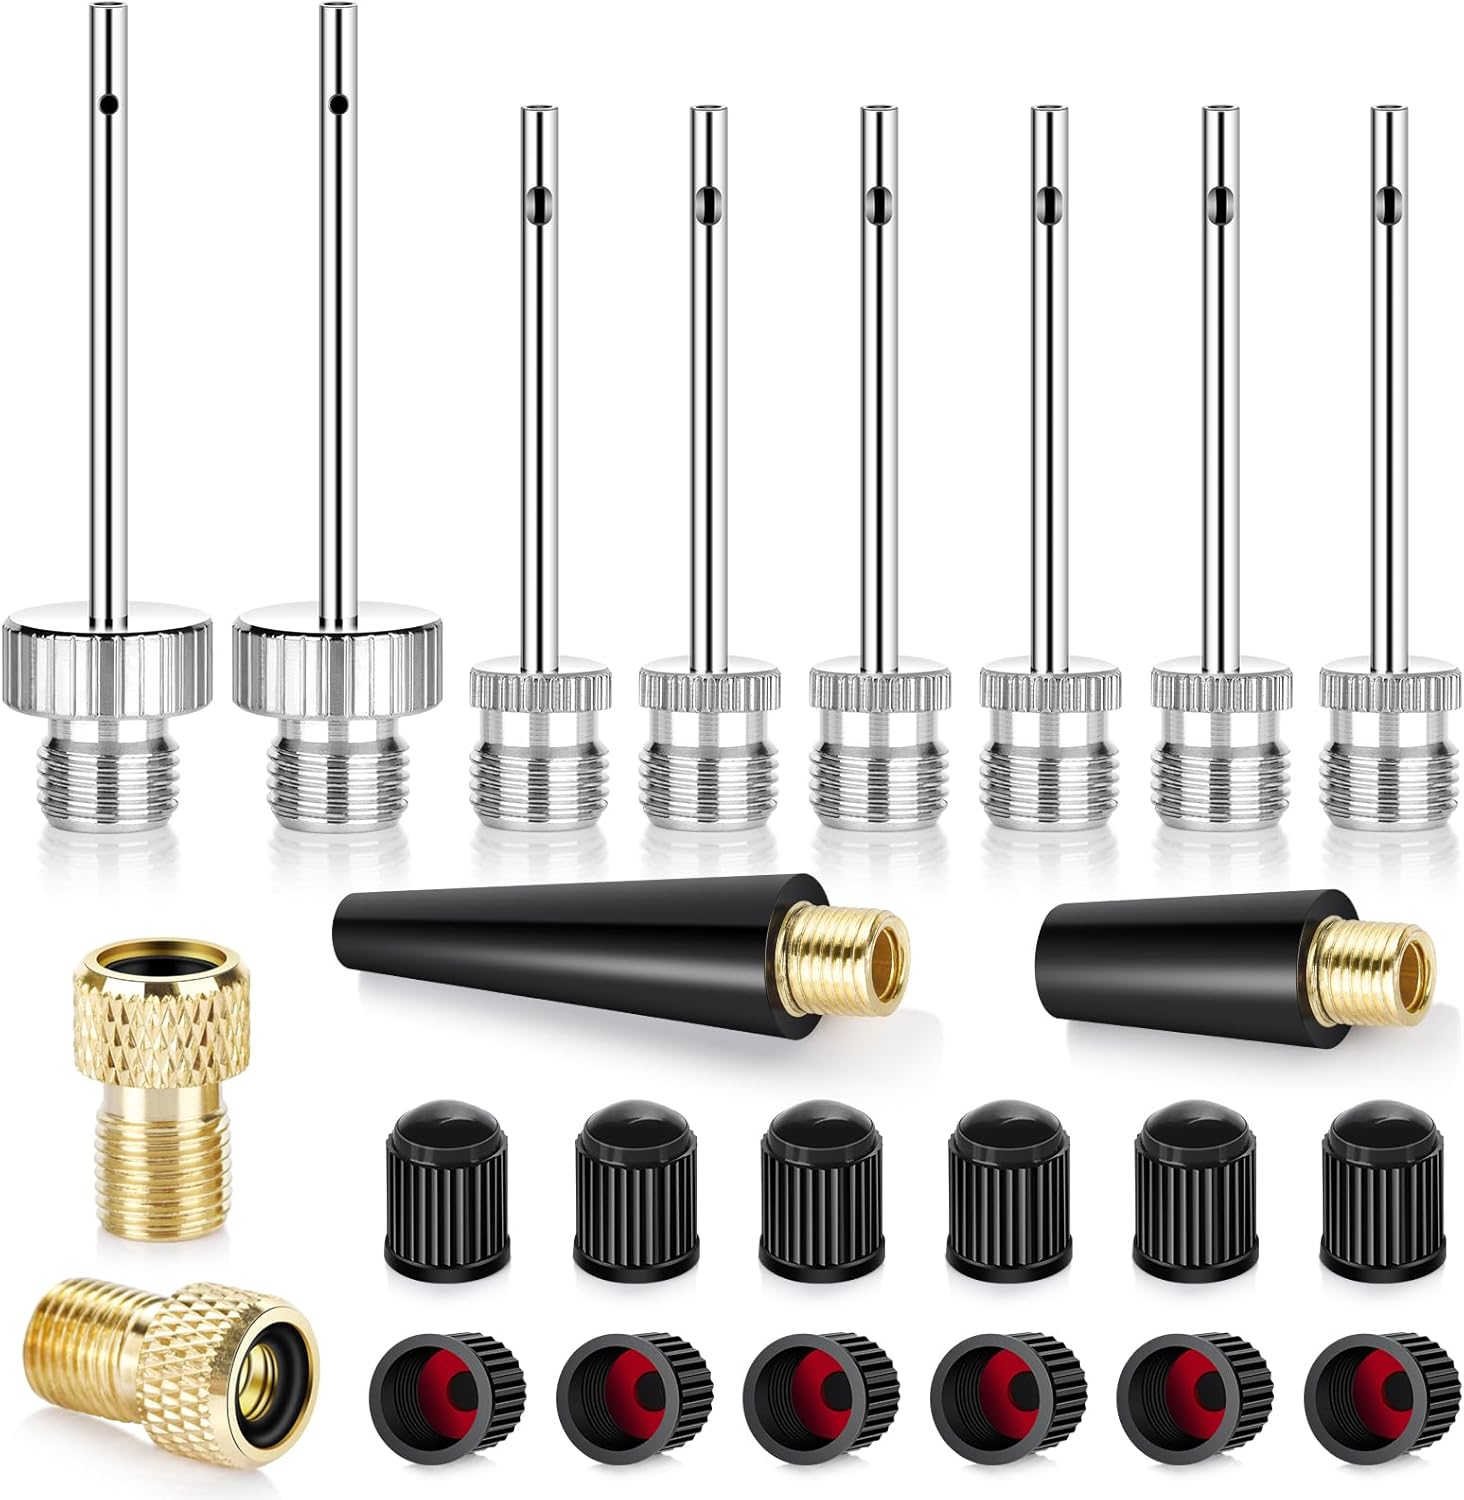
This ball pump needles kit includes brass ball needles for inflating footballs, soccer balls, basketballs, and volleyballs, plus conical nozzles for air mattresses, exercise balls, balloons, and swim rings. It also offers Presta to Schrader valve adapters for easy use with compatible bikes and rideables. The set includes sealed valve caps and a storage case, helping keep your equipment organized and ready to inflate quickly.

Ultraverse 700c inner tubes are built for 700x28C to 32C tires and feature a 48mm Presta valve for accurate, secure inflation. The high-elasticity butyl rubber construction helps seal air tightly, resist pressure loss, and absorb road vibrations for a smoother ride. A reinforced valve base and thick walls add durability and puncture resistance for reliable everyday performance on road, gravel, and city routes.

Tiakia’s mini high-pressure frame pump delivers up to 260 PSI for faster, more efficient inflations with an optimized intake volume. It features a double-head valve design compatible with Schrader and Presta, plus a conversion for Donlop, making it versatile for bikes and many inflatables. The lightweight anodized aluminum build includes a mounting bracket for convenient carry, while the flexible high-pressure hose and IPX4 waterproof body support outdoor use.
Tubes, Tubeless, and Presta Compatibility
Presta’s narrow 6 mm stem fits both tube and tubeless systems, but you still need the right pump head or adapter. Match the valve to your setup so inflation stays easy and seals stay tight.
Tubes vs Tubeless
Presta valves suit road tubes and tubeless stems alike. Tubes give simple repairs and predictable pressure; you can swap a tube at the roadside in under five minutes. Tubeless setups offer puncture sealing with liquid sealant and marginally lower rolling resistance at equivalent pressures.
Even if you run tubeless, carry a spare Presta inner tube — for punctures that sealant can’t plug, you’ll need to go tubed to get home. Keep the core clean in either system, and check periodically for sealant that has dried inside the valve core. Dried sealant can block the core tip, causing a stuck valve that won’t inflate or deflate properly. If this happens, remove the core with a core tool, clean or replace it, and refill with fresh sealant.
Installing a Tubeless Presta Valve
For tubeless setups, the Presta valve stem threads through the rim’s valve hole from the inside. Make sure your rim tape covers the valve hole cleanly and is properly sealed — a gap here is a common source of sealant loss. Push the valve stem through from the inner rim surface, then thread the stem nut onto the exterior by hand and snug it with a valve stem wrench. Do not overtighten, especially on carbon rims — finger-tight plus a quarter turn is usually sufficient.
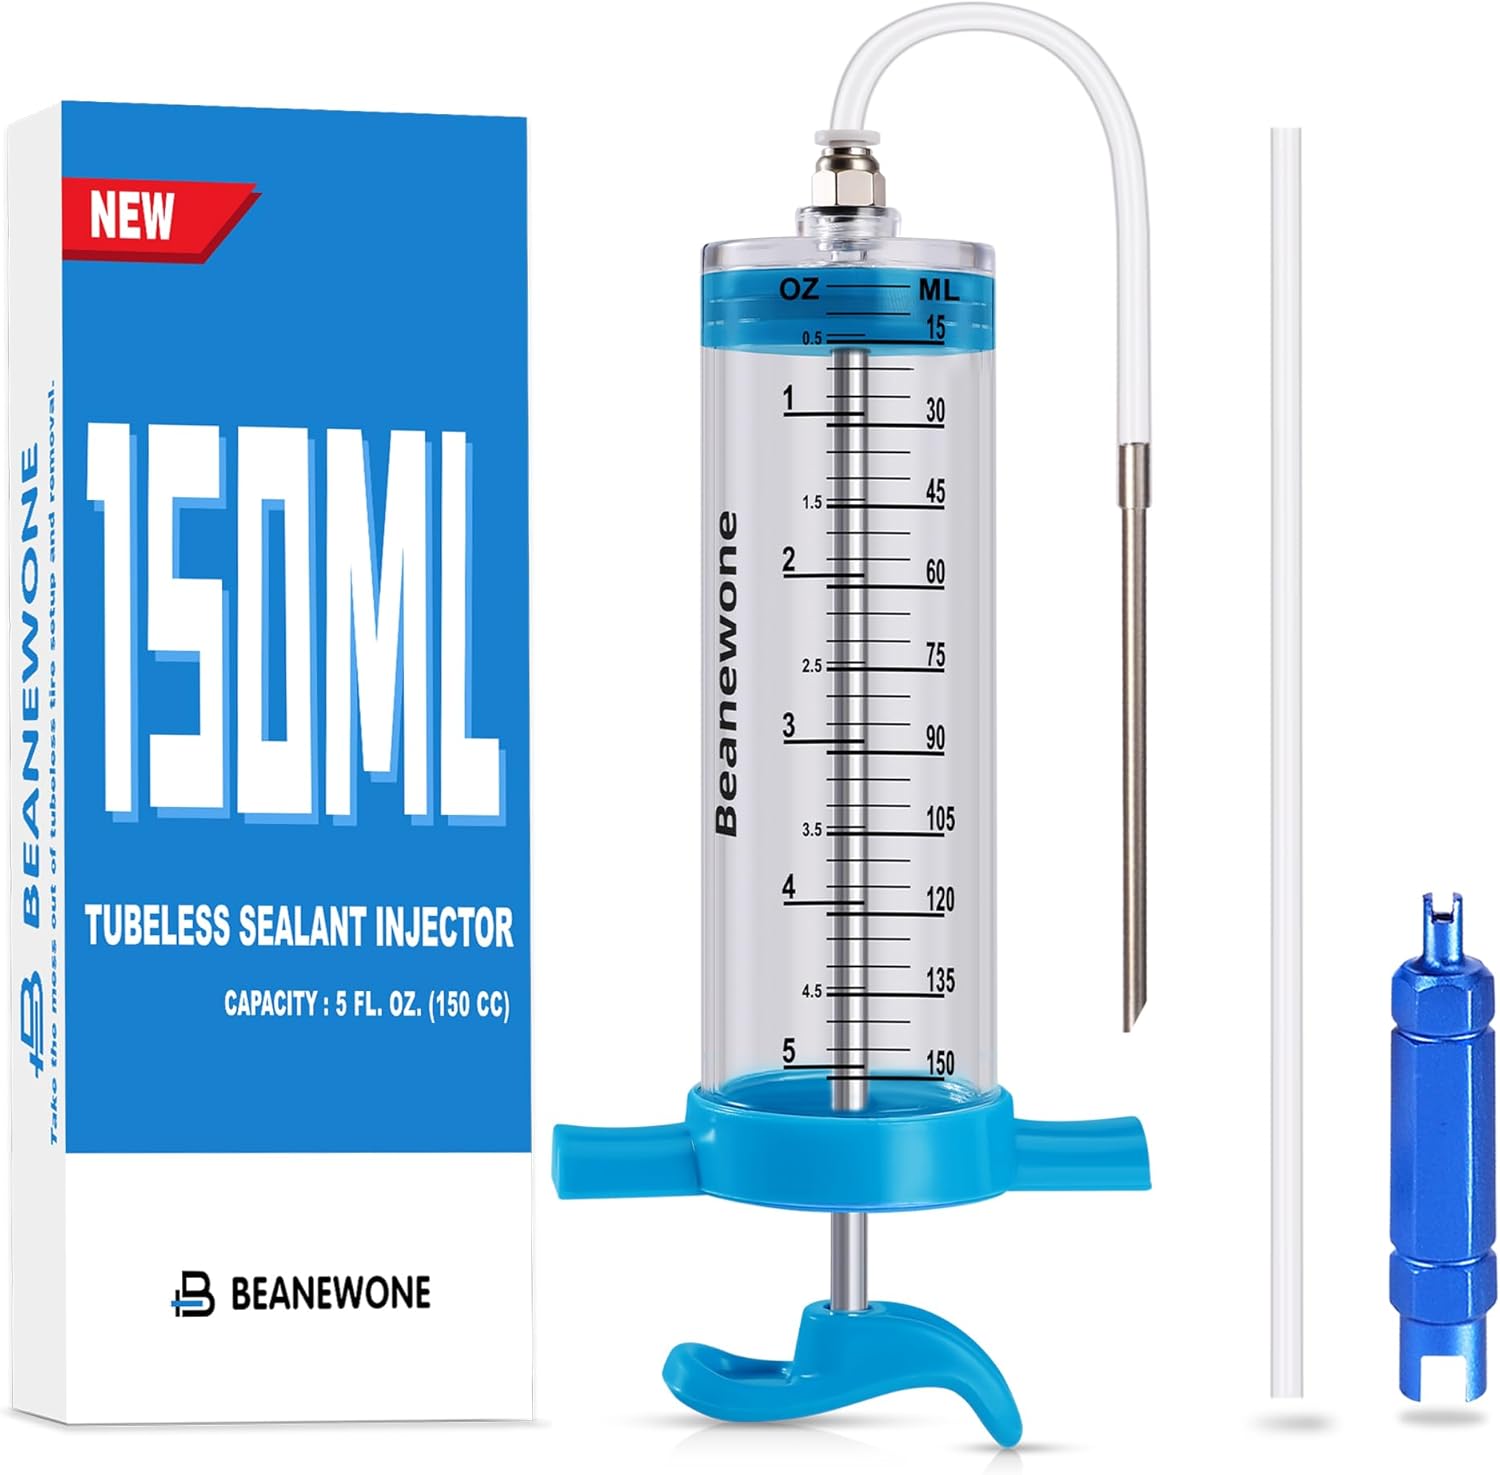
To add sealant: remove the valve core using a core tool, inject sealant through the open valve with a syringe or squeeze bottle, then reinstall the core and inflate. Alternatively, add sealant before fully seating the tire bead. After inflation, spin the wheel and bounce it a few times to distribute the sealant across the entire inner tire surface.
Warning: In tubeless setups, sealant that enters and dries inside the valve core will eventually block it. Replace the valve core seasonally or any time you refill sealant — cores cost under $5 for a pack of several.
Presta Valve Compatibility
Presta valves are narrower and built for high pressure, so match them to your system and pump. For tubes, use inner tubes labeled Presta. For tubeless, choose purpose-made tubeless Presta valve stems with an integrated sealing base that seats against the rim tape. Regular checks keep everything airtight. Here is a quick reference:
| System | Valve Need |
|---|---|
| Tube | Presta inner tube |
| Tubeless | Tubeless Presta valve stem |
| Pumps | Presta head or Schrader pump + Presta adapter |
| CO2 | CO2 inflator with Presta-compatible head |
Adapters and Accessories
Outfit your kit so Presta use stays simple. Carry a compact Presta-to-Schrader adapter if your pump is Schrader-only, or grab a dual-head floor pump for versatility at home. Threaded metal valve caps are more durable than plastic and keep dirt out of the threads more reliably.
A valve core tool lets you clean or replace cores in under a minute and is small enough to live permanently in your saddle bag. For tubeless, confirm the valve seats tightly against the rim tape and use purpose-made tubeless cores with a sealed base. A CO2 inflator with a Presta-compatible head rounds out a complete roadside kit. Together, these items add almost no weight and cover every inflation scenario you’ll face.
Buying Guide: Replacing Presta Tubes and Valves
Match the tube to your wheel diameter and tire width, then choose a valve length that clears your rim with enough stem exposed for the pump head. For road bikes, look for 700c tubes with the correct width range (e.g., 700×23–28c or 700×28–35c) and confirm the tube is labeled “Presta” — some 700c tubes are sold with Schrader valves and are not interchangeable without re-drilling the rim.
Many floor pumps have dual heads, but carry a Presta-to-Schrader adapter if your track pump is Schrader-only. Before you install a new tube, unscrew the lock-nut and add a small amount of air so the tube holds its shape and doesn’t pinch during installation. Seat the tire bead evenly, inflate to a low pressure first (around 20 psi) to check alignment, then inflate fully. Clean the stem and core, replace anything damaged, and always keep a dust cap in place to protect the threads. These steps give you reliable high-pressure performance and confidence when fixing a flat on the road.
[Products Worth Considering]

This tire inflator with pressure gauge delivers long-lasting performance with a durable rubber-protected gauge and sturdy build. The longer hose and 360 swivel air chuck help you seal the valve securely and keep your hands free while measuring, inflating, or deflating. It’s battery-free for reliable use and provides ±2 PSI accuracy in the mid-range for most typical tires, with universal compatibility for 1/4 NPT compressor outputs.

Inflate Presta and Schrader bike and car tires with one compressor attachment, including tubeless setups. The digital gauge lets you monitor 2–200 PSI readings in 0.1 PSI increments with ±2 PSI accuracy, while the adjustable lever and built-in bleed button help you dial in precise pressure. Quick-connect coupler, hose, and a complete Presta service kit with spare cores and caps make it ready for fast maintenance.

This EVOULTES 2-way air chuck set includes a dual head closed flow air chuck and a ball head chuck for versatile tire inflation. It connects easily to air lines, inflator gauges, and compressors using 1/4" NPT threads and includes two 1/4" male quick plugs for fast coupling. Built with durable metal construction and sealed threads using Teflon tape to help prevent air leaks, it’s ideal for inflating Schrader valve tires across cars, bikes, and motorcycles.
Frequently Asked Questions
What are the disadvantages of Presta valves?
Presta valves require an extra step before inflation — unscrewing the brass lock-nut — which is easy to forget. The slim 6 mm stem can bend if handled roughly or if the pump is attached at a sharp angle. They are not compatible with petrol-station air hoses or most car-tire pumps without an adapter, and spare parts can be harder to source in rural areas than the more universal Schrader. Keep the dust cap on between rides to protect the delicate threads.
Can I use a Schrader pump on a Presta valve?
Yes, with an inexpensive adapter. Thread a Presta-to-Schrader adapter onto the stem after loosening the lock-nut — this lets any Schrader pump head or air hose inflate the tire normally. Adapters typically cost $2–$5 for a pack of several and are small enough to keep in your jersey pocket or saddle bag as a permanent backup.
Why does my Presta valve keep leaking even after I tighten it?
If tightening the lock-nut doesn’t stop the leak, the valve core itself is likely worn, cross-threaded, or has a damaged rubber tip. Use a valve core tool to remove it, inspect both the threads and the rubber sealing tip, and replace it if either is compromised — a pack of replacement cores costs under $5. If the leak is at the base of the valve rather than the tip, the tube may be punctured near the valve, or in a tubeless setup, the valve stem may not be seated properly against the rim tape.
What valve length do I need for deep-section aero wheels?
For rims 45–60 mm deep, use a 60 mm Presta valve. For aero rims deeper than 60 mm, use a 60 mm valve combined with a threaded valve extender — a metal sleeve that adds 30–40 mm of reach so your pump head can seat securely on the exposed stem. Confirm that the extender’s thread pitch matches your valve brand before buying, as slight variations exist between manufacturers.
How do I use a CO2 inflator with a Presta valve?
Unscrew the Presta lock-nut, then attach the CO2 inflator head to the valve just as you would a pump head. Release the cartridge in one smooth burst. Re-tighten the lock-nut and replace the dust cap. Most modern CO2 inflators work with both Presta and Schrader valves, but confirm compatibility before you carry one. Important: CO2 permeates rubber faster than air, so top up the tire with a standard pump within 24 hours to restore and maintain the correct pressure.
Conclusion
The Presta valve’s slim 6 mm profile, brass lock-nut, and removable core make it the right choice for high-pressure road wheels and narrow rims. Once you understand the inflation, deflation, and adapter steps, you can swap tubes or switch to tubeless confidently — and handle the vast majority of valve problems at the roadside in under five minutes.
Build a complete kit: a spare Presta tube in the right size, a mini pump with a Presta-compatible head, a valve core tool, and a Presta-to-Schrader adapter. Add a CO2 cartridge with a compatible inflator head for fast emergency inflation. Together these items weigh almost nothing and cover every scenario you’ll encounter. Check your pressure before each ride and you’ll spend far more time riding than dealing with flats.
Sources
- Wikipedia — Presta Valve — Overview of construction, dimensions, history, and comparison to other valve types.
- Bicycling Magazine — Bike Tire Valves Explained — Practical comparison of Presta, Schrader, and Dunlop valves for riders.
- Park Tool — Repair Help — Authoritative technical repair guides from the leading professional bicycle tool manufacturer, covering tube installation, valve maintenance, and tubeless setup.