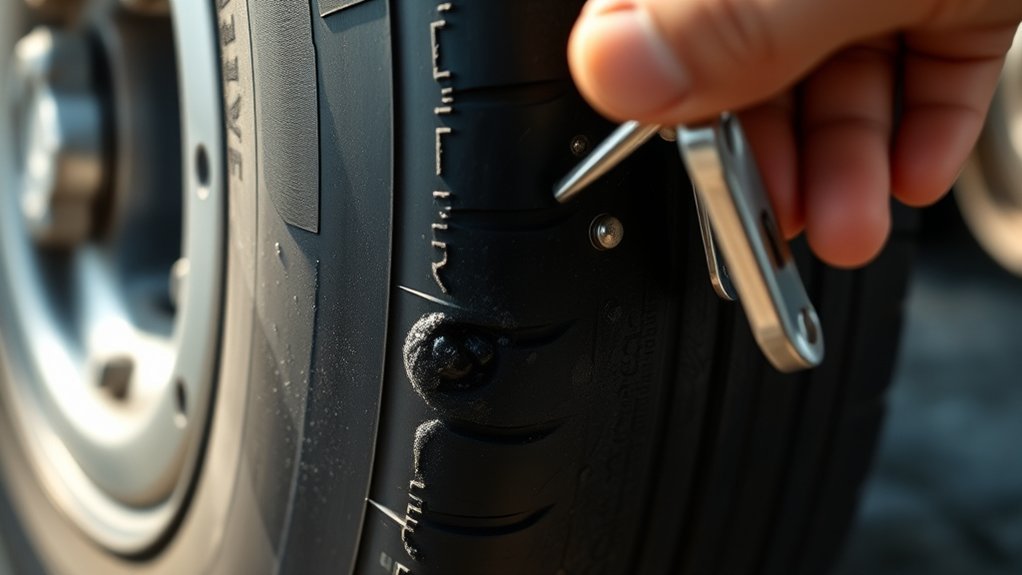
A tire bead leak in your Toyota Hilux happens when air escapes where the tire bead seals against the wheel rim. You may notice slow pressure loss, soapy-water bubbles around the rim edge, or a TPMS warning that keeps coming back. The safest fix is to confirm the leak, avoid hard driving on a low tire, and have a tire shop inspect the bead, rim, valve stem, and tire condition.
Quick Answer
To fix a Toyota Hilux tire bead leak, first confirm the leak with soapy water around the rim edge. Inflate only to the pressure listed on your tire placard or owner’s manual, then get the tire demounted, rim cleaned, valve checked, bead reseated, balanced, and leak-tested by a professional.
Key Takeaways
- A bead leak usually comes from rim corrosion, dirt, old bead sealer, a bent rim lip, bead damage, or poor tire seating.
- Soapy water is the easiest home test. Bubbles at the rim edge show air escaping from the bead area.
- A plug kit fixes some tread punctures, not a bead-seat leak between the tire and wheel.
- Temporary sealant or reinflation should only help you reach a repair shop safely. It is not a permanent repair.
- Check tire pressure cold at least monthly and use the Hilux tire placard or owner’s manual, not the maximum pressure molded on the tire sidewall.
At a Glance
| Time Required | 10–20 minutes to test at home; longer if a shop must demount, clean, reseat, and balance the tire |
| Difficulty | Easy to diagnose; professional repair recommended for reseating, bead cleaning, valve replacement, or wheel repair |
| Tools Needed | Tire-pressure gauge, spray bottle, water, dish soap, flashlight, gloves, air compressor, and access to a tire shop if the bead area leaks |
| Cost | Testing is low-cost; shop repair varies by valve condition, corrosion, wheel damage, tire size, TPMS parts, and whether the tire must be replaced |
What Is a Tire Bead Leak and How Does It Happen?
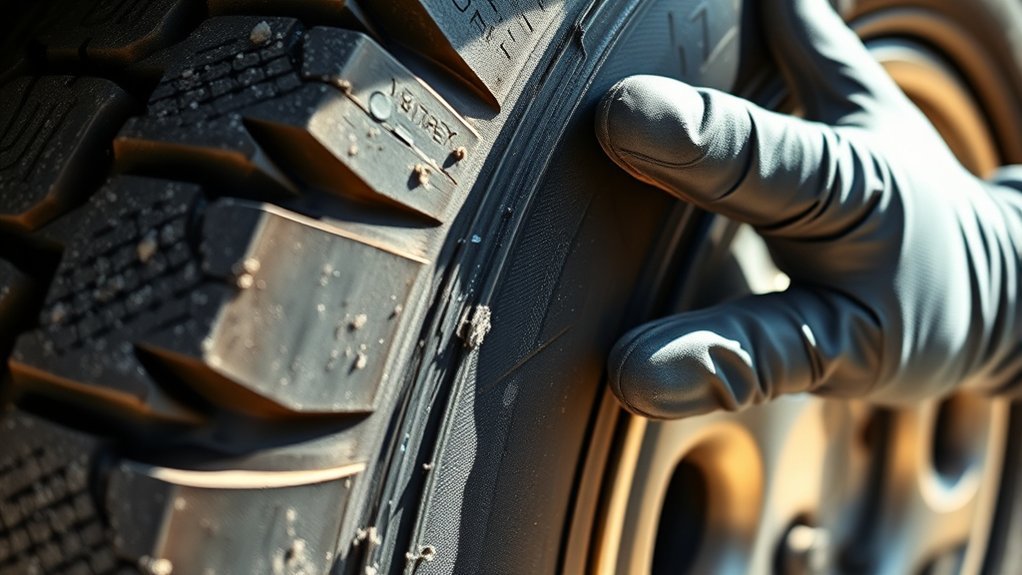
A tire bead leak occurs when air escapes at the junction where the tire meets the rim. On a properly seated tire, air pressure helps press the bead against the rim so the tire can hold air. When that seal gets disturbed, the tire may lose pressure slowly even if you do not see a nail or obvious puncture.
Common causes include a bent rim from pothole impact, curb damage, rust on steel wheels, oxidation on alloy wheels, dirt trapped at the bead seat, old bead sealer, a damaged tire bead, or poor mounting. A valve-stem leak can also look like a bead leak because both problems cause slow pressure loss near the wheel.
Your Hilux may be more likely to show bead-seat issues if it sees gravel roads, construction sites, mud, sand, winter salt, heavy loads, or frequent off-road pressure changes. Those conditions can introduce debris around the rim lip or stress the tire and wheel assembly.
Warning: Do not keep driving normally on a tire that is losing air. Low pressure can overheat the tire, damage the sidewall, reduce control, and turn a repairable issue into a tire replacement. If the tire is visibly low, has a sidewall bulge, shows bead separation, or loses pressure quickly, install the spare or call roadside assistance.
How to Identify the Source of the Leak
Start with a cold tire-pressure check. Use the pressure listed on your Hilux tire placard or owner’s manual. General tire-safety guidance from the National Highway Traffic Safety Administration recommends checking tire pressure at least once a month when tires are cold and checking the spare as well.
Then inspect the tire and wheel in this order:
- Check the tread: Look for nails, screws, cuts, or embedded debris. A tread puncture needs a different repair than a bead leak.
- Check the sidewall: Look for cracks, bulges, deep cuts, cords, or impact damage. Sidewall damage is not a safe bead-leak repair.
- Check the valve stem: Spray soapy water around the valve base and valve core. Bubbles here point to a valve leak, not a bead leak.
- Check the bead area: Spray soapy water around both sides of the rim where the tire meets the wheel. Steady bubbles at the rim edge show a bead-seat leak.
- Check the wheel lip: Look for dents, corrosion, peeling paint, or rough spots that could prevent the tire from sealing.
Mix water with a small amount of dish soap in a spray bottle. Spray generously and watch for slow-growing bubbles. Small leaks may need a few minutes to show. Mark the leaking area with chalk or a piece of tape before you drive to the tire shop.
Pro Tip: Test the tire when it is inflated to the correct cold pressure. A very low tire may not create enough pressure at the leak point to show clear bubbles.
Bead Leak vs. Puncture vs. Valve-Stem Leak
Not every slow leak near the wheel is a bead leak. Use the bubble location to narrow it down before you choose a repair.
| Leak Type | Where Bubbles Appear | Likely Fix |
|---|---|---|
| Bead leak | Along the rim edge where the tire meets the wheel | Demount tire, clean bead seat, inspect rim and bead, reseat, balance, and leak-test |
| Tread puncture | From a nail, screw, or hole in the tread area | Internal inspection and proper puncture repair if the injury is in a repairable area |
| Valve-stem leak | Around the valve core or valve base | Replace valve core, rubber stem, metal valve seal, or TPMS service kit as needed |
| Wheel damage | Near a dent, crack, corrosion patch, or bent rim lip | Wheel repair or replacement before the tire can seal reliably |
Common Signs of a Tire Bead Leak in Your Hilux
How can you tell if your Toyota Hilux has a bead leak? Look for a pattern rather than one single symptom:
- Visible air bubbles: Soapy water bubbles form along the tire-to-rim edge.
- Repeated pressure loss: The same tire loses measurable pressure over days or weeks after you inflate it correctly.
- Recurring TPMS alert: The warning comes back after the tire is inflated. TPMS is helpful, but it is not a substitute for regular pressure checks with a gauge.
- Rim-edge corrosion or damage: Rust, oxidation, peeling coating, or dents appear near the bead seat.
- Uneven wear or vibration: These can happen with underinflation, a bent wheel, imbalance, alignment issues, or tire damage, so treat them as warning signs rather than proof of a bead leak.
Also check tread depth and tire condition while you inspect the leak. NHTSA tire guidance says tires should be replaced when tread is worn down to 2/32 inch, and the GOV.UK vehicle safety checklist also emphasizes correct tread depth and freedom from cuts and defects.
Temporary Fixes for a Tire Bead Leak
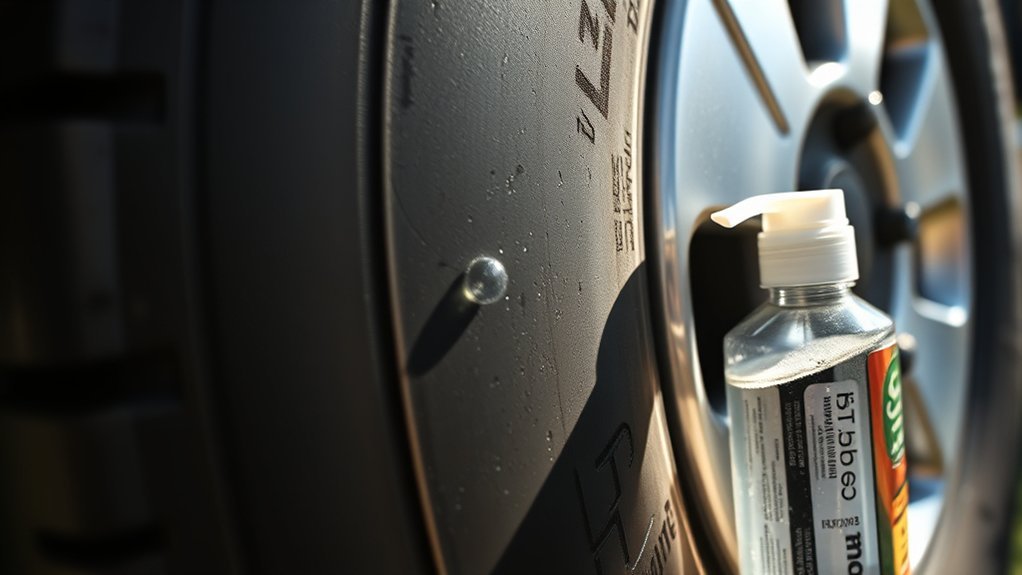
Temporary fixes can help you move the Hilux to a safe repair location, but they should not be treated as a final fix. A bead leak often needs the tire removed from the wheel so the bead seat, rim lip, valve, and tire bead can be inspected.
- Inflate and monitor: Inflate the tire to the correct cold pressure from the tire placard or owner’s manual. Recheck it after a short wait and again before driving.
- Use the spare if pressure drops quickly: If the tire will not hold air long enough to drive safely, install the spare or call roadside assistance.
- Use sealant only as an emergency measure: Sealant may slow minor air loss, but it can make shop cleanup harder and may not work if the rim is bent, corroded, or dirty.
- Drive gently to the repair shop: Avoid highway speeds, heavy loads, towing, rough trails, and sharp cornering until the leak is inspected.
| Fix Method | What It Can Do | Limit |
|---|---|---|
| Correct inflation | Lets you test the leak and may allow a short, careful drive | Does not repair the sealing surface |
| Emergency sealant | May slow a small leak long enough to reach help | Not reliable for bent rims, damaged beads, corrosion, or large leaks |
| Spare tire | Keeps you from driving on a leaking or damaged tire | Temporary spares have speed and distance limits |
[Products Worth Considering]

Monitor tire tread wear with a smart, color-coded depth gauge that shows clear condition ranges at a glance. The bar is range marked for fast, easy readings, helping you maintain safer traction and performance. Each gauge is portable with a pocket clip, and the set includes 20 units for daily use and sharing.

TireJect Off-Road Tire Sealant Kit provides 5-in-1 sealing to help fix tread punctures up to 3/8", sidewall punctures up to 3/8", bead leaks, slow leaks, and minor dry rot on low-speed tires. It permanently seals with liquid rubber, recycled tire particles, and Aramid fibers, making it ideal for flats caused by thorns, nails, and screws. The included dispensing cap attaches to the valve stem for a no-mess installation, along with a metal valve core remover tool and valve stem cap. This kit is for off-road use only.

Malco tire mounting and demounting lubricant is a ready-to-use tire lube formulated to reduce friction during tire installation for passenger cars, light trucks, farm tires, and heavy-duty equipment. It provides rust-inhibiting protection to help reduce corrosion on rims and wheels, and helps support proper tire bead seating during inflation to reduce air leakage. The silicone-free, soap-free formula is whitewall safe to help prevent discoloration on whitewall tires and sensitive sidewall markings.
How Effective Are Temporary Fixes?
Temporary fixes are only effective when the leak is small, the tire is otherwise sound, and you use them to reach a safe repair location. They are less effective when the rim is bent, the wheel is corroded, the tire bead is torn, the valve stem is leaking, or the tire has been driven while severely underinflated.
A plug kit is not the right fix for a bead leak. Plug kits are designed for certain tread punctures, while a bead leak happens at the tire-to-wheel sealing surface. If your soapy-water bubbles appear at the rim edge, the tire usually needs to come off the wheel for inspection and reseating.
Note: Tell the technician if you used tire sealant. Some sealants require extra cleaning inside the tire and wheel before the shop can inspect, balance, or repair the assembly.
What a Professional Tire Shop Does
For a real bead-leak repair, a technician usually does more than add air. The exact process depends on the tire and wheel condition, but it often includes these steps:
- Confirm the leak: The shop checks the tire, valve stem, bead area, wheel, and sometimes submerges or sprays the assembly.
- Demount the tire: The tire is removed so the inside of the tire, bead, and rim seat can be inspected.
- Clean the bead seat: Corrosion, dirt, old sealer, rubber buildup, and flaking paint are cleaned from the rim sealing surface.
- Inspect the tire bead: A torn, cracked, or deformed bead can make the tire unsafe or impossible to seal.
- Inspect the valve and TPMS parts: Rubber stems, metal stem seals, valve cores, and TPMS service parts may need replacement.
- Apply bead sealer if appropriate: Bead sealer can help on minor surface imperfections, but it should not hide structural wheel or tire damage.
- Reseat, inflate, balance, and leak-test: The shop reseats the tire, balances the wheel assembly, and confirms the leak is gone.
The GOV.UK MOT tyre and wheel guidance shows why tire and wheel condition, security, tread depth, and TPMS warnings matter during vehicle safety checks.
[Products Worth Considering]

Measure tyre tread depth precisely with a digital gauge that reads in both MM and inches, helping you monitor safe driving conditions. The large LCD screen is easy to operate, and the compact tool fits for cars, trucks, and motorcycles. It provides high accuracy with a 0-25.4mm range and includes a 1-year warranty for added peace of mind.

This tire repair screw plug kit includes 60 pieces in two sizes to help you fix punctures quickly on the road. Choose the right screw by puncture size, then drive it in with a screwdriver for an effective seal without needing a flaring tool. The coated screws help prevent leaks and are designed for convenient emergency use across cars, trucks, ATVs, motorcycles, and bicycles.

This VEVOR tire bead breaker uses a slide-hammer impact and wedge tip to separate tire beads from rims quickly and efficiently without damaging hub surfaces. The long handle and sturdy steel construction help reduce user strain while providing reliable, portable tire changing for cars, trucks, and more. Ideal for home mechanics and repair shops handling multiple vehicle tire sizes.
When to Call a Professional for Tire Repair
Call a professional if the tire keeps losing pressure after you inflate it, if bubbles appear around the bead, or if you see rim damage. You should also get professional help when the valve stem leaks, the TPMS warning keeps returning, or the tire has been driven while very low.
Do not try to keep a questionable tire in service if you see any of these problems:
- Sidewall bulge, exposed cords, deep sidewall cuts, or cracking
- Tire bead damage, torn rubber, or bead separation
- Bent, cracked, badly corroded, or leaking wheel
- Repeated bead leak after cleaning and reseating
- Vibration that starts after impact with a pothole or curb
- Tire pressure that drops quickly after inflation
If you are unsure whether the tire is repairable, have it inspected before driving at speed. A tire that has internal damage can look acceptable from the outside but still be unsafe.
Preventative Measures to Avoid Future Leaks
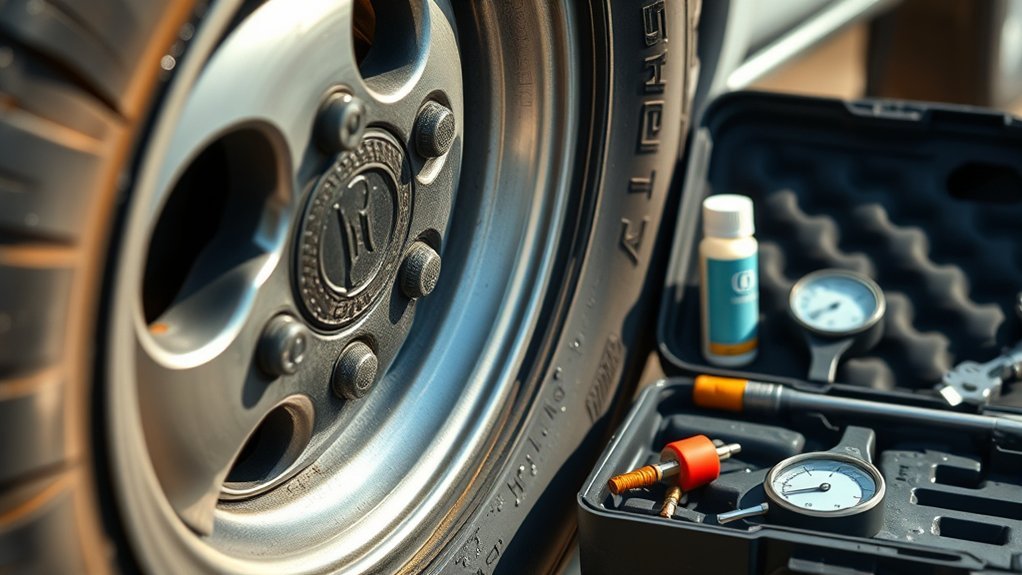
You can reduce the chance of future bead leaks with simple maintenance and careful driving habits:
- Check pressure monthly: Check all tires cold, including the spare. NHTSA recommends monthly cold-pressure checks and reminds drivers that TPMS does not replace regular maintenance.
- Inspect after impacts: Check the rim lip and sidewall after hitting potholes, rocks, curbs, or trail obstacles.
- Clean wheels before mounting: Dirt, rust, and oxidation at the bead seat can stop the tire from sealing correctly.
- Use professional mounting: Proper mounting, lubrication, inflation, and balancing help the bead seat evenly.
- Rotate as recommended: Follow the Hilux owner’s manual. NHTSA notes that many vehicles use a 5,000- to 8,000-mile rotation interval when the manufacturer recommends rotation.
- Protect against corrosion: Wash winter salt, mud, and grit from wheels, especially around the rim lip.
- Avoid driving underinflated: Low pressure can damage the sidewall and bead area before you notice the tire looks flat.
If you often air down for off-road traction, reinflate before returning to pavement and check that the bead area is clean. Very low pressure can reduce bead clamping force and increase the chance of dirt entering the sealing area.
Tire Repair Costs Explained
Tire repair costs vary because a bead leak can be simple or complex. A clean wheel with a minor bead-seat leak may only need demounting, cleaning, reseating, balancing, and leak testing. A corroded wheel, damaged TPMS stem, bent rim, or unsafe tire can cost more because parts or replacement may be needed.
| Cost Driver | Why It Changes the Price |
|---|---|
| Demount and reseat | The tire must come off the wheel so the bead and rim seat can be inspected and cleaned. |
| Corrosion or rim damage | Cleaning is quicker than repairing or replacing a bent, cracked, or badly corroded wheel. |
| Valve stem or TPMS service | A leaking rubber stem, metal valve seal, or TPMS service kit may need replacement. |
| Balancing | The wheel assembly may need balancing after demounting, reseating, valve work, or sealant cleanup. |
| Tire replacement | Replacement is safer if the bead, sidewall, tread, or internal structure is damaged. |
Ask the shop what they found: bead-seat contamination, valve leak, wheel damage, tire bead damage, or puncture. That diagnosis helps you avoid paying twice for the same slow leak.
[Products Worth Considering]
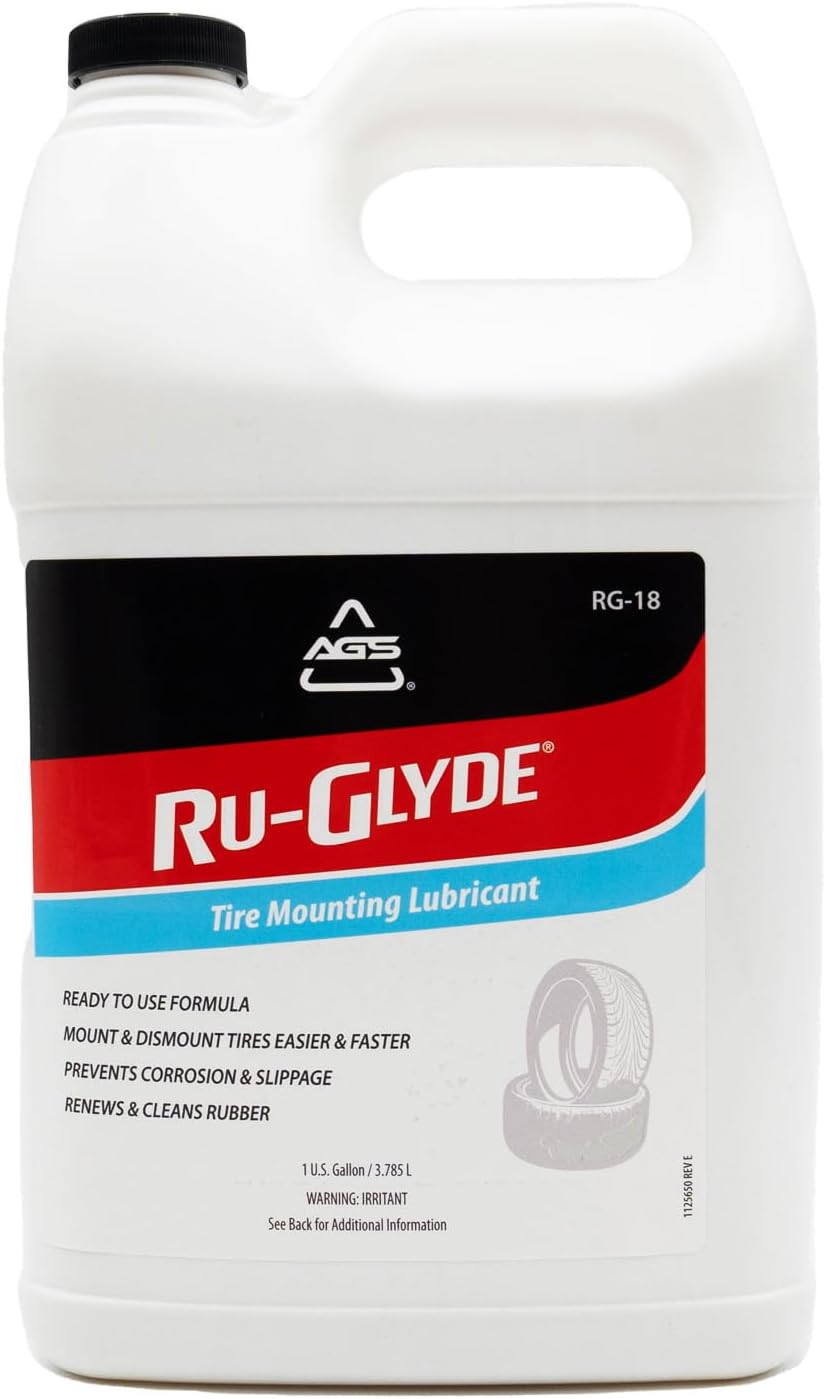
Ru-Glyde tire mounting lubricant from AGS seats tire beads smoothly on the first try with a thick, stay-put formula. It is ready to use with no mixing or dilution, helps prevent rim rust, and dries completely without causing bead slip residue. The water-based formula also conditions aged rubber, making it useful for sidewalls, gaskets, and door seals while remaining safe for tire, wheel, and technicians.

Upgrade your Toyota’s wheels with durable aluminum alloy valve stem caps that help protect valve cores from corrosion and direct exposure to road grime, clay, water, and snow. Rubber rings improve sealing to help prevent air leakage and maintain stable tire pressure for safer driving. These caps are easy to install or remove without tools and add a unique, stylish look to your car.

The Calvana Ultra-Durable Angled Tire Lube Bucket Kit provides reliable lubrication for faster, smoother tire changes. It includes an angled universal lube bottle and premium cotton swabs to help lubricate tire beads during removal and mounting. Built for rugged use with a reinforced handle and durable fiber design, it’s a direct replacement for Coats 8106259 to reduce downtime and compatibility concerns.
Frequently Asked Questions
How do you get a tire bead to stop leaking?
Confirm the leak with soapy water, then have the tire demounted. The rim bead seat should be cleaned, the tire bead inspected, the valve checked, and the tire reseated, inflated, balanced, and leak-tested. Bead sealer may help minor surface imperfections, but it should not cover up wheel or tire damage.
Why does my tire keep losing a bead?
A tire may keep losing its bead because the rim is bent, the bead seat is corroded, the wheel has dirt or old sealer on it, the tire bead is damaged, or the tire has been run at very low pressure. Off-road airing down can also make bead seating more sensitive if pressure gets too low.
Can I drive with a tire bead leak?
Only drive far enough to reach a safe repair location if the tire holds the correct pressure and shows no visible damage. Avoid highway speeds, towing, heavy loads, and off-road driving. If pressure drops quickly or the tire looks low, use the spare or call roadside assistance.
Will tire sealant fix a bead leak permanently?
No. Sealant can sometimes slow a small leak in an emergency, but it does not fix corrosion, a bent wheel, bead damage, or a poor seating surface. Treat it as temporary and tell the tire shop if you used it.
Can a valve-stem leak look like a bead leak?
Yes. A valve core, rubber stem, metal valve seal, or TPMS stem can leak near the wheel and cause slow pressure loss. Spray soapy water around the valve base and valve core before assuming the bead seat is the problem.
Conclusion
A Toyota Hilux tire bead leak is usually a sealing problem between the tire and rim, not just a low-pressure nuisance. Find the leak with a cold pressure check and soapy water, then treat temporary inflation or sealant as an emergency step only.
For a lasting repair, have the tire demounted and inspected. A clean bead seat, sound rim, good valve stem, proper reseating, balancing, and final leak test will protect your tire, your wheel, and your Hilux’s road safety.
Sources
- NHTSA TireWise — supports cold tire-pressure checks, tire placard guidance, tread-depth guidance, TPMS cautions, rotation guidance, and tire-safety context.
- NHTSA Recalls — supports checking whether a tire has an active safety recall.
- GOV.UK Check Your Vehicle Is Safe to Drive — supports checking tyre tread depth and freedom from cuts and defects.
- GOV.UK Car Parts Checked at an MOT — supports tyre and wheel condition, security, tread depth, and TPMS warning checks in roadworthiness inspections.