
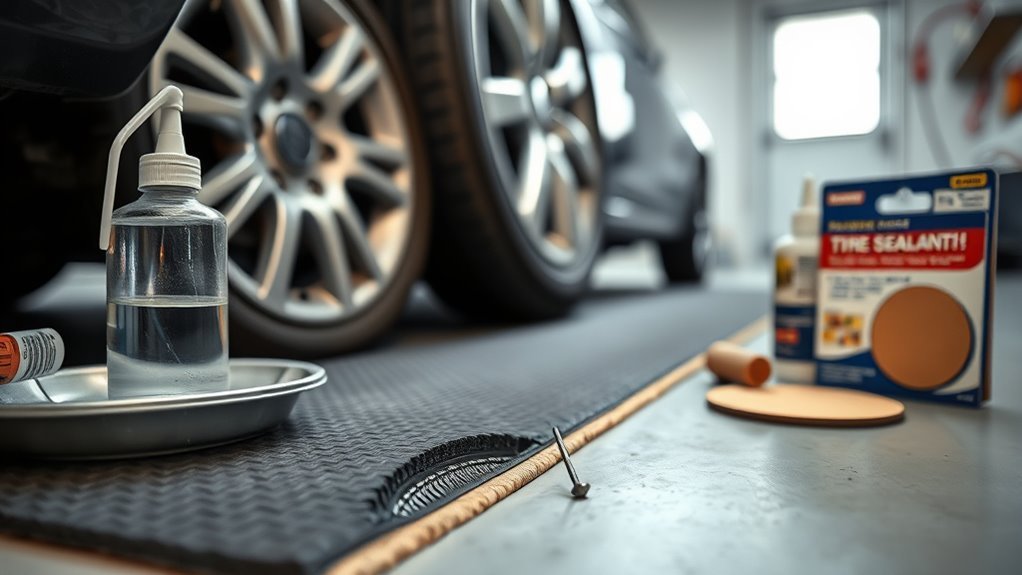
A tire puncture forces a fast choice: use sealant for temporary mobility, get a proper professional repair, or replace the tire. Use tire sealant only as a short-term emergency option for a small tread puncture that falls within the sealant kit’s stated limits. For a lasting repair, the tire should be removed and inspected, and a repairable puncture no larger than 1/4 inch (6 mm) should have both its injury channel and inner liner sealed, usually with a combination plug-patch or an approved patch-and-stem system. Replace the tire when damage reaches the sidewall or shoulder/belt-edge area, exposes cords, changes the tire’s shape, exceeds repair limits, or internal inspection finds structural damage.
Last updated: August 18, 2026
Quick Answer
Use sealant when a compatible tire-mobility kit can temporarily restore air pressure after a small tread puncture. Follow the kit’s speed, distance, and puncture-size limits, then have the tire inspected as soon as possible. For a lasting repair, ask for a proper combination repair that fills the puncture channel and seals the inner liner. Replace the tire when damage extends into the shoulder or sidewall, exceeds repair limits, or inspection finds cord, liner, belt, or run-flat damage.
Key Takeaways
- Use sealant for temporary mobility, not as a substitute for a proper tire repair.
- A proper passenger-tire puncture repair seals both the injury channel and the inner liner.
- General USTMA repair guidance limits repair to punctures no larger than 1/4 inch (6 mm) in the repairable tread area.
- Do not repair damage that extends into the shoulder/belt-edge area or sidewall.
- A tire that was driven significantly underinflated or flat must be inspected internally before anyone decides it is repairable.
Quick Verdict: Sealant or Patch – Which Should You Use?
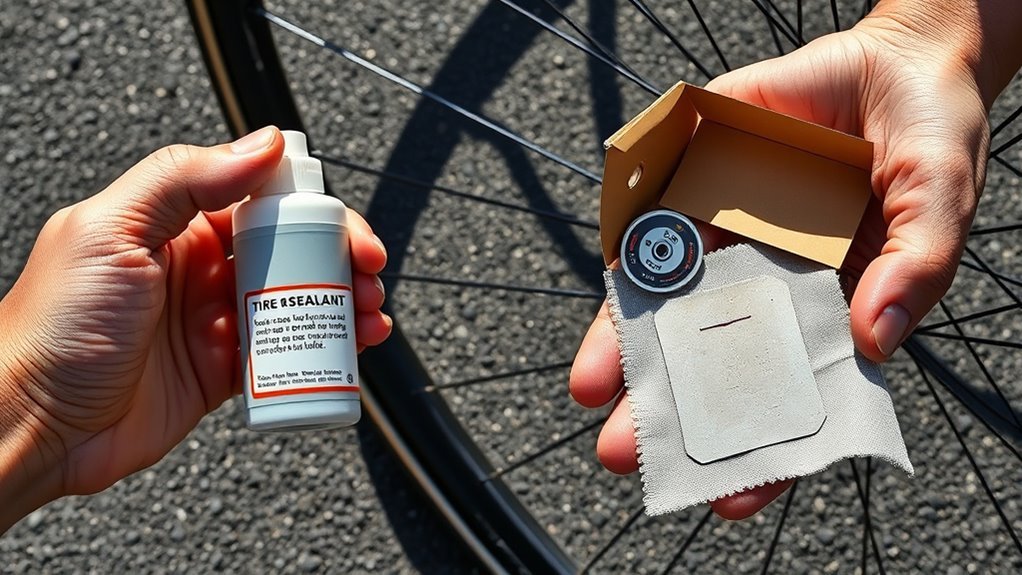
The simplest rule is to separate temporary mobility from a proper tire repair. Sealant or an outside-in plug can help you reach a safe service location when the product is suitable for the puncture. Neither method replaces removal and internal inspection of the tire.
For a repair that meets USTMA tire-repair guidance, the puncture must stay within the repairable tread area, be no larger than 1/4 inch (6 mm), and pass internal inspection. The injury channel must be filled with a suitable rubber stem or plug, while a patch seals the inner liner. A one-piece plug-patch can perform both jobs.
If the tire has sidewall or shoulder/belt-edge damage, exposed cords, a bulge, a large cut, or internal damage from being driven flat, skip repair and replace the tire. Tire and vehicle manufacturers may impose additional limits, especially for run-flat or specialty tires.
| Method | Best Use | Tire Removed? | Long-Term Repair? |
|---|---|---|---|
| Sealant / mobility kit | Temporary mobility after an eligible small tread puncture | No | No |
| Outside-in plug | Emergency tread-puncture response when professional service is unavailable | No | No |
| Patch alone | Seals the inner liner but does not fill the puncture channel | Yes | Not a complete USTMA-style repair by itself |
| Plug-patch / patch-and-stem | Eligible tread puncture after internal inspection | Yes | Yes, when properly performed and allowed by the tire manufacturer |
Warning: Do not keep driving normally because sealant stopped a leak. Follow the mobility-kit instructions and have the tire inspected promptly. If the tire will not hold the required pressure, has visible structural damage, vibrates, or feels unstable, stop driving and use a spare or roadside assistance.
How Puncture Type & Location Decide the Fix
Use four checks before deciding whether a tire can be repaired: location, puncture size, pressure-loss history, and manufacturer restrictions. Under general USTMA guidance, a puncture may qualify only when it stays within the repairable tread area and measures no more than 1/4 inch (6 mm).
Location matters because tread rubber, the belt-edge/shoulder area, and the sidewall do not behave the same way. Do not repair an injury that reaches the shoulder or belt-edge area. Sidewall damage also falls outside the normal repairable tread area.
Next, consider what happened after the puncture. A small nail hole does not guarantee that the tire remains safe. If the tire lost substantial pressure or was driven while flat or severely underinflated, the inner liner, sidewall, or other internal components may have been damaged. That damage may be invisible until the tire is removed from the wheel.
Finally, check the tire and vehicle manufacturer’s policy. Some run-flat and specialty tires have additional repair restrictions even when the puncture appears to meet general size and location limits.
How Tire Sealants Work and When to Use Them
A tire mobility kit typically introduces sealant through the valve and restores pressure with an inflator or propellant. The sealant can temporarily close an eligible tread puncture so you can reach a service location. It does not rebuild damaged cords, belts, sidewalls, or the tire casing.
Do not assume every sealant has the same puncture-size, speed, distance, wheel, tire, or TPMS limits. Follow the instructions supplied with your vehicle or sealant kit. If the kit does not match the tire or the damage falls outside its stated limits, use a spare tire or roadside assistance instead.
For more detail on product selection and application, see the TubeTyre guide on how to use tire sealant for car tires. After using sealant, tell the tire technician what product you used. The tire may need to be cleaned before inspection and repair, and final repairability still depends on the damage and the tire manufacturer’s policy.
[Products Worth Considering]

Vigorder rubber cement glue delivers superior adhesion and cures quickly within about 30 seconds for seamless rubber bonding. Once cured, it helps provide a strong, durable, waterproof seal that holds up to vehicle weight, pressure, and heat. Suitable for cars, motorcycles, trucks, bicycles, and off-road tires, it’s designed for emergency patch and maintenance repairs.

This self-service tire repair nail kit includes 60 pieces (30 small + 30 large) to help seal punctures quickly without needing an auto shop visit. The nails are designed to fit different hole sizes and provide a tight connection with sealing glue to help prevent air and water intrusion. Suitable for cars, motorcycles, trucks, and other vehicles, it’s an easy, efficient way to patch roadside tire damage.

TireJect Off-Road Tire Sealant Kit provides 5-in-1 sealing to help fix tread punctures up to 3/8", sidewall punctures up to 3/8", bead leaks, slow leaks, and minor dry rot on low-speed tires. It permanently seals with liquid rubber, recycled tire particles, and Aramid fibers, making it ideal for flats caused by thorns, nails, and screws. The included dispensing cap attaches to the valve stem for a no-mess installation, along with a metal valve core remover tool and valve stem cap. This kit is for off-road use only.
What a Proper Professional Plug-Patch Repair Involves
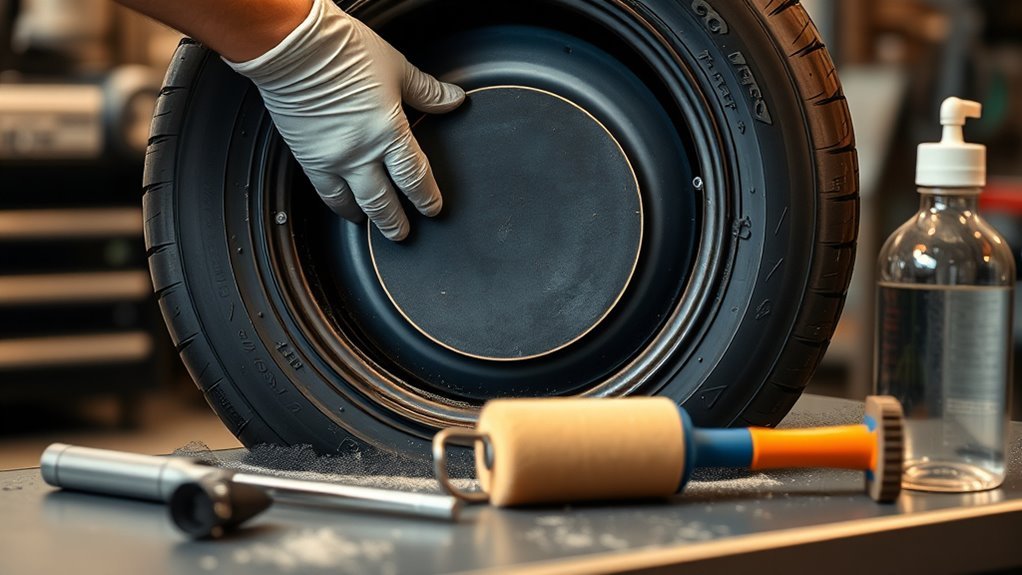
A proper repair starts with removing the tire from the wheel. This lets the technician inspect the inner liner, sidewalls, bead area, and visible internal structure for damage that cannot be confirmed from outside.
If the tire qualifies for repair, the technician addresses two separate parts of the injury. A rubber stem or plug fills the puncture channel so water and debris cannot enter through the tread, while an internal patch seals the inner liner against air loss. Many shops use a one-piece combination plug-patch to accomplish both tasks.
After the repair is completed according to the repair-material and tire manufacturer’s procedures, the tire is remounted, inflated to the vehicle manufacturer’s specified pressure, checked for leaks, and balanced when required.
[Products Worth Considering]

Mosconly tire repair glue and nail kit delivers an elastic, waterproof bond for quick sidewall puncture repairs. The adhesive cures securely to help prevent peeling, flaking, and tearing, while the included nails support a strong, seamless repair. Designed for easy roadside use, it works on car, motorcycle, bike, and other tire types, with full curing within 24 hours.

LiQuiTube Premium Heavy Duty Tire Sealant provides permanent flat tire protection to help maintain proper air pressure while sealing punctures and leaks. It seals bead, rim, and porosity weathering leaks and helps prevent flats in heavy ply industrial tires. Designed for versatile use on trailers and off-road equipment, it can be installed in tubeless tires and also inside tubes.

AUTOWN’s 68-piece tire repair kit helps you fix punctures and plug flats quickly and effectively. It includes a T-handle and spiral probe tool for easy insertion, while the steel patch and plug materials are designed for strong adhesion and long-lasting airtight performance. The compact case makes it convenient for roadside repairs across a wide range of vehicles.
Tire Removal And Inspection
The technician first removes the tire from the wheel and inspects both the exterior and interior. Repair should stop if inspection finds damage that takes the tire outside the applicable repair limits.
- Verify the location: Confirm that the injury stays inside the repairable tread area and does not extend into the shoulder or belt edge.
- Measure the injury: General USTMA passenger/light-truck guidance limits puncture repair to injuries no larger than 1/4 inch (6 mm).
- Look for hidden damage: Check the inner liner and tire structure for evidence of running flat, severe underinflation, impact damage, exposed cords, separation, or other unsafe conditions.
- Check previous repairs: Repairs must not overlap, and manufacturer or shop policies may impose additional limits.
If any of those checks fail, replacement is safer than forcing another repair.
Interior Surface Preparation
Once the tire is judged repairable, the technician prepares the injury and inner-liner area according to the repair-system instructions. Old sealant, contamination, debris, and loose material must not interfere with the bond.
The prepared inner-liner area must match the approved repair unit and puncture location. The exact cleaning, buffing, cement, drying, and installation procedure depends on the repair materials being used, so it should follow the repair manufacturer’s instructions rather than a generic DIY timing rule.
Patch Application And Vulcanization
The repair must address both paths by which the injury can cause problems. The stem or plug fills the puncture channel through the tire, while the patch seals the inner liner. A combination repair unit joins those functions in one component.
- Fill the injury channel: Prevent the puncture path from remaining open to outside contamination.
- Seal the inner liner: Restore an airtight barrier on the inside of the tire.
- Verify the finished repair: Reinflate the tire, check for leakage, and complete any required wheel-balancing checks.
This is why a proper professional combination repair is different from sealant, an outside-in plug, or a patch used by itself.
Plug, Patch, or Both: Matching Fixes to Roadside Scenarios
If you find a nail or screw in the tread, first decide whether you need temporary mobility or whether the vehicle can go directly to professional service. Sealant or an outside-in plug may provide temporary help for an eligible tread puncture, but neither method allows the required internal inspection.
For a lasting repair, ask the shop whether it uses a combination plug-patch or another approved patch-and-stem method that seals both the injury channel and inner liner. AAA likewise distinguishes an emergency external plug from a professional combination repair. For a broader roadside decision, see what to do when a screw is in your tire.
Do not attempt to save a tire with a roadside plug or sealant when the damage reaches the sidewall or shoulder, the tire is visibly deformed, cords are exposed, or the tire cannot maintain safe pressure.
[Products Worth Considering]

MetFun’s 40-piece tire repair screw plugs kit provides a fast DIY fix for tubeless punctures with two tubes of black tire sealant glue. The rubber repair screws are pre-coated and designed for a secure grip and double seal to help stop air leaks. With 2 screw sizes for small and larger punctures, it’s suitable for cars, motorcycles, trucks, tractors, lawnmowers, ATVs, and more—so you’re prepared for road trips and emergencies.
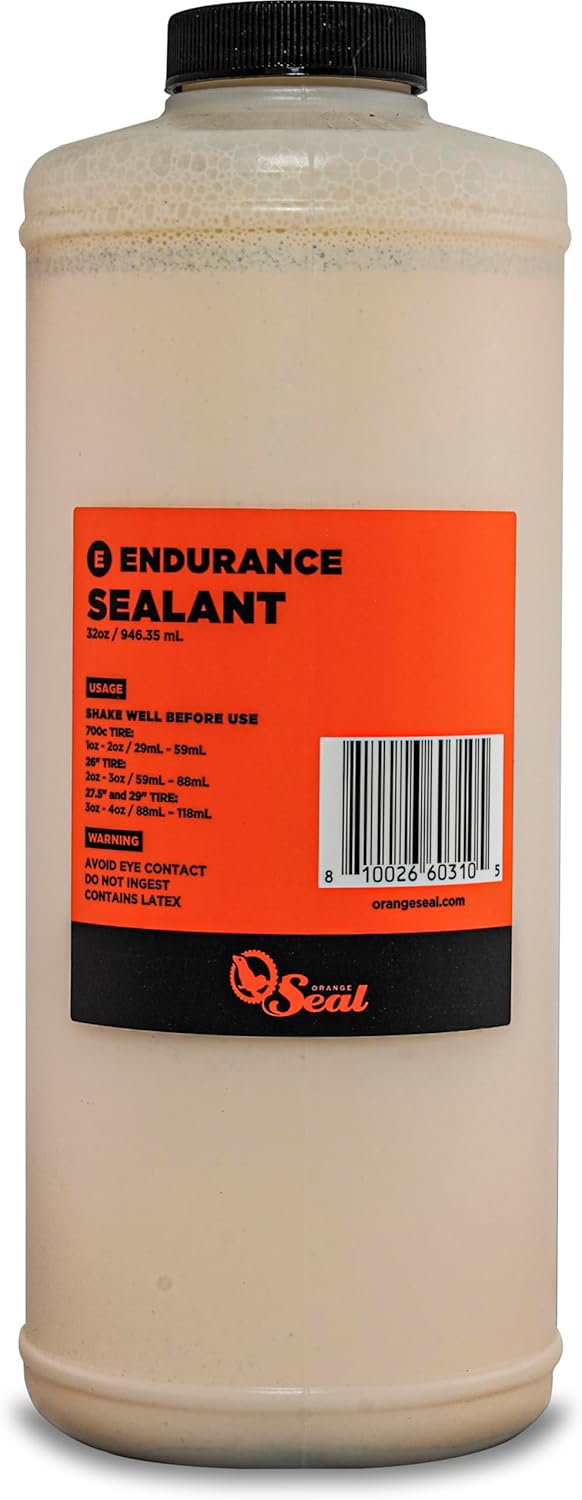
Orange Seal Endurance Formula delivers long-lasting latex protection with a durable sealant that can stay effective for 60–120 days between top-offs. It uses nanite particles to rapidly seal punctures up to 1/4" and slices up to 1/2", helping maintain reliable tubeless performance across MTB, road, CX, and gravel conditions. The biodegradable formula is engineered to work across major tubeless-ready and UST brands and a wide range of rubber compounds.

TP-M13W combination repair unit kit includes wrapped stems with matching patches for fast, reliable tire repairs. It’s suitable for both radial and bias ply tires and is designed for chemical or heat vulcanization. Gray vulcanizing gum with blue backing helps create a strong bond, with the stem portion wrapped for added effectiveness.
Tire Sealant vs. Patch: Cost, Time, and Safety Trade-Offs
Sealant usually wins on immediate convenience because a compatible mobility kit can be used without removing the tire. Its limitation is equally important: it is meant to help you reach service, not eliminate the need for inspection.
A professional combination repair requires more labor because the tire must be removed, inspected, prepared, repaired, remounted, and checked. Actual cost and service time vary by shop, tire, damage, local labor rates, and whether the tire proves repairable after inspection. If timing matters, see the TubeTyre guide to how long tire repair takes.
Cost And Time Tradeoffs
Do not choose a repair method only because it is the fastest or cheapest option at the roadside. First decide what the tire needs.
- Fastest temporary response: A compatible sealant/mobility kit may restore temporary mobility without dismounting the tire.
- Professional repair: Demounting and internal inspection take longer but determine whether the tire is actually safe to repair.
- Replacement: Required when the damage or tire condition falls outside applicable repair limits.
Safety And Effectiveness
Sealant cannot tell you whether the tire suffered hidden liner, belt, cord, or sidewall damage. An outside-in plug has the same inspection limitation. That is why neither should be confused with the complete professional repair process.
When a tire qualifies for repair, sealing the injury channel and inner liner provides the complete repair approach described by USTMA. When it does not qualify, replacing the tire is safer than trying to make a repair method compensate for structural damage.
| Method | Speed | Durability Role | Best Use |
|---|---|---|---|
| Sealant | Immediate | Temporary mobility | Eligible small tread puncture within kit limits |
| Outside-in plug | Fast | Temporary emergency response | Eligible tread puncture when professional service is unavailable |
| Patch alone | Shop service | Incomplete by itself | Inner-liner sealing component of a complete repair |
| Plug-patch / patch-and-stem | Shop service | Long-term repair | Repairable tread puncture after internal inspection |
Choose Sealant If You Need Emergency Mobility
Choose sealant when you have a compatible mobility kit, the damage appears to be an eligible small tread puncture, and you need temporary mobility to reach service. Use the kit only from a safe location and follow its instructions for inflation pressure, speed, driving distance, puncture size, and other limitations.
Do not use sealant to hide a cut, bulge, exposed cord, shredded tire, sidewall injury, or tire that cannot hold the required pressure. In those situations, install an appropriate spare or call roadside assistance. If your vehicle carries a temporary spare, review the differences between a full-size and compact spare tire and follow your vehicle owner’s manual.
Choose a Plug-Patch or Patch-and-Stem Repair for a Lasting Fix
Choose a proper professional combination repair when the puncture is no larger than 1/4 inch (6 mm), sits entirely within the repairable tread area, and the tire passes internal inspection. A one-piece plug-patch is a common solution because its stem fills the injury path while its patch seals the inner liner.
A separate approved stem and patch can perform the same two functions when installed under the applicable repair procedure. A patch used by itself does not fill the puncture channel, while an outside-in plug does not provide an internal inspection or seal the inner liner.
Before approving the repair, the technician should also consider previous repairs, evidence of underinflated driving, tire type, and any tire or vehicle manufacturer restrictions.
When to Skip Repair and Replace the Tire
Replace the tire when the injury exceeds the applicable repair limit, extends outside the repairable tread area, or appears with structural damage. General USTMA passenger/light-truck guidance limits puncture repairs to injuries no larger than 1/4 inch (6 mm) within the repairable tread area.
- Replace a tire with sidewall or shoulder/belt-edge injury that falls outside the repairable tread area.
- Replace a tire with exposed cords, separation, bulges, blisters, large cuts, or other structural damage.
- Replace the tire when internal inspection shows unsafe damage from running flat or severe underinflation.
- Do not make overlapping repairs.
- Follow stricter tire or vehicle manufacturer restrictions when they apply.
If you cannot confidently determine the puncture location or the tire lost substantial pressure while driving, let a qualified tire technician make the repairability decision after removing the tire from the wheel.
Pro tip: Keep a tire pressure gauge and portable inflator in your vehicle. After any temporary response, verify pressure with a gauge and stop driving if pressure continues to fall.
Frequently Asked Questions
What Are the Cons of Using Tire Sealant?
Tire sealant provides temporary mobility rather than a structural repair. It cannot repair damaged cords, belts, sidewalls, or a tire harmed by running flat. It may also require cleanup before professional inspection. TPMS compatibility and cleanup requirements vary by sealant, vehicle, and sensor design, so check the product instructions and tell the technician which sealant you used.
Can a Tire Be Repaired More Than Once?
Sometimes, but there is no universal rule allowing every second puncture. USTMA guidance says repairs must not overlap, and the new injury must independently meet the applicable size and location limits. Tire manufacturers and service providers may impose additional restrictions, so have the complete tire inspected before approving another repair.
Can You Repair a Tire After Using Sealant?
Sometimes. Sealant use does not automatically make every tire unrepairable, but the tire still has to meet normal repair limits and any manufacturer-specific rules. Tell the technician that sealant was used so the tire can be removed, cleaned as required, and inspected internally before a repair decision is made.
Is a Plug-Patch Better Than a Plug Alone?
For a proper long-term repair of an eligible passenger-tire puncture, a combination plug-patch addresses more of the injury than an outside-in plug alone. The stem fills the puncture channel and the patch seals the inner liner. USTMA does not consider a plug alone a complete puncture repair.
How Far Can You Drive After Using Tire Sealant?
There is no universal mileage limit for every tire sealant. Follow the speed and distance limits supplied with your vehicle’s mobility kit or sealant product and use it only to reach an appropriate service location. Stop sooner if the tire loses pressure, vibrates, becomes visibly damaged, or the kit otherwise instructs you to stop.
Can a Sidewall Puncture Be Patched?
Not under the general USTMA passenger/light-truck puncture-repair procedure. That procedure limits repairs to the designated tread area and excludes injuries extending into the shoulder or belt-edge area. Sidewall damage should be evaluated for tire replacement rather than treated as a normal tread-puncture repair.
Conclusion
For tire sealant vs patch, the key distinction is temporary mobility versus a complete repair. Use a compatible sealant kit only as a short-term response to an eligible tread puncture and follow its specific limits. For a lasting repair, have the tire removed and inspected, then use an approved repair that fills the puncture channel and seals the inner liner. Replace the tire when the injury falls outside the repairable tread area, exceeds repair limits, or internal inspection finds structural damage. When the tire lost substantial pressure or you cannot judge the damage confidently, have a qualified tire technician inspect it before driving farther.

