
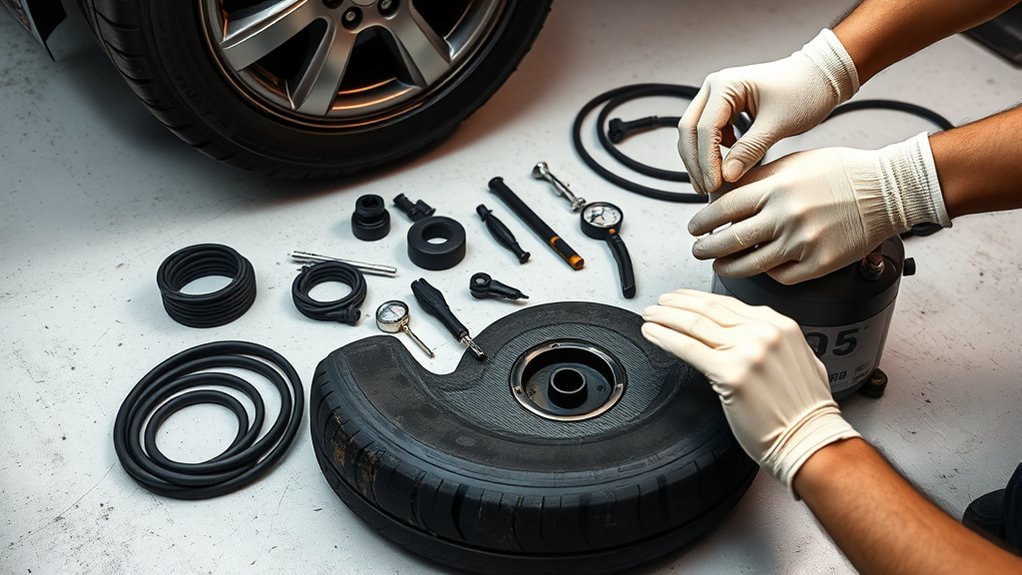
A tire repair kit can help you deal with a small tread puncture during a roadside emergency, but an outside-in string or rope plug should not be treated as a permanent tire repair. First, confirm the damage is limited to the repairable tread area and no larger than 1/4 inch (6 mm). Then remove the object, prepare the hole, install the plug according to the kit instructions, inflate the tire to the vehicle manufacturer’s specified pressure, and check for leaks. Afterward, have the tire professionally inspected for a proper repair or replacement.
Quick Answer
To use a tire repair kit, locate a small puncture in the tread, remove the object, ream the hole, install the repair cord or plug as directed by the kit, reinflate the tire, and check for leaks. Treat an outside-in plug as an emergency temporary measure; a proper permanent repair requires professional internal inspection and a patch-and-plug repair when the tire qualifies.
Key Takeaways
- Many plug-style tire repair kits include a T-handle reamer, insertion tool, repair cords or plugs, pliers, and sometimes rubber cement or lubricant.
- Do not attempt an external plug on sidewall or shoulder damage, a puncture larger than 1/4 inch (6 mm), a bulge, exposed cords, or obvious structural damage.
- An outside-in plug does not replace a proper permanent repair. Industry guidance calls for removing the tire, inspecting it internally, filling the puncture injury, and patching the inner liner.
- Inflate the tire to the vehicle manufacturer’s recommended pressure shown on the Tire and Loading Information label or in the owner’s manual—not to the maximum pressure molded on the tire sidewall.
- If the repaired area continues to leak, the tire was driven flat, or you are unsure whether it is repairable, stop relying on the temporary plug and have the tire inspected by a trained tire professional.
At a Glance
| Time Required | About 15–30 minutes for an accessible emergency plug, plus inflation and leak checking; professional inspection time varies. |
| Difficulty | Moderate. External plug kits require force and careful alignment and should be used only when the damage meets the kit’s limits. |
| Tools Needed | Plug kit, T-handle reamer, insertion tool, pliers, pressure gauge, tire inflator, soapy water, and any cement or lubricant specified by the kit manufacturer. |
| Cost | Varies by kit quality and included tools. A compressor may be sold separately, and professional inspection or permanent repair is an additional service. |
Warning: A string or rope plug inserted from the outside while the tire remains on the wheel is not considered a proper permanent repair under U.S. Tire Manufacturers Association guidance. If the tire is to remain in service, have a trained tire professional remove it from the wheel, inspect the inside, and determine whether a proper repair is possible.
What’s Inside a Tire Repair Kit?
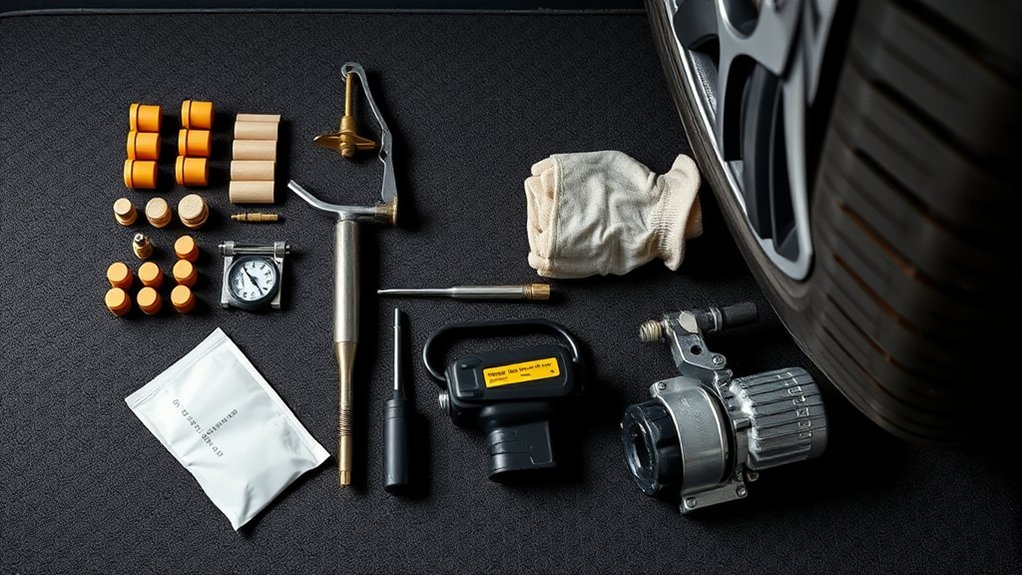
A typical tire repair kit may include a T-handle reamer to clean and prepare the puncture, an insertion tool to install a repair cord, and rubberized string plugs or repair cords intended for small tread punctures. Contents vary, so read the instructions supplied with your specific kit before starting.
Many kits also include pliers for removing a nail or screw. Some include rubber cement or vulcanizing cement, while others use repair cords that are installed without separate cement. A lubricant may also be included for the reamer or insertion tool. Follow the kit manufacturer’s directions rather than assuming every plug uses the same preparation method.
You will also need a working tire inflator and an accurate pressure gauge. Soapy water is useful after inflation because bubbles can reveal an air leak around the temporary repair.
Basic plug kits are generally inexpensive, but prices change based on tool quality, the number of repair cords, and whether an inflator or pressure gauge is included. For emergency preparation, choose sturdy tools, keep the instructions in the vehicle, and replace dried-out or damaged repair materials.
Pro Tip: Before a road trip, open the kit and make sure you know how its insertion tool releases the plug. Also confirm that your portable inflator works and can reach the pressure required by your vehicle.
[Products Worth Considering]
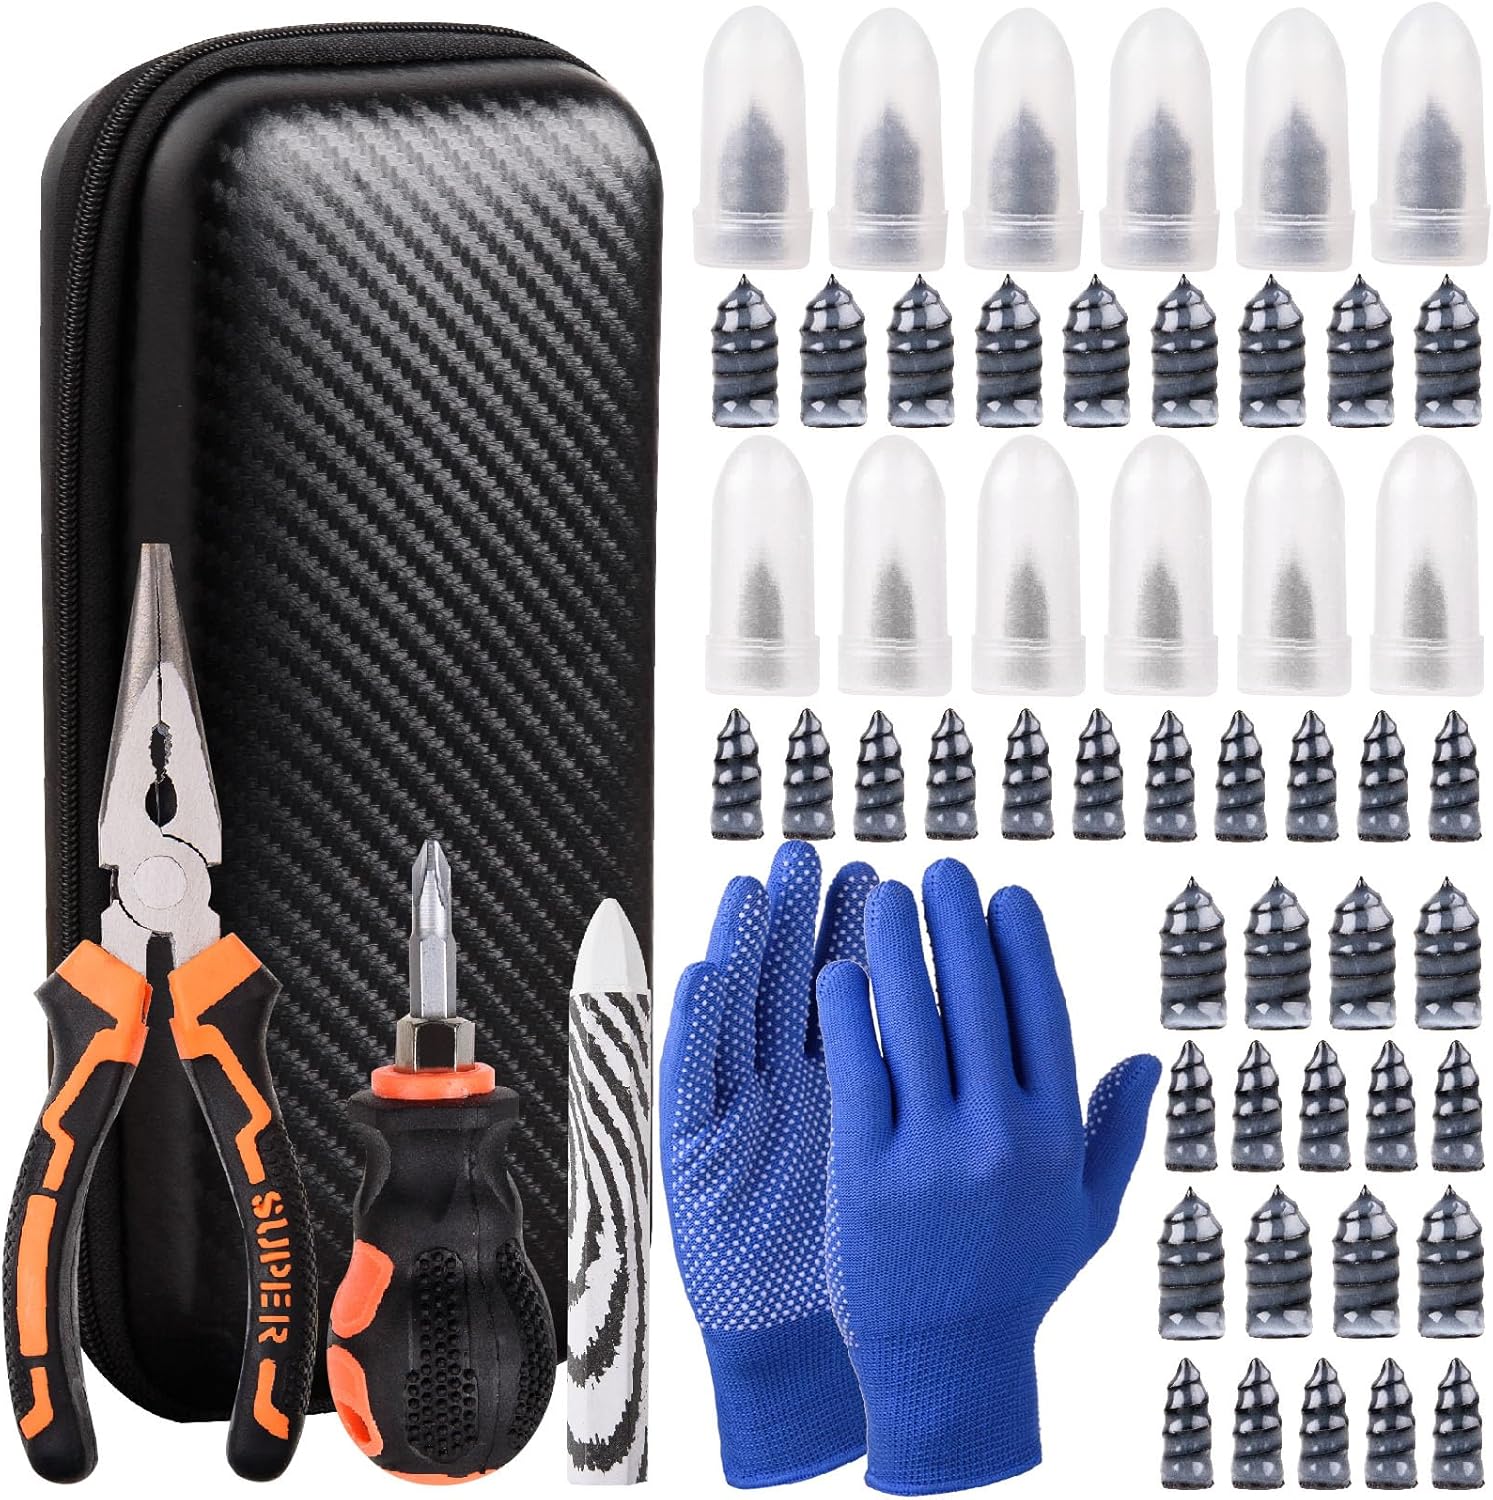
This tire sidewall puncture repair kit fixes flats fast without removing the tire, helping you get back on the road in minutes. It includes self-tapping repair nails, essential tools, gloves, and a portable storage bag for convenient roadside use. Designed for tubeless tires, it helps create a tight, leak-resistant seal for cars, motorcycles, trucks, SUVs, and ATVs.
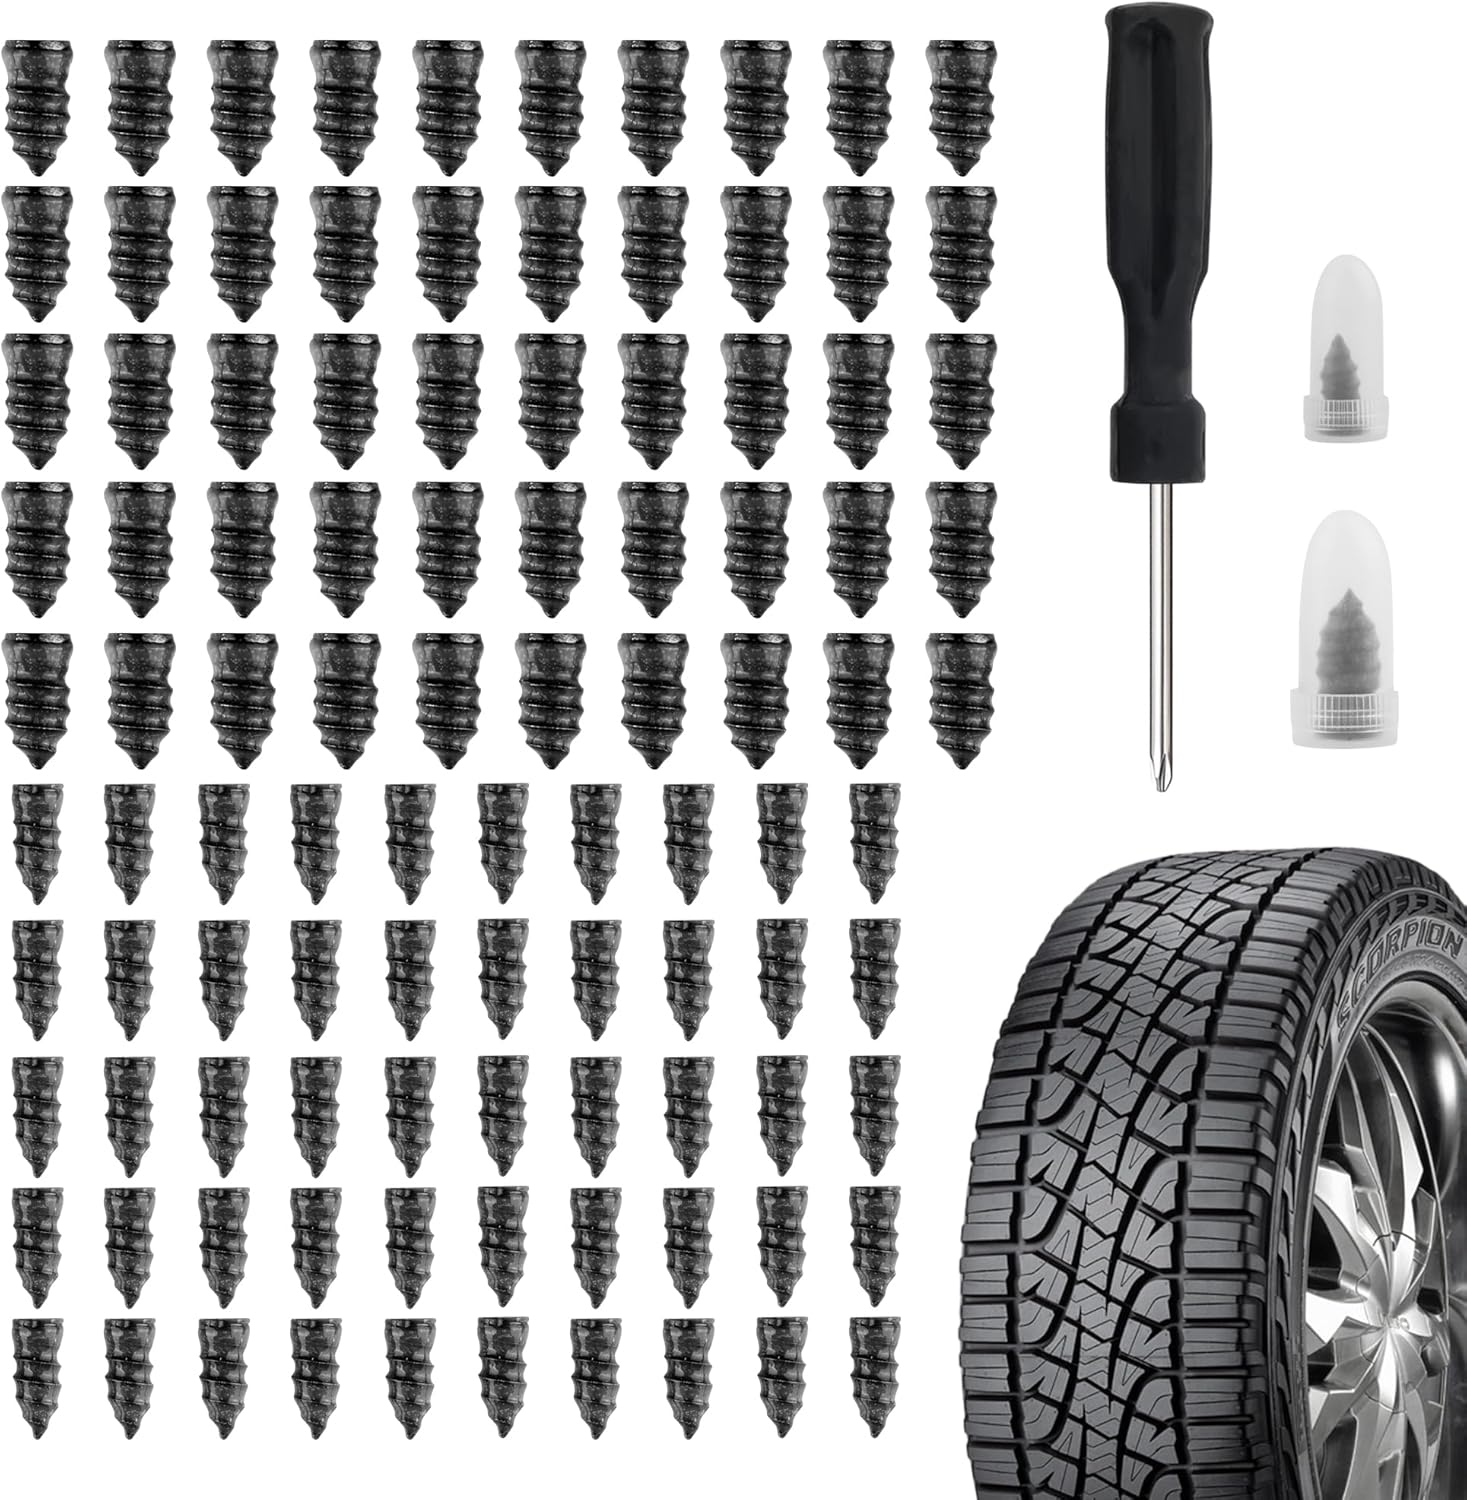
Salior’s tire plug kit provides a fast, reliable self-service fix for punctured or leaking tires without the need for flaring tools. Choose the correct plug size, then screw the nail into the puncture using the included screwdriver for an enhanced seal. The set is durable and convenient for on-the-go maintenance across multiple vehicle types.

This chemical vulcanizing cement cures rubber at room temperature, creating a strong bond for reliable tire patch and plug repairs. The fast-drying formula helps reduce vulcanization time, while the built-in brush makes application quick and even. Suitable for car, motorcycle, and bicycle tires, it supports repairs for tubeless tires, outer tires, and inner tubes.
Check That the Tire Is Safe to Repair
Before using the tools and plugs, move the vehicle to a stable, flat surface safely away from moving traffic. Turn on the hazard lights, set the parking brake, and avoid working where you could be struck by another vehicle.
Inspect where the object entered the tire. A possible repair must be limited to the repairable tread area. Do not plug a puncture in the sidewall or shoulder. The U.S. Tire Manufacturers Association puncture-repair procedure limits qualifying passenger and light-truck puncture injuries to no more than 1/4 inch (6 mm) and excludes damage extending into the shoulder or belt-edge area.
Look for cuts, bulges, cracked rubber, exposed cords, severe tread damage, or evidence that the tire has been driven while very low or flat. Hidden internal damage can occur even when the outside does not look severe. Tires worn to the treadwear indicators or about 2/32 inch of remaining tread should not receive a permanent puncture repair under industry guidance.
A previous repair matters too. Repairs should not overlap, and a tire with a previous improper repair may need to be removed from service. Run-flat tires and some other specialty tires may also have manufacturer-specific repair restrictions.
If you are unsure about the injury location, puncture size, remaining tread, previous repair, or whether the tire was damaged while underinflated, use a spare tire or roadside assistance instead of relying on an external plug.
A small hole in the tread is only the first requirement for repair. A proper permanent repair also depends on what an internal inspection reveals.
Temporary Plug vs. a Proper Permanent Tire Repair
The procedure in a roadside plug kit is best treated as an emergency temporary repair. It can stop or slow air loss long enough to help you deal with a puncture, but it does not allow you to inspect the tire’s inner liner, belts, or carcass.
For a proper permanent repair, USTMA tire-repair guidance says the tire should be removed from the rim so its interior can be inspected. If the tire qualifies for repair, the puncture channel is filled with a suitable rubber stem or repair material and a patch seals the inner liner. A one-piece combination patch-and-stem unit may also be used by a trained technician.
Michelin’s current repair guidance similarly states that plug-only repairs performed while the tire remains mounted are not a proper permanent repair.
Note: A liquid or aerosol tire-sealant kit is different from a string-plug kit. Follow the sealant manufacturer’s instructions and tell the tire technician that sealant was used when you later have the tire inspected.
[Products Worth Considering]

AUTOWN’s 68-piece tire repair kit helps you fix punctures and plug flats quickly and effectively. It includes a T-handle and spiral probe tool for easy insertion, while the steel patch and plug materials are designed for strong adhesion and long-lasting airtight performance. The compact case makes it convenient for roadside repairs across a wide range of vehicles.

Get back on the road fast with this compact tire plug repair kit for tubeless tires. It includes self-vulcanizing rubber plugs, T-handle rasp and insert tools, and a storage box that fits in your glove compartment for easy access. Also included are a 4-way valve steam tool set with valve cores and caps for added roadside convenience.

Vigorder rubber cement glue delivers superior adhesion and cures quickly within about 30 seconds for seamless rubber bonding. Once cured, it helps provide a strong, durable, waterproof seal that holds up to vehicle weight, pressure, and heat. Suitable for cars, motorcycles, trucks, bicycles, and off-road tires, it’s designed for emergency patch and maintenance repairs.
Remove the Nail and Ream the Hole
Once you have confirmed that an emergency external plug is appropriate under your kit’s instructions, locate the puncture and mark it so you do not lose track of the hole.
Grip the exposed nail, screw, or other object firmly with pliers and pull it out carefully. Removing the object may cause the tire to lose air faster, so have the repair tools and inflator ready before you begin.
Inspect the injury again after removing the object. If the opening appears larger than 1/4 inch (6 mm), extends toward the shoulder, exposes cords, or reveals a cut rather than a simple puncture, stop and arrange professional service or tire replacement.
Next, insert the T-handle reamer along the same path the object entered. Move it in and out while using the motion specified by the kit instructions to clear debris and prepare the hole for the repair cord.
Keep the reamer aligned with the original puncture path. Excessive sideways force can enlarge or distort the injury. You only need enough controlled motion to prepare the opening as directed by the repair-kit manufacturer.
When the puncture is prepared, leave the reamer in place temporarily if your kit instructs you to do so while you load the repair cord. This can help reduce air loss before insertion.
[Products Worth Considering]

Wykodra tire plugs provide quick vulcanizing repairs for tubeless tires, helping you seal punctures and get back on the road. The industrial-strength rubber creates a long-lasting, leak-resistant bond and is designed for emergency fixes without removing the tire. Choose between two standard plug sizes with color-matched options for small to larger damage across many vehicles and off-road uses.

The GRAND PITSTOP tubeless tire gun puncture repair kit quickly seals tire injuries without removing the tire, making it an easy DIY solution for flats and punctures. The mushroom plug technology grips from inside to help prevent air loss, while the portable design suits cars and motorcycles, including long-distance travel. Ideal for roadside reliability and everyday maintenance when you want fast, dependable sealing performance.

ZEHXI’s 60 pack screw-in tire plug kit uses high-grade rubber plugs with sealing threads to help repair minor punctures quickly without removing the tire. The set includes two plug sizes, so you can match different puncture openings and keep repairs organized in a transparent case. A handy screwdriver is included for fast installation, helping drivers get more mileage from existing tires while being ready for flat-tire emergencies.
Insert the Plug and Seal the Puncture
Thread the tire plug or repair cord through the eye of the insertion tool so the material is centered. If your kit specifies rubber cement or vulcanizing cement, apply it exactly as directed. Do not add chemicals that the kit manufacturer does not recommend.
- Align the insertion tool with the original puncture path.
- Push the repair cord into the tread using firm, controlled pressure.
- Insert it to the depth specified by your kit, usually leaving a small amount of material visible above the tread.
- Operate and remove the insertion tool according to its design so the repair cord remains in the puncture.
- Trim only the excess material as directed by the kit instructions.
The repair cord should remain securely seated without an obvious open channel around it. Do not repeatedly twist, pull, or reinstall the same cord once it is seated unless the kit instructions specifically call for that action.
If the plug pulls out, the opening appears badly distorted, or you cannot install it without extreme force, stop rather than damaging the tire further.
Remember that the goal of this step is to control air loss during an emergency. It does not turn an outside-in plug into a permanent industry-standard repair.
Inflate the Tire and Check for Leaks
Remove the valve stem cap, attach the inflator securely, and monitor the pressure with an accurate gauge while adding air.
Inflate the tire to the vehicle manufacturer’s recommended pressure. According to NHTSA TireWise guidance, the correct pressure is listed on the Tire and Loading Information label, usually on the driver’s door edge or doorjamb, and in the owner’s manual. Do not use the maximum pressure molded on the tire sidewall as the normal operating-pressure target.
Add air gradually and stop when the pressure reaches the appropriate specification for your vehicle. Replace the valve stem cap when you finish.
Next, mix soap with water and apply the solution over the repair and nearby tread. Watch closely for bubbles that continue to grow. A few bubbles created while applying the solution are not the same as a steady stream of new bubbles caused by escaping air.
If the repair continues to leak, do not keep driving on the tire or repeatedly add plugs as a default solution. Install the spare if you can do so safely, call roadside assistance, or have the tire inspected professionally.
What to Do After a Temporary Plug
Even when the plug holds pressure and the soap test shows no obvious leak, arrange a professional tire inspection as soon as practical. Tell the technician exactly where the puncture occurred and that an external repair cord was installed.
The technician can remove the tire from the wheel and inspect the inner liner and surrounding structure. If the injury meets the tire manufacturer’s and industry repair limits, the shop can determine whether a proper combination repair is possible. If hidden damage is present, the tire should be replaced.
Check the tire pressure again before continuing your trip and again after the tire has had time to sit. A noticeable pressure drop means the temporary seal is not holding.
Do not assume that a tire is safe for normal long-term or high-speed service simply because an external plug stopped the visible leak.
When the Tire Should Be Replaced Instead
Do not rely on a repair kit when the damage falls outside normal repair limits. Replace the tire or have it evaluated for replacement when you find any of the following:
- A puncture in the sidewall or shoulder.
- A puncture larger than 1/4 inch (6 mm).
- A bulge, bubble, exposed cord, deep cut, or other structural damage.
- Tread worn to the treadwear indicators or roughly 2/32 inch.
- Evidence of significant damage from being driven while flat or severely underinflated.
- A previous improper repair or a new injury that would overlap an existing repair.
- A tire manufacturer restriction that prohibits repair for that tire or damage condition.
If you cannot confidently determine whether the tire qualifies, a trained tire technician should make the decision after an internal inspection.
Frequently Asked Questions
How do you use an inside tire patch?
A proper internal tire repair requires removing the tire from the wheel, inspecting it for hidden damage, preparing the injury, filling the puncture channel, and sealing the inner liner with an approved patch or combination patch-and-stem unit. Tire demounting and permanent repair should be performed by trained personnel with the correct equipment.
Is a tire repair kit one-time use?
Not necessarily. A plug kit may contain enough repair cords for several emergencies, and its hand tools can usually be reused if they remain in good condition. Sealant bottles, cement, repair cords, and other consumables may have expiration dates or single-use limits, so check the manufacturer’s instructions before relying on them again.
What is the correct order for using a tire repair kit?
Move to a safe location, inspect the damage, confirm it is within the kit’s limits, remove the puncturing object, ream the hole, install the repair cord as instructed, inflate the tire to the vehicle-specified pressure, and check for leakage. Then arrange professional inspection because an outside-in plug is not a proper permanent repair.
What comes in a tire repair kit?
A plug-style kit commonly contains a T-handle reamer, insertion tool, repair cords or plugs, and sometimes pliers, cement, lubricant, or a trimming tool. An inflator and pressure gauge may be included in larger kits or may need to be carried separately.
Can you permanently repair a tire with only a plug?
No. USTMA guidance says a plug alone is not an acceptable permanent repair. The tire should be removed from the wheel and inspected internally, and a qualifying injury should be both filled through the puncture channel and sealed at the inner liner.
Can you repair a puncture in the tire sidewall?
No. Sidewall and shoulder punctures fall outside the normal repairable tread area because these parts of the tire flex heavily and are structurally different from the central tread area. Replace the tire rather than trying to plug or patch sidewall damage.
What PSI should you use after repairing a tire?
Use the vehicle manufacturer’s recommended cold inflation pressure shown on the Tire and Loading Information label, usually on the driver’s door edge or doorjamb, or in the owner’s manual. Do not use the maximum pressure printed on the tire sidewall as the normal inflation target.
What should you do if the plug still leaks?
If soapy water shows continuing air leakage or the tire loses pressure after the repair, stop relying on the temporary plug. Use a spare tire or roadside assistance if needed and have the damaged tire inspected by a trained professional.
Conclusion
A tire repair kit can be valuable when a small tread puncture leaves you stranded, but it has clear limits. Check the damage first, use the reamer and insertion tool only as directed by the kit, inflate the tire to the vehicle-specified pressure, and test the temporary repair for leaks. Most importantly, do not confuse an outside-in plug with a proper permanent repair. Have the tire professionally inspected so hidden damage can be ruled out and the tire can be correctly repaired or replaced.
Sources
- U.S. Tire Manufacturers Association — Puncture Repair Procedures for Passenger and Light Truck Tires — repairable tread area, 1/4-inch injury limit, internal inspection, and proper patch-and-plug requirements.
- U.S. Tire Manufacturers Association — Tire Repair Basics — explains why a plug alone is not an acceptable permanent repair.
- National Highway Traffic Safety Administration — TireWise — correct tire-pressure location and general tire-safety guidance.
- National Highway Traffic Safety Administration — Summer Driving and Tire Safety — confirms that the vehicle placard or owner’s manual, rather than the tire sidewall maximum, provides the recommended inflation pressure.
- Michelin USA — Can My Tire Be Repaired? — current manufacturer guidance on repairable punctures, internal inspection, and combination repairs.

