
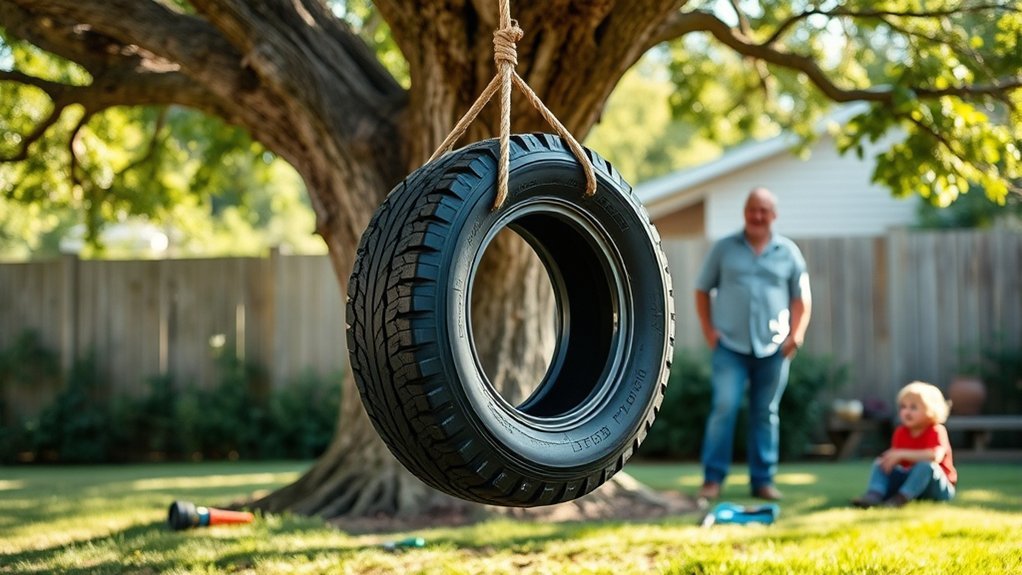
Building a safe DIY tire swing starts with the parts you cannot see from a distance: a healthy support, rated hardware, correct clearance, drainage holes, protective surfacing, and regular inspections. A tire swing can be a fun backyard project, but it is still suspended play equipment, so treat every tire, knot, chain, bolt, hanger, and tree limb as a safety-critical part.
Quick Answer
To make a safer DIY tire swing, use a sound passenger-car tire, drill drainage holes in the underside, hang it from a healthy support with rated swing hardware, keep the use zone clear, add shock-absorbing surfacing, and inspect the tire, tree, rope, chain, and connectors before use and on a regular schedule.
Key Takeaways
- Use a clean, undamaged passenger-car tire; avoid heavy truck tires and any tire with exposed steel belts or wire.
- Choose a healthy, mature tree limb or a properly built swing frame; when in doubt, ask a qualified arborist or playground professional.
- For a tire swing, keep the clear use zone in every direction equal to the suspension length plus 6 feet.
- Use protective surfacing under and around the swing; grass, dirt, concrete, and asphalt are not reliable fall protection.
- Check hardware, knots, rope, chain, tire condition, tree condition, and surfacing often, and stop using the swing if anything is loose, cracked, rusted, frayed, or worn.
At a Glance
| Time Required | About 1–3 hours, plus time to buy hardware, prepare surfacing, and let paint or coating cure if you decorate the tire. |
| Difficulty | Moderate. The tire work is simple, but the support, clearance, and hanging hardware must be chosen carefully. |
| Tools Needed | Garden hose, scrub brush, drill, 1/2-inch drill bit, wrench set, tape measure, marker, ladder, work gloves, eye protection, and a level. |
| Cost | Usually $50–$150 depending on rope or chain, swing hanger, washers, eye bolts, swivels, surfacing, and optional paint. |
Warning: A tire swing can cause fall, impact, entanglement, laceration, and tree-failure injuries if it is installed poorly. This guide helps reduce risk, but it cannot certify a tree, branch, frame, or installation. Stop use immediately if any part looks damaged, unstable, loose, cracked, rusted, frayed, or worn.
Choose the Right Tire and Hardware
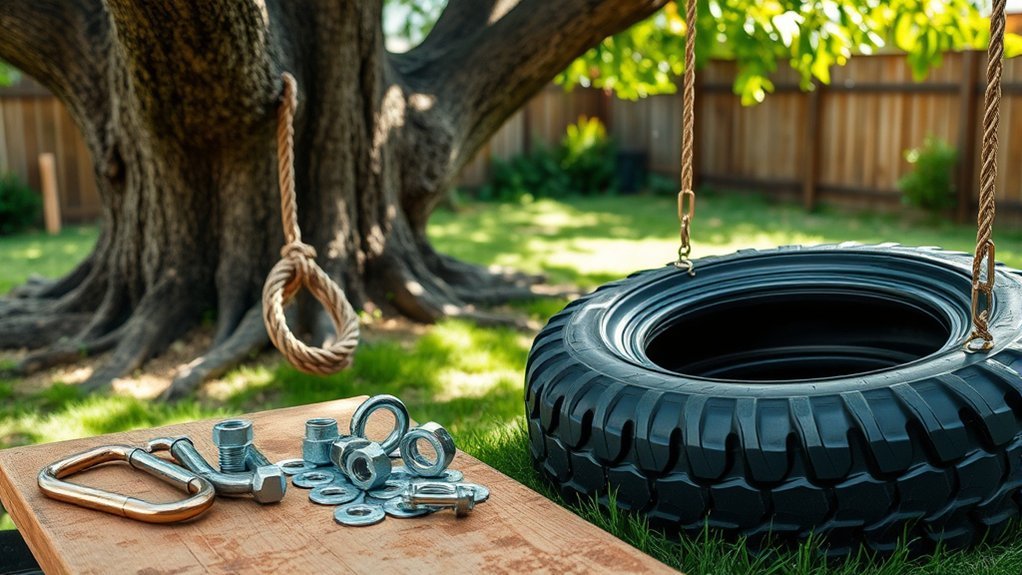
Start with a sound passenger-car tire that fits the riders. Do not use a tire with cracks, exposed wire, damaged sidewalls, sharp edges, or heavy weathering. The U.S. Consumer Product Safety Commission warns that steel-belted radials used as playground equipment should be checked for exposed steel belts or wires, and it recommends drainage holes so water and debris do not collect inside the tire.
Avoid heavy truck tires. They are harder to control, can create a stronger impact hazard, and are not a good choice for a backyard children’s swing. A standard passenger tire is easier to clean, drill, balance, and inspect.
Use hardware made for outdoor loads and movement. At minimum, plan for:
- Three galvanized or stainless-steel eye bolts for the tire, sized to fit the tire sidewall and washers.
- Large fender washers, lock washers, and locking nuts for each eye bolt.
- Outdoor-rated rope, coated cable, or chain with a published working load limit.
- A rated swivel if you want the tire to rotate.
- A rated tree swing strap, swing hanger, or properly installed top anchor.
- Locking carabiners, quick links, or closed connectors instead of open hooks wherever possible.
Choose every main load-bearing part with a working load limit that exceeds the heaviest expected use, including movement. Many DIY builders choose components rated at 500 pounds or more for extra margin, but the manufacturer’s working load limit controls. The weakest part of the system is the real limit.
Note: Do not rely on decorative rope, craft chain, open S-hooks, unknown hardware, or old fasteners from a garage drawer. Use corrosion-resistant parts with visible specifications.
[Products Worth Considering]

This car D-wheel lock nut key provides an anti-theft solution for D-shaped wheel lock bolts, helping keep your wheels secure. It features a flower-shaped internal pattern that resists micro-adjustment theft while allowing removal and mounting of compatible locking nuts. Made for reliable performance under high torque, it’s easy to use with standard socket wrench turning for quick tire maintenance and emergency repairs.

A fun climbing and balance swing for outdoor play, featuring a circular disc kids can stand or sit on, plus platforms to help them climb. The thick braided rope is easy to grip and supports skill-building through repeated swings and careful balance. It’s designed for quick installation and includes an adjustable rope length and a tree strap for a perfect fit.

This 13-inch flat-free wheelbarrow tire uses solid polyurethane foam construction with steel rims, so it will not puncture, rot, or go flat. The anti-skid tread improves stability and maneuverability across garden, lawn, and mixed terrain. It includes pre-installed 5/8-inch bearings plus extra 3/4-inch bearings and a versatile adapter kit to fit compatible wheel sizes and cart hubs.
Pick a Safe Place to Hang It
The safest location has a strong support, clear space, good visibility from the house or patio, and shock-absorbing surfacing under the swing. Stay away from driveways, fences, walls, sheds, fire pits, rocks, roots, concrete, asphalt, overhead wires, low limbs, and other play equipment.
Tree and Branch Safety
If you use a tree, choose a mature, healthy hardwood with a strong horizontal limb. A practical minimum for many backyard tire swings is an 8-inch-diameter limb, but branch diameter alone does not prove the branch is safe. Look for a strong branch union, healthy bark, no cracks, no fungal growth, no hollow sections, no deadwood, and no unusual movement when weight is applied.
Do not hang the swing from a dead branch, storm-damaged branch, split crotch, weakly attached limb, or limb with included bark. The University of Minnesota Extension explains that included bark at branch unions is a common weak point, and the International Society of Arboriculture recommends professional arborist help when tree risk is a concern.
Pro Tip: If you would not trust the branch to hold an adult gently bouncing on it, do not trust it for a child swinging from it. Swinging adds movement, twisting, and repeated stress.
Clear Swing Zone
For a tire swing, calculate the clear use zone with this simple rule: measure the length of the suspending rope, chain, or cable from the pivot point to the tire, then add 6 feet. Keep that full radius clear in every direction. For example, if the suspension length is 7 feet, the clear use zone should extend at least 13 feet from the point directly below the pivot.
This area should also have protective surfacing. Do not place the swing where it can hit a tree trunk, post, fence, wall, deck, shed, parked vehicle, another swing, or another child’s play path.
Prepare Protective Surfacing First
Protective surfacing is not optional. The CPSC Outdoor Home Playground Safety Handbook says not to install home playground equipment over concrete, asphalt, or other hard surfaces, and it notes that grass and dirt are not considered protective surfacing because wear and weather reduce their shock absorption.
Use an impact-absorbing surface such as engineered wood fiber, wood chips, shredded/recycled rubber mulch, sand, pea gravel, or an ASTM F1292-tested unitary surface. For loose-fill surfacing, CPSC guidance commonly uses 9 inches of loose-fill material for equipment up to the listed height limits, with periodic raking and replenishing because loose-fill material compacts and moves over time. For unitary rubber tiles or poured-in-place surfaces, ask for documentation showing the surface is tested to ASTM F1292-22 for the fall height of your swing.
A tire swing’s protected use zone should extend outward in every direction by the suspension length plus 6 feet.
[Products Worth Considering]

MetFun’s 40-piece tire repair screw plugs kit provides a fast DIY fix for tubeless punctures with two tubes of black tire sealant glue. The rubber repair screws are pre-coated and designed for a secure grip and double seal to help stop air leaks. With 2 screw sizes for small and larger punctures, it’s suitable for cars, motorcycles, trucks, tractors, lawnmowers, ATVs, and more—so you’re prepared for road trips and emergencies.

Steelman white tire marking crayons provide high-contrast, semi-permanent marks for repairing and inspecting tires and equipment. They write on wet or dry, smooth or coarse surfaces including rubber, metal, glass, and wood, making them ideal for puncture location and damage outlining. The lead- and zinc-free crayons resist weather and fading yet wipe away when you no longer need the marks.

This self-service tire repair nail kit includes 60 pieces (30 small + 30 large) to help seal punctures quickly without needing an auto shop visit. The nails are designed to fit different hole sizes and provide a tight connection with sealing glue to help prevent air and water intrusion. Suitable for cars, motorcycles, trucks, and other vehicles, it’s an easy, efficient way to patch roadside tire damage.
Clean and Drill the Tire
Rinse the tire thoroughly with a garden hose, scrub away dirt, and inspect the entire tire before you drill. Look along both sidewalls, the tread, and the bead area for cracking, splits, exposed steel wire, deep punctures, sharp edges, or brittle rubber. If you find any of these problems, choose a different tire.
[Products Worth Considering]

Upgrade your garden cart, wagon, trolley, or hand truck with solid puncture-guarded tires that help prevent flats for worry-free pushing. Textured tread improves stability, grip, and shock absorption for smoother, safer travel over outdoor surfaces. Built with strong polyurethane and durable bearing components for long-lasting performance and confident handling.

Vigorder rubber cement glue delivers superior adhesion and cures quickly within about 30 seconds for seamless rubber bonding. Once cured, it helps provide a strong, durable, waterproof seal that holds up to vehicle weight, pressure, and heat. Suitable for cars, motorcycles, trucks, bicycles, and off-road tires, it’s designed for emergency patch and maintenance repairs.

Add style while helping protect your tire valve stems with handmade crystal rhinestone caps and a durable plastic insert. These caps resist corrosion and help keep out rain, snow, and muddy water, extending tire life. Textured non-slip design makes them easy to grip for quick install and removal when checking tire pressure.
Tire Cleaning Steps
- Wash the tire with water and a mild cleaner.
- Scrub the tread grooves where mud and debris collect.
- Rinse until the runoff is clean.
- Let the tire dry before drilling and installing hardware.
- Run a gloved hand around the inside and outside to check for sharp wire or rough edges.
Drainage Hole Placement
Lay the tire flat and decide which side will be the bottom when the swing hangs. Drill at least four to six 1/2-inch drainage holes in the lowest sidewall or underside area so rainwater can escape. Space the holes evenly and keep them away from the main eye-bolt attachment points.
Drill Bit Selection
Use a sharp 1/2-inch drill bit for drainage holes. For eye-bolt holes, use a bit that matches the bolt shaft closely so each eye bolt fits snugly. Brace the tire on a stable surface, wear eye protection, and keep your hands away from the drill path.
Install the Tire Swing Eye Bolts
For a horizontal tire swing, mark three equally spaced points around the upper sidewall. The spacing matters because it keeps the tire level and spreads the load. A simple way to do this is to wrap a string around the tire, mark the circumference, divide it into thirds, and transfer those marks to the sidewall.
- Drill one snug hole at each marked point.
- Insert one eye bolt through each hole from the outside.
- Add a large fender washer on the inside to spread the load across the rubber.
- Add a lock washer and locking nut.
- Tighten firmly, but do not crush or distort the tire sidewall.
- Check that all three eye bolts point upward and carry the load evenly.
After tightening, pull hard on each eye bolt by hand. If the rubber tears, deforms, or stretches around the hole, stop and replace the tire or choose a better attachment method.
Attach the Rope or Chain
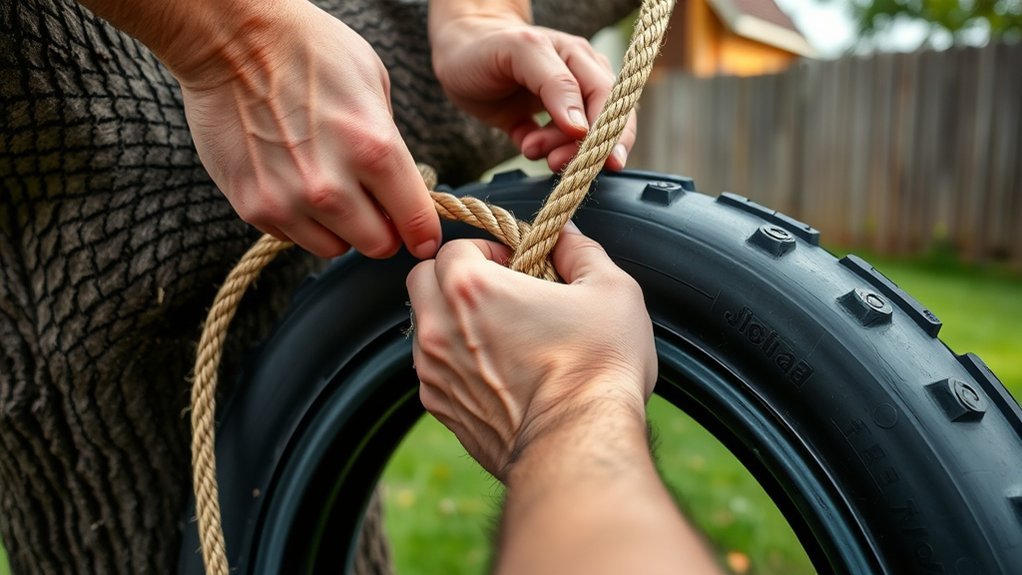
You can suspend the tire with outdoor-rated rope, chain, or cable. Chain is durable and easy to inspect, but it can pinch fingers if not covered or positioned well. Rope is quieter and easier to handle, but it must be weather-resistant and checked often for fraying, UV damage, and stretch.
Rope Length and Spacing
Cut all three lower suspension pieces to the same length so the tire hangs level. If you use rope, choose a rope type designed for outdoor load-bearing use and tie non-slip knots such as a bowline or figure-eight follow-through. If you use chain, connect each chain to the eye bolts with rated quick links or locking connectors.
- Each line should hang straight, not twisted.
- The tire should sit level when weighted.
- No connector should rub sharply against the tire sidewall.
- No chain link, rope, or cable should show rust, fraying, kinks, or flattening.
Secure Knot or Hardware
Use knots only if you know how to tie and dress them correctly. A poorly tied knot can slip under repeated motion. For many DIY builders, rated swing hardware with locking connectors is easier to inspect than improvised knots.
| Option | Best Use | Safety Check |
|---|---|---|
| Bowline | Outdoor rope | Must be dressed, tightened, and backed up. |
| Figure-eight knot | Rope connections | Easy to inspect when tied correctly. |
| Quick link | Chain or eye-bolt connection | Thread closed fully and check for rust. |
| Locking carabiner | Removable connection | Use only rated, locking models. |
| Closed S-hook | Limited use where appropriate | Must be fully closed; open hooks can catch clothing. |
Final Attachment Check
Before hanging the tire, check every lower connection. Pull on each line, rotate each connector by hand, and confirm the tire stays level. Nothing should creak, slip, loosen, or cut into the tire.
Build the Top Hanging Connection
The top connection takes the most stress because it carries the entire moving swing. Do not throw bare rope over a branch and call it finished. Bare rope can abrade, trap moisture, shift under load, and damage bark over time.
A better backyard option is a wide, rated tree swing strap with a wear sleeve and a rated swivel or swing hanger. The strap should sit on a healthy part of the branch, away from weak unions and far enough from the trunk for safe swing movement. Follow the strap or hanger manufacturer’s instructions exactly.
If you are using a built swing frame instead of a tree, use a frame designed for swings and follow the hardware manufacturer’s instructions. Home playground equipment is addressed by ASTM F1148-24, and public playground swings have separate design and inspection expectations.
Warning: Do not attach a tire swing to a rotten limb, a cracked branch, a dead tree, a utility pole, a deck railing, a fence, a roof beam not designed for swinging loads, or any support you cannot inspect.
Set the Right Height and Clearance
Set the bottom of the tire high enough that it never drags, clips the ground, or hits the surfacing during use. For many backyard tire swings, a bottom height of about 12–18 inches above the protective surface works well for children, but the right height depends on rider size, suspension length, and the swing arc. Keep at least 8 inches of clearance below a suspended unit, and never let the tire touch down during normal swinging.
For side clearance, keep the tire far from the trunk, posts, fences, walls, and other structures. Public multi-axis swing guidance uses at least 30 inches between the seating surface and the uprights when the swing is closest to the support structure, and the same idea is useful at home: the tire should not be able to strike the support.
Recheck the height after the first few uses. Rope can stretch, knots can settle, surfacing can shift, and children grow.
Check Tire Swing Weight Limits
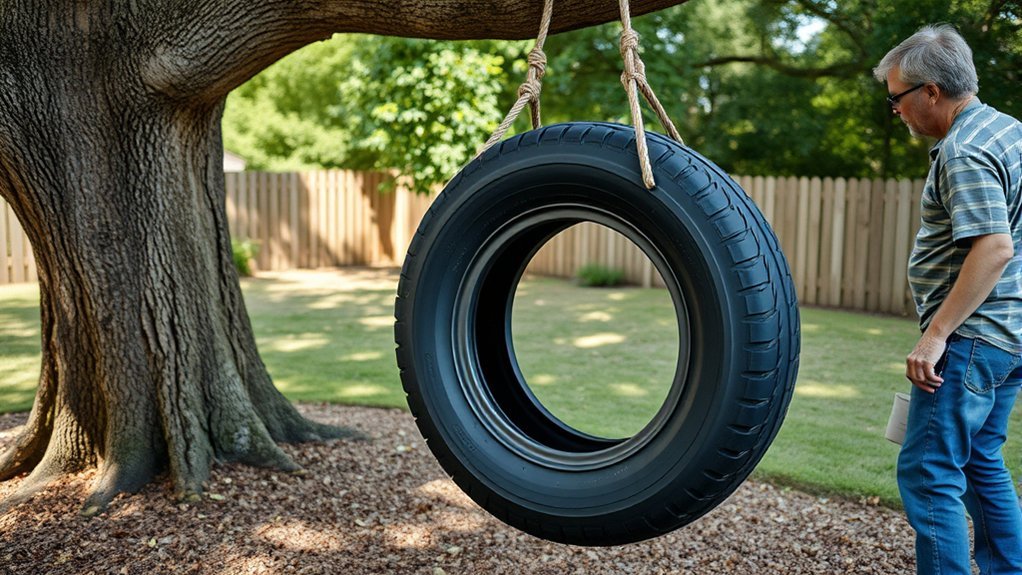
Do not guess at weight limits. Check the working load limit for each rope, chain, connector, eye bolt, hanger, strap, swivel, and frame component. The lowest-rated part controls the system. If any part has no rating, replace it with a rated part.
Remember that swinging is not the same as a still weight hanging straight down. Movement adds stress, especially when riders twist, bounce, spin, or stop suddenly. To keep the setup safer:
- Allow one rider at a time unless the swing and support are specifically designed for more.
- Do not let children stand in the tire.
- Do not let riders jump off while the swing is moving.
- Do not allow pushing from the side into the trunk or supports.
- Keep bystanders outside the use zone.
Test the Swing Before Kids Use It
After installation, test the tire swing slowly and deliberately before children use it.
- Pull down on the swing from several directions and watch the top anchor, limb, knots, chains, and eye bolts.
- Add weight gradually using an adult or a heavy object while someone else watches the support.
- Swing the tire gently through its full arc and confirm it cannot hit the trunk, frame, fence, wall, or ground.
- Spin the tire slowly if a swivel is installed and confirm the hanger has no crush or pinch points.
- Check that all hardware remains tight after the test.
If anything shifts, loosens, creaks, stretches, cracks, or rubs sharply, stop and fix the problem before anyone rides.
Inspect the Tire Swing for Safety
Inspect the tire swing before every use and give it a more complete maintenance check on a regular schedule. The CPSC home playground handbook recommends checking nuts and bolts twice a month, checking protective caps twice a month, and checking swing seats, ropes, chains, and cables monthly for deterioration.
Before Each Use
- Look for cracks, exposed wire, sharp edges, or water inside the tire.
- Check that the tire hangs level.
- Look for frayed rope, rusted chain, bent connectors, or loose nuts.
- Make sure the use zone is clear of toys, bikes, rocks, sticks, and bystanders.
- Confirm the protective surfacing has not washed out or compacted under the swing.
Twice a Month
- Tighten nuts, bolts, washers, and locking hardware as needed.
- Check caps, plugs, and covered bolt ends.
- Look for rust, deformation, cracking, or movement at the hanger.
Monthly
- Inspect the rope, chain, cable, and swivel for wear.
- Check the tree limb or frame for new cracks, rot, lean, bark damage, or movement.
- Rake and restore loose-fill surfacing to the proper depth.
- Clean out drainage holes so the tire cannot hold water.
Note: Reinspect the swing after storms, high winds, freeze-thaw cycles, heavy use, or any time the tree or ground conditions change.
Add Finishing Touches and Maintenance
Once the swing is hung, tested, and adjusted, you can decorate the tire with outdoor-safe paint or a weather-rated coating. Let the coating cure fully before use, and keep the surface smooth so it does not snag skin or clothing.
Keep the area under and around the tire swing clean and open. Remove rocks, toys, sticks, garden tools, bikes, and anything else that could become a trip or impact hazard. Teach simple rules: one rider at a time, sit securely, do not twist the swing into the support, do not jump off, and wait outside the use zone until your turn.
Replace worn parts immediately. A tire swing is not a “set it and forget it” project; sun, rain, cold, motion, and repeated loading all reduce the life of rope, rubber, coatings, and hardware.
Common Mistakes to Avoid
- Hanging the tire over concrete, asphalt, packed dirt, or thin grass.
- Using an old tire with cracks, exposed steel wire, or sharp edges.
- Skipping drainage holes and letting water collect inside the tire.
- Using open S-hooks, unrated carabiners, craft rope, or unknown chain.
- Wrapping bare rope around a branch and never checking it again.
- Hanging the swing too close to a trunk, fence, wall, or another play area.
- Letting several children ride, stand, or jump off at once.
- Ignoring rust, fraying, loose nuts, bark damage, or worn surfacing.
Frequently Asked Questions
What do you need to make a homemade tire swing?
You need a sound passenger-car tire, outdoor-rated rope or chain, rated eye bolts, fender washers, lock washers, locking nuts, rated connectors, a safe top hanger or tree strap, a drill, a 1/2-inch drill bit, a wrench set, protective surfacing, and a healthy support that can handle swing movement.
How thick should a branch be for a tire swing?
A common practical minimum is an 8-inch-diameter healthy hardwood limb, but thickness alone is not enough. The branch must also be alive, structurally sound, free of cracks and decay, strongly attached to the trunk, and positioned so the tire cannot hit the tree. If you are unsure, ask an ISA-credentialed arborist to inspect it.
Is a tire swing safe?
A tire swing can be safer when it uses a sound tire, rated hardware, a healthy support, correct clearance, protective surfacing, drainage holes, adult supervision, and routine inspections. It is not safe if it hangs from a damaged tree, uses unrated hardware, sits over a hard surface, or has worn rope, rusted chain, loose fasteners, or exposed tire wire.
What size tire is best for a tire swing?
A standard passenger-car tire is usually the best choice for a backyard tire swing. Smaller passenger tires are easier for young children to sit in and easier to control. Avoid heavy truck tires because they are heavier, harder to stop, and can create a stronger impact hazard.
How high should a tire swing be from the ground?
For many backyard setups, the bottom of the tire works well at about 12–18 inches above the protective surface, but the tire must never drag, touch down, or hit the ground during normal use. Adjust the height for the rider’s size and recheck it after rope stretch, knot settling, or surfacing changes.
What should you put under a tire swing?
Use shock-absorbing protective surfacing, such as engineered wood fiber, wood chips, shredded rubber mulch, sand, pea gravel, or an ASTM F1292-tested unitary surface. Do not rely on concrete, asphalt, packed dirt, thin mats, or grass as protective surfacing.
Can I hang a tire swing with rope only?
You can use rope if it is outdoor-rated, load-rated, correctly knotted, protected from abrasion, and inspected often. Do not use decorative rope or rope that can untwist and create an entanglement opening. For the top connection, a rated tree swing strap or hanger is usually easier to inspect than bare rope around a branch.
How often should you inspect a tire swing?
Do a quick check before every use. Check nuts, bolts, caps, and plugs twice a month, and check swing seats, ropes, chains, cables, and the tire monthly. Inspect again after storms, high winds, heavy use, or any sign of tree or hardware movement.
Conclusion
A safe DIY tire swing depends on careful choices: a sound tire, drainage holes, rated hardware, a healthy support, a clear use zone, protective surfacing, and regular inspections. Do not rush the anchor, clearance, or surfacing steps. If the tree, hardware, tire, rope, chain, or ground surface is questionable, fix it before anyone rides. With the right setup and maintenance habits, a backyard tire swing can be fun, sturdy, and much safer for years of play.
Sources
- CPSC Outdoor Home Playground Safety Handbook — backs up home playground surfacing, swing spacing, maintenance, and tire swing use-zone guidance.
- CPSC Public Playground Safety Handbook, Publication 325, July 2025 — backs up tire swing drainage, exposed steel-belt warnings, heavy truck tire caution, multi-axis swing clearance, and use-zone guidance.
- ASTM F1148-24 Home Playground Equipment Standard — current ASTM reference for home playground equipment safety performance.
- ASTM F1292-22 Playground Surfacing Impact Attenuation Standard — backs up impact-attenuation surfacing documentation.
- International Society of Arboriculture: Managing Hazards and Risk — backs up professional tree-risk assessment advice.
- University of Minnesota Extension: Storm Damage to Landscape Trees — backs up branch-union and tree-weakness cautions.
