
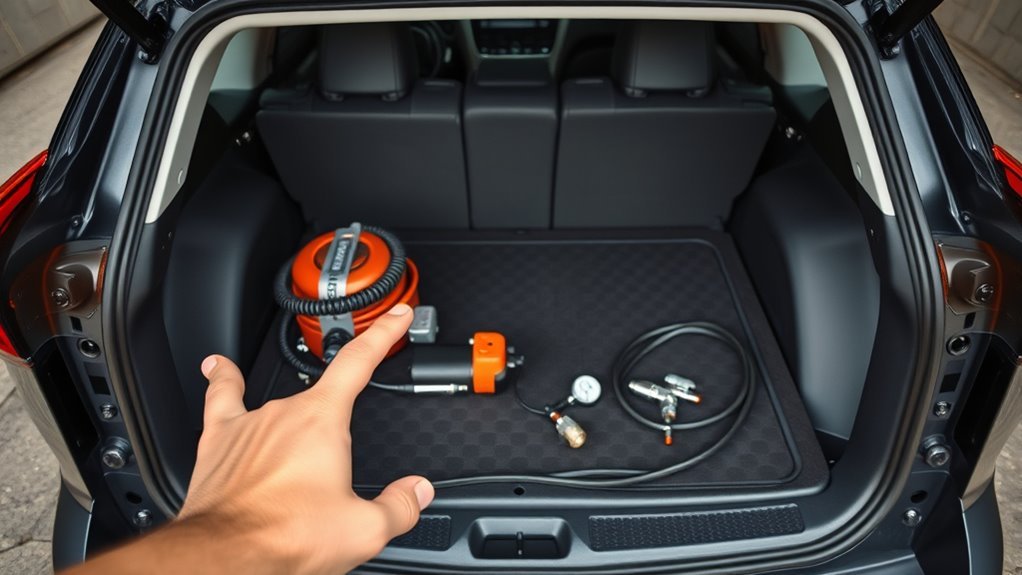
A tire puncture can turn a simple drive into a stressful roadside stop. With the right tire repair kit in your Toyota RAV4, you can handle many small tread punctures long enough to reach a tire shop safely. This guide explains what to keep in your kit, how to use it, when not to repair a tire, and how to stay safe while you work.
Quick Answer
Use a Toyota RAV4 tire repair kit only for small punctures in the tread area. Remove the object, clean the hole, insert the repair cord, inflate the tire to the pressure shown on your driver-side door placard, and check for leaks. Do not repair sidewall, shoulder, or large tire damage on the roadside.
Key Takeaways
- Use a tire repair kit only for small punctures in the tire tread.
- Keep repair cords, pliers, a probe tool, an insert tool, and an air compressor in your kit.
- Check tire pressure after every repair and inspect the area for leaks.
- Replace the tire instead of repairing damage on the sidewall or shoulder.
- Drive carefully after a roadside repair and get the tire checked by a professional.
Why You Need a Tire Repair Kit for Your Toyota RAV4

When you own a Toyota RAV4, a tire repair kit gives you a practical way to handle minor tread punctures. It can help you avoid waiting on the roadside when the tire damage is small and safe to repair.
A repair kit does not replace a proper tire inspection. It gives you a temporary fix so you can restore tire pressure and reach a safe location or tire shop.
Check your kit often. Sealant, plugs, cords, and compressor parts can wear out, dry out, or expire. Keep the kit easy to reach so you can use it quickly during an emergency.
[Products Worth Considering]

The AUTOWN tire repair kit is designed to quickly fix punctures and plug flats with professional-quality steel components. It includes a T-handle and spiral probe tool for easy tire access, plus a compact storage case for convenient carry. Suitable for many vehicles including cars, motorcycles, ATVs, RVs, trailers, and trucks, it helps restore airtight performance for reliable roadside repairs.

This tire repair kit provides fast emergency puncture repair without removing the tire from the rim, helping you get back on the road quickly. Its screw plug system is designed for punctures in both tread and sidewall and includes a complete patch plug tool set with essential accessories. A portable storage bag makes it easy to carry for cars, trucks, SUVs, motorcycles, and heavy-duty applications.

This AUTOWN flat tire repair kit is designed for quick, reliable puncture repairs using a plug kit and spiral probe tool to simplify installation. Built for durability and safe handling, it offers strong adhesion and flexibility to help maintain tire air tightness. With a portable storage case and a multi-vehicle approach, it’s suitable for cars, motorcycles, ATVs, tractors, lawn mowers, RVs, jeeps, and trucks.
Before You Begin: What to Check First
Estimated total time: about 15 to 30 minutes, depending on the puncture and your tools.
Park on a flat, safe surface before you inspect the tire. Turn on your hazard lights and set your parking brake.
Only repair a small puncture in the tread area. If the damage sits on the sidewall or shoulder, replace the tire or call roadside help.
Warning: Do not use a plug or sealant on sidewall damage, shoulder damage, a blowout, or a tire that will not hold air.
Must-Have Items in Your Tire Repair Kit
When you assemble your tire repair kit for the Toyota RAV4, focus on tools that help you remove debris, seal the puncture, and restore tire pressure. A compact kit saves space and keeps everything in one place.
Keep these items together so you can reach them fast:
- T-handle insert tool for placing the repair cord.
- T-handle spiral probe for cleaning and widening the puncture hole.
- Needle nose pliers for pulling out nails, screws, or small debris.
- High-quality repair cords, often called tire plugs or worms.
- Portable air compressor or battery-powered air pump.
- Tire pressure gauge for checking the final pressure.
- Gloves, safety vest, flashlight, and warning triangles.
[Products Worth Considering]
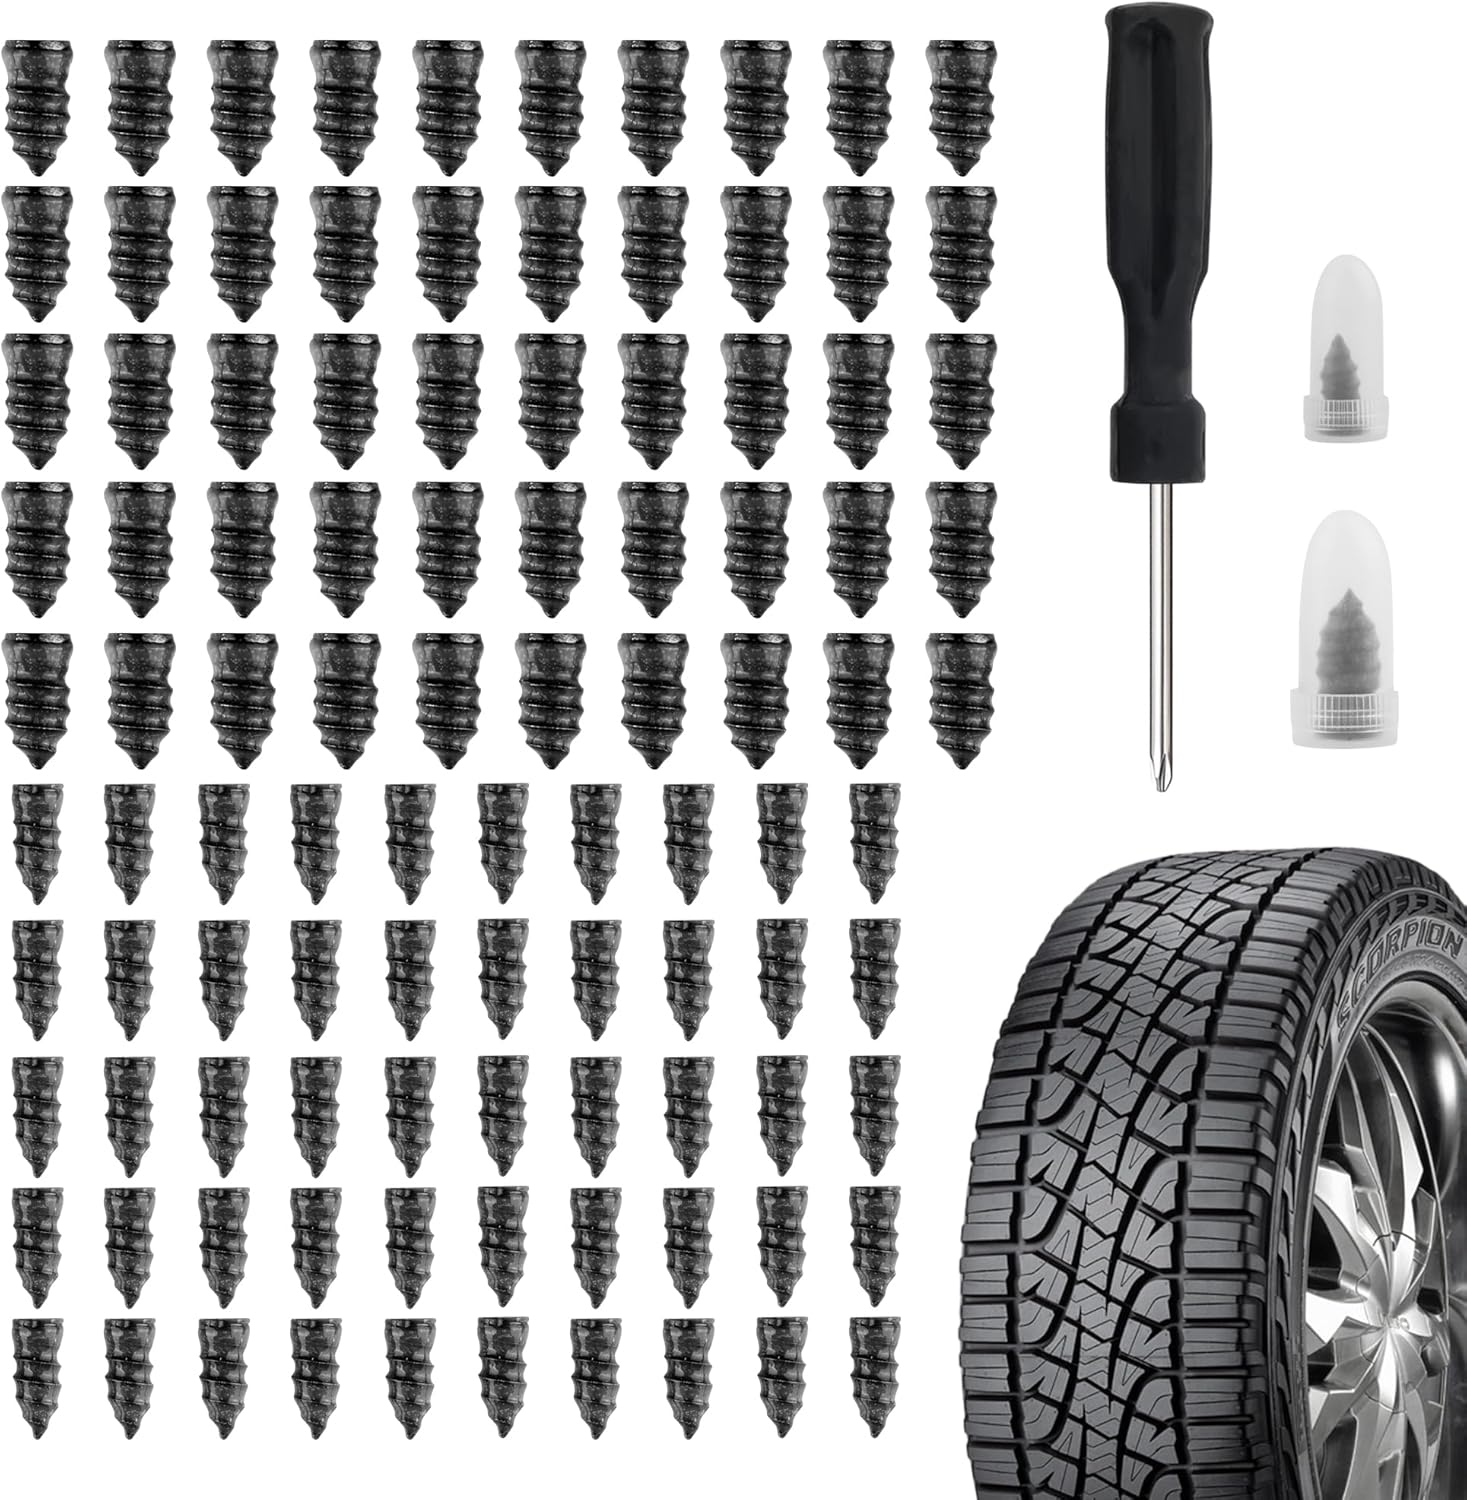
Salior’s tire plug kit provides a fast, reliable self-service fix for punctured or leaking tires without the need for flaring tools. Choose the correct plug size, then screw the nail into the puncture using the included screwdriver for an enhanced seal. The set is durable and convenient for on-the-go maintenance across multiple vehicle types.

MetFun’s 40-piece tire repair screw plugs kit provides a fast DIY fix for tubeless punctures with two tubes of black tire sealant glue. The rubber repair screws are pre-coated and designed for a secure grip and double seal to help stop air leaks. With 2 screw sizes for small and larger punctures, it’s suitable for cars, motorcycles, trucks, tractors, lawnmowers, ATVs, and more—so you’re prepared for road trips and emergencies.

This tire repair screw plug kit includes 60 pieces in two sizes to help you fix punctures quickly on the road. Choose the right screw by puncture size, then drive it in with a screwdriver for an effective seal without needing a flaring tool. The coated screws help prevent leaks and are designed for convenient emergency use across cars, trucks, ATVs, motorcycles, and bicycles.
Essential Tools Overview
A well-equipped tire repair kit for your Toyota RAV4 should include tools that support a clean, secure repair. Use a T-Handle Insert Tool for plug insertion and a T-Handle Spiral Probe to clean the puncture hole.
Needle Nose Pliers help you remove the object that caused the puncture. Quality repair cords help seal small tread punctures, but they still need a proper inspection after the repair.
Keep your tools clean and dry. Replace missing or worn parts before you need them on the road.
Recommended Repair Materials
Good repair materials help you make a safer roadside fix. Start with strong repair cords that match your kit, and keep extras in a sealed pack so they do not dry out.
Add a tire gauge so you can check pressure after inflation. Use the tire pressure listed on your Toyota RAV4 driver-side door placard, not the maximum pressure printed on the tire sidewall.
If your kit uses tire sealant, check the label for storage rules and expiration dates. Replace sealant after use or when it expires.
How to Use Your Tire Repair Kit Like a Pro
Find the puncture location before you open the repair tools. If you cannot find the leak or the tire looks badly damaged, stop and call for help.
- Park in a safe place, turn on your hazard lights, and set warning triangles if you have them.
- Inspect the tire and confirm the puncture sits in the tread area.
- Remove the nail, screw, or debris with needle nose pliers.
- Clean and ream the puncture with the T-handle spiral probe.
- Thread the repair cord through the T-handle insert tool.
- Push the repair cord into the hole until enough cord remains outside the tread.
- Pull the insert tool straight out so the cord stays in place.
- Trim excess cord if your kit instructions recommend it.
- Inflate the tire to the pressure listed on the driver-side door placard.
- Spray soapy water on the repair area and watch for bubbles.
If bubbles appear, the tire still leaks. Do not keep driving on a tire that loses pressure after a repair.
Pro tip: Keep a small spray bottle of soapy water in your kit so you can test for leaks fast.
[Products Worth Considering]

This compact capsule-style tire repair kit helps you quickly fix punctures and plug flats with minimal effort. The rugged stainless steel shell protects the contents for reliable roadside use, while the simple plug assembly makes repairs fast and tool-free. Suitable for motorcycles, cars, ATVs, UTVs, and even mountain bikes.

Get back on the road fast with this compact tire plug repair kit for tubeless tires. It includes self-vulcanizing rubber plugs, T-handle rasp and insert tools, and a storage box that fits in your glove compartment for easy access. Also included are a 4-way valve steam tool set with valve cores and caps for added roadside convenience.

Wykodra tire plugs provide quick vulcanizing repairs for tubeless tires, helping you seal punctures and get back on the road. The industrial-strength rubber creates a long-lasting, leak-resistant bond and is designed for emergency fixes without removing the tire. Choose between two standard plug sizes with color-matched options for small to larger damage across many vehicles and off-road uses.
What to Do After a Roadside Tire Repair
A roadside plug or sealant repair should help you reach a safe place, not replace a full tire inspection. Drive slowly, avoid hard braking, and stop if the tire pressure drops again.
Check the repaired tire with a gauge after a few minutes of driving. Get the tire inspected by a tire professional as soon as you can.
If your Toyota RAV4 has a tire pressure monitoring system (TPMS), watch for a warning light. The light may stay on until the tire reaches the right pressure and the system updates.
Troubleshooting Common Tire Repair Issues
Even with the right steps for tire repair, problems can come up during the process. Start with a careful puncture assessment. If the damage affects the shoulder or sidewall, replace the tire instead of trying a roadside repair.
Check the repair kit before you use it. Expired sealant, dried repair cords, or a weak compressor can make the repair fail.
If you use sealant, tell the tire shop before they inspect the tire. Sealant can make professional repair work harder if the technician does not know it is inside the tire.
When you inflate the repaired tire, test for leaks with soapy water. Bubbles show that air still escapes and the repair needs more attention.
If the compressor does not work, check the power plug, battery level, or fuse before you try again. If the tire will not inflate, call roadside help.
Safety Tips for Roadside Repairs

Roadside tire repairs can put you close to moving traffic. Your safety matters more than saving the tire.
Before you work, move your Toyota RAV4 as far from traffic as you safely can. Use lights, warning gear, and clear signals so other drivers can see you.
Wear Safety Gear
Wear the right safety gear before you start roadside repairs. Bright, reflective gear helps other drivers see you sooner.
- High-visibility safety vest: Helps oncoming drivers spot you.
- Reflective triangles or flares: Creates a visible warning area around your vehicle.
- Gloves: Protects your hands from sharp objects and tire debris.
- Safety goggles: Shields your eyes from dust and loose material.
- Sturdy, non-slip footwear: Helps you keep traction while you work.
Choose Safe Location
Choose a safe location before you repair the tire. Move to a well-lit area away from traffic when you can do so safely.
Use a flat, stable surface so the vehicle does not shift while you work. Keep your hazard lights on and stay aware of traffic at all times.
If you cannot reach a safe place, do not attempt the repair. Call roadside help instead.
Use Warning Signals
Set up warning signals before you work near a road. These signals help other drivers react early and move around you safely.
- Turn on your hazard lights.
- Wear a reflective safety vest.
- Place warning triangles behind your vehicle when it is safe to do so.
- Keep a safe distance from moving traffic.
- Keep a roadside assistance number saved in your phone.
Check your surroundings before you kneel near the tire. Look for traffic, broken glass, sharp metal, and uneven ground.
How to Ensure Your Tire Repair Kit Is Always Ready
To keep your tire repair kit ready for emergencies, inspect it every few months. Check the sealant, repair cords, air compressor, tire gauge, gloves, and warning gear.
Replace items after you use them. Also replace parts that expire, dry out, crack, or stop working.
Store the kit in an easy-to-reach location inside your Toyota RAV4. Keep a short printed checklist in the kit so you can inspect it fast.
Review the instructions that came with your specific kit. Tool designs vary, and your kit may require a slightly different repair method.
Frequently Asked Questions
What Is the Toyota Tire Mobility Kit?
The Toyota Tire Mobility Kit is a compact emergency kit designed to help with certain flat tires. Many kits use sealant and an air compressor to help you inflate the tire and drive to a safe service location.
Can You Use a RAV4 Tire Repair Kit on Any Flat Tire?
No. Use a tire repair kit only on small tread punctures that your kit instructions allow. Do not use it on sidewall damage, shoulder damage, large cuts, blowouts, or tires that have been driven while flat.
How Far Can You Drive After Using a Tire Repair Kit?
Follow the limits printed in your kit instructions or owner information. Treat the repair as temporary, drive carefully, and get the tire inspected as soon as possible.
Does Tire Sealant Affect Future Tire Repairs?
It can. Sealant may coat the inside of the tire, so tell the tire technician that you used it. The technician can inspect the tire and decide whether a safe repair remains possible.
Safety Disclaimer: This article is for informational purposes only and does not replace your Toyota owner information, tire manufacturer guidance, or help from a qualified tire professional. If you feel unsafe or the tire damage looks severe, call roadside assistance.
Conclusion
A tire repair kit can help you handle a small tread puncture in your Toyota RAV4 and reach help safely. Keep the kit stocked, inspect it often, and learn how each tool works before an emergency happens.
Most of all, know when to stop. If the damage is large, on the sidewall, or unsafe to repair, replace the tire or call for help. A prepared driver protects the trip, the vehicle, and everyone inside it.

