
How to Use Tire Deflators for Quick Off-Road Airing Down
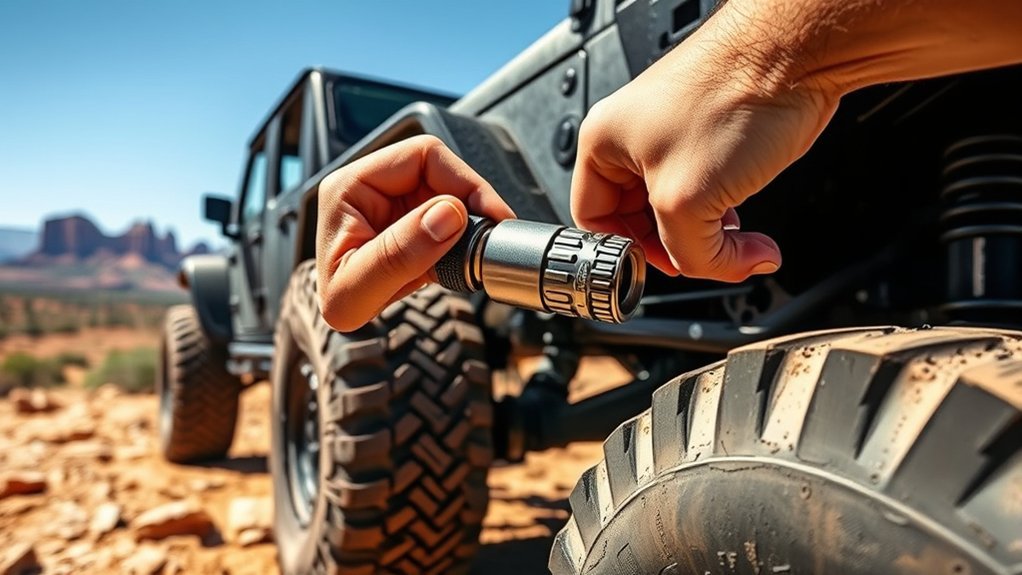
Tire deflators make off-road airing down faster, more accurate, and less frustrating than pressing a valve stem by hand. The key is not just removing air quickly; it is choosing a safe target pressure, checking each tire, and airing back up before you return to pavement. Use the steps below to improve traction on trails while protecting your tires, wheels, and valve stems.
Quick Answer
To use tire deflators, park safely, choose a target PSI for the terrain, attach the deflator to each valve stem, release air while checking pressure, then remove the tool and reinstall the valve cap. Keep aired-down driving slow and off-road only, then reinflate to the vehicle placard pressure before highway driving.
Key Takeaways
- Tire deflators help you lower pressure quickly and evenly for better off-road traction and ride comfort.
- Common trail starting points are often around 12–25 PSI, but the right pressure depends on tire size, wheel type, load, speed, and terrain.
- Do not drive at highway speeds while aired down. Reinflate to the pressure listed on your vehicle’s tire placard or owner’s manual before returning to pavement.
- Use a separate tire pressure gauge to confirm the final PSI, especially when using preset automatic deflators.
At a Glance
| Time Required | About 5–15 minutes, depending on the tool and tire size |
| Difficulty | Easy, but pressure choice requires care |
| Tools Needed | Tire deflator, tire pressure gauge, valve caps, portable air compressor or CO2 tank for reinflation |
| Cost | Usually about $15–$90 for a deflator, plus the cost of an air source if you do not already carry one |
Why Airing Down Tires Is Crucial for Off-Roading
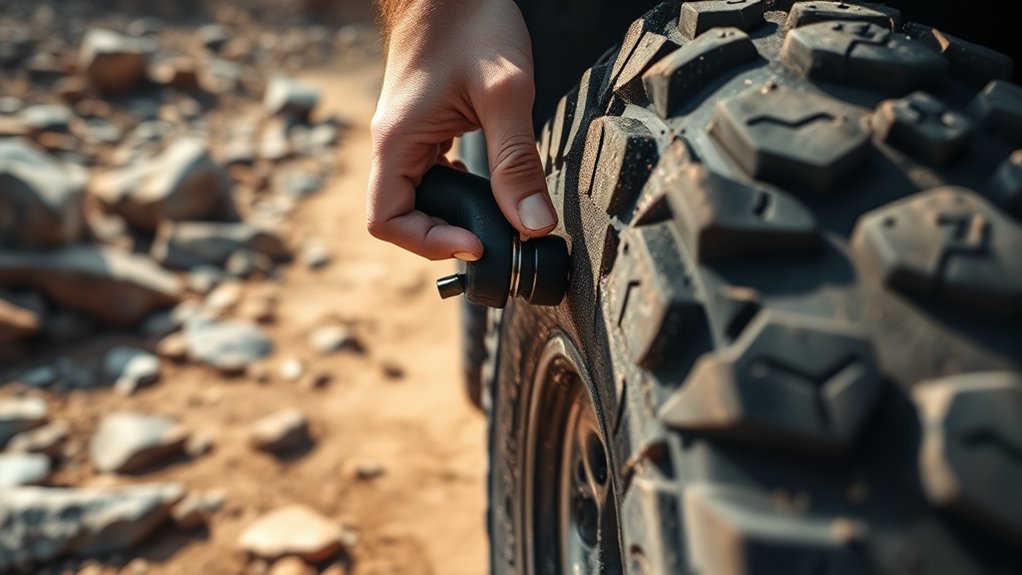
When you air down for off-roading, the tire can spread and flex more than it does at street pressure. That larger footprint can help the tire float better on sand, wrap around rocks more smoothly, and reduce the harsh bouncing that makes rough trails harder to control.
The benefit is not unlimited, though. Lower pressure also means more sidewall flex, more heat, and a higher chance of unseating a tire bead if you turn sharply or drive too fast. BFGoodrich notes that tire load, speed, and pressure are linked, and that lower off-road pressures require reduced speed and enough load-carrying capacity.
Warning: Airing down is for off-road use only. Before driving on paved roads or at highway speed, reinflate your tires to the cold pressure listed on your vehicle’s tire information placard or owner’s manual.
For many 4x4s, drivers may start somewhere around 12–15 PSI in soft sand and 15–25 PSI on rocks or mixed trails. Treat those numbers as starting points, not rules. Heavy vehicles, standard wheels without beadlocks, low-profile tires, towing loads, and sharp-rock terrain may require more pressure.
[Products Worth Considering]
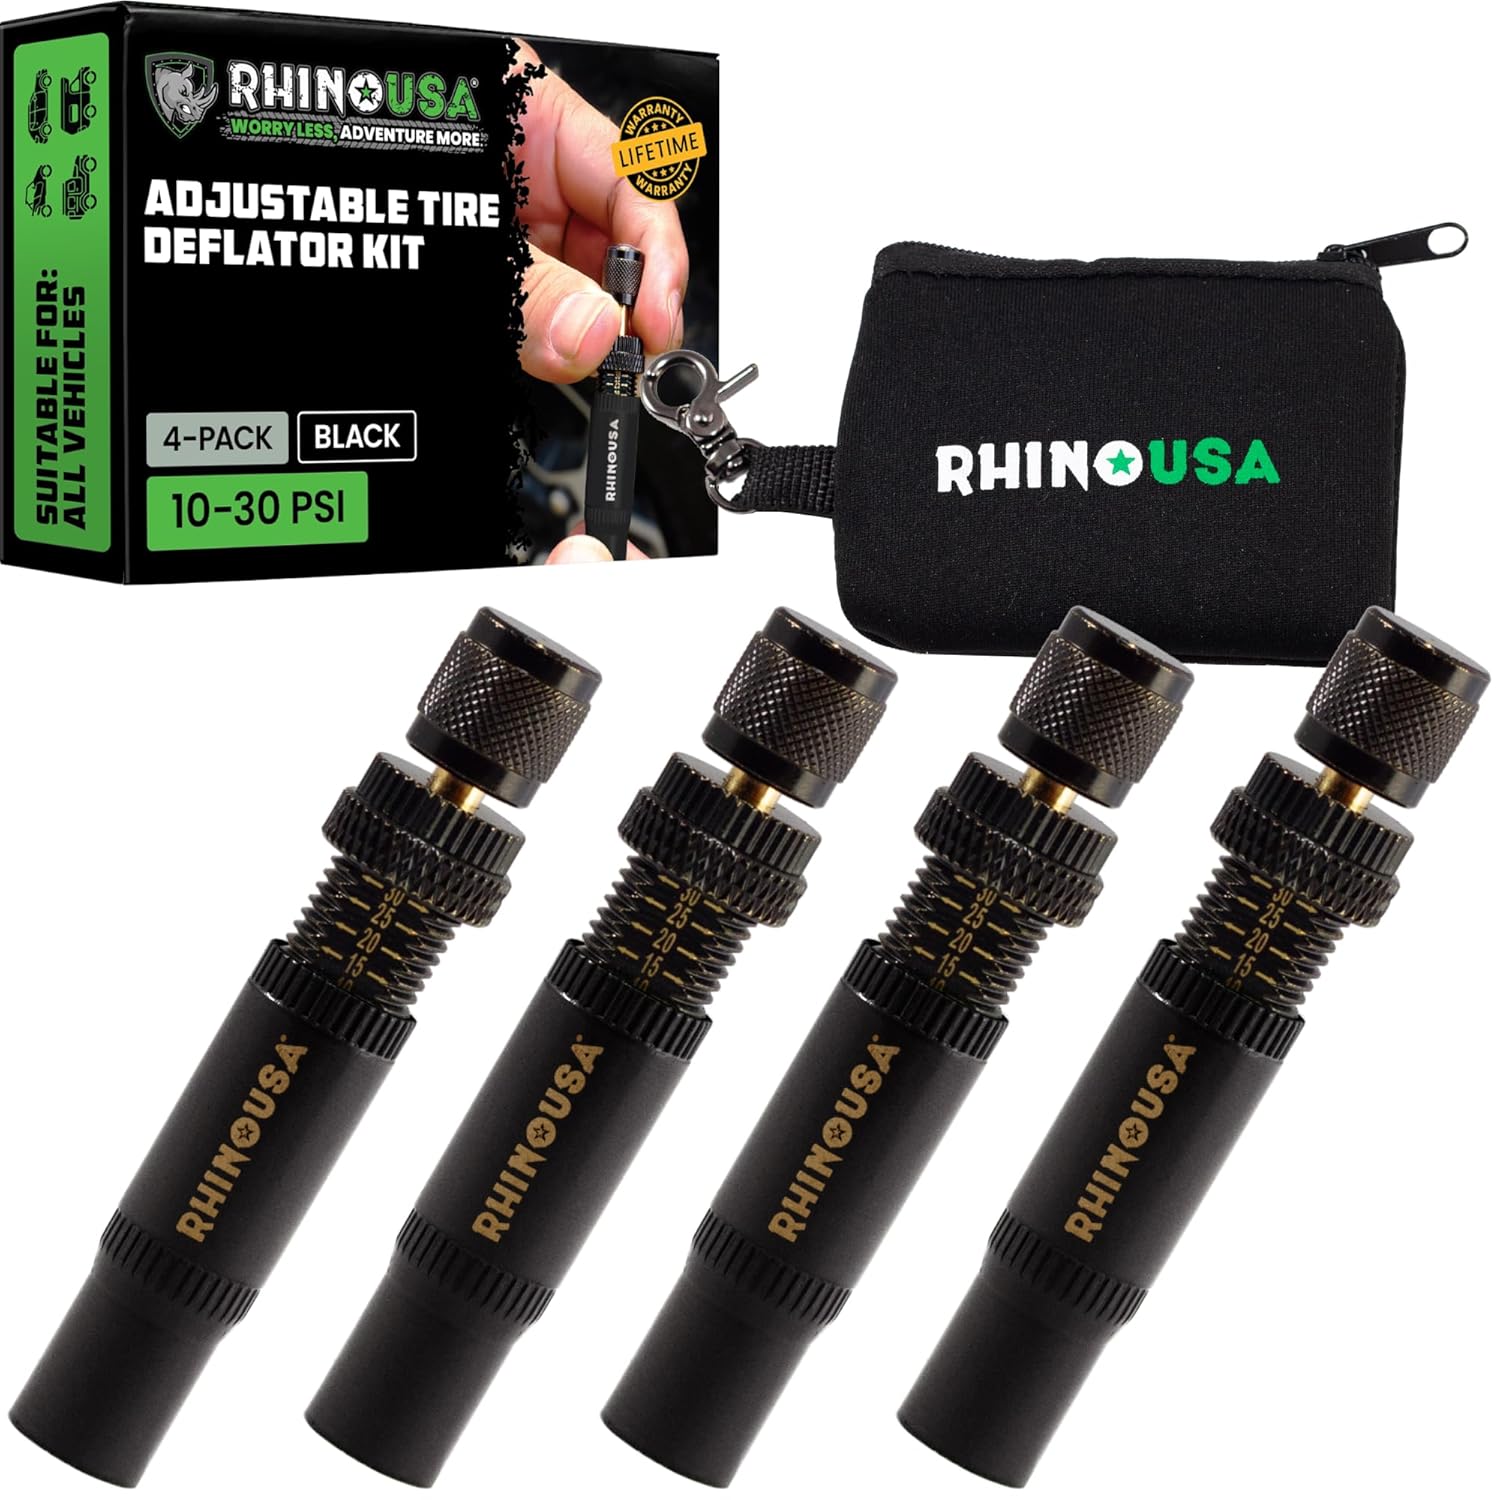
Use the Rhino USA adjustable tire deflators to air down all four tires at once by screwing one deflator onto each valve stem, letting you step away while the tires reach your preset pressure. Each deflator independently adjusts across a 10–30 PSI range with laser-etched indicators for quick setup and verification, making it ideal for beach, sand, and rocky off-road trails.

Camco Trailer Aid Plus tandem tire ramp lifts your trailer for quick, safe tire changes with ample clearance from its 5 1/2-inch lift. It helps you change a flat tire without unloading cargo, making roadside and routine maintenance more efficient. The heavy-duty, waterproof and rustproof polymer design supports up to 15,000 lb and is built for easy portability and storage.
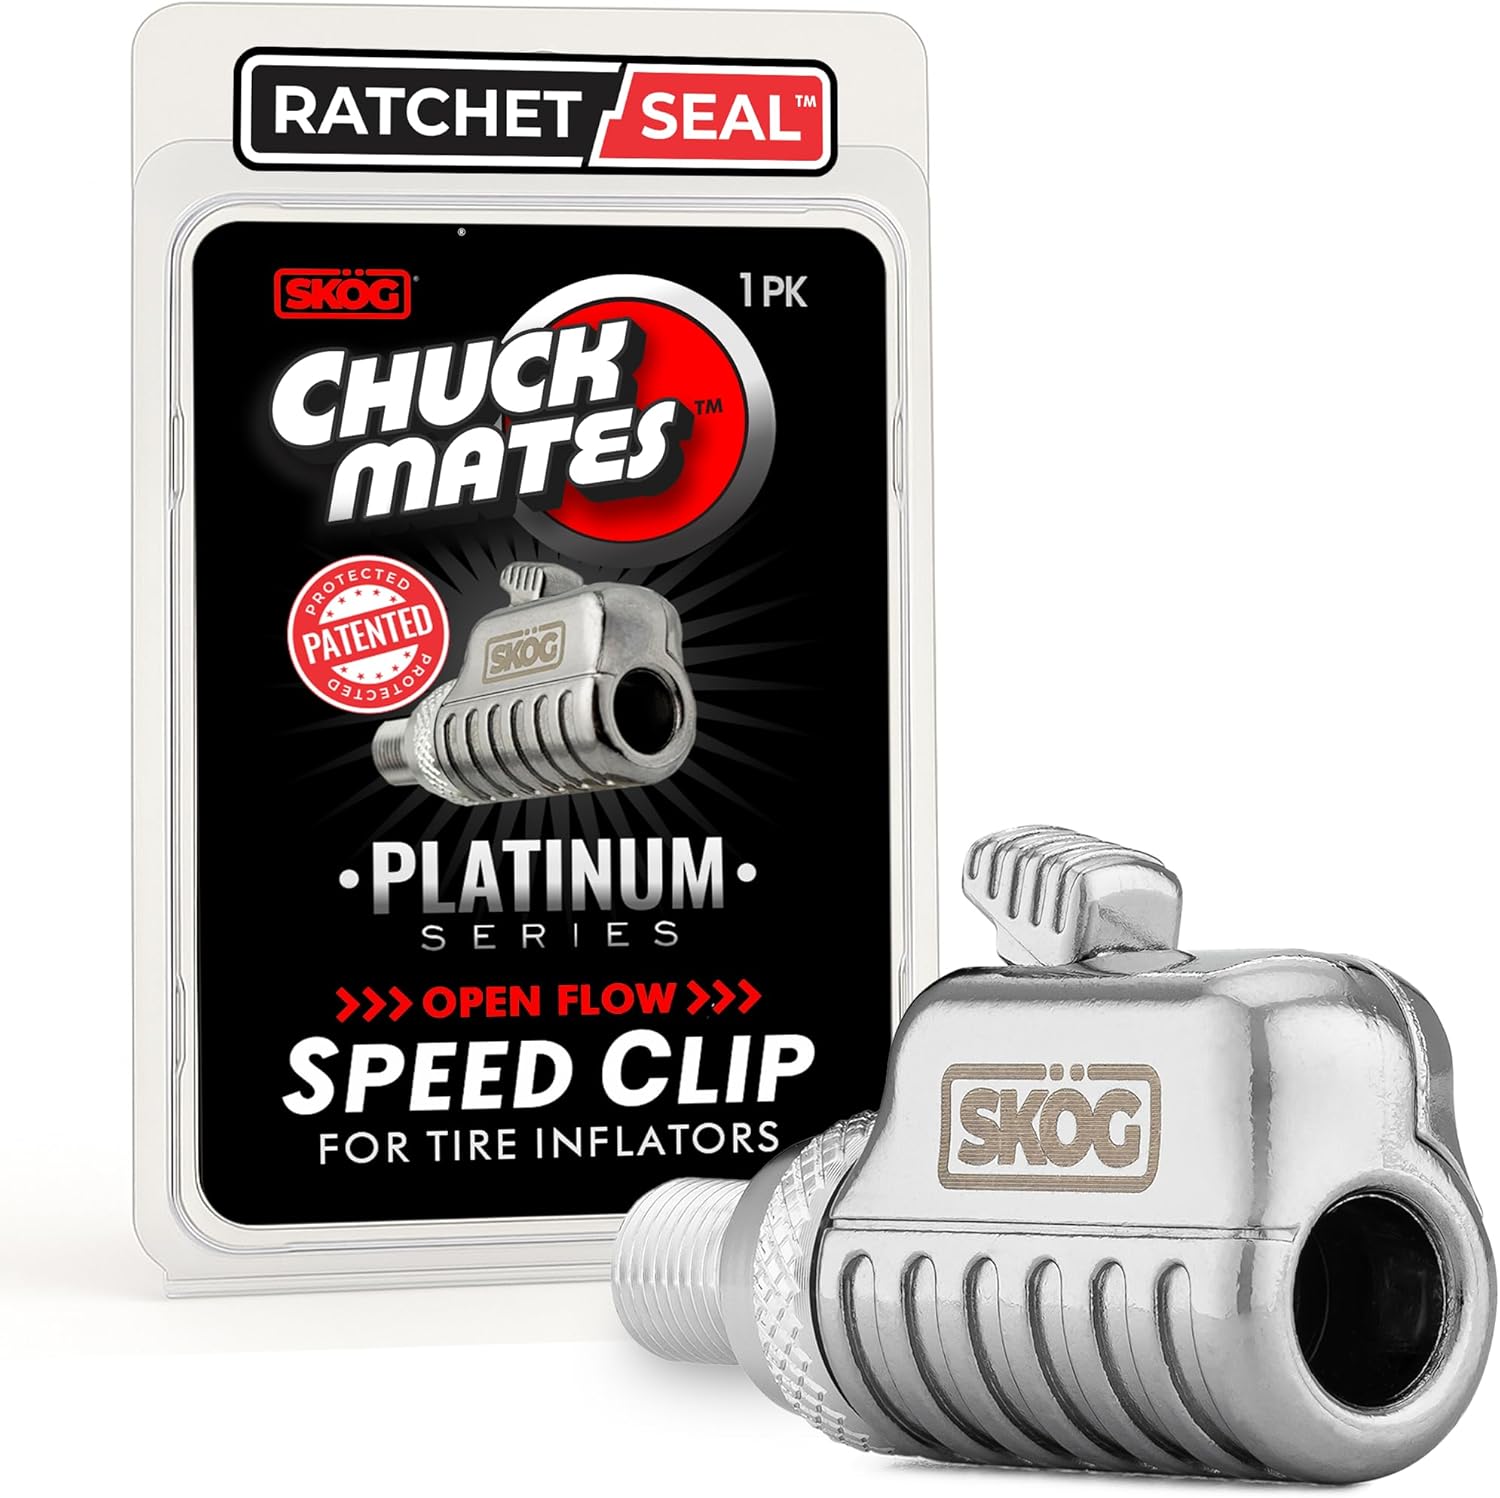
The SKÖG Chuck Mates Platinum uses a patented RatchetSeal push-to-connect system for instant, secure, air-tight attachment to standard tire valve stems. It features an easy push-button release for quick disconnects, plus 360° swivel open-flow airflow to keep operation smooth and kink-free. Universal Schrader compatibility makes it ideal for cars, bikes, motorcycles, RVs, trucks, and more.
What Are Tire Deflators and How Do They Work?
Tire deflators are small tools that release air from a tire’s valve stem faster and more consistently than pushing the valve pin by hand. They help you reach a target PSI before you hit sand, mud, rocks, or washboard roads.
The main types are:
- Rapid valve-core deflators: Tools such as the ARB E-Z Tire Deflator remove the valve core while keeping it captured inside the tool, allowing faster air release and a pressure reading through the gauge.
- Preset automatic deflators: These screw onto the valve stems and stop near a selected pressure. For example, Smittybilt automatic valve stem deflators list a 10–30 PSI adjustment range in the product manual.
- Inline inflator/deflator gauges: These connect to an air hose and let you inflate, deflate, and check pressure with the same setup.
- Simple bleed-style gauges: These are slower, but compact and inexpensive for occasional trail use.
Many quality deflators include a gauge, but it is still smart to confirm final pressure with a separate tire pressure gauge. Preset tools can drift slightly, especially after dust, moisture, or heavy use.
Why Tire Deflators Are Essential for Quick Airing Down
Tire deflators save time at the trailhead. Instead of crouching beside each tire and guessing, you can release air in a controlled way and get all four tires close to the same pressure. That matters because uneven tire pressure can make the vehicle pull, feel unstable, or handle differently from corner to corner.
Preset automatic deflators are especially helpful when you want to air down all four tires at once. Rapid core-removal deflators are better when you want speed and direct gauge control. Either style is much cleaner and more accurate than using a key, screwdriver, or random object to press the valve pin.
Pro Tip: Write down the PSI that worked best for your vehicle on sand, rocks, mud, and gravel. Over time, your own notes are more useful than any generic pressure chart.
How to Choose the Right Tire Deflator for Your Needs
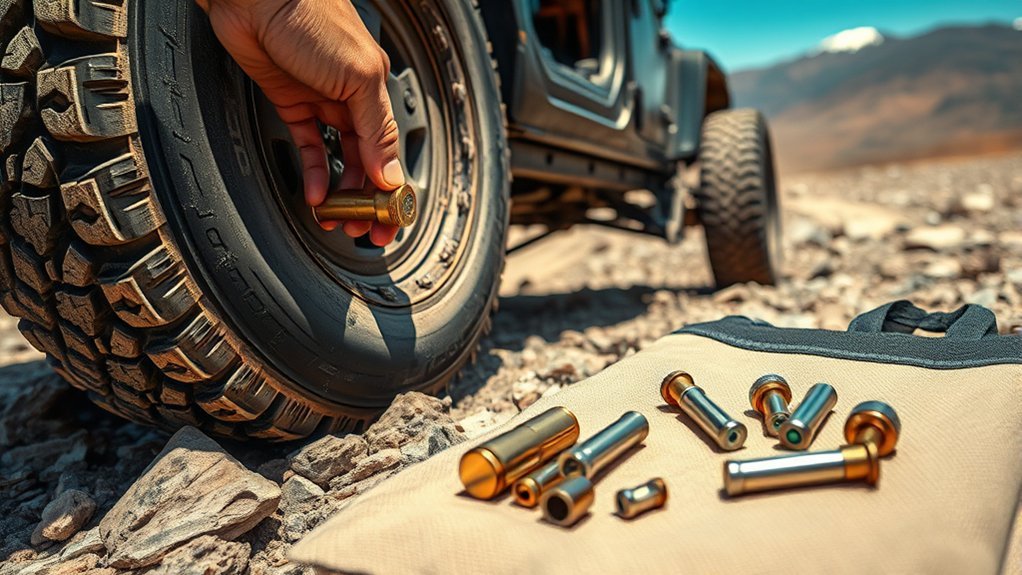
The best tire deflator depends on how often you off-road, how much control you want, and whether you prefer speed or simplicity.
| Deflator Type | Best For | Watch Out For |
|---|---|---|
| Rapid valve-core deflator | Fast airing down with gauge control | Do not lose or overtighten the valve core |
| Preset automatic deflator | Deflating several tires at once | Confirm final PSI with a separate gauge |
| Inline inflator/deflator | Drivers who air down and air up often | Needs an air hose or compressor setup |
| Basic bleed gauge | Budget kits and occasional trail use | Slower and easier to use inconsistently |
Look for these features before buying:
- Readable gauge: A large analog dial or clear digital readout makes it easier to stop at the right PSI.
- Useful pressure range: Make sure the tool covers your target pressures. Some automatic deflators are designed for a specific low-pressure range.
- Durable materials: Brass, stainless steel, and protected gauge housings hold up better in dirt and vibration.
- Valve-stem fit: Most 4x4s use standard Schrader valves, but aftermarket wheels, TPMS sensors, and short valve stems can affect clearance.
- Storage pouch: Dirt inside a deflator can make it inaccurate or leaky.
How to Pick the Right PSI Before You Air Down
Do not choose tire pressure from one number on the internet. Start with the terrain, then adjust for your vehicle and tire setup.
| Terrain | Typical Starting Range | Notes |
|---|---|---|
| Soft sand | 12–18 PSI | Use low speed and smooth steering to avoid unseating the bead. |
| Rocks | 15–22 PSI | Too low can expose sidewalls and wheels to damage. |
| Mud | 16–24 PSI | Keep enough pressure for steering response and sidewall support. |
| Gravel or washboard | 20–28 PSI | A small drop can improve comfort without excessive sidewall flex. |
Note: These are starting ranges for many light trucks and SUVs, not universal rules. Stay higher if your vehicle is heavy, your tires are loaded near capacity, your wheels are not beadlock wheels, or the trail has sharp rocks.
Step-by-Step Guide: How to Use a Tire Deflator
Using a tire deflator is simple once you know your target PSI and have a way to air back up. Follow this process before leaving pavement or at the trailhead.
Step 1: Park Safely and Check Your Starting Pressure
Stop on level ground away from traffic. Put the vehicle in park or in gear, set the parking brake, and check all four tires with a gauge. Starting pressures may not be equal, especially if one side has been in the sun.
Step 2: Choose Your Target PSI
Pick a conservative target based on the terrain. If you are unsure, start higher. You can always release more air later, but driving too low can damage the tire, wheel, or bead seal.
Step 3: Prepare the Valve Stem
Remove the valve cap and put it somewhere clean. Wipe dirt away from the valve stem so grit does not enter the valve core or deflator.
Step 4: Attach the Deflator
Thread the deflator onto the valve stem by hand. It should feel snug, not forced. If it cross-threads, remove it and start again. Never use pliers to tighten a small tire deflator.
Step 5: Release Air and Watch the Gauge
Open the valve, slide the deflator, or let the preset deflator begin working, depending on your tool. Monitor the pressure while air releases. With automatic deflators, let the tool stop, then verify with a separate gauge.
Step 6: Stop at Your Target Pressure
Once the tire reaches your target PSI, close the deflator or remove it according to the tool instructions. Reinstall the valve core if your tool removed it, then make sure the valve is not leaking.
Step 7: Repeat for All Tires
Deflate each tire to the same target unless your vehicle or tire setup requires different front and rear pressures. Recheck all four tires after a few minutes because pressure can settle slightly.
Step 8: Reinstall Valve Caps
Put every valve cap back on. Valve caps help keep mud, sand, and water out of the valve stem. The National Highway Traffic Safety Administration includes valve caps in its basic tire safety checklist.
Why You Should Keep an Eye on Tire Pressure While Deflating
Pressure can drop faster than expected, especially with valve-core removal tools. Watching the gauge helps prevent over-deflation, uneven pressure, and trail problems that are easy to avoid.
Monitoring matters because:
- Too much pressure can reduce the traction benefit of airing down.
- Too little pressure can create heat, sidewall stress, bead leaks, or wheel damage.
- Uneven pressure can make the vehicle pull or feel unstable.
- TPMS warnings may appear when pressure drops below the system threshold, even though you intentionally aired down for off-road use.
The safest off-road tire pressure is not the lowest number you can reach. It is the lowest pressure that gives traction while still supporting the vehicle, load, speed, wheel, and tire.
Top 5 Mistakes to Avoid When Using Tire Deflators
Even experienced drivers can run into problems when they rush the airing-down process. Avoid these common mistakes:
- Not setting a target PSI first: Guessing usually leads to inconsistent pressure from tire to tire.
- Airing down with no air-up plan: Always carry a compressor, CO2 system, or reliable access to air before you lower pressure.
- Driving too fast while aired down: Low pressure creates extra heat and sidewall flex. Keep speeds low until the tires are back at road pressure.
- Ignoring vehicle load: Extra passengers, camping gear, tools, water, and trailers all increase the pressure needed to support the tire safely.
- Forgetting the valve caps: Mud or sand inside a valve stem can cause slow leaks or make the valve harder to service later.
[Products Worth Considering]

EVOULTES heavy duty tire inflator with an integrated gauge delivers accurate pressure readings from 10–120 PSI, helping you inflate, deflate, and check tires in one tool. The 16.5-inch extended dual-head air chuck with swivel base reaches hard-to-access dual wheel valves on trucks and RVs. A brass trigger core and side-mounted air release valve make operation smooth, with standard 1/4" NPT threading and quick-connect compatibility for easy setup.

This portable cordless tire inflator delivers up to 160 PSI with fast 17 L/min airflow to help you quickly top up tires and get back on the road. It features dual power mode, running on a 21V rechargeable battery or a 12V DC adapter for convenient roadside use. An automatic shut-off with digital pressure gauge helps prevent overinflation, and a built-in LED light improves visibility in low-light conditions.
How to Reinflate Tires After Off-Roading
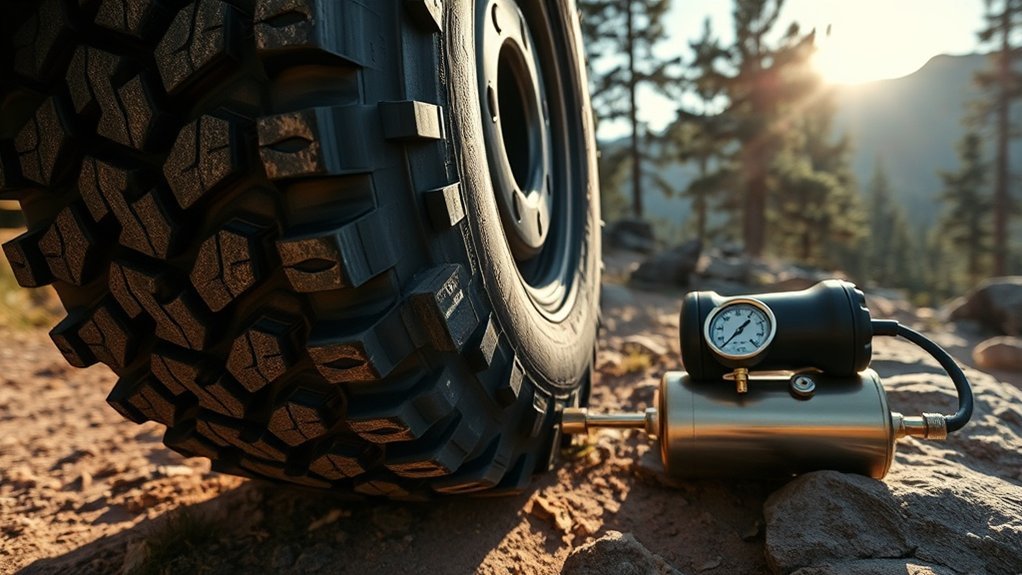
Reinflation is not optional. Before you return to paved roads, bring your tires back to the vehicle manufacturer’s recommended cold pressure. You can find that number on the tire information placard or in the owner’s manual. NHTSA explains that the placard is usually on the driver’s door edge, doorpost, glove-box door, or inside the trunk lid.
Recommended Pressure Guidelines
Do not use the maximum PSI molded on the tire sidewall as your normal road pressure. That sidewall number is the tire’s maximum cold inflation pressure for a rated load, not the vehicle’s recommended daily pressure.
For safe reinflation:
- Use a portable compressor or CO2 tank that can handle your tire size.
- Inflate each tire to the placard or owner’s manual pressure.
- Check pressure with a reliable gauge.
- Inspect the sidewalls and tread for cuts, bulges, punctures, or lodged rocks.
- Recheck cold pressure later, especially after a long trail day.
Choosing Air Inflation Tools
A good air compressor matters just as much as a good deflator. Look for a compressor with enough airflow for your tire size, a duty cycle that can handle all four tires, and a hose long enough to reach every wheel. Frequent off-roaders may prefer an onboard air system, while occasional drivers can use a portable compressor stored in a recovery kit.
When comparing compressors, check:
- CFM rating: Higher airflow usually means faster inflation.
- Duty cycle: A higher duty cycle helps prevent overheating during long air-up sessions.
- Power connection: Larger compressors often connect directly to the battery instead of a 12-volt accessory outlet.
- Gauge accuracy: Built-in gauges are convenient, but a separate gauge is still useful for final checks.
Troubleshooting Common Tire Deflator Problems
If something feels off, stop and fix it before continuing. Most tire deflator problems are small, but they can become a trail delay if ignored.
| Problem | Likely Cause | Fix |
|---|---|---|
| Air leaks around the tool | Loose or cross-threaded connection | Remove it, clean the valve stem, and thread it on straight by hand. |
| Automatic deflator stops too high or too low | Preset drift, dirt, or weak spring | Reset the tool, clean it, and confirm with a separate gauge. |
| Valve core sticks | Dirt, corrosion, or overtightening | Use a valve-core tool carefully and replace damaged cores. |
| Tire keeps losing air after deflation | Loose core, damaged valve, puncture, or bead leak | Check with soapy water, tighten or replace the core, and repair the tire before road use. |
Our Top Picks for Tire Deflators
The right choice depends on whether you value speed, hands-free use, or simplicity.
- ARB E-Z Tire Deflator: A rapid valve-core removal tool with a gauge. It is a strong choice when you want fast deflation and direct pressure control.
- Smittybilt R.A.D. Rapid Air Deflator: A gauge-style rapid deflator with a 0–60 PSI operating range and 1 PSI dial increments listed by Smittybilt.
- Smittybilt automatic valve stem deflators: A preset option for airing down multiple tires at once. The manual lists a 10–30 PSI range and automatic-stop function.
- Inline deflator/inflator kit: Best for drivers who already carry an air system and want one hose setup for airing down and airing up.
For most beginners, a simple gauge-style deflator is easiest to understand. For frequent off-roaders, preset deflators or a rapid core-removal tool can save time on every trip.
Maintenance Tips for Your Tire Deflator Tools
Tire deflators live around dust, mud, water, and vibration, so they need occasional care. A dirty or damaged deflator can give inaccurate readings or leak around the valve stem.
- Clean after dusty trips: Wipe the threads and gauge area before storage.
- Store in a pouch: Keep grit out of the moving parts and gauge face.
- Check gauge accuracy: Compare it with a trusted tire pressure gauge every few months.
- Inspect seals and threads: Replace worn O-rings or damaged parts before the next trail day.
- Do not overtighten valve cores: Snug is enough. Overtightening can damage the core or valve stem.
Frequently Asked Questions
Can I use tire deflators on any vehicle type?
You can use tire deflators on most vehicles with standard Schrader valve stems, including many trucks, SUVs, Jeeps, and UTVs. The safe target pressure is not the same for every vehicle, though. Weight, tire construction, wheel type, TPMS sensors, and load all matter.
How often should I calibrate my tire deflator?
Check your deflator against a trusted tire pressure gauge every few months, after hard trail use, or anytime the readings seem inconsistent. Preset automatic deflators should also be checked before a trip so you know where they actually stop.
Are tire deflators safe for high-pressure tires?
Yes, when the tool is rated for the pressure and is used correctly. Deflation should be controlled, off-road pressure should be matched to the terrain, and the tires must be reinflated to the vehicle’s recommended road pressure before normal driving.
What pressure should I aim for when airing down?
Many off-roaders start around 12–18 PSI for soft sand, 15–22 PSI for rocks, and 20–28 PSI for gravel or washboard roads. Start higher if your vehicle is heavy, your tires are not light-truck off-road tires, or you do not have beadlock wheels.
Can tire deflators damage my valve stems?
They usually will not damage valve stems when used by hand and kept clean. Damage is more likely if the tool is cross-threaded, overtightened, used on a dirty valve stem, or forced around a short stem or TPMS-equipped wheel.
Do I need beadlock wheels to air down?
No, many drivers air down safely on standard wheels. However, standard wheels have a higher risk of bead unseating at very low pressure, especially with sharp steering, side loads, or speed. Stay conservative unless your wheel and tire setup is built for very low PSI.
Conclusion
Tire deflators are one of the easiest tools to add to an off-road kit. They help you lower tire pressure quickly, improve traction, and make rough terrain more comfortable. The safe approach is simple: choose a realistic target PSI, use the deflator carefully, verify pressure with a gauge, drive slowly while aired down, and reinflate to the vehicle’s recommended pressure before returning to pavement. Do that, and your tires will work better on the trail without creating unnecessary risk on the road.
Sources
- National Highway Traffic Safety Administration: Tire Safety — supports checking tire pressure, using the vehicle placard or owner’s manual, cold-pressure readings, and valve-cap safety.
- BFGoodrich: Tyre Pressure FAQ — supports off-road pressure cautions, load/speed/pressure relationship, and reinflation before sealed-road driving.
- ARB: E-Z Tire Deflator ARB505 — supports ARB rapid deflator features, valve-core removal, gauge design, and product construction.
- Smittybilt: R.A.D. Rapid Air Deflator — supports R.A.D. gauge range, off-road-only deflation note, and on-road reinflation warning.
- Smittybilt Automatic Valve Stem Tire Deflators Manual — supports preset deflator pressure range, automatic-stop function, and operating steps.

Related Articles

Best Toyota 4Runner Tires Under $150 2026 – Top Budget All-Terrain Tires
You use your Toyota 4Runner for a mix of highway miles and off-road adventures, so choosing capable all‑terrain tires that cost less than $150…
Read More
Best Budget Tires for Toyota 4Runner 2026 – Top Affordable Performance Tires
You rely on your Toyota 4Runner for a mix of daily driving and weekend adventures, and the tires you choose shape safety, comfort, and…
Read More
Best On Road All Terrain Tires for Toyota 4Runner 2026 – Top Highway-Friendly A/T Tires
You want all-terrain tires that let your 2026 Toyota 4Runner feel planted and quiet on the highway while still offering capable off-road traction when…
Read More