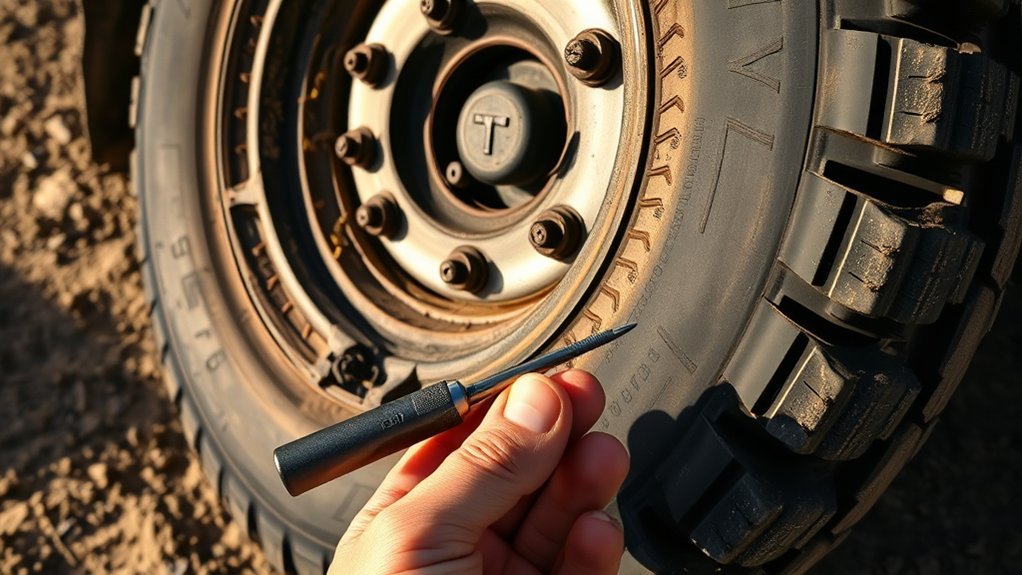
Plugging a Toyota Hilux tire can get you moving again when you have a small, clean puncture in the tread and professional help is not immediately available. Treat a rope-style tire plug as a temporary roadside repair, not a permanent fix. A proper long-term repair should be inspected from inside the tire and finished with an approved plug-patch by a tire professional.
Quick Answer
To plug a Toyota Hilux tire, confirm the puncture is in the tread, remove the object, clean the hole with a reamer, insert a rubber plug, trim the excess, inflate the tire, and check for leaks. Do not plug sidewall, shoulder, large, cut, bulged, or previously damaged areas.
Key Takeaways
- A tire plug is best used as a temporary roadside fix for a small tread puncture.
- Do not plug sidewall or shoulder damage, cuts, bulges, exposed cords, or punctures larger than 1/4 inch / 6 mm.
- Use the tire pressure shown on your Hilux tire placard or owner’s manual, not the number molded on the tire sidewall.
- Have the tire inspected by a tire shop afterward, because a proper repair normally uses a plug-patch from inside the tire.
At a Glance
| Time Required | 15–30 minutes for a simple tread puncture |
| Difficulty | Moderate; easier if the puncture is easy to reach |
| Tools Needed | Tire plug kit, pliers, tire pressure gauge, portable air compressor, soapy water, gloves, eye protection, wheel chocks, lug wrench, and jack if wheel removal is needed |
| Cost | Usually low if you already carry a plug kit and inflator; professional inspection or plug-patch repair costs extra |
Warning: A rope plug is not the same as a permanent tire repair. The U.S. Tire Manufacturers Association says proper puncture repair requires internal inspection and a repair that fills the injury and seals the inner liner. Use a roadside plug only to get to a safe place or tire shop.
Gather Your Tools: What You’ll Need

Before you start, gather everything you need so the Hilux stays stable and you do not have to search for tools while the tire is losing air.
- Tire plug kit: Choose a kit with rubber plugs, a reamer tool, and a plug insertion tool.
- Pliers: Use these to pull out a nail, screw, or other object from the tread.
- Portable air compressor: You need enough air to bring the tire back to the correct cold pressure.
- Tire pressure gauge: Do not rely only on the compressor display.
- Spray bottle with soapy water: This helps you find the leak and confirm the plug has sealed.
- Gloves and eye protection: Tire belts, nails, and reamer tools can be sharp.
- Wheel chocks, jack, and lug wrench: Use these if you need to remove the wheel for better access.
Pro Tip: Keep a plug kit, gauge, and 12V compressor in the Hilux, especially if you drive on worksites, gravel roads, farms, or remote tracks where screws and sharp stones are common.
[Products Worth Considering]

Wykodra tire plugs provide quick vulcanizing repairs for tubeless tires, helping you seal punctures and get back on the road. The industrial-strength rubber creates a long-lasting, leak-resistant bond and is designed for emergency fixes without removing the tire. Choose between two standard plug sizes with color-matched options for small to larger damage across many vehicles and off-road uses.
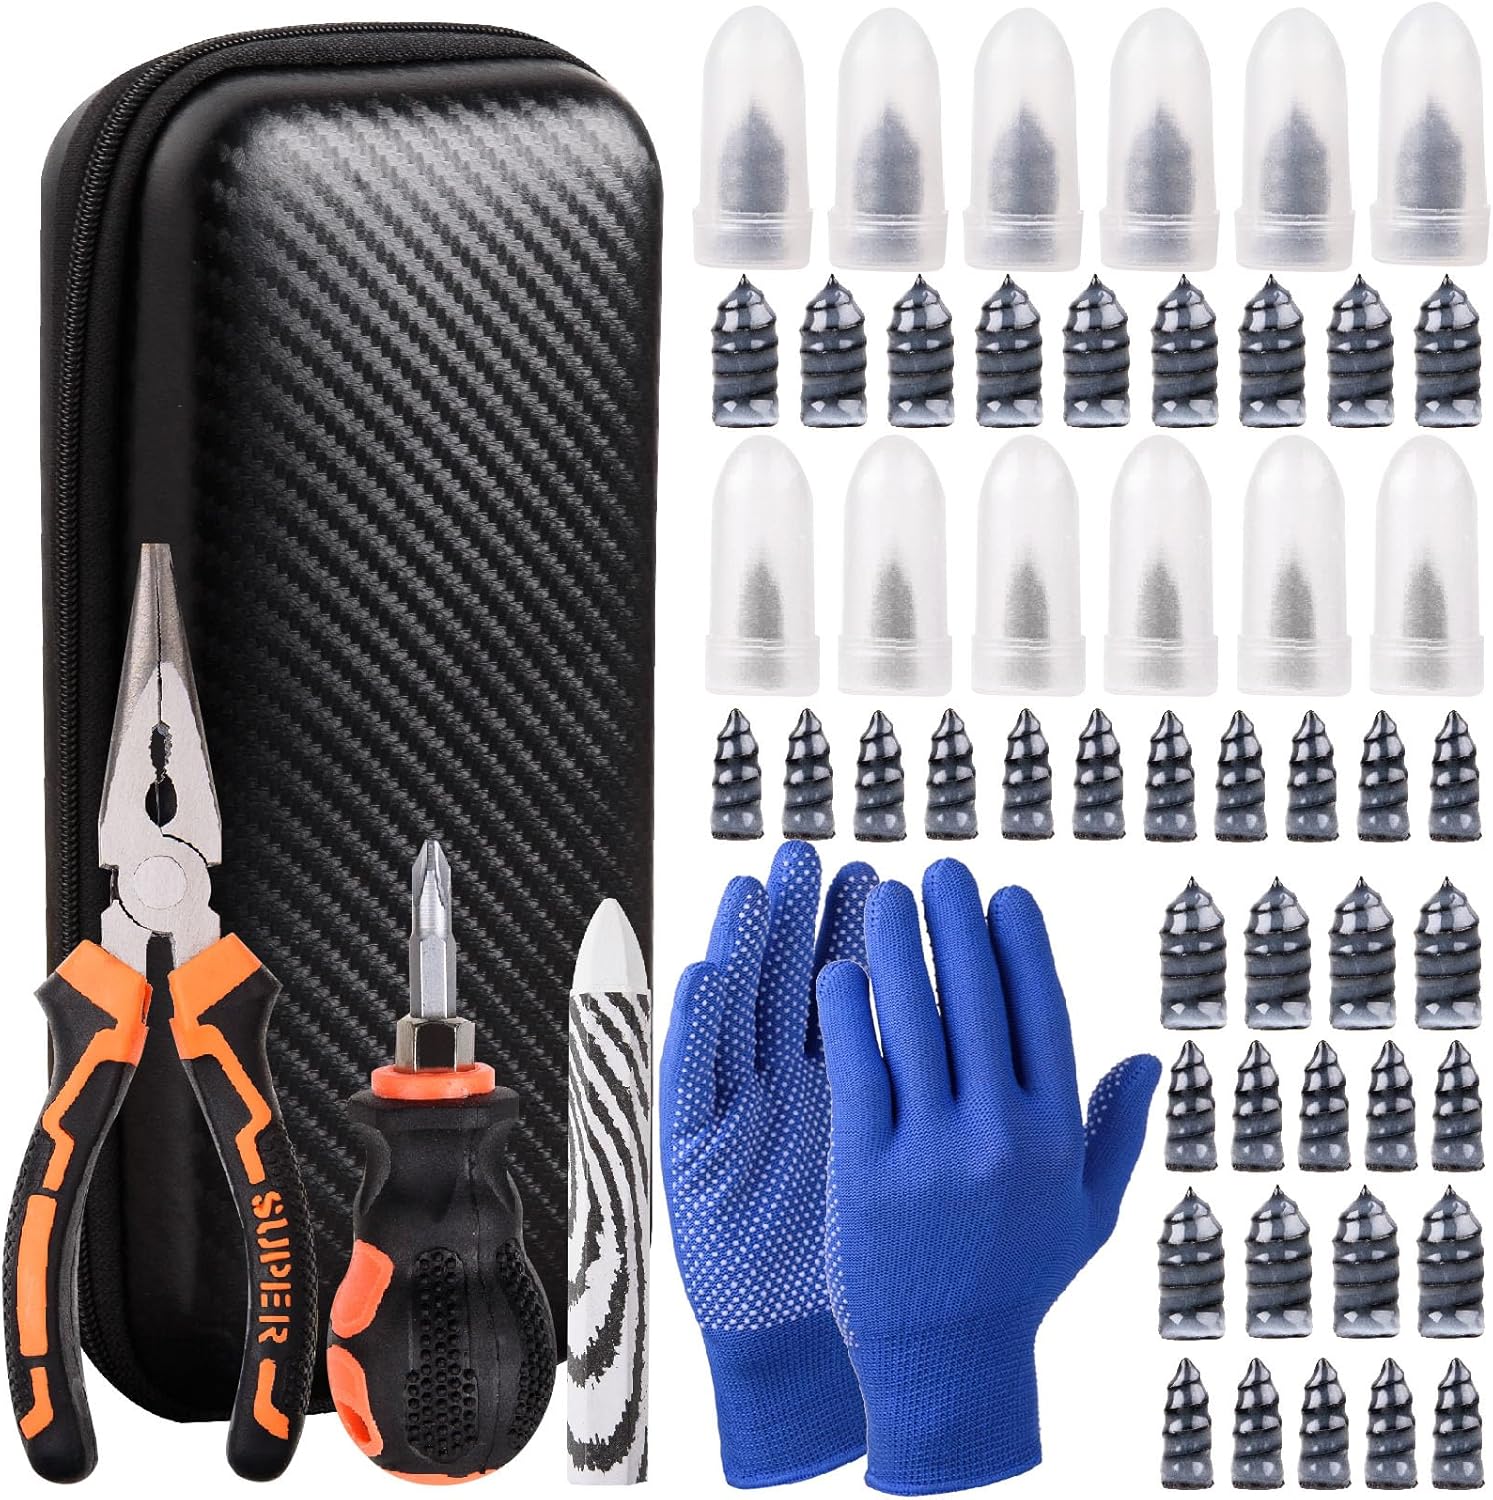
This tire sidewall puncture repair kit fixes flats fast without removing the tire, helping you get back on the road in minutes. It includes self-tapping repair nails, essential tools, gloves, and a portable storage bag for convenient roadside use. Designed for tubeless tires, it helps create a tight, leak-resistant seal for cars, motorcycles, trucks, SUVs, and ATVs.
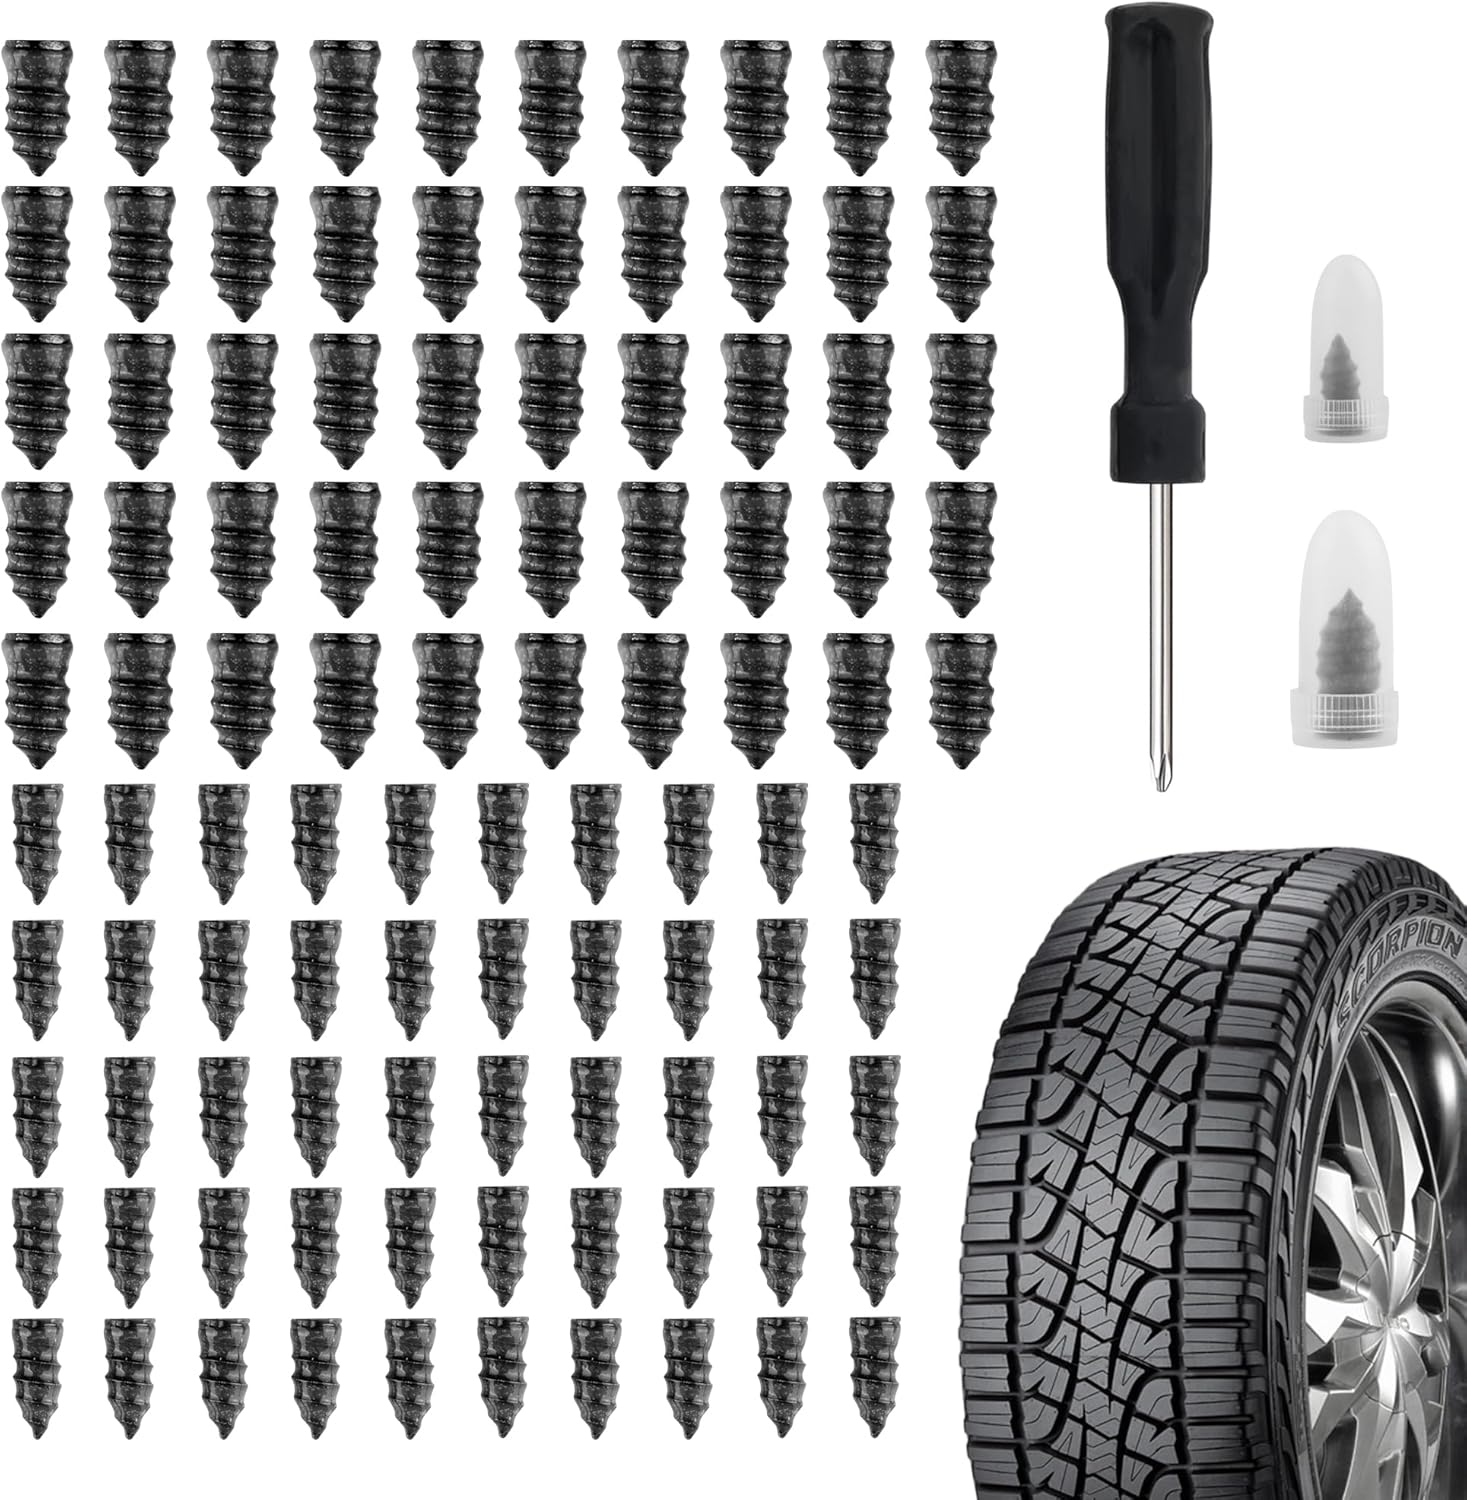
Salior’s tire plug kit provides a fast, reliable self-service fix for punctured or leaking tires without the need for flaring tools. Choose the correct plug size, then screw the nail into the puncture using the included screwdriver for an enhanced seal. The set is durable and convenient for on-the-go maintenance across multiple vehicle types.
Safety First: Preparing Your Vehicle
Park the Toyota Hilux on firm, level ground away from traffic. Turn on the hazard lights, engage the parking brake, and place wheel chocks around the wheels that will stay on the ground. If you are on a highway shoulder or the vehicle feels unstable, use the spare wheel or call roadside assistance instead of attempting a plug repair beside moving traffic.
- Park on a flat surface: Avoid soft sand, mud, slopes, or loose gravel if you need to jack the vehicle.
- Switch on hazard lights: Make the Hilux easier for other drivers to see.
- Engage the parking brake: This helps stop the vehicle from rolling.
- Use wheel chocks: Chock the opposite wheels before jacking or removing a wheel.
- Check the owner’s manual: Use the correct jack point for your Hilux model before lifting the vehicle.
Note: You do not always need to remove the tire from the Hilux to insert a roadside plug. If the puncture is easy to reach, you can often plug it while the wheel is still mounted. Remove the wheel only when access is poor or the puncture is difficult to work on safely.
Assessing the Puncture: Key Factors to Consider
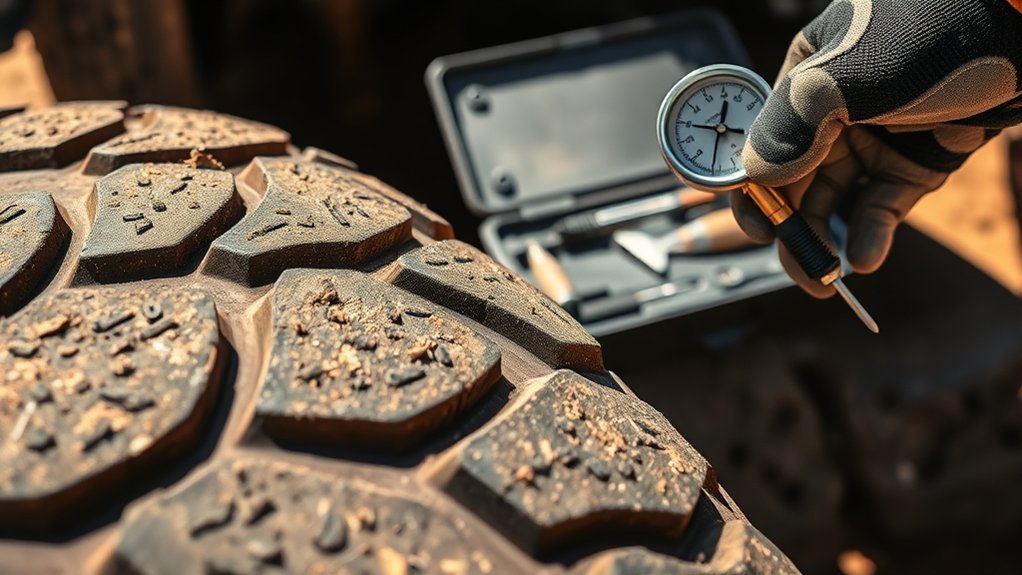
Before inserting a plug, decide whether the puncture is suitable for a temporary roadside repair. A plug should only be used on a small puncture in the main tread area. It should not be used on the sidewall, shoulder, a large cut, a worn-out tire, or a tire that has been driven flat.
Type of Puncture
A clean nail or screw hole in the tread is the best candidate for a temporary plug. Use the plug only if the puncture is no larger than 1/4 inch / 6 mm and the tire still looks structurally sound. According to USTMA tire repair guidance, not all tires can be repaired, and a tire should be removed from the rim for proper internal inspection before a permanent repair.
- Small tread puncture: Usually the only type suitable for a roadside plug.
- Sidewall puncture: Do not plug it; replace the tire or use the spare.
- Shoulder damage: Do not plug damage near the outer tread edge or belt edge.
- Large hole or cut: Replace the tire if the damage is over 1/4 inch / 6 mm, torn, or irregular.
- Bulge, cords, or run-flat damage: Stop driving on the tire and replace it.
Location of Damage
Find the puncture and confirm it is in the tread, not the sidewall or shoulder. Spray soapy water over the suspected area and look for bubbles. If you cannot find the leak, inflate the tire carefully and check the valve stem, bead area, and tread surface.
| Damage Type | Location | Roadside Plug? |
|---|---|---|
| Small nail or screw hole | Main tread area | Yes, as a temporary repair |
| Sidewall puncture | Sidewall | No; replace the tire |
| Shoulder or tread-edge damage | Outer tread edge | No; too close to the shoulder |
| Large cut, bulge, cords, or multiple close punctures | Any location | No; inspect and replace if needed |
Removing the Tire: Step-by-Step Instructions
If the puncture is not easy to reach while the wheel is on the Hilux, remove the wheel before plugging. Loosen the lug nuts slightly while the tire is still on the ground, then position the jack at the correct Hilux jack point listed in the owner’s manual. Raise the vehicle only enough to remove the tire.
- Loosen the lug nuts: Turn them counterclockwise while the wheel is still touching the ground.
- Position the jack correctly: Use the jack point for your cab and drivetrain configuration.
- Lift the Hilux carefully: Raise it until the tire clears the ground.
- Remove the lug nuts: Keep them in a clean, safe place.
- Lift the tire off the hub: Lay it flat with the puncture facing up if possible.
Warning: Never put any part of your body under a vehicle supported only by a jack. If the tire cannot be accessed safely, install the spare wheel and repair the punctured tire later.
[Products Worth Considering]

The Trivd Frol 1/2" air impact wrench delivers high performance torque up to 1500 ft-lbs with a twin hammer impact mechanism for strong, balanced blows. It features an ergonomic grip, compact lightweight design, and quick-stop control with 3 forward speeds up to 8000 RPM plus a reverse speed. Built for demanding automotive repair and tire shop work, the rear exhaust helps keep debris away from the surface.

This tire repair screw plug kit includes 60 pieces in two sizes to help you fix punctures quickly on the road. Choose the right screw by puncture size, then drive it in with a screwdriver for an effective seal without needing a flaring tool. The coated screws help prevent leaks and are designed for convenient emergency use across cars, trucks, ATVs, motorcycles, and bicycles.

This flat tire repair kit lets you handle punctures quickly with two plug sizes for different damage, helping restore drivability on the spot. It includes T-handle insertion and spiral probe tools plus lubricant and a utility knife, all packed in a compact bag for easy carry. Universal compatibility makes it suitable for tubeless tires across cars, motorcycles, ATVs, trucks, jeeps, and more.
Inserting the Rubber Plug: A Guide for Toyota Hilux Tires
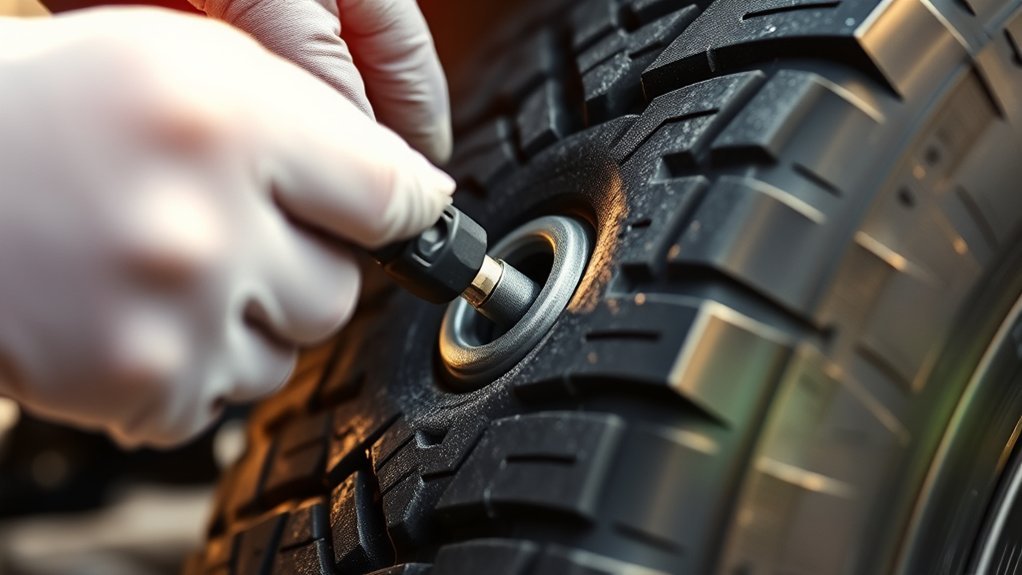
Once you confirm the puncture is suitable, remove the object and plug the hole. Work steadily and keep the tools aligned with the angle of the puncture channel.
- Find the leak: Spray soapy water on the tread and look for bubbles.
- Remove the object: Use pliers to pull out the nail or screw. Note the angle as you remove it.
- Ream the puncture: Push the reamer into the hole and move it in and out several times to clean and roughen the channel.
- Load the plug: Thread a rubber plug halfway through the insertion tool so both ends are even.
- Insert the plug: Push the tool into the puncture until about two-thirds of the plug is inside the tire.
- Pull the tool out: Pull straight back so the plug remains in the tire.
- Trim the excess: Cut the plug ends close to the tread surface without pulling the plug out.
- Inflate the tire: Bring the tire to the cold pressure listed on the Hilux tire placard or owner’s manual.
- Check for leaks: Spray soapy water on the repair. If bubbles keep forming, the plug has not sealed and the tire needs professional attention.
A plug can seal a small tread puncture long enough to get you moving, but it does not replace an internal inspection or proper plug-patch repair.
[Products Worth Considering]

ATQYZLM’s screw-in tire plug kit provides quick self-service emergency puncture repair for tubeless tires without removing the tire. Choose a suitable plug nail, align it to the puncture, and tighten with the included screwdriver for minute-level roadside use. The rubber and metal plugs help form a durable airtight seal to reduce air loss and water seepage for reliable short-term travel.

Upgrade your wheels with MIKKUPPA M12x1.5 mag seat lug nuts built for secure, corrosion-resistant performance. These closed-end chrome lug nuts are a direct replacement for select Toyota models, including Camry, Corolla, RAV4, Sienna, Avalon, Highlander, Matrix, Venza, and Prius. Triple-chromium plating and cold-forged, heat-treated steel help deliver strength for daily driving and replacement needs.

KEVWR self-service tire repair nails are made to firmly fix punctures with strong bite and reliable sealing, helping prevent water from entering the wound. The spiral rubber screws are easy to insert without removing the tire, providing a simple DIY repair for many vehicle and tire types. Suitable for cars, motorcycles, trucks, bikes, buses, and agricultural tires with two size options for different puncture nails.
Reattaching the Tire: Securing It Properly
If you removed the wheel, put it back on the hub carefully and tighten the lug nuts in stages. Start by hand so you do not cross-thread the studs. Then snug the nuts in a criss-cross pattern before lowering the Hilux.
| Step | Action | Why It Matters |
|---|---|---|
| 1 | Align the wheel with the hub | Prevents poor seating |
| 2 | Start lug nuts by hand | Reduces cross-threading risk |
| 3 | Snug in a criss-cross pattern | Seats the wheel evenly |
| 4 | Lower the Hilux and torque the nuts | Final torque should be applied with the wheel on the ground |
Use the torque specification for your exact Hilux model, wheel type, and market. Toyota’s wheel torque data lists different values for some Hilux variants, including 121 N·m for certain 4×2 alloy wheels, 152 N·m for certain 4×2 steel wheels, and 105 N·m for certain 4×4 models from 2015/04 onward. Always confirm with your owner’s manual, Toyota service information, or dealer before relying on a single generic number.
Final Safety Checks Before Driving
Before you drive, confirm that the tire is holding air and the wheel is secure. A rushed final check can turn a simple puncture into a dangerous wheel or tire failure.
Check Tire Pressure
Use a tire pressure gauge and set the tire to the cold inflation pressure listed on the Hilux tire placard or owner’s manual. The National Highway Traffic Safety Administration recommends checking tire pressure when tires are cold, meaning the vehicle has not been driven for at least three hours. Check the spare too if you used it.
- Do not use the maximum PSI printed on the tire sidewall as your target pressure.
- If the tire was warm when inflated, recheck it later when cold.
- If pressure drops again, stop using the tire and have it inspected.
Inspect Lug Nut Tightness
If you removed the wheel, tighten the lug nuts with a torque wrench to the correct Hilux specification. Tighten in a criss-cross pattern. After driving a short distance, stop somewhere safe and check that the repair is still sealed and the tire pressure has not dropped.
Drive Carefully After the Plug
Drive gently and avoid heavy loads, high speeds, towing, and off-road impacts until the tire has been professionally inspected. A plug may hold air, but it does not show whether the inner liner, belts, or sidewall were damaged when the tire went flat.
Note: If the tire was driven while flat or nearly flat, replace it or have it professionally inspected before reuse. Internal damage may not be visible from the outside.
When to Skip the Plug and Use the Spare
Use the spare wheel, call roadside assistance, or replace the tire if any of the following apply:
- The puncture is in the sidewall or shoulder.
- The hole is larger than 1/4 inch / 6 mm.
- The tire has a long cut, split, bulge, exposed cord, or bead damage.
- The puncture overlaps or sits close to an old repair.
- The tire was driven flat for more than a very short distance.
- The plug will not seal after inflation and a soapy-water check.
- You need to tow, carry a heavy load, or drive at highway speed before inspection.
Frequently Asked Questions
What is the correct tyre pressure for a Toyota Hilux?
Use the tyre pressure shown on your Hilux tyre placard or in the owner’s manual. The correct pressure varies by model, tyre size, load, market, and sometimes front versus rear axle. Check pressure when the tyres are cold.
Is a tire plug a permanent repair?
A rope-style tire plug should be treated as a temporary roadside repair. A permanent repair normally requires the tire to be removed from the rim, inspected internally, and repaired with a plug-patch that fills the puncture and seals the inner liner.
Can I plug a Hilux tire without removing the wheel?
Yes, if the puncture is in the tread and easy to reach safely. If access is poor, remove the wheel using the correct jack point and safe lifting procedure. Do not work under a vehicle supported only by a jack.
Can I plug a sidewall puncture?
No. Do not plug a sidewall puncture. Sidewall damage flexes under load and cannot be safely repaired with a rope plug. Fit the spare wheel or replace the tire.
How do I know if the plug sealed properly?
Inflate the tire to the correct cold pressure, spray the repair with soapy water, and look for bubbles. If bubbles continue to form or the pressure drops again, the plug has not sealed and the tire should not be driven except to reach a safe repair location.
Conclusion
Plugging a Toyota Hilux tire is a useful emergency skill when the puncture is small, clean, and located in the tread. The safest approach is to check the damage first, plug only suitable tread punctures, inflate to the correct placard pressure, test for leaks, and drive carefully to a tire shop for internal inspection. If the damage is in the sidewall, shoulder, or a worn or weakened tire, skip the plug and use the spare or replace the tire.
Sources
- U.S. Tire Manufacturers Association — Tire Repair Basics — repairable tread-area limits, 1/4 inch / 6 mm puncture limit, and plug-patch guidance.
- NHTSA TireWise — cold tire pressure, tire placard guidance, and tire maintenance safety.
- AAA — Patch, Plug or Replace a Car Tire? — plug versus patch explanation and professional repair recommendation.
- Toyota Tech — Wheel Torque Values — Toyota wheel-nut torque examples by model and wheel type.
- Toyota Australia Service Information & Repair Manuals — owner manual lookup for model-specific Hilux information.