
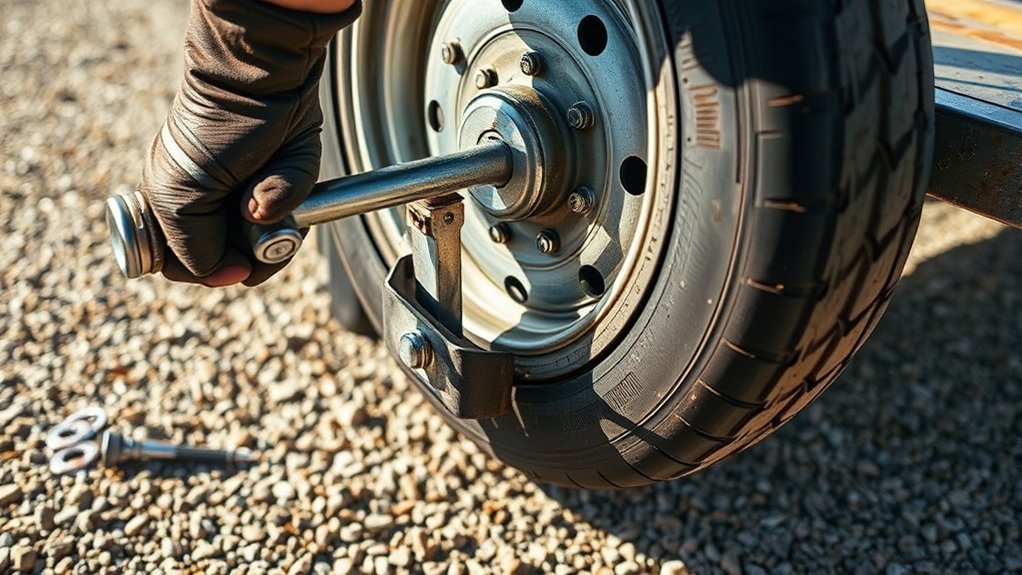
Installing a trailer spare tire mount starts with choosing a carrier that fits your trailer frame and spare wheel, then finding a location that will not interfere with the coupler, jack, wiring, suspension, cargo, or normal towing. Before drilling anything, check whether your carrier is designed to clamp on instead. The right installation keeps the spare secure without creating a new clearance or weight-balance problem.
Quick Answer
Choose a trailer spare tire carrier that matches your frame dimensions, wheel size, bolt pattern, and mounting location. Test-fit it before tightening, use the manufacturer’s supplied hardware, and drill the frame only when both the carrier and trailer instructions allow it. After installation, check clearance, tongue weight, fastener tightness, and wheel security.
Key Takeaways
- Match the carrier to the trailer frame, spare-wheel size, bolt pattern, and carrier load limitations before installation.
- Do not treat 5 inches as a universal ground-clearance requirement; use your trailer and carrier specifications and check clearance at the trailer’s loaded ride height.
- Use a clamp-on mounting system when the carrier is designed for one, and never drill or weld a structural frame member without approval from the trailer manufacturer.
- Use the supplied mounting and wheel-retention hardware and follow the manufacturer’s tightening or torque instructions.
- Recheck tongue weight and trailer balance after adding the spare because changing where weight is carried can change towing behavior.
- Inspect the carrier, wheel fasteners, corrosion protection, and clearances regularly and correct any movement before towing again.
At a Glance
| Time Required | About 30–90 minutes for a typical bolt-on or clamp-on carrier; drilling or custom fabrication can take longer. |
| Difficulty | Easy to moderate for a compatible clamp-on carrier; advanced if structural drilling or fabrication is required. |
| Tools Needed | Wheel chocks, tape measure, marker, wrench/socket set, and a torque wrench when the manufacturer specifies torque. A drill is needed only for an approved drill-on carrier. |
| Cost | Varies by carrier type and capacity. For reference, C.E. Smith listed its 27310G heavy-duty side-mount carrier at $66.99 when checked September 4, 2026. |
Warning: Do not drill, weld, grind, or otherwise modify a trailer frame simply because a carrier has mounting holes. Follow the carrier instructions and trailer manufacturer’s structural-modification rules. Chock and stabilize the trailer before working on it, and use only manufacturer-approved lifting or support points if the trailer must be raised.
Choose the Right Trailer Spare Tire Mount
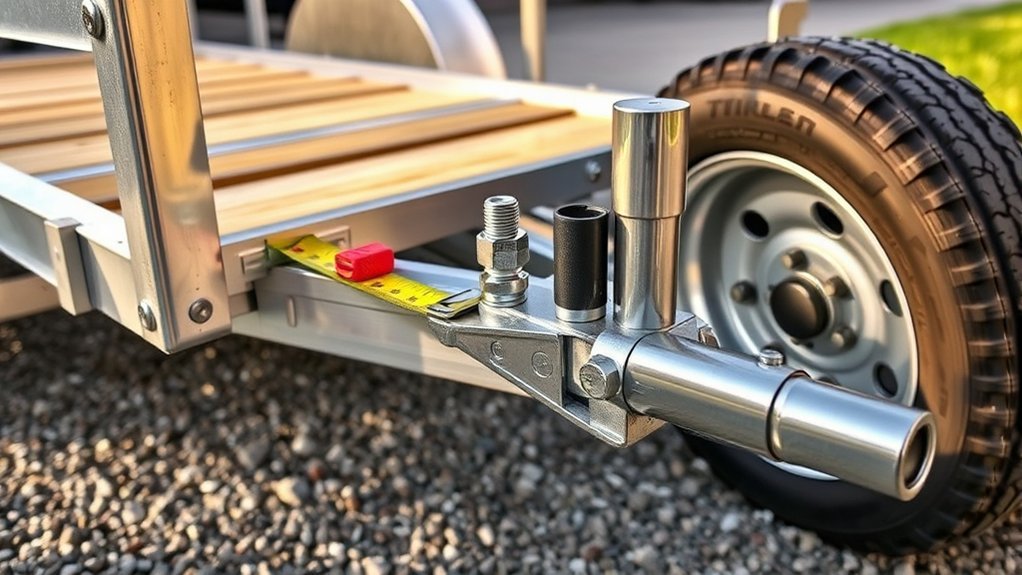
Choosing the right trailer spare tire mount starts with matching the carrier to the trailer and the wheel you actually plan to carry.
First identify the mounting style your trailer can accept. Common options include tongue-mounted, side-frame, wall-mounted, rear-mounted, and underbody carriers. You can also compare the advantages and limitations of different mounting locations in this spare tire mount guide.
[Products Worth Considering]

The Dr.Roc spare tire tool kit helps you release, lower, or raise your spare tire with reliable extension tools and a lug nut wrench. It is made from rustproof automotive-grade steel and includes an organized carry case for convenient storage. Designed for compatibility with select GM models from the late 1990s through 2019, it uses upgraded extension components to install and remove spare tires with less hassle.

Secure a full-size spare on your trailer with this powder-coated steel spare tire mount bracket. It fits most 4-, 5-, and 6-lug wheel bolt patterns and mounts to trailer tongues up to 4 in wide and 5 in tall. Built for reliable carry with a max 150 lb load rating and includes zinc-plated hardware for straightforward installation.
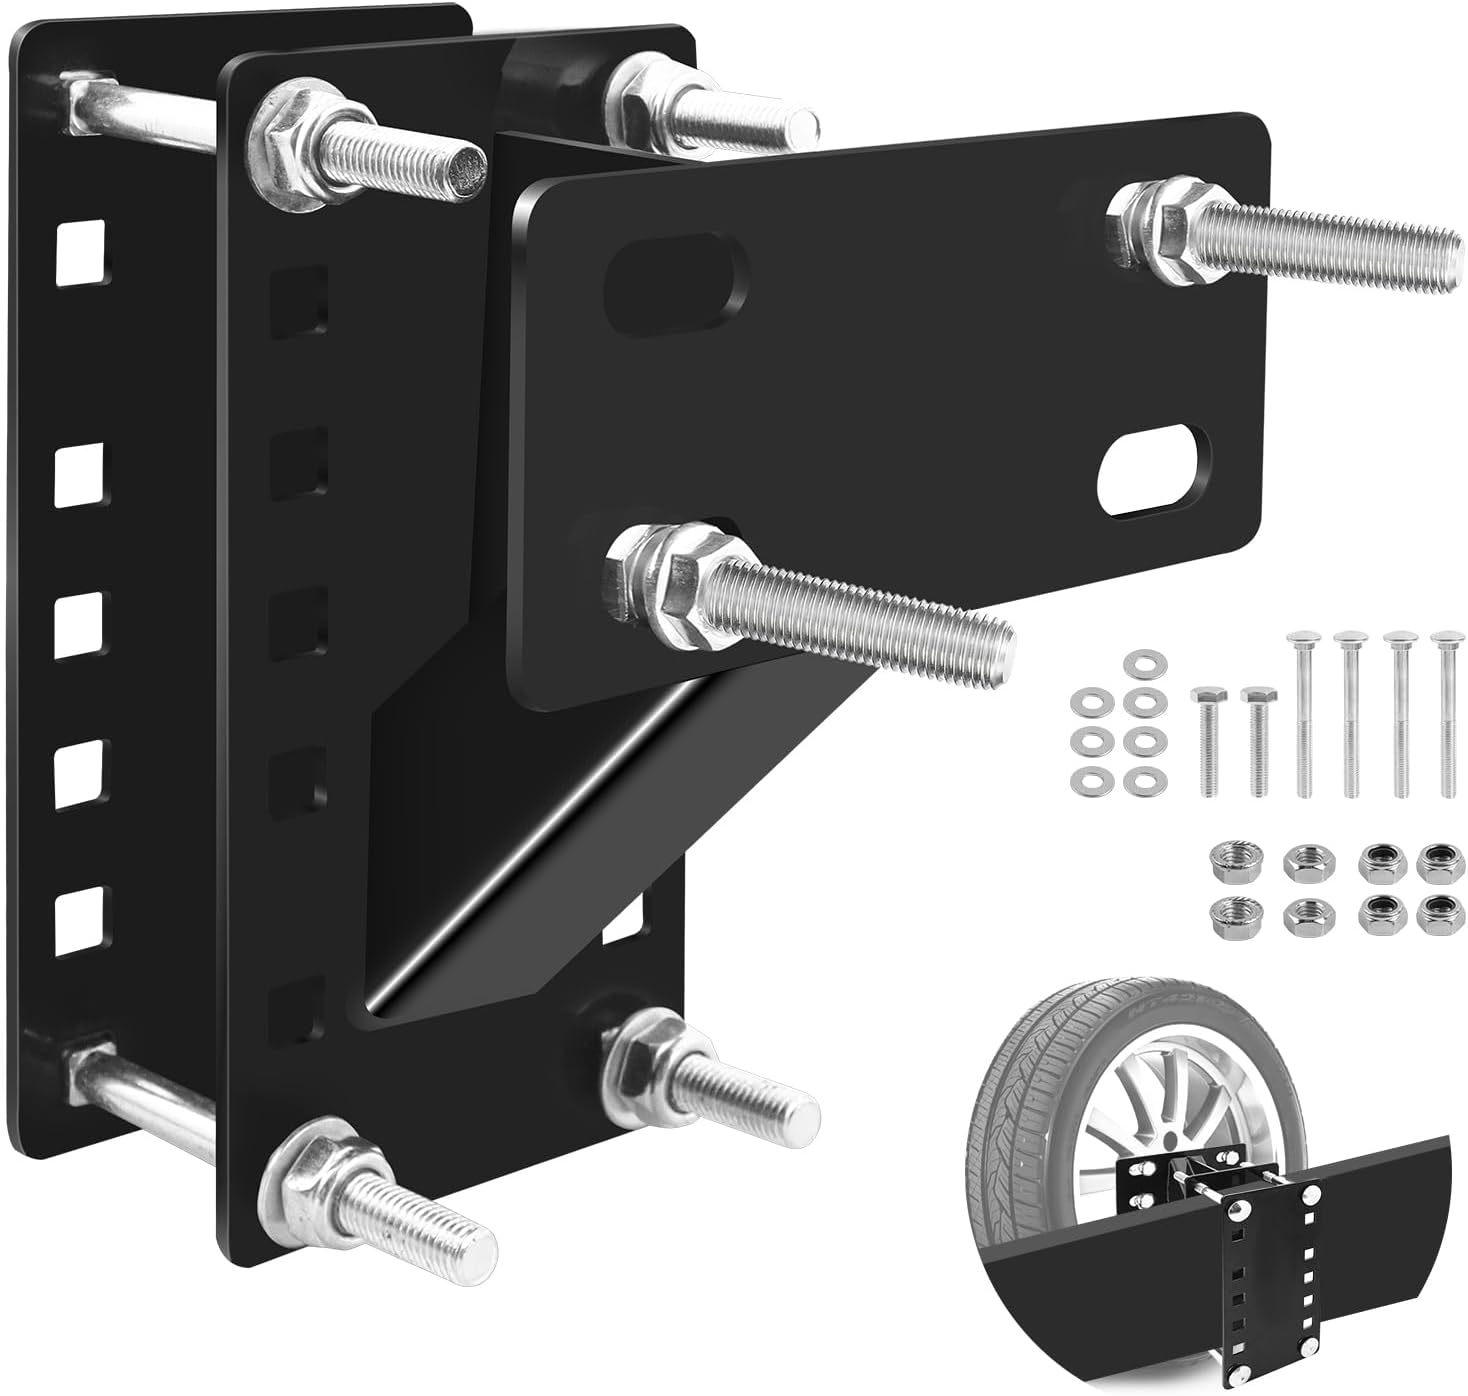
This universal spare tire mount carrier holder is built for utility trailers and boat trailers, offering a secure fit for 4, 5, and 6 lug wheels. It supports multiple bolt pattern sizes and a heavy-duty load capacity while resisting rust with a durable finish. The design allows easy installation and lets you choose the steel beam height for a better fit.
Check Carrier and Wheel Compatibility
Measure the trailer frame where the carrier will attach. Then compare the frame height, frame width, wheel diameter, wheel bolt pattern, tire width, and carrier capacity with the manufacturer’s specifications.
Do not assume that a carrier described as “universal” fits every trailer or wheel. For example, the C.E. Smith 27310G heavy-duty side-mount carrier is designed for specific frame dimensions and wheel configurations. C.E. Smith also states that this model clamps to the tongue or frame with U-bolts and does not require drilling.
Note: The C.E. Smith 27310G has a 5-inch vertical offset that raises the tire above the frame. That does not mean every trailer spare tire must maintain exactly 5 inches of ground clearance.
Consider Frame Material and Corrosion
If your trailer has an aluminum frame, pay attention to the metals used in the carrier, U-bolts, mounting plates, and other hardware. Contact between dissimilar metals in the presence of moisture can contribute to galvanic corrosion.
The American Galvanizers Association recommends considering an insulating barrier where dissimilar-metal corrosion is a concern. Follow the trailer and carrier manufacturer’s material recommendations rather than adding an improvised pad that could compress, loosen the clamp, or reduce mounting strength.
Gather Tools for Installation
Before you start, gather the carrier, all manufacturer-supplied brackets and fasteners, wheel chocks, a tape measure, marker, socket set, wrenches, gloves, and eye protection. A torque wrench should be available whenever the carrier instructions provide torque specifications.
[Products Worth Considering]

This side-mounted U-bolt spare tire bracket helps keep a trailer spare wheel secure and protected while you travel. It supports trailer frames up to 2–3 inches wide and fits up to 15-inch tires for 4- or 5-lug wheels. The galvanized steel threaded carrier is built for long-lasting corrosion resistance and installs easily with included lug nuts and U-bolt.

The GADFISH spare tire carrier is built for reliable hauling with a reinforced welded triangular structure and a behind plate that securely holds the tire up to 150 lbs. It fits a wide range of trailer wheel lug setups, making it suitable for boat trailers as well, while the sloping design helps reduce wind resistance and provides low-ground clearance. Installation is designed to be straightforward with different length bolts and no drilling required.

This universal spare tire mount fits 4, 5, and 6 lug trailer wheels with bolt patterns from 4" to 5.5" and helps keep your tire securely locked in place. Its reinforced triangular structure with a sturdy behind plate is designed to handle up to 150 lbs, making it suitable for boat, camper, and RV spare tire mounting. The angled raised design reduces wind resistance and installation is straightforward with different length bolts and no drilling required.
Essential Tools
- Trailer spare tire carrier: Correct for the trailer frame and wheel.
- Supplied mounting hardware: U-bolts, plates, nuts, washers, studs, or brackets specified for that carrier.
- Socket and wrench set: Correct sizes for the supplied hardware.
- Torque wrench: For manufacturer-specified final torque.
- Tape measure and marker: For checking frame dimensions and positioning.
- Wheel chocks: To help prevent trailer movement while you work.
- Gloves and eye protection: Especially important when drilling or working around exposed metal.
- Drill and correct bits: Only if the carrier requires drilling and the trailer manufacturer permits drilling at that location.
An impact wrench can speed initial assembly on appropriate hardware, but it should not replace the manufacturer’s final tightening procedure. Avoid hammering fasteners excessively with an impact tool.
Prep Your Workspace
Park the trailer on a firm, level surface. Chock the wheels and stabilize the trailer so it cannot roll or shift while you position the carrier.
Lay out the carrier and hardware before beginning. Compare the supplied parts with the manufacturer’s instructions so you know which plate, washer, nut, U-bolt, or stud belongs at each location.
If the trailer must be raised, use only the lifting and support locations approved by the trailer manufacturer. Never rely on a jack alone while working underneath a raised trailer.
Pro Tip: Assemble the carrier loosely and hold the spare in its intended position before final tightening. A five-minute test fit can reveal interference with the tongue jack, coupler, safety chains, wiring, cargo door, winch, or trailer body before you commit to the location.
Mark the Best Mounting Spot
Choose a mounting location that is structurally permitted by the trailer and carrier manufacturers and gives the wheel enough room to remain clear of the road, tow vehicle, trailer body, suspension, jack, coupler, wiring, and cargo.
Do not choose a location merely because it is on the passenger side or farther toward the rear. Either position can change how weight is distributed on the trailer.
| Factor | What to Check | Why It Matters |
|---|---|---|
| Frame location | Use only an approved structural mounting area. | Prevents damage to unsuitable frame members. |
| Ground and obstacle clearance | Check clearance at normal loaded ride height. | Reduces risk of striking curbs, dips, ramps, or road debris. |
| Coupler and jack | Cycle the coupler latch and tongue jack through normal use. | Keeps hitching and unhitching practical. |
| Wiring and safety equipment | Keep chains, electrical connector, breakaway cable, and brake wiring unobstructed. | Prevents interference with essential towing equipment. |
| Weight distribution | Recheck loaded tongue weight after installing the spare. | A heavy spare changes the trailer’s weight distribution. |
| Spare access | Make sure the wheel can be removed with normal tools. | You need usable access during a roadside tire change. |
Tongue weight is affected by where weight sits on the trailer. CURT’s towing-capacity guidance notes that cargo position has a major effect on tongue weight, while U-Haul’s Safe Trailering Demonstrator illustrates why keeping appropriate weight toward the front of a conventional trailer helps resist sway.
Use the tongue-weight target stated by your tow-vehicle and trailer manufacturers. A commonly cited range for conventional trailers is around 10–15% of loaded trailer weight, but individual trailer and vehicle instructions take priority.
A spare tire is part of the trailer’s load. Changing where that weight sits can change tongue weight, so mounting location should be verified rather than chosen by a universal “front,” “rear,” or “passenger-side” rule.
Install the Mount: Clamp or Drill Only If Approved
Follow the carrier manufacturer’s installation method. If the carrier uses U-bolts or clamp plates, install those components as designed rather than drilling extra holes through the frame.
If your carrier genuinely requires drilled mounting holes, confirm first that the trailer manufacturer permits drilling at the chosen location. Avoid wiring, brake lines, seams, weld zones, and other components behind the drilling surface.
[Products Worth Considering]

Mount your spare tire directly to the inside wall of an enclosed trailer or garage to save space and keep your tire secure. This wall-mount spare tire carrier is designed for universal trailer tire fit and includes a fixed plate and chute for convenient screw replacement. Nylon insert hex lock nuts help prevent the tire from falling off, and wing hardware enables faster load and unload during maintenance.

This spare tire tool kit is designed for the 2004 to 2018 Ford F-150 to help you loosen and tighten wheel lug nuts and manage the spare tire and provided jack functions from underneath the vehicle. It includes the lug nut wrench and extension pieces plus a convenient storage carrying case for organized transport. The jack itself is not included.

Mount your spare tire off the floor and onto your wall using an e-track spare tire carrier that helps you stay organized in trailers, garages, and warehouses. The upgraded double-fittings design improves stability versus single-fittings and supports greater load bearing. Install by snapping into e-track anchor points and securing the tire with a lug-nut style bolt setup for quick, secure storage.
Mark Mount Hole Locations
Hold the carrier in the intended position and verify that it sits square against the approved mounting surface. Check the wheel’s final position, not only the empty bracket.
For a drill-on carrier, mark the hole locations exactly from the manufacturer’s template or mounting pattern. Measure twice and confirm the opposite side of the frame is clear before making a hole.
For a clamp-on carrier, mark the position of the bracket instead. This gives you a reference if the carrier moves while you install the U-bolts or clamping plates.
Secure With the Specified Hardware
Use the bolts, U-bolts, mounting plates, nuts, washers, studs, and locking hardware specified for the carrier. Do not automatically substitute carriage bolts or star washers simply because another carrier uses them.
Start all fasteners by hand where practical so the mount can settle evenly. Tighten opposing fasteners gradually rather than fully tightening one side first.
If the manufacturer provides a torque value, finish with a properly set torque wrench. Do not guess by using phrases such as “as tight as possible.” Excessive torque can damage threads, deform a bracket, or crush lighter trailer-frame sections.
Anti-seize can reduce galling and corrosion on suitable threaded assemblies, but it also lubricates the threads. Henkel’s LOCTITE anti-seize guidance calls for tightening treated fasteners to the proper torque requirement. Use anti-seize only if the carrier or fastener manufacturer permits it, and use the correct torque procedure for lubricated threads.
Mount the Spare Tire on the Trailer Tongue
A tongue-mounted carrier can be a practical choice when the tongue has an approved attachment area and the spare will not interfere with the coupler, tongue jack, safety chains, wiring, winch, propane equipment, or the tow vehicle during tight turns.
Confirm that the carrier is rated for your frame dimensions and wheel. On a clamp-on model, position the bracket and supplied U-bolts according to the carrier instructions, then tighten the mounting hardware evenly.
Do not drill the tongue merely because drilling appears more secure. Some purpose-built tongue carriers are explicitly designed to clamp in place without holes.
Once the carrier is secure, test the coupler latch and tongue jack through their full normal operating range. Connect the trailer to the tow vehicle if necessary to verify that the spare cannot contact the bumper or vehicle during a sharp turn.
Finally, recheck the trailer’s loaded tongue weight. Adding a spare near the front normally adds weight ahead of the axle, while placing it behind the axle can reduce tongue weight. The effect depends on the tire’s weight and its distance from the axle, so measure rather than assume.
Check Ground Clearance and Access
There is no single clearance number that works for every trailer spare tire carrier. What matters is whether the wheel remains safely clear through the conditions the trailer is designed to encounter.
Measure from the lowest part of the tire or carrier to the ground with the trailer on level pavement. Then repeat the inspection with the trailer loaded normally because suspension compression can reduce clearance.
Check more than the distance to flat pavement. Consider driveway transitions, ramps, dips, curbs, boat ramps, suspension travel, departure angle, and any terrain the trailer normally uses.
Also verify that the spare does not block:
- the coupler or latch;
- the tongue jack or jack handle;
- safety chains;
- the breakaway cable;
- electrical connectors or brake wiring;
- cargo doors, ramps, gates, or winches;
- suspension movement;
- lights or reflectors;
- access to the spare’s retaining nuts.
If any component touches or becomes difficult to operate, reposition the carrier within the mounting locations approved by its manufacturer rather than accepting marginal clearance.
Secure the Spare Tire to the Carrier
Position the spare tire so the wheel holes line up correctly with the carrier’s studs, bolts, or U-bolt arrangement. Make sure the wheel seats against the surfaces intended to support it.
Use the wheel-retention hardware supplied or specified by the carrier manufacturer. Thread each nut by hand first, then tighten the fasteners evenly so the wheel seats without rocking or binding.
If a torque specification is provided, use it. If the instructions specify only a tightening sequence or locking system, follow that procedure exactly rather than substituting a generic torque value.
After tightening, grasp the tire firmly and try to move it at the top and sides. There should be no obvious looseness between the wheel and carrier or between the carrier and trailer frame.
Do not assume that an anti-seize compound, threadlocker, lock washer, or extra nut automatically improves the installation. These products can change how a threaded joint behaves. Use them only when compatible with the carrier manufacturer’s instructions.
Fix Wobble, Clearance, and Rust Issues
If the Carrier Wobbles
Stop and identify where the movement starts. A loose wheel on a solid carrier requires a different fix from a carrier moving against the trailer frame.
- Check that the carrier fits the frame dimensions.
- Verify that all mounting plates and U-bolts are installed in the correct orientation.
- Inspect nuts, threads, brackets, and holes for damage.
- Confirm that the carrier is seated squarely against the intended mounting surface.
- Retighten only to the manufacturer’s specification.
Do not keep adding random washers, rubber pieces, or extra torque to compensate for a carrier that does not properly fit the trailer. Replace incompatible or damaged parts.
If Clearance Is Too Tight
Move the carrier to another manufacturer-approved position or choose a carrier with a different offset. Do not automatically move a heavy spare farther behind the axle, because that can reduce tongue weight and change trailer stability.
After relocating the spare, repeat the clearance, coupler, turning, and loaded tongue-weight checks.
If Rust or Corrosion Appears
Inspect painted, powder-coated, galvanized, and plated surfaces for chips or corrosion. Replace heavily corroded hardware rather than tightening weakened fasteners.
On aluminum trailers, dissimilar-metal contact deserves extra attention, especially around boat trailers or other equipment exposed to water and road salt. The American Galvanizers Association’s guidance on dissimilar metals explains how moisture can complete the galvanic cell that accelerates corrosion.
Post-Installation Inspection
Before normal towing, complete a final inspection:
- Carrier matches the trailer frame and wheel specifications.
- All mounting hardware is present and installed in the correct orientation.
- Specified fasteners are tightened or torqued correctly.
- The wheel cannot rock on the carrier.
- The carrier cannot shift on the trailer.
- The spare clears the ground and nearby components at normal loaded ride height.
- The coupler, jack, safety chains, breakaway cable, and wiring operate normally.
- The tow vehicle and trailer can turn without the spare contacting the vehicle.
- Loaded tongue weight remains within the limits required by the trailer, hitch, and tow-vehicle manufacturers.
Inspect the carrier periodically and before trips, especially after rough-road use. If hardware repeatedly loosens, the bracket bends, mounting holes elongate, or corrosion weakens the joint, stop using the carrier until the cause is corrected.
Frequently Asked Questions
How do you make a spare tire holder for a trailer?
A purpose-built carrier is usually the simplest option because its frame limits, wheel compatibility, and mounting hardware are defined by the manufacturer. If you fabricate a holder, the design must safely support the wheel and withstand road vibration. Do not weld or drill a structural trailer member unless the trailer manufacturer permits the modification. Structural fabrication is best handled by someone qualified to work with the trailer’s frame material.
Can I install a trailer spare tire carrier myself?
Yes, many compatible clamp-on or bolt-on carriers are suitable for DIY installation when you can follow the manufacturer’s instructions and safely stabilize the trailer. Get professional help if the job requires structural drilling, welding, repair of damaged frame material, or a custom mounting solution.
What are the different types of trailer spare tire mounts?
Common options include tongue-mounted, side-frame, wall-mounted, rear-mounted, and underbody carriers. The best style depends on frame dimensions, wheel size, carrier capacity, available clearance, cargo access, and how the added spare affects the trailer’s weight distribution.
Where is the best place to mount a spare tire on a trailer?
There is no single best location for every trailer. Use a location approved for the carrier and trailer structure that provides good wheel access without blocking the coupler, jack, wiring, suspension, cargo, doors, or ramps. After choosing the location, verify loaded tongue weight and towing limits rather than assuming the front, rear, or passenger side is automatically best.
Can you drill into a trailer frame for a spare tire mount?
Only when the carrier installation method requires drilling and the trailer manufacturer permits holes in that exact location. Many spare tire carriers use U-bolts or clamp plates specifically so the frame does not need to be drilled. Never drill a structural member simply because a bracket has holes that appear convenient.
Does spare tire location affect trailer tongue weight?
Yes. A spare is additional trailer weight, and its position relative to the axle changes how that weight is distributed. A spare mounted ahead of the axle generally adds tongue load, while placing weight behind the axle can reduce it. Measure the loaded setup and stay within the limits specified by the tow vehicle, hitch, and trailer manufacturers.
Conclusion
A properly installed trailer spare tire mount should fit the frame and wheel, remain firmly attached, provide usable clearance, and leave the trailer’s hitching and safety equipment fully functional. Do not rely on a universal 5-inch clearance rule, a passenger-side rule, or the idea that moving the spare rearward automatically improves stability.
Use the carrier’s supplied hardware and installation method, follow manufacturer torque requirements, and avoid drilling or welding the trailer structure unless specifically approved. Once the spare is mounted, verify loaded tongue weight, clearances, wheel retention, and carrier security. Continue checking the installation periodically so looseness, corrosion, or damage is caught before it becomes a roadside problem.
Sources
- C.E. Smith — Heavy Duty Side Mount Spare Tire Carrier — carrier mounting method, frame and wheel compatibility, hardware, offset, and no-drill installation.
- CURT — Towing Capacity Guide — tongue-weight definition and the effect of trailer load positioning.
- U-Haul — Safe Trailering Demonstrator — trailer load distribution and sway-prevention principles.
- Blue Ox — Boat Towing Tips — conventional trailer tongue-weight guidance and manufacturer-specific limits.
- American Galvanizers Association — Dissimilar Metals in Contact — galvanic-corrosion risks when different metals are exposed to moisture.
- Henkel — LOCTITE LB 8008 Anti-Seize — anti-seize application and proper torque requirement for treated threaded assemblies.
