
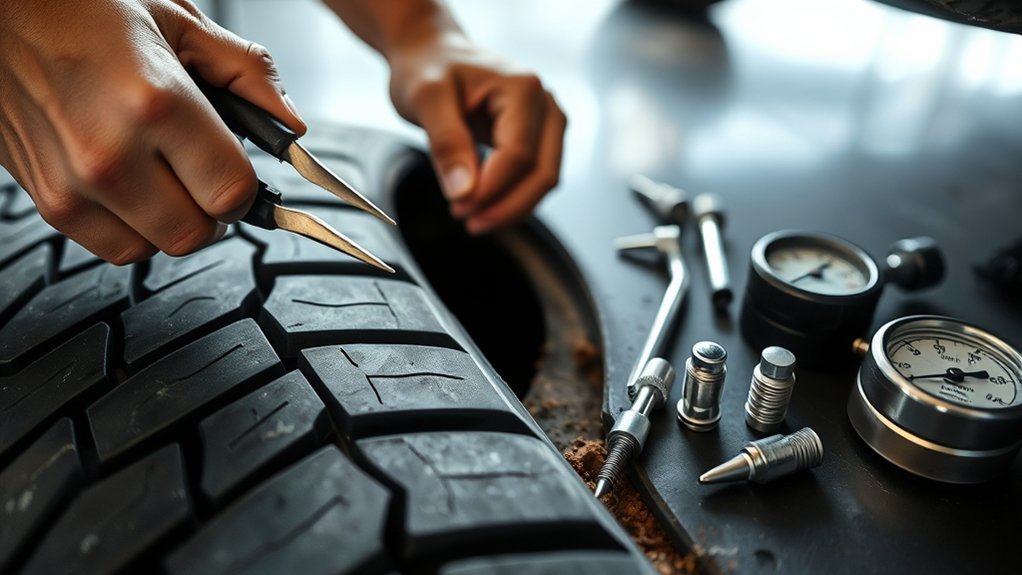
A punctured tire may be repairable, but the safe response is not to push an outside plug into the tire and keep driving. First, move the vehicle to a secure location, avoid driving on a flat tire, and install the spare or call roadside assistance. A permanent repair requires the tire to be removed from the wheel and inspected by a trained technician.
Quick Answer
To fix a punctured tire safely, stop driving, move to a secure location, and use a spare or roadside service. A permanent repair is possible only for a small tread-area puncture, usually no larger than 1/4 inch (6 mm), after the tire is removed and inspected. The proper repair fills the hole and patches the inner liner.
Key Takeaways
- Do not continue driving on a flat conventional tire; hidden heat and sidewall damage can make it unsafe to repair.
- Only small injuries in the approved tread repair area may qualify. Shoulder and sidewall damage require replacement.
- A trained technician must remove the tire from the wheel and inspect its inner liner before approving a repair.
- A permanent repair fills the injury with a rubber stem and seals the inner liner with a patch. A plug or patch alone is incomplete.
- Inflate the repaired tire to the vehicle placard pressure, torque the wheel fasteners to the vehicle specification, and monitor the tire for renewed pressure loss.
At a Glance
| Time Required | A roadside assessment takes only a few minutes. Inspection and permanent repair time varies by shop and tire condition. |
| Difficulty | Basic for locating a slow leak or installing a spare according to the owner’s manual; professional-level for permanent tire repair. |
| Tools Needed | Pressure gauge, flashlight, leak-detection solution, tire marker, and the vehicle’s spare-tire equipment. Permanent repair requires professional tire-service equipment. |
| Cost | Varies by service center, tire type, TPMS needs, and whether the tire can be repaired or must be replaced. |
Fix a Punctured Tire Safely
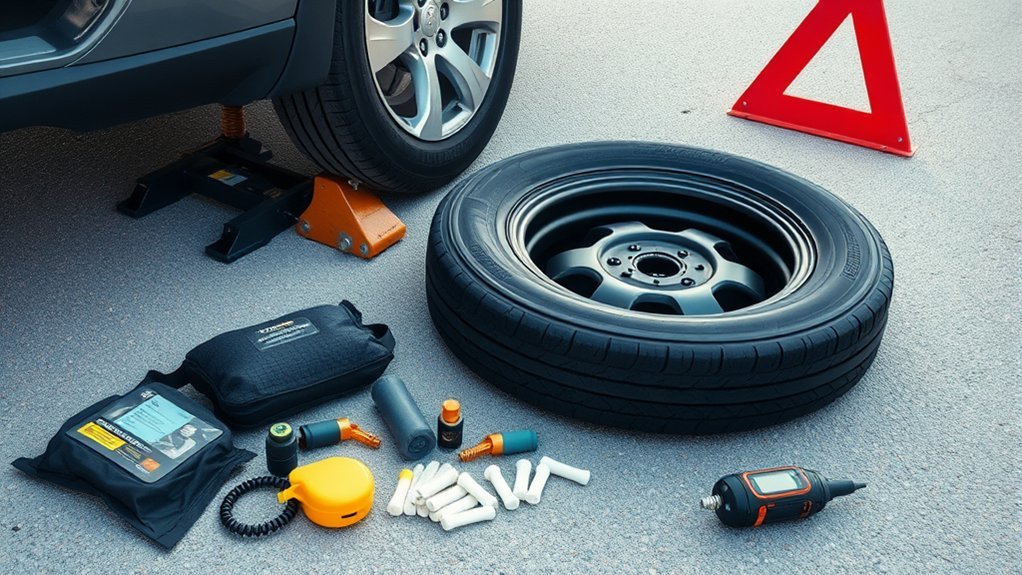
If a tire loses pressure while you are driving, hold the steering wheel firmly, ease off the accelerator, and avoid sudden braking or sharp steering. Move away from traffic when you can do so safely, switch on the hazard lights, set the parking brake, and have everyone wait in a protected location.
Warning: Do not attempt a roadside wheel change beside fast-moving traffic or on soft, sloped, or unstable ground. Move farther from traffic if possible or call roadside assistance. Never crawl underneath a vehicle supported only by its emergency jack.
Do not continue driving on a flat conventional tire. Even a short distance with little or no air can overheat and damage the sidewall, inner liner, or casing in ways that are not visible from outside. A tire that has been driven flat may require replacement even when the original nail hole is small.
If the tire is visibly torn, bulged, separated from the rim, or completely flat, do not try to restore it by adding air at the roadside. Install the spare according to the vehicle owner’s manual or arrange towing or roadside service.
A tire-pressure monitoring system warning does not identify the cause. Pressure loss can come from a tread puncture, leaking valve core, damaged valve stem, poor bead seal, cracked wheel, or temperature-related pressure change. The tire and wheel assembly must be inspected before the cause is confirmed.
Note: Run-flat and self-sealing tires have model-specific limits. Follow the tire and vehicle manufacturer’s instructions after any pressure-loss event, and tell the technician how far and how fast the vehicle was driven.
Check Whether the Punctured Tire Is Repairable
Repairability depends on much more than whether the tire still holds air. Under the U.S. Tire Manufacturers Association puncture-repair procedure, the injury must be confined to the approved tread repair area, measure no more than 1/4 inch (6 mm), and pass a complete internal inspection.
The tire manufacturer or service provider may use stricter limits. Run-flat, self-sealing, high-performance, foam-lined, commercial, or specialty tires can have additional repair restrictions.
Repairable Puncture Signs
A puncture may qualify for repair when all of the following conditions are met:
| Check | May Be Repairable | Replace or Obtain Further Inspection |
|---|---|---|
| Location | Approved tread repair area | Shoulder, belt edge, or sidewall |
| Injury size | No more than 1/4 inch (6 mm) | Larger than 1/4 inch or irregular tearing |
| Tire condition | No bulges, exposed cords, cracking, separation, or bead damage | Structural damage or severe deterioration |
| Tread depth | Above the treadwear indicators | At 2/32 inch in any tread area or worn to the indicators |
| Previous repairs | No overlap and no disqualifying prior damage | Overlapping injuries or an existing improper repair |
| Pressure-loss history | Tire was stopped promptly and passes internal inspection | Tire was driven flat or shows heat and abrasion damage |
The outside hole is only part of the damage. The tire must come off the wheel so a technician can inspect the inner liner, sidewalls, bead area, and casing.
When to Replace the Tire
Replace the tire instead of repairing it when any of these conditions are present:
- The puncture reaches the shoulder, belt edge, or sidewall.
- The injury is larger than 1/4 inch (6 mm) or has torn the surrounding rubber.
- The sidewall has a bulge, bubble, deep cut, exposed cord, or impact break.
- The bead is damaged or the tire will not seat correctly on the wheel.
- The tire has tread separation, severe cracking, irregular structural distortion, or excessive age-related deterioration.
- The tire was driven flat and has inner-liner abrasion, heat damage, cord damage, or sidewall creasing.
- The repair would overlap another repair or the tire contains an improper previous repair.
- The tread has reached 2/32 inch in any area or is worn to the treadwear indicators.
- The tire or vehicle manufacturer does not permit the proposed repair.
A treadwear grade or UTQG rating does not determine whether a puncture can be repaired. Repairability is based on the injury and the tire’s actual condition.
Find the Puncture and Measure the Damage
A nail or screw in the tread may mark the leak, but it is not always the only source of pressure loss. Check the tread, valve, bead area, and wheel for signs of damage. If an object remains embedded, leave it in place until the tire can be inspected unless the tire-service technician directs otherwise. Pulling it out can increase the rate of air loss.
If the tire remains partly inflated, has no visible structural damage, and can be checked in a secure location, apply a commercial leak-detection solution or mild soap-and-water solution. Escaping air will create growing bubbles. Mark each leak so it can be evaluated after the wheel is removed.
| Checkpoint | Possible Sign | Next Step |
|---|---|---|
| Tread | Bubbles around a nail, screw, cut, or small hole | Mark the area and obtain internal inspection |
| Shoulder or sidewall | Bubbles, cuts, swelling, or a bulge | Stop using the tire and replace it |
| Valve and valve core | Bubbles at the valve opening or base | Have the valve and TPMS hardware inspected |
| Bead and rim | Bubbles where the tire meets the wheel | Inspect for corrosion, debris, bead damage, or a bent wheel |
Pro Tip: Record the pressure shown by a reliable gauge and note how quickly it falls. This information can help the technician distinguish a slow puncture from a valve, bead, or wheel leak.
Remove the Tire for Internal Inspection
A permanent repair begins after the wheel assembly reaches a properly equipped tire-service facility. The technician removes the tire from the wheel so the complete inner liner, sidewalls, bead, and puncture channel can be examined.
According to the Tire Industry Association, this internal inspection is essential because a small tread puncture can be accompanied by sidewall or casing damage that is not visible from outside.
- The technician records the injury location and pressure-loss history.
- The tire is demounted with tire-service equipment.
- The inner liner is checked for abrasion, creasing, exposed cords, cuts, separation, heat damage, and previous repairs.
- The puncture angle and channel are inspected to confirm that the injury does not extend into the shoulder or belt edge.
- The valve, bead, wheel, and TPMS components are checked for additional leaks or damage.
- The technician approves repair only when the tire satisfies industry and manufacturer requirements.
Warning: Do not attempt to break the tire bead, remove the tire from the rim, or operate mounting equipment without proper training. Incorrect demounting or mounting can injure the operator and damage the tire, wheel, bead, or TPMS sensor.
[Products Worth Considering]

Get back on the road fast with this compact tire plug repair kit for tubeless tires. It includes self-vulcanizing rubber plugs, T-handle rasp and insert tools, and a storage box that fits in your glove compartment for easy access. Also included are a 4-way valve steam tool set with valve cores and caps for added roadside convenience.

TP-M13W combination repair unit kit includes wrapped stems with matching patches for fast, reliable tire repairs. It’s suitable for both radial and bias ply tires and is designed for chemical or heat vulcanization. Gray vulcanizing gum with blue backing helps create a strong bond, with the stem portion wrapped for added effectiveness.
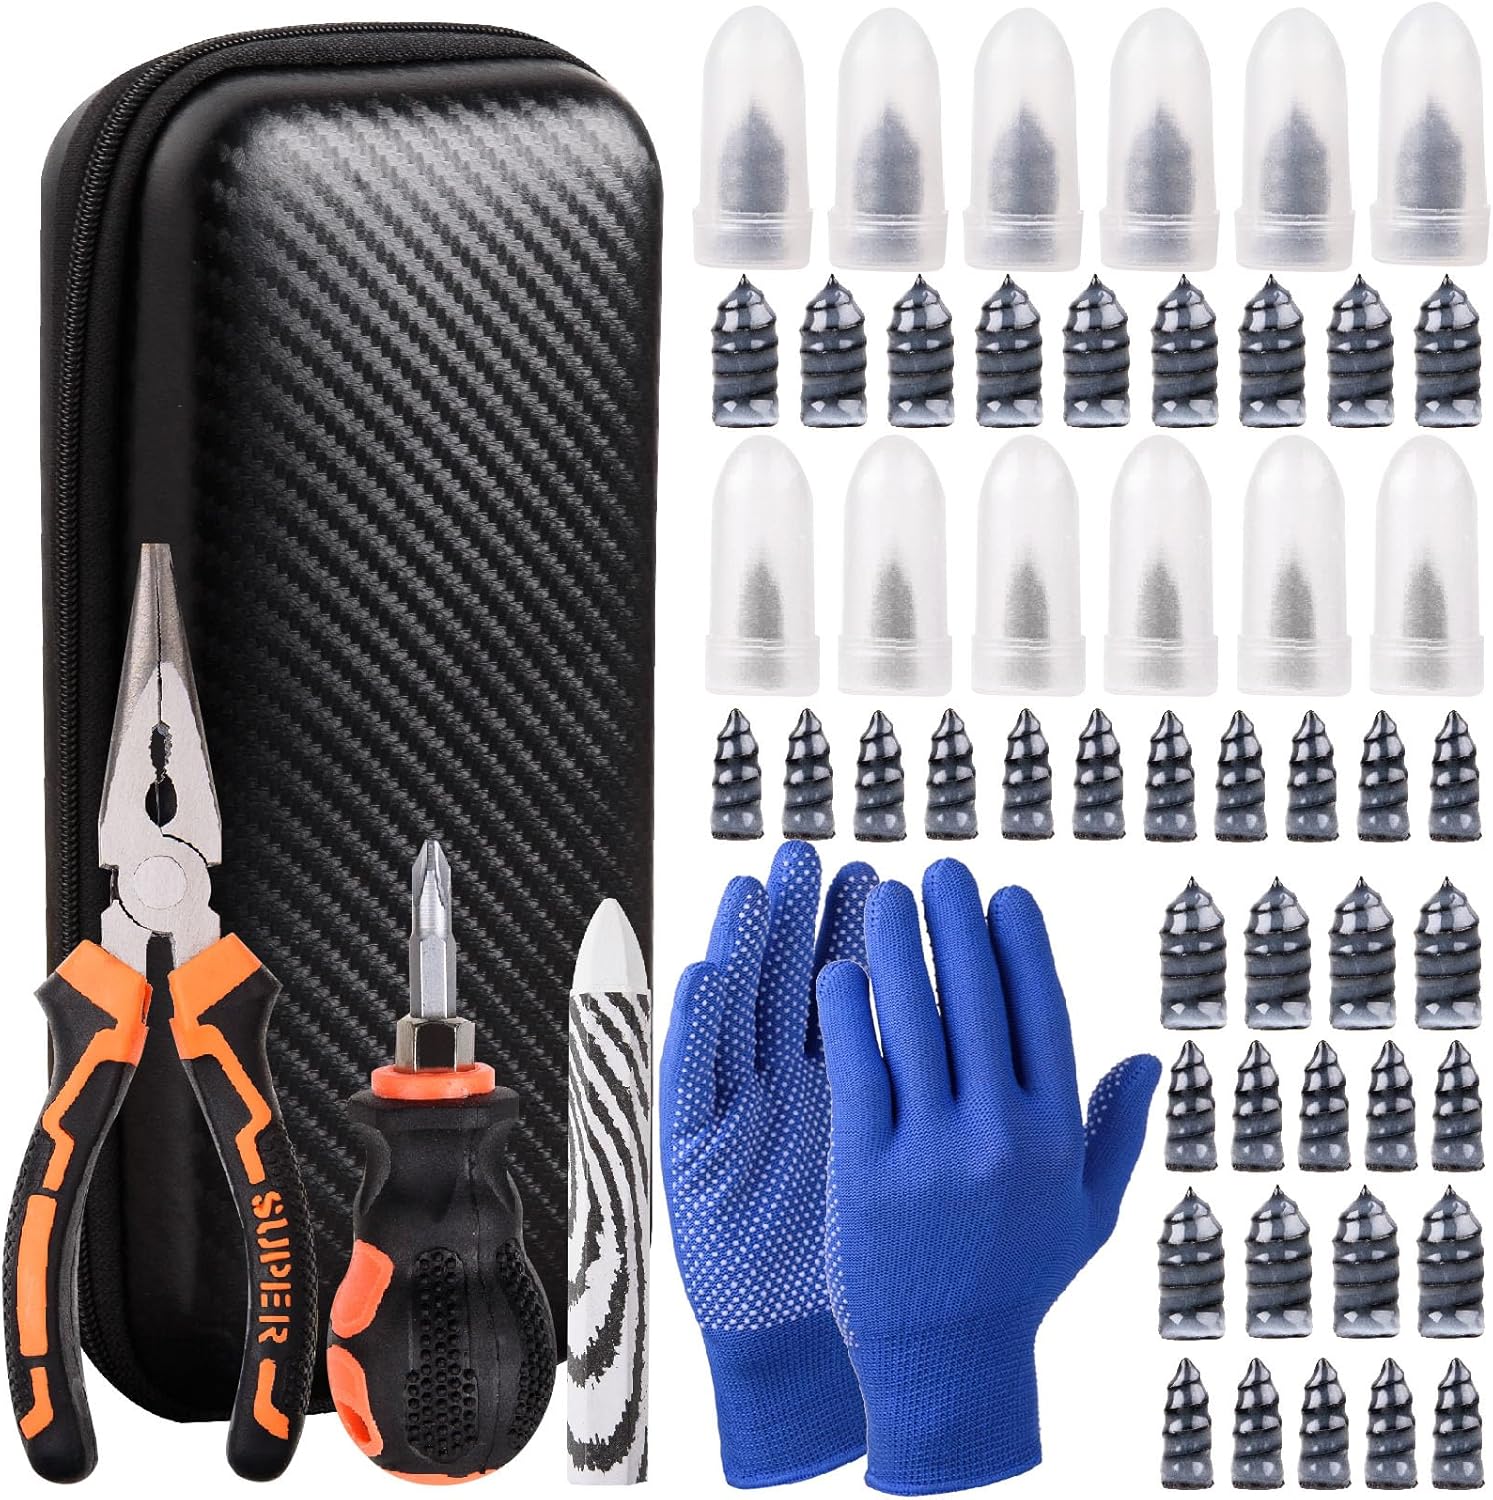
This tire sidewall puncture repair kit fixes flats fast without removing the tire, helping you get back on the road in minutes. It includes self-tapping repair nails, essential tools, gloves, and a portable storage bag for convenient roadside use. Designed for tubeless tires, it helps create a tight, leak-resistant seal for cars, motorcycles, trucks, SUVs, and ATVs.
Repair the Tire With a Stem and Patch
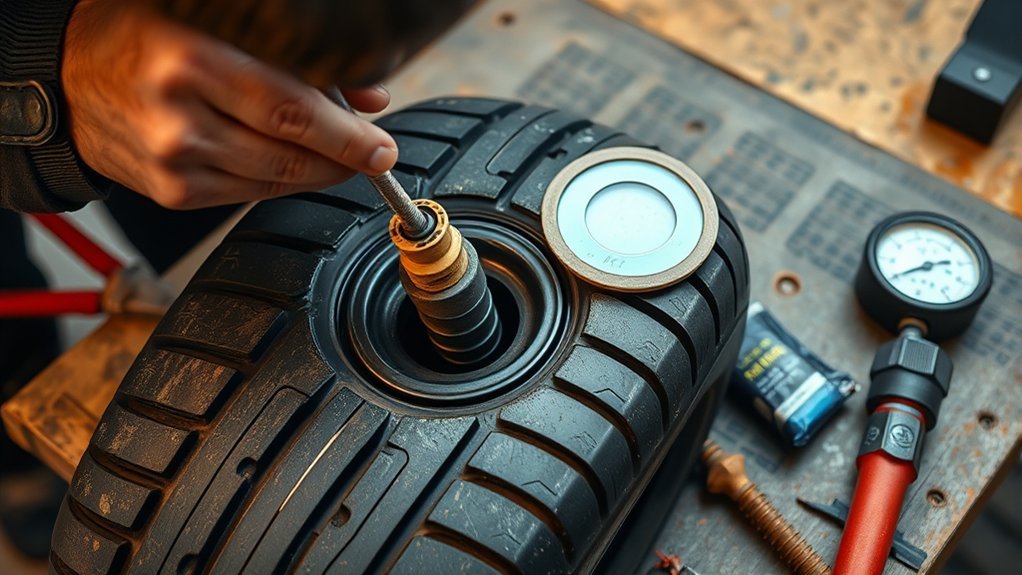
If the tire passes inspection, the technician repairs both parts of the injury: the channel through the tread and the opening in the inner liner. A common method uses a one-piece combination repair unit with a rubber stem attached to an inner patch. A separate stem and patch may also be used when the approved repair system calls for it.
- The penetrating object is removed and the injury angle is confirmed.
- The damaged channel is prepared to the repair-material manufacturer’s specification.
- The inner-liner area is cleaned and prepared without exposing or weakening the tire cords.
- A rubber stem fills the injury channel to help block moisture and debris.
- A patch seals the inner liner around the puncture.
- The repair is rolled or pressed into place and sealed according to the repair-system instructions.
- The tire is remounted, inflated safely, checked for leaks, and balanced when required.
A plug alone does not seal the inner liner, while a patch alone leaves the injury channel open to moisture. That is why neither method is considered a complete permanent repair by itself.
Understand Temporary Tire Repair Kits
An outside-in string plug, screw-style plug, mushroom-plug kit, or aerosol sealant may slow a leak long enough to reach a safer location. It does not replace demounting and internal inspection.
Use an emergency kit only when its instructions and the vehicle or tire manufacturer permit it. Follow every speed, distance, pressure, and operating limit supplied with the product. Stop driving if the tire continues losing pressure, vibrates, becomes hot, or handles abnormally.
Note: Tell the tire technician if a plug, sealant, or emergency inflator was used. The tire still needs to be removed and inspected before it can be approved for continued service.
[Products Worth Considering]

The Trivd Frol 1/2" air impact wrench delivers high performance torque up to 1500 ft-lbs with a twin hammer impact mechanism for strong, balanced blows. It features an ergonomic grip, compact lightweight design, and quick-stop control with 3 forward speeds up to 8000 RPM plus a reverse speed. Built for demanding automotive repair and tire shop work, the rear exhaust helps keep debris away from the surface.

This tire repair kit provides fast emergency puncture repair without removing the tire from the rim, helping you get back on the road quickly. Its screw plug system is designed for punctures in both tread and sidewall and includes a complete patch plug tool set with essential accessories. A portable storage bag makes it easy to carry for cars, trucks, SUVs, motorcycles, and heavy-duty applications.
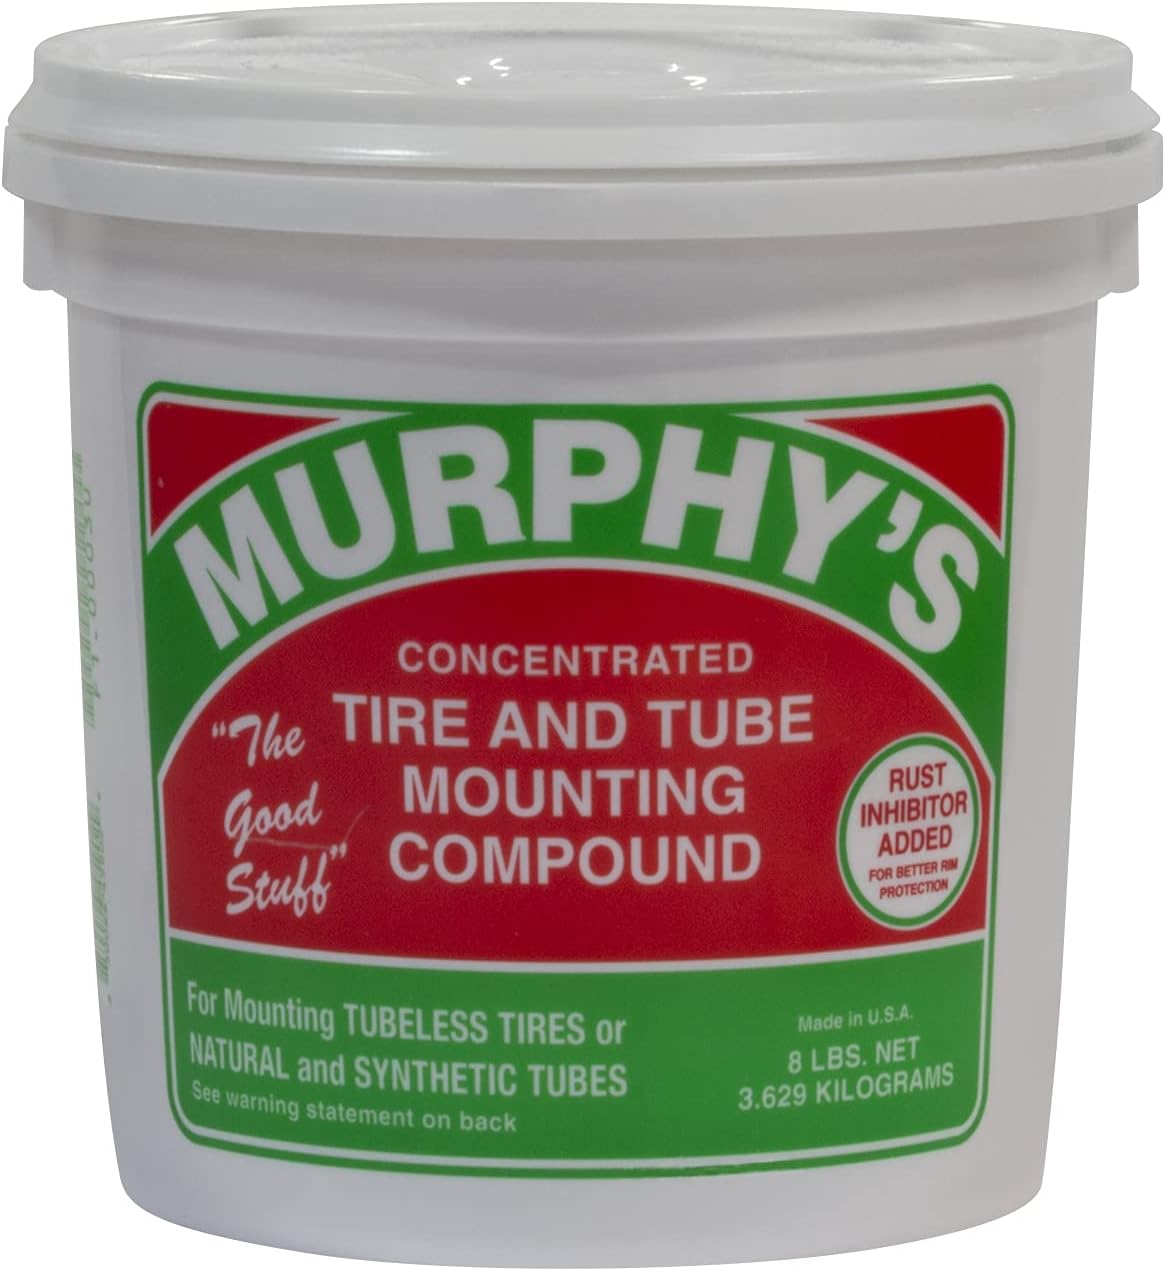
A concentrated tire and tube mounting compound designed to help simplify mounting rubber tires and tubes on passenger, semi truck, construction, and OTR applications. Its ultra-thick formula packs beads effectively and includes rust inhibitors to help protect against corrosion during use.
Know When a Tire Can’t Be Repaired
Some damage automatically places a tire outside normal passenger-tire repair limits. Do not ask a shop to “patch it anyway” when the tire has structural damage or falls outside the approved repair area.
- Shoulder or sidewall injury: These areas flex heavily and are outside the normal tread repair zone.
- Large or irregular injury: A hole larger than 1/4 inch, a long cut, or torn rubber cannot receive a standard puncture repair.
- Bulge or bubble: Swelling indicates damaged internal cords and requires replacement.
- Driven-flat damage: Inner-liner abrasion, sidewall creasing, melted rubber, or exposed cords mean the casing has been compromised.
- Overlapping injuries: Repairs cannot overlap or be placed where nearby damage weakens the same casing area.
- Improper earlier repair: An existing outside-only or otherwise disqualifying repair can prevent another repair.
- Insufficient tread: Tires worn to 2/32 inch or the treadwear indicators should be replaced.
- Manufacturer restriction: Some run-flat, self-sealing, specialty, or high-performance tires have stricter rules.
Replacement is also appropriate when the tire has severe weather cracking, bead damage, exposed material, tread separation, or a condition that prevents it from holding pressure reliably.
Reinstall and Inflate the Tire Properly
After the tire is repaired, the service technician remounts it on the wheel, seats the beads, checks for leaks, and verifies that the tire and TPMS components are functioning correctly. The wheel can then be installed on the vehicle.
Wheel Reinstallation Steps
Follow the vehicle owner’s manual because lift points, fastener type, torque, and spare-tire procedures vary by model.
- Park on firm, level ground, set the parking brake, and secure the vehicle as directed by the owner’s manual.
- Inspect the wheel-mating surfaces and wheel fasteners for dirt, corrosion, or damage.
- Place the wheel squarely against the hub.
- Start every lug nut or wheel bolt by hand to avoid cross-threading.
- Snug the fasteners gradually in the sequence specified by the vehicle manufacturer.
- Lower the vehicle as directed and tighten the fasteners with a calibrated torque wrench to the specified value.
- Follow any manufacturer instruction for a later torque recheck.
Do not apply lubricant or anti-seize compound to wheel fasteners unless the vehicle manufacturer specifically requires it. Lubrication can change the clamping force produced by a given torque value.
Proper Inflation Pressure
Set the tire pressure to the vehicle manufacturer’s recommended cold pressure. The correct value is normally printed on the Tire and Loading Information label on the driver-side door edge or doorjamb and is also listed in the owner’s manual.
Do not use the maximum pressure molded on the tire sidewall as the routine inflation target. That marking is a tire limit, not the vehicle’s recommended operating pressure.
The National Highway Traffic Safety Administration recommends checking tire pressure when tires are cold, meaning the vehicle has not been driven for at least three hours. Check all tires, including the spare, with a reliable gauge.
Final Safety Check
- Confirm that the valve cap is installed and the valve is not leaking.
- Check the tread, sidewall, bead, and wheel for anything unusual.
- Verify the cold pressure with a reliable gauge.
- Confirm that all wheel fasteners were tightened to specification.
- Reset or relearn the TPMS only when required by the vehicle procedure.
- Drive cautiously at first and stop if you feel vibration, pulling, instability, or abnormal noise.
- Recheck the pressure after the tire has cooled and again over the next several days.
If pressure drops again, do not keep topping it off without finding the cause. Return to the tire-service provider for another inspection.
Book Tire Repair Service When Needed

Arrange professional service whenever a tire has a penetrating object, repeated pressure loss, visible damage, a TPMS warning that returns after inflation, or any history of being driven while severely underinflated.
Ask the service provider whether it follows USTMA or TIA repair procedures. Confirm that the tire will be removed from the wheel, inspected internally, and repaired with a method that fills the injury channel and seals the inner liner. Service time varies by shop, tire type, wheel design, damage, and whether TPMS work or replacement is required.
If replacement is necessary, use a tire with the correct size, load index, speed rating, and construction specified by the vehicle manufacturer. The USTMA tire-replacement guidance recommends replacing all four tires when practical. If only two are replaced, the new tires should normally be installed on the rear axle.
AWD and 4WD vehicles may require closely matched tread depths or tire circumferences to protect the drivetrain and preserve stable operation. Follow the vehicle manufacturer’s limits before replacing only one or two tires.
[Products Worth Considering]

AUTOWN’s 68-piece tire repair kit helps you fix punctures and plug flats quickly and effectively. It includes a T-handle and spiral probe tool for easy insertion, while the steel patch and plug materials are designed for strong adhesion and long-lasting airtight performance. The compact case makes it convenient for roadside repairs across a wide range of vehicles.

ZEHXI’s 60 pack screw-in tire plug kit uses high-grade rubber plugs with sealing threads to help repair minor punctures quickly without removing the tire. The set includes two plug sizes, so you can match different puncture openings and keep repairs organized in a transparent case. A handy screwdriver is included for fast installation, helping drivers get more mileage from existing tires while being ready for flat-tire emergencies.
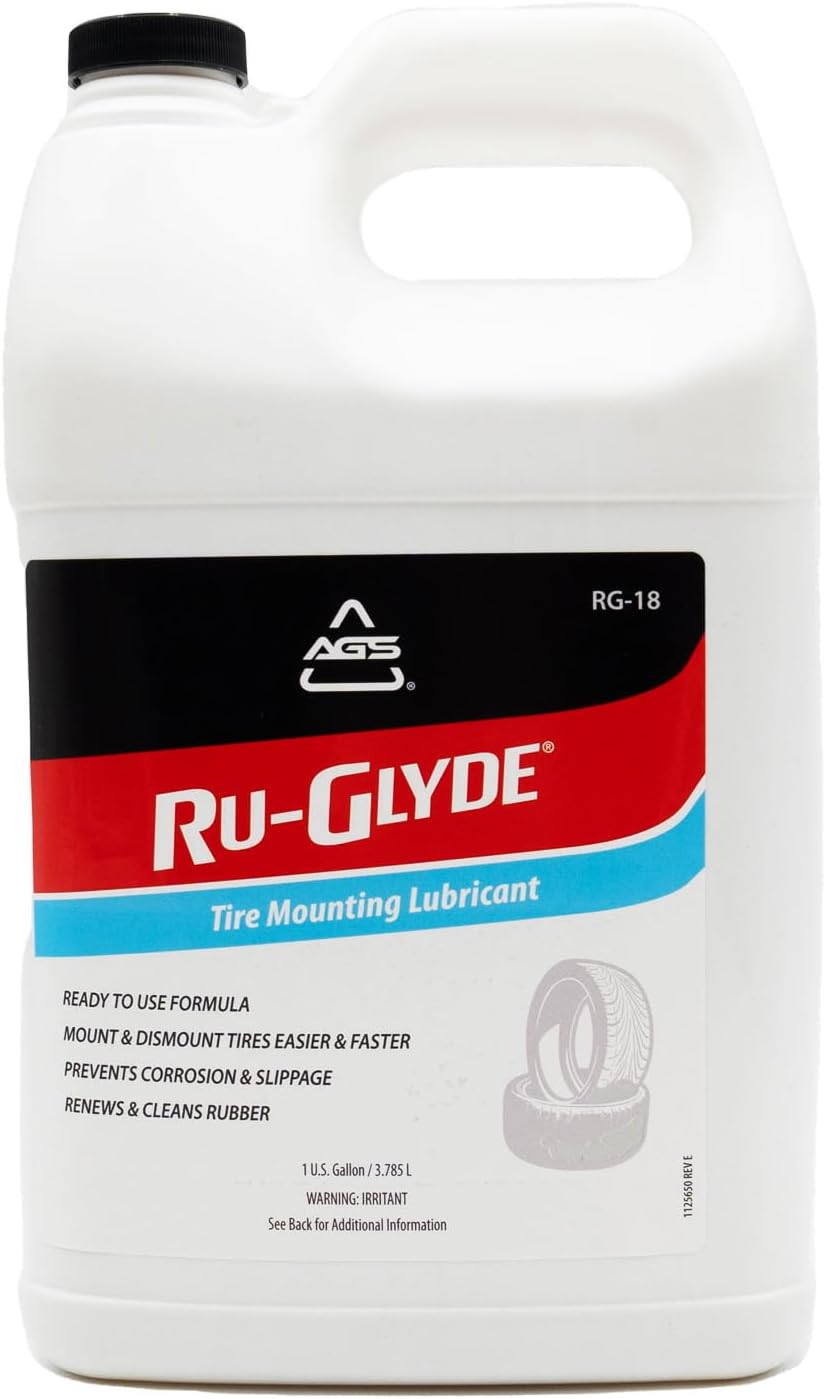
Ru-Glyde tire mounting lubricant from AGS seats tire beads smoothly on the first try with a thick, stay-put formula. It is ready to use with no mixing or dilution, helps prevent rim rust, and dries completely without causing bead slip residue. The water-based formula also conditions aged rubber, making it useful for sidewalls, gaskets, and door seals while remaining safe for tire, wheel, and technicians.
Frequently Asked Questions
What is the 3 tire rule?
There is no universal tire-industry standard called the “3 tire rule.” USTMA recommends replacing all four tires at once when practical. If only two are replaced, the new tires should normally go on the rear axle. AWD and 4WD vehicles may have additional matching requirements, so consult the vehicle manufacturer before replacing fewer than four.
What is the correct order for using a tire repair kit?
Move to a safe location, read the kit instructions, confirm that the damage is within the kit’s stated limits, and follow its installation and inflation procedure exactly. Treat the result as temporary unless the tire has been demounted, inspected internally, and repaired with an approved stem-and-patch method. Observe every speed and distance limit and obtain professional inspection promptly.
How do you fix a punctured tire step by step?
Stop driving, secure the vehicle, install the spare or arrange roadside service, and take the damaged tire to a trained technician. The technician removes the tire from the wheel, inspects it internally, confirms that the puncture is repairable, fills the injury channel with a rubber stem, patches the inner liner, remounts the tire, checks for leaks, and inflates it to the vehicle specification.
Can you just patch a tire with a nail in it?
No. A patch by itself seals the inner liner but does not fill the channel made by the nail. A complete repair fills the channel with rubber and seals the inner liner with a patch after the tire has been removed and inspected. The injury must also be in the approved tread area and no larger than 1/4 inch.
Can a puncture near the tire sidewall be repaired?
Normal passenger-tire puncture repairs are limited to the approved tread repair area. An injury in the shoulder, belt edge, or sidewall is not repairable under standard USTMA and TIA puncture-repair procedures. Replace the tire.
Can you drive a punctured tire to a repair shop?
Do not drive a conventional tire that is flat or rapidly losing pressure. Install the spare or call roadside assistance. A run-flat tire may allow limited travel, but only within the tire and vehicle manufacturer’s stated speed and distance limits. Any tire driven with low or zero pressure still needs professional inspection.
Conclusion
A punctured tire can return to service only when the damage is small, confined to the approved tread repair area, and free of hidden structural problems. Stop driving before low pressure damages the casing, use a spare or roadside service, and have a trained technician remove the tire from the wheel.
The correct permanent repair fills the puncture channel and patches the inner liner. Shoulder damage, sidewall damage, large holes, bulges, overlapping repairs, worn tread, or driven-flat damage require replacement. After service, use the vehicle’s specified pressure and wheel-fastener torque, then monitor the tire for renewed pressure loss.
Sources
- U.S. Tire Manufacturers Association — Puncture Repair Procedures — repairable injury size, approved tread area, internal inspection, repair construction, and overlapping-repair limits.
- Tire Industry Association — Tire Repair — technician requirements, demounting, plug-and-patch principles, tread-depth limits, and temporary-repair guidance.
- National Highway Traffic Safety Administration — TireWise — cold inflation pressure, vehicle placards, tire inspection, treadwear, and TPMS guidance.
- Michelin — Can My Tire Be Repaired? — driven-flat damage, sidewall restrictions, professional inspection, and combined repair requirements.
- U.S. Tire Manufacturers Association — Replacing Tires — replacement specifications, four-tire replacement, and rear-axle placement when replacing two.

