
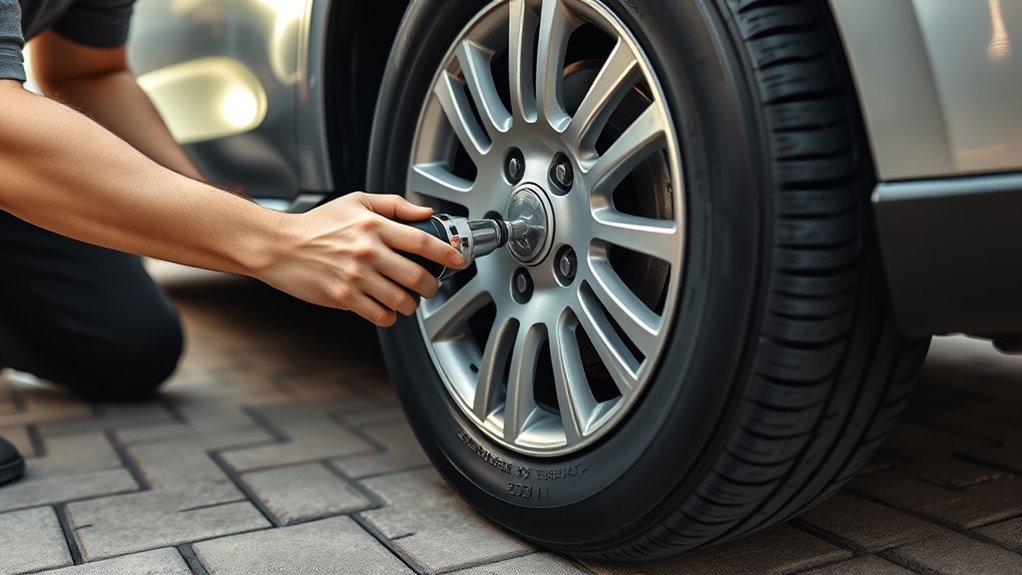
Checking tire pressure is a quick safety habit that protects your tires, fuel economy, and handling. The key is to measure pressure when the tires are cold, use the PSI listed by your vehicle manufacturer, and adjust each tire in small steps with a reliable gauge.
Quick Answer
To check tire pressure, park for at least three hours, find the recommended cold PSI on the driver-side door jamb or owner’s manual, press a reliable gauge firmly onto each valve stem, compare the reading to the recommended PSI, then add or release air as needed.
Key Takeaways
- Check tire pressure when tires are cold because heat from driving raises the reading.
- Use the PSI on the vehicle placard or owner’s manual, not the maximum PSI printed on the tire sidewall.
- Check all tires, including the spare, at least once a month and before long trips.
- A TPMS light is helpful, but it does not replace manual checks with an accurate gauge.
At a Glance
| Time Required | 5–10 minutes |
| Difficulty | Easy |
| Tools Needed | Tire pressure gauge, air compressor or air pump, and your vehicle’s recommended PSI |
| Cost | Usually $5–$30 for a gauge; many gas stations offer paid or free air |
Check Tire Pressure Only When Tires Are Cold
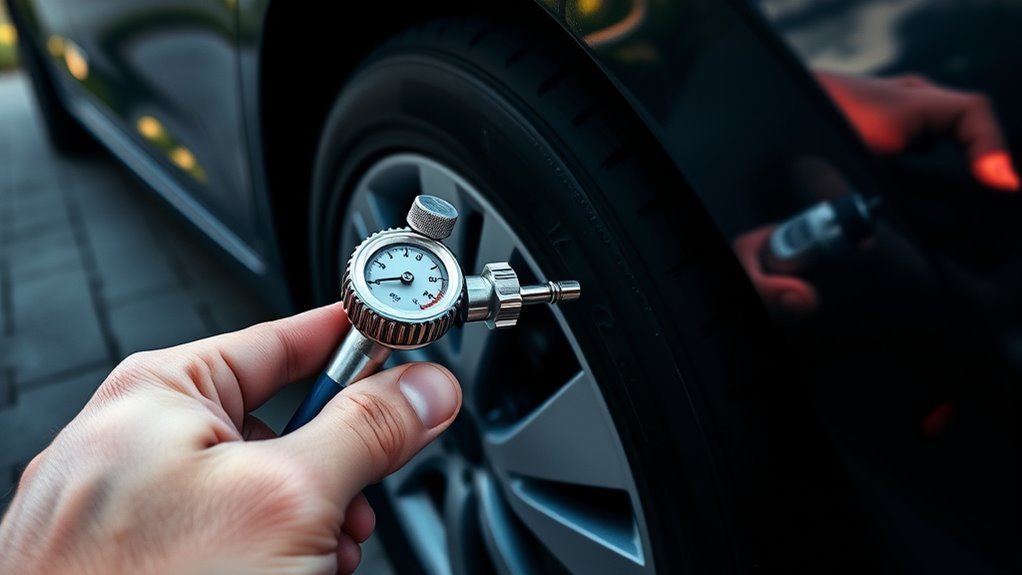
Manufacturers set tire pressure recommendations as cold tire pressure. According to the National Highway Traffic Safety Administration, cold means the tire has not been driven on for at least three hours. That gives you the most accurate baseline reading.
Driving heats the air inside the tire, which raises pressure and can make a low tire look normal. For the most reliable reading, check first thing in the morning or after the vehicle has been parked for several hours.
Note: Tire pressure commonly changes by about 1 PSI for every 10°F change in temperature. Recheck pressure after major weather swings, especially during seasonal changes.
Locate Your Vehicle’s Recommended PSI
Before adding or releasing air, find your vehicle’s recommended PSI. The best places to check are the Tire and Loading Information label on the driver-side door edge or door jamb, the glove box on some vehicles, or the owner’s manual.
Do not use the number molded into the tire sidewall as your target pressure. That number is the tire’s maximum pressure limit, not the pressure chosen by the vehicle manufacturer for your car’s weight, handling, ride comfort, and load rating. FuelEconomy.gov also warns drivers not to use the maximum pressure printed on the sidewall as the recommended inflation pressure.
Many vehicles list different recommended pressures for the front and rear tires. Some also include separate recommendations for heavy loads, towing, high-speed driving, or compact spare tires. Write down the front, rear, and spare PSI before you start.
Warning: Never inflate a tire beyond the maximum pressure printed on the tire sidewall. If your placard is missing or unreadable, confirm the correct pressure through the owner’s manual, dealer, or vehicle manufacturer.
Essential Tools: Gauges, Compressors, and Extras
You only need a few simple tools to check and correct tire pressure safely:
- Tire pressure gauge: Digital, dial, or stick gauges can work, but the gauge should be accurate, clean, and in good condition.
- Air compressor or inflator: A portable inflator with auto shutoff is convenient, but a gas-station air pump also works.
- Valve caps: Replace missing caps to help keep dirt and moisture out of the valve stem.
- Simple log: A note in your phone or glove-box notebook helps you spot slow leaks over time.
[Products Worth Considering]

Check tire pressure quickly and accurately with the Accutire MS-4021B digital gauge, featuring a large backlit LCD for easy visibility. The angled head and rubber-coated handle make it comfortable to grip, while unit switching lets you read psi, bar, kPa, or kg/cm2. An automatic shutoff helps preserve battery life, and it measures 5–150 PSI in small increments for confident tire maintenance.

The TOOLITIN floor bike pump delivers high pressure performance with an easy-to-read gauge so you can dial in the right tire pressure for safer rides. It is compatible with both Presta and Schrader valves and features a stable, durable design for efficient pumping. Suitable for road, MTB, and hybrid tires as well as inflating sports balls and other inflatables, it also includes ball and bladder needles and convenient accessory storage.

The Powools cordless tire inflator delivers fast inflation up to 150 PSI with a built-in digital display and auto shut-off to prevent over-inflation. Powered by rechargeable batteries, it works without an external power source and includes multiple preset modes plus a custom mode for different inflatables. A set of interchangeable nozzles and a multi-mode LED light (lighting, alarm, SOS) make it useful for cars, motorcycles, bicycles, and sports balls.
Recommended Gauge Types
A digital tire gauge is easy to read and often includes a backlit screen, but it needs working batteries. A dial gauge is durable and readable, especially when it has a pressure-release button. A stick gauge is small and inexpensive, but it is usually less precise and easier to misread.
Whichever type you choose, keep it dry, protect the tip from dirt, and compare it occasionally with another trusted gauge. If a gauge is dropped, cracked, corroded, or gives inconsistent readings, replace it.
Portable Air Compressors
A portable air compressor lets you inflate tires at home, at work, or on the roadside. Choose a unit that can reach your vehicle’s required PSI and, ideally, includes a preset target-pressure function with automatic shutoff.
To use one, connect the hose squarely to the valve stem, set the target pressure if the compressor allows it, inflate in short bursts, and recheck with your handheld gauge. Built-in compressor gauges are useful, but your personal gauge should be the final check.
Read Digital, Dial, and Stick Gauges Correctly
The goal is the same with every gauge: create a tight seal on the valve stem, stop air from hissing out, and read the pressure without wiggling the gauge.
[Products Worth Considering]

Keep your tires properly inflated with this analog VONDIOR tire pressure gauge, designed for fast, easy readings without batteries. The swiveling, two-axis hose and large glow dial help you measure at any tire angle with instant visibility. Built with a protective rubber shield, it supports durable, low-maintenance use for cars and trucks.

This all-in-one air compressor accessories kit includes a tire inflator with gauge for car tires and a combined air chuck setup for easier inflation. It also features a durable 1/4 inch polyurethane air hose for connecting compressors to air tools, plus a heavy-duty blow gun and industrial hose fittings for cleaning and routine projects. Ideal for keeping your air system ready for inflating, cleaning, and quick-connect tool use.
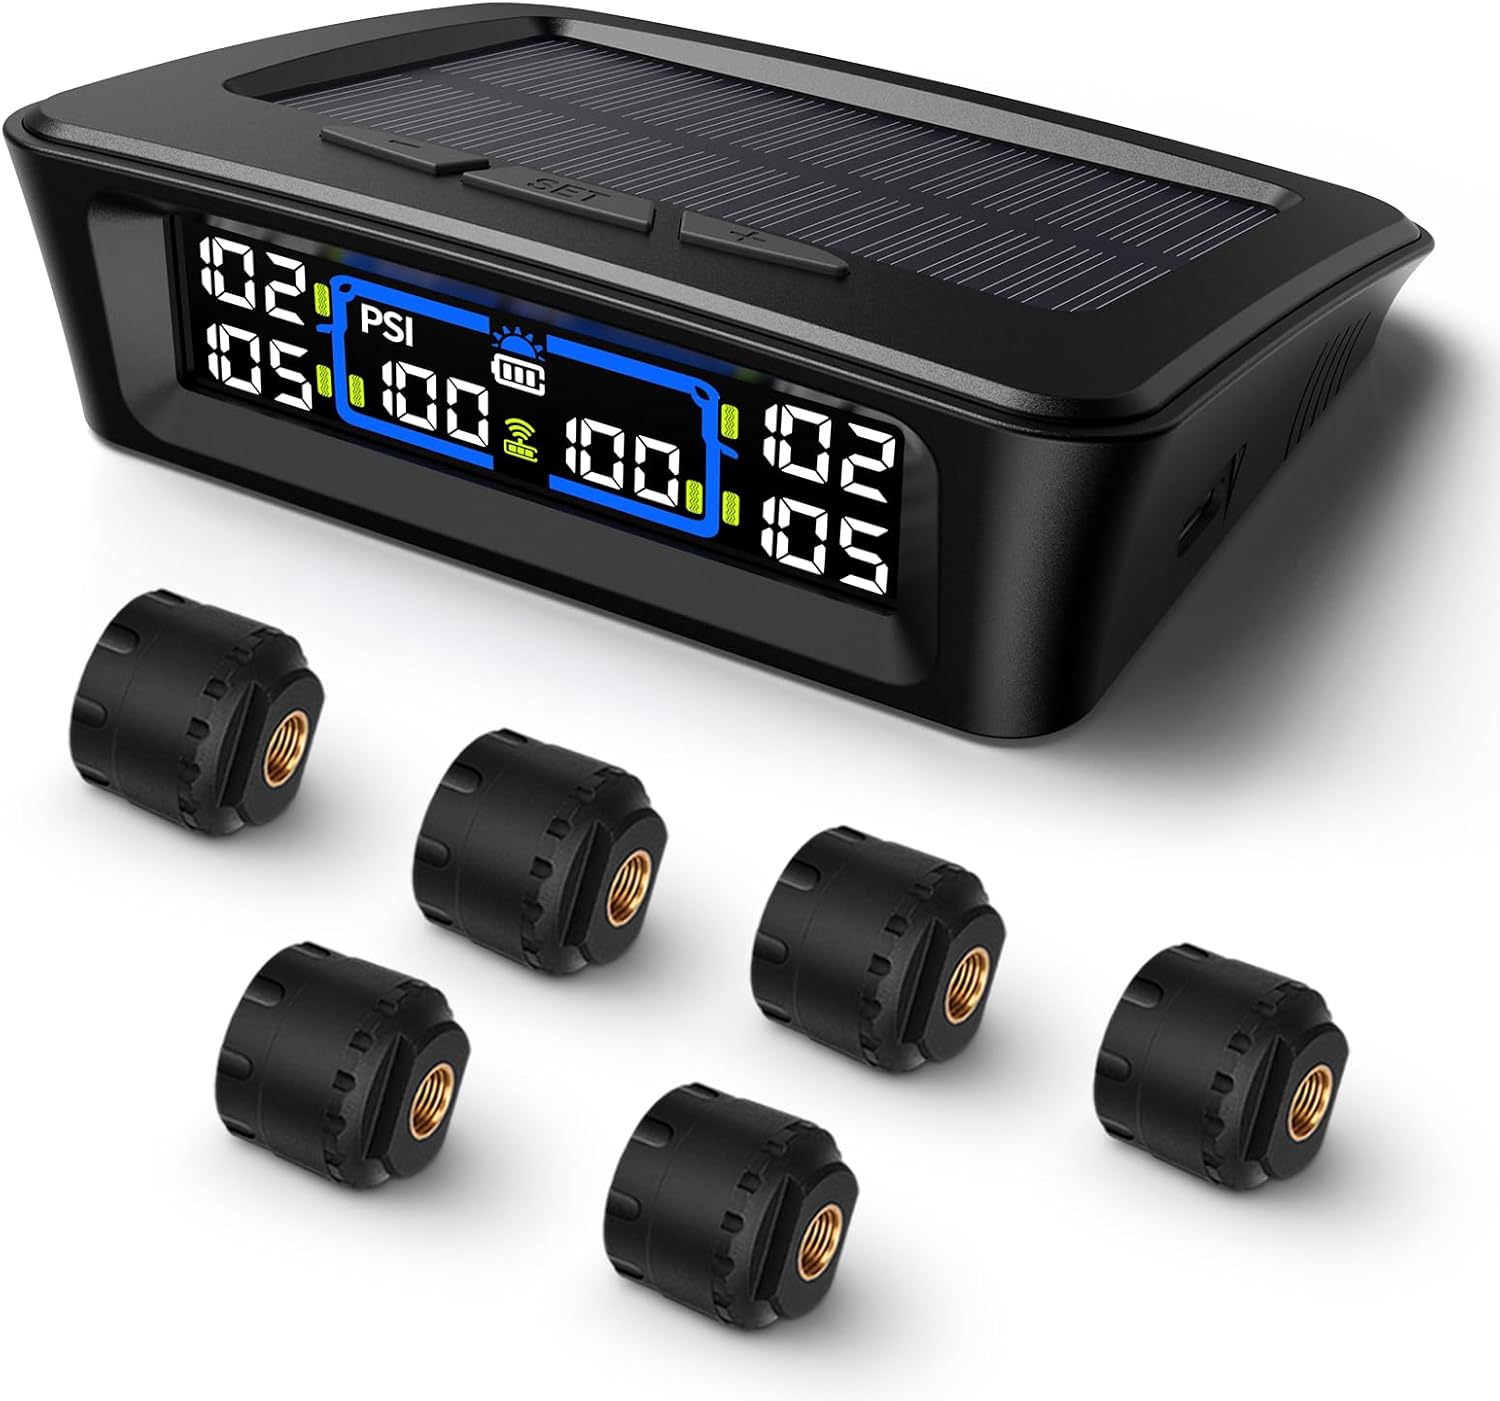
The Tymate TM12 RV TPMS delivers real-time tire pressure and temperature monitoring with a stable 433Hz display for safer long-distance driving. It supports simultaneous monitoring across vehicle and trailer zones, includes six alarm modes for pressure, temperature, leakage, battery, and signal loss, and features easy DIY installation with auto calibration. Power is supplied via USB-C charging or solar recharging, with a wide 0–144 PSI range and up to 50 ft signal coverage for RVs and towable trailers.
Read Digital Displays
- Remove the valve cap and press the digital gauge squarely onto the valve stem.
- Hold it firmly until the display locks or stabilizes.
- Read the PSI on the screen immediately.
- Replace weak batteries if the display fades, flickers, or gives inconsistent readings.
Interpret Dial Gauges
- Check that the needle rests at zero before measuring.
- Press the gauge straight onto the valve stem until the hissing stops.
- Hold the gauge steady and read the needle from directly above to avoid parallax error.
- Use the release button, if included, to bleed air slowly when the tire is overfilled.
Use Stick Indicators
- Inspect the sliding stick for cracks, bends, or stuck markings.
- Press the gauge firmly and perpendicular to the valve stem.
- Read the number where the stick stops extending.
- Cross-check with a digital or dial gauge when exact pressure matters.
Step-by-Step: Take an Accurate Pressure Reading
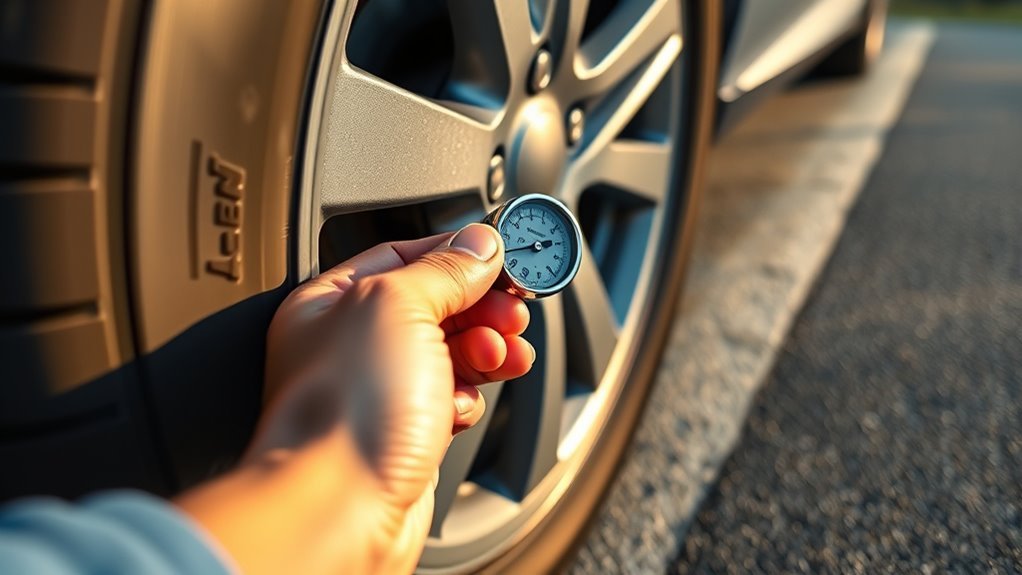
- Park and let the tires cool. Wait at least three hours after driving, or check before the vehicle has been driven.
- Find the correct PSI. Use the driver-side door placard, owner’s manual, or manufacturer guidance.
- Remove the valve cap. Put it in your pocket so it does not roll away.
- Press the gauge firmly onto the valve stem. A short hiss is normal; a steady hiss means the gauge is not sealed.
- Read and record the PSI. Check all four tires and the spare if accessible.
- Compare readings to the recommended PSI. Remember that front and rear specs may be different.
- Replace each valve cap securely. This helps protect the valve from debris and moisture.
Pro Tip: Check tires in the same order every time, such as front-left, front-right, rear-right, rear-left, then spare. A consistent pattern makes it harder to miss one.
Pump Tires to Correct Tire Pressure and Recheck
After recording each tire’s cold PSI, bring low tires up to the recommended pressure. Use short bursts instead of one long fill, because small adjustments are easier to control.
- Attach the compressor nozzle firmly to the valve stem.
- Add air in short bursts, then stop and check the pressure.
- If the tire is still low, add more air and recheck.
- If the tire is too high, press the valve core briefly to release a small amount of air.
- Recheck until the tire matches the recommended cold PSI.
- Repeat for each tire and record the final readings.
Proper inflation matters for more than tire wear. FuelEconomy.gov reports that keeping tires properly inflated can improve gas mileage by 0.6% on average and up to 3% in some cases.
Under-inflated tires can lower gas mileage by about 0.2% for every 1 PSI drop in the average pressure of all tires.
[Products Worth Considering]

Get quick, reliable tire readings with a backlit digital gauge that seals easily to valve stems for accurate 0.1 increments. Switch units on demand and check pressure on cars, trucks, motorcycles, and bicycles using the included Presta-to-Schrader adapter. The gauge powers with AAA batteries and automatically shuts off to help save battery life.

AstroAI’s calibrated digital tire pressure gauge delivers precise readings across a 0–150 PSI range, with high clarity from a backlit LCD. Built for everyday road use, it features one-button operation, an anti-slip ergonomic grip, and support for multiple pressure units plus auto shutoff. Powered by AAA batteries, it’s an all-weather essential for checking tire health and TPMS warnings.
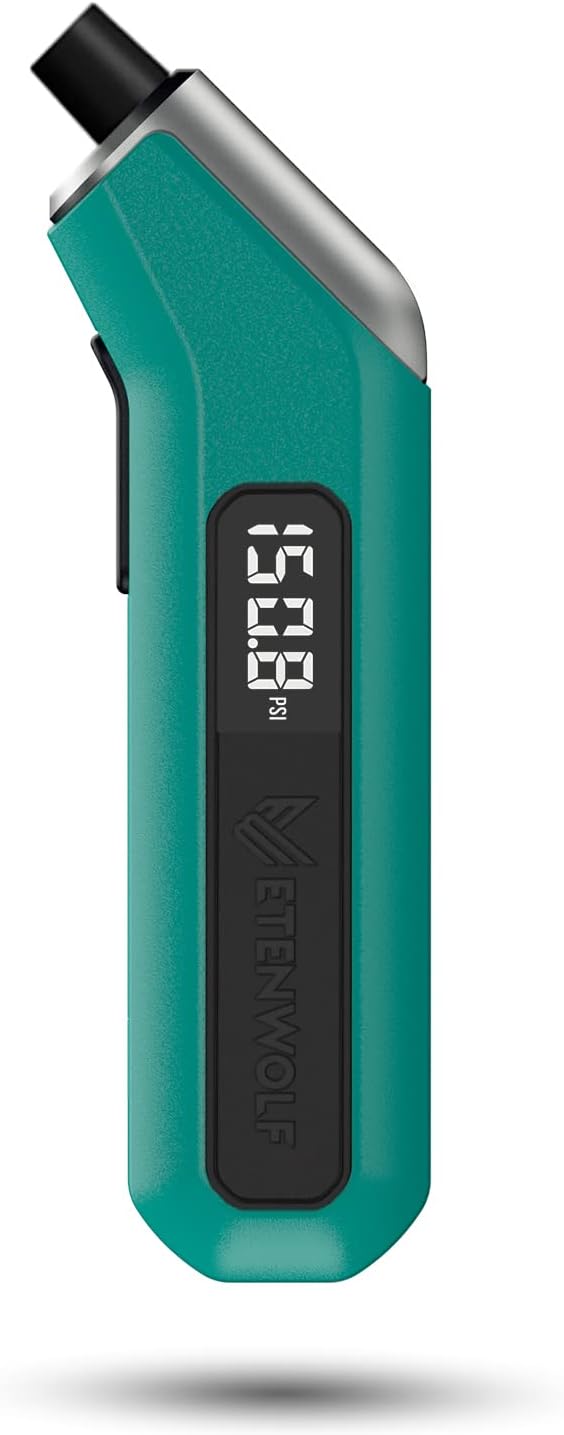
ETENWOLF T300 is a calibrated digital tire pressure gauge designed for reliable readings across low and high pressure ranges. It includes thermal compensation for stable performance in extreme cold or heat, an LED light for visibility, and an auto shut-off to help preserve battery life. Ideal for pickups, RVs, and heavy-duty vehicles, it delivers accurate PSI measurements with sturdy durability.
Adjust for Hot Tires and Temperature Changes
Cold readings are best, but sometimes you may need to check pressure after driving. If a tire looks low, is triggering a warning, or feels unsafe, do not ignore it just because it is hot.
The NHTSA advises filling a suspected underinflated hot tire to the vehicle’s recommended cold inflation pressure, then checking and adjusting it again once the tire is cold. This is safer than driving on a significantly underinflated tire.
Temperature also affects pressure. AAA explains that tires can lose about 1 PSI for every 10°F drop in temperature. That is why a tire that was correct in warm weather may trigger a TPMS warning after a cold night.
Avoid These Common Tire-Pressure Mistakes
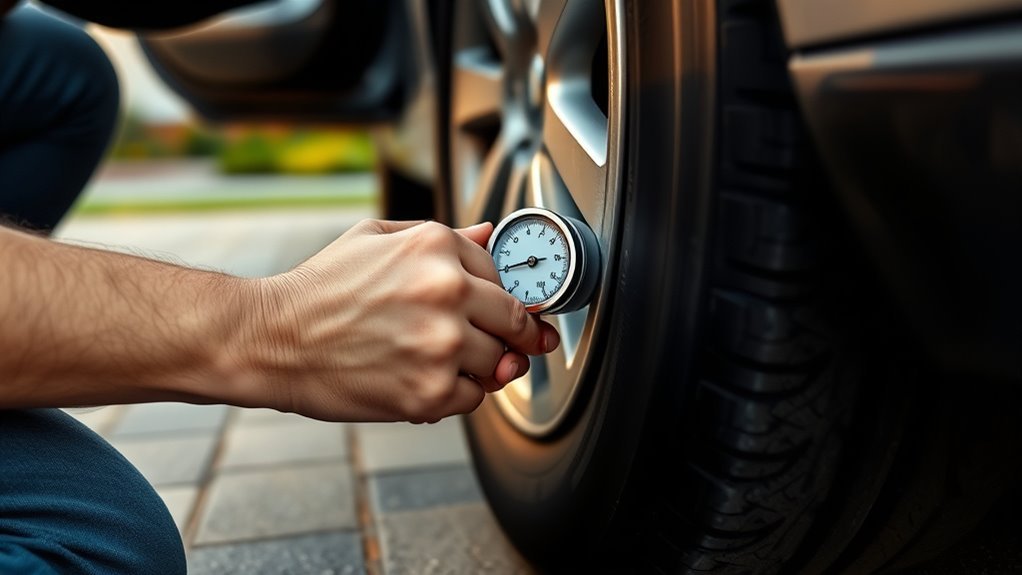
Most tire-pressure problems come from a few avoidable mistakes: checking when tires are hot, using the wrong PSI target, trusting an inaccurate gauge, or ignoring a slow leak.
Check Tires When Cold
Hot tires can read higher than they really are when cooled. For routine maintenance, wait until the vehicle has been parked for at least three hours and out of direct driving heat. Check more often during sudden temperature changes.
Avoid Overinflation Errors
Overinflation can cause the center of the tread to wear faster and may reduce ride comfort or traction. Add air in small steps, recheck often, and bleed air slowly if the tire goes above the recommended PSI.
Do not inflate to the sidewall maximum unless the vehicle manufacturer specifically instructs it for your setup. The Bridgestone tire maintenance and safety manual explains that the sidewall maximum is the maximum permissible pressure for the tire, while the vehicle manufacturer’s recommendation accounts for the vehicle’s load, ride, and handling.
Use Accurate Gauges Only
Gas-station gauges can be worn, dropped, or poorly calibrated. Keep your own gauge in the vehicle and use it as your main reference. If two gauges disagree by several PSI, compare them against a trusted shop gauge or replace the suspect one.
Tire Pressure Light On? Quick Diagnostics and Fixes
A tire pressure warning light usually means at least one tire is significantly underinflated. It can also appear during cold weather, after tire service, or when a TPMS sensor has a fault.
- Slow down and inspect safely. Pull over if the vehicle feels unstable or a tire looks visibly low.
- Check all tires with a gauge. Do not rely only on appearance; underinflated tires can be hard to see.
- Inflate low tires to the recommended PSI. Recheck after adding air.
- Drive briefly if your vehicle requires it. Some TPMS lights turn off only after driving or after a manual reset.
- Watch for flashing lights. Under federal TPMS rules in 49 CFR 571.138, a flashing TPMS indicator followed by a steady light can indicate a system malfunction.
Warning: If a tire is repeatedly low, losing more than a small amount of pressure between checks, or the TPMS light returns soon after inflation, have the tire inspected for a puncture, leaking valve stem, wheel damage, or sensor issue.
Monthly Checks and Simple Recordkeeping for Long Tire Life
The Tire Industry Association recommends checking tire pressure once a month and before long trips. The NHTSA also says TPMS is not a substitute for regular tire maintenance.
- Check front, rear, and spare tire pressure when tires are cold.
- Compare each reading with the recommended PSI.
- Adjust pressure as needed and record the final numbers.
- Look for patterns, such as one tire losing pressure faster than the others.
- Inspect tread, sidewalls, and valve stems while you are already at each tire.
A basic log can be as simple as this:
| Date | Front Left | Front Right | Rear Left | Rear Right | Notes |
|---|---|---|---|---|---|
| June 1 | Recommended PSI | Recommended PSI | Recommended PSI | Recommended PSI | No visible damage |
Frequently Asked Questions
Can I use a bicycle pump with a car tire adapter?
Yes, a bicycle pump with a compatible Schrader-valve connection can inflate a car tire, but it takes time and effort because car tires hold much more air than bicycle tires. Use controlled strokes, stop often, and verify the final PSI with a tire pressure gauge.
How much does tire pressure affect fuel efficiency?
FuelEconomy.gov says properly inflated tires can improve gas mileage by 0.6% on average and up to 3% in some cases. It also reports that underinflated tires can reduce mileage by about 0.2% for every 1 PSI drop in the average pressure of all tires.
Is TPMS the same as a tire pressure gauge?
No. TPMS warns you when pressure becomes significantly low or when the system detects a problem. A tire pressure gauge gives you an exact manual reading, which is still needed for monthly checks, topping off tires, and confirming the correct PSI.
Can overinflation cause uneven tread wear?
Yes. Overinflation can make the center of the tread wear faster than the shoulders. It may also affect ride comfort and traction. Always inflate to the vehicle manufacturer’s recommended cold PSI unless the owner’s manual gives a different instruction for a specific load or use.
How do I check spare tire pressure if it’s a donut spare?
Remove the valve cap, press the gauge firmly onto the valve stem, and compare the reading with the spare-tire PSI listed on the door placard, owner’s manual, or spare tire label. Compact spares often require a higher PSI than regular tires, so always verify the exact number.
Should I release air if my tire pressure is high after driving?
Do not bleed air just because a hot tire reads slightly high after driving. Heat raises tire pressure naturally. Recheck when the tires are cold, then adjust to the recommended cold PSI. Release air immediately only if the pressure is clearly above a safe limit or the owner’s manual instructs you to do so.
Conclusion
Check tire pressure when the tires are cold, use the PSI listed on your vehicle placard or owner’s manual, and adjust pressure in small steps with a reliable gauge. Do this monthly, before long trips, and after major temperature swings. If the TPMS light comes on or one tire keeps losing air, inspect it promptly instead of simply topping it off again and again.
Sources
- NHTSA TireWise: Tire Safety Ratings and Awareness — cold tire pressure, placard guidance, monthly checks, spare tire checks, and TPMS basics.
- FuelEconomy.gov: Keeping Your Vehicle in Shape — fuel economy impact of proper tire inflation and warning not to use sidewall maximum pressure as the target.
- 49 CFR 571.138: Tire Pressure Monitoring Systems — federal TPMS warning and malfunction requirements.
- Tire Industry Association: Tire Inflation Pressure — monthly pressure checks and long-trip checks.
- AAA: Understanding Tire Pressure and Temperature Change — pressure loss of about 1 PSI per 10°F drop.
- Bridgestone Tire Maintenance and Safety Manual — sidewall maximum pressure versus vehicle manufacturer recommended pressure.

1 thought on “How to Check Tire Pressure With a Gauge (Correctly)”