
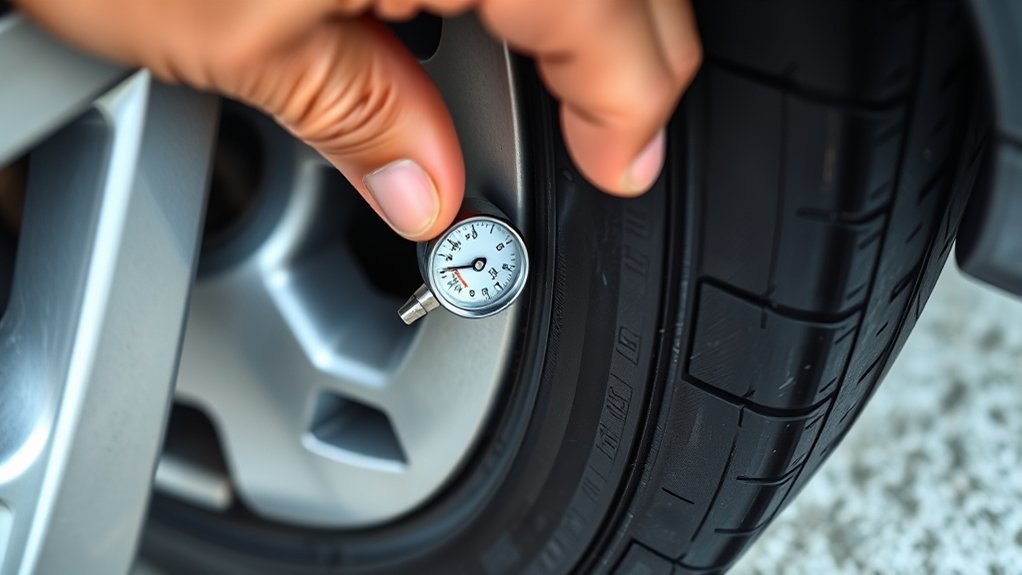
Checking tire pressure is a quick maintenance habit that helps your tires wear evenly, keeps handling predictable, and can improve fuel economy. Use a reliable tire pressure gauge when the tires are cold, compare each reading with the vehicle manufacturer’s recommended PSI, then inflate or release air as needed. The correct PSI is listed on the driver’s door placard, in the owner’s manual, or on the vehicle’s tire information label—not on the tire sidewall maximum.
Quick Answer
To check tire pressure, park for at least three hours so the tires are cold, find the recommended PSI on the driver’s door placard or owner’s manual, press a tire gauge firmly onto each valve stem, record the reading, then add or release air until each tire matches the recommended cold pressure.
Key Takeaways
- Check tire pressure when the tires are cold, ideally after the vehicle has been parked for at least three hours.
- Use the PSI on the driver’s door placard, tire information label, or owner’s manual—not the maximum pressure printed on the tire sidewall.
- Press the gauge straight and firmly onto the valve stem until the hissing stops, then read and record the PSI.
- Check all four tires and the spare if your vehicle has one.
- Inflate low tires, release air from overfilled cold tires, recheck the pressure, and replace every valve cap.
At a Glance
| Time Required | 5–10 minutes |
| Difficulty | Beginner |
| Tools Needed | Tire pressure gauge, air compressor or inflator, phone note or paper, and valve caps |
| Cost | $0 if you already have a gauge and air source; otherwise, the cost depends on the gauge or air pump you use |
What You Need to Check Tire Pressure
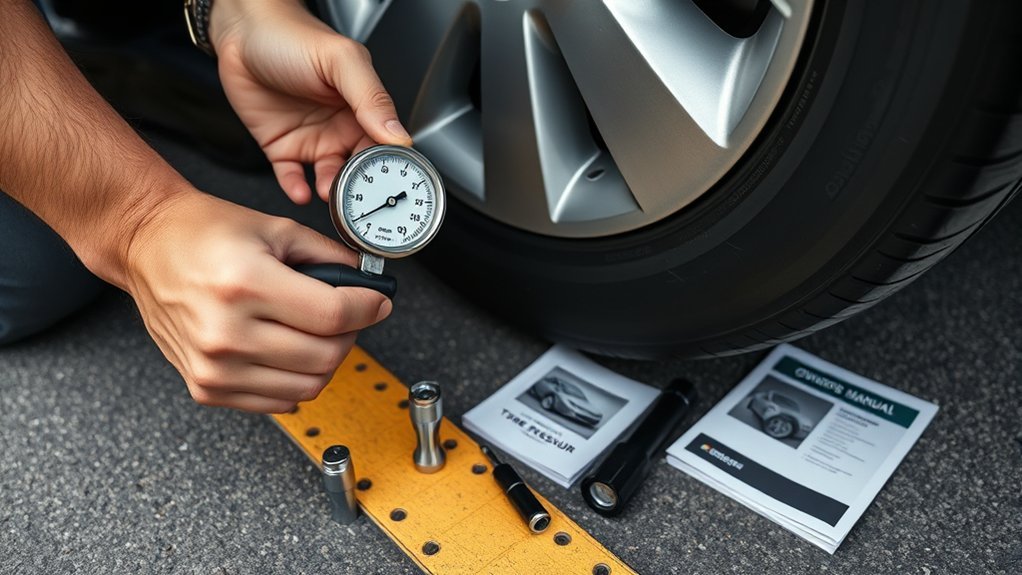
Before you check tire pressure, gather a reliable tire pressure gauge. A digital gauge is easy to read, while a pencil-style or dial gauge also works if it is accurate and in good condition. You will also need access to an air compressor or portable inflator in case one or more tires are low.
Keep your vehicle’s tire-pressure information nearby. You can usually find it on the driver’s door jamb, door edge, glove box area, fuel door, trunk lid, or in the owner’s manual, depending on the vehicle. The label lists the recommended cold inflation pressure for the original tire size and vehicle load.
Use a note app or paper to record each PSI reading by tire position: front left, front right, rear left, rear right, and spare if equipped. This makes it easier to spot a slow leak later. While you are there, a quick visual check for uneven wear, cracks, nails, or sidewall bulges is also a smart part of regular tire rotations and maintenance.
Note: A “cold” tire does not mean a tire used in cold weather. It means the vehicle has not been driven for at least three hours, or has only been driven a very short distance at low speed.
[Products Worth Considering]

Keep your tires properly inflated with this analog VONDIOR tire pressure gauge, designed for fast, easy readings without batteries. The swiveling, two-axis hose and large glow dial help you measure at any tire angle with instant visibility. Built with a protective rubber shield, it supports durable, low-maintenance use for cars and trucks.
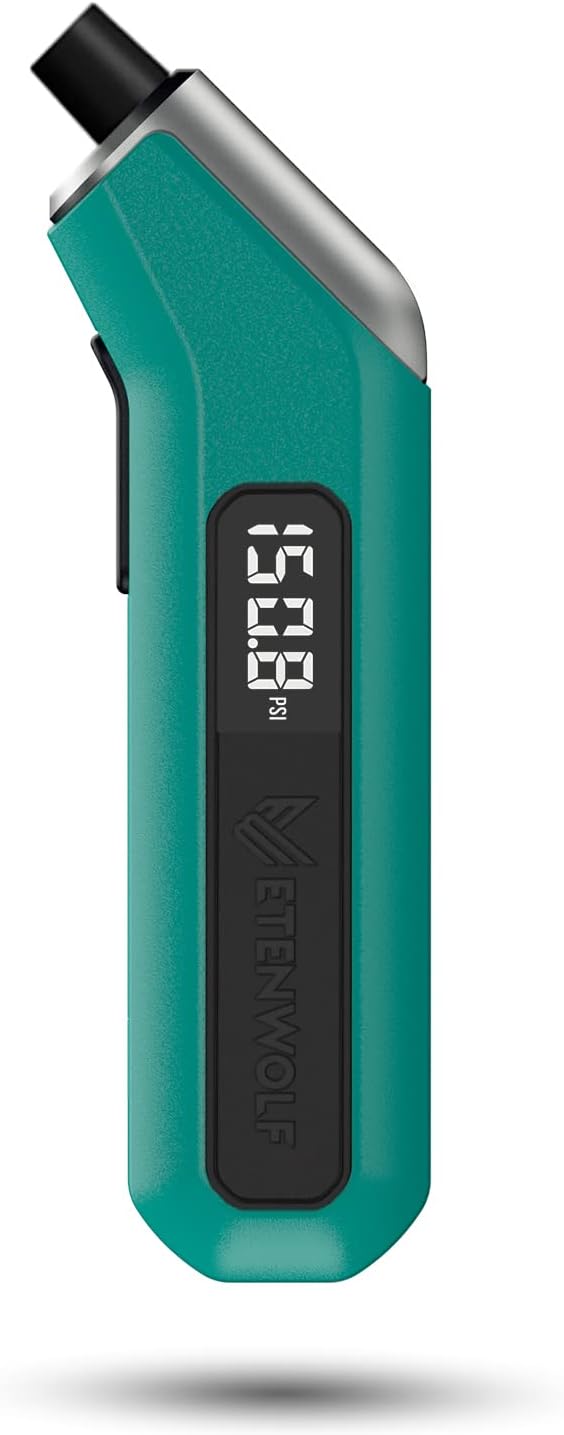
ETENWOLF T300 is a calibrated digital tire pressure gauge designed for reliable readings across low and high pressure ranges. It includes thermal compensation for stable performance in extreme cold or heat, an LED light for visibility, and an auto shut-off to help preserve battery life. Ideal for pickups, RVs, and heavy-duty vehicles, it delivers accurate PSI measurements with sturdy durability.

The JACO FlowPro Tire Inflator measures, inflates, and airs down tires up to 100 PSI with battery-free operation and ±2% accuracy after calibration. It features a glowing pressure dial for night visibility, a heavy-duty steel build with a hybrid hose, and a precision push-to-inflate thumb trigger. The patented Lightning Air Chuck locks on for a secure seal, and the kit includes quick-connect hardware for easy inline use with your air compressor.
Find Your Recommended Tire Pressure
Find the recommended tire pressure before you remove any valve caps. The correct number is the vehicle manufacturer’s recommended cold PSI, not the tire’s maximum permissible pressure. The National Highway Traffic Safety Administration recommends using the tire information placard, certification label, or owner’s manual for the correct inflation pressure.
The tire sidewall may show a maximum pressure, but that number is not the everyday target for most vehicles. The sidewall pressure is tied to the tire’s maximum load rating, while the placard pressure is chosen for your vehicle’s weight, suspension, handling, and tire size.
Warning: Do not inflate tires to the maximum PSI printed on the tire sidewall unless your vehicle manufacturer specifically instructs you to do so. Overinflation can reduce ride comfort, change handling, and cause uneven center tread wear.
- Read the placard pressure in PSI, or pounds per square inch.
- Check whether front and rear tires have different recommended pressures.
- Look for separate guidance for heavy loads, towing, or full passenger/cargo use.
- Confirm that the tire size on the vehicle matches the tire size listed on the placard.
Maintaining the correct pressure can support tire longevity and performance, especially when the pressure is checked regularly and adjusted before the tires become severely underinflated.
Check Tire Pressure With a Gauge
Once you know the recommended PSI, check each tire with the same method so your readings are consistent. The basic tire-pressure process is simple: let the tires cool, use the vehicle manufacturer’s pressure recommendation, measure with a gauge, and inflate to the recommended PSI.
[Products Worth Considering]
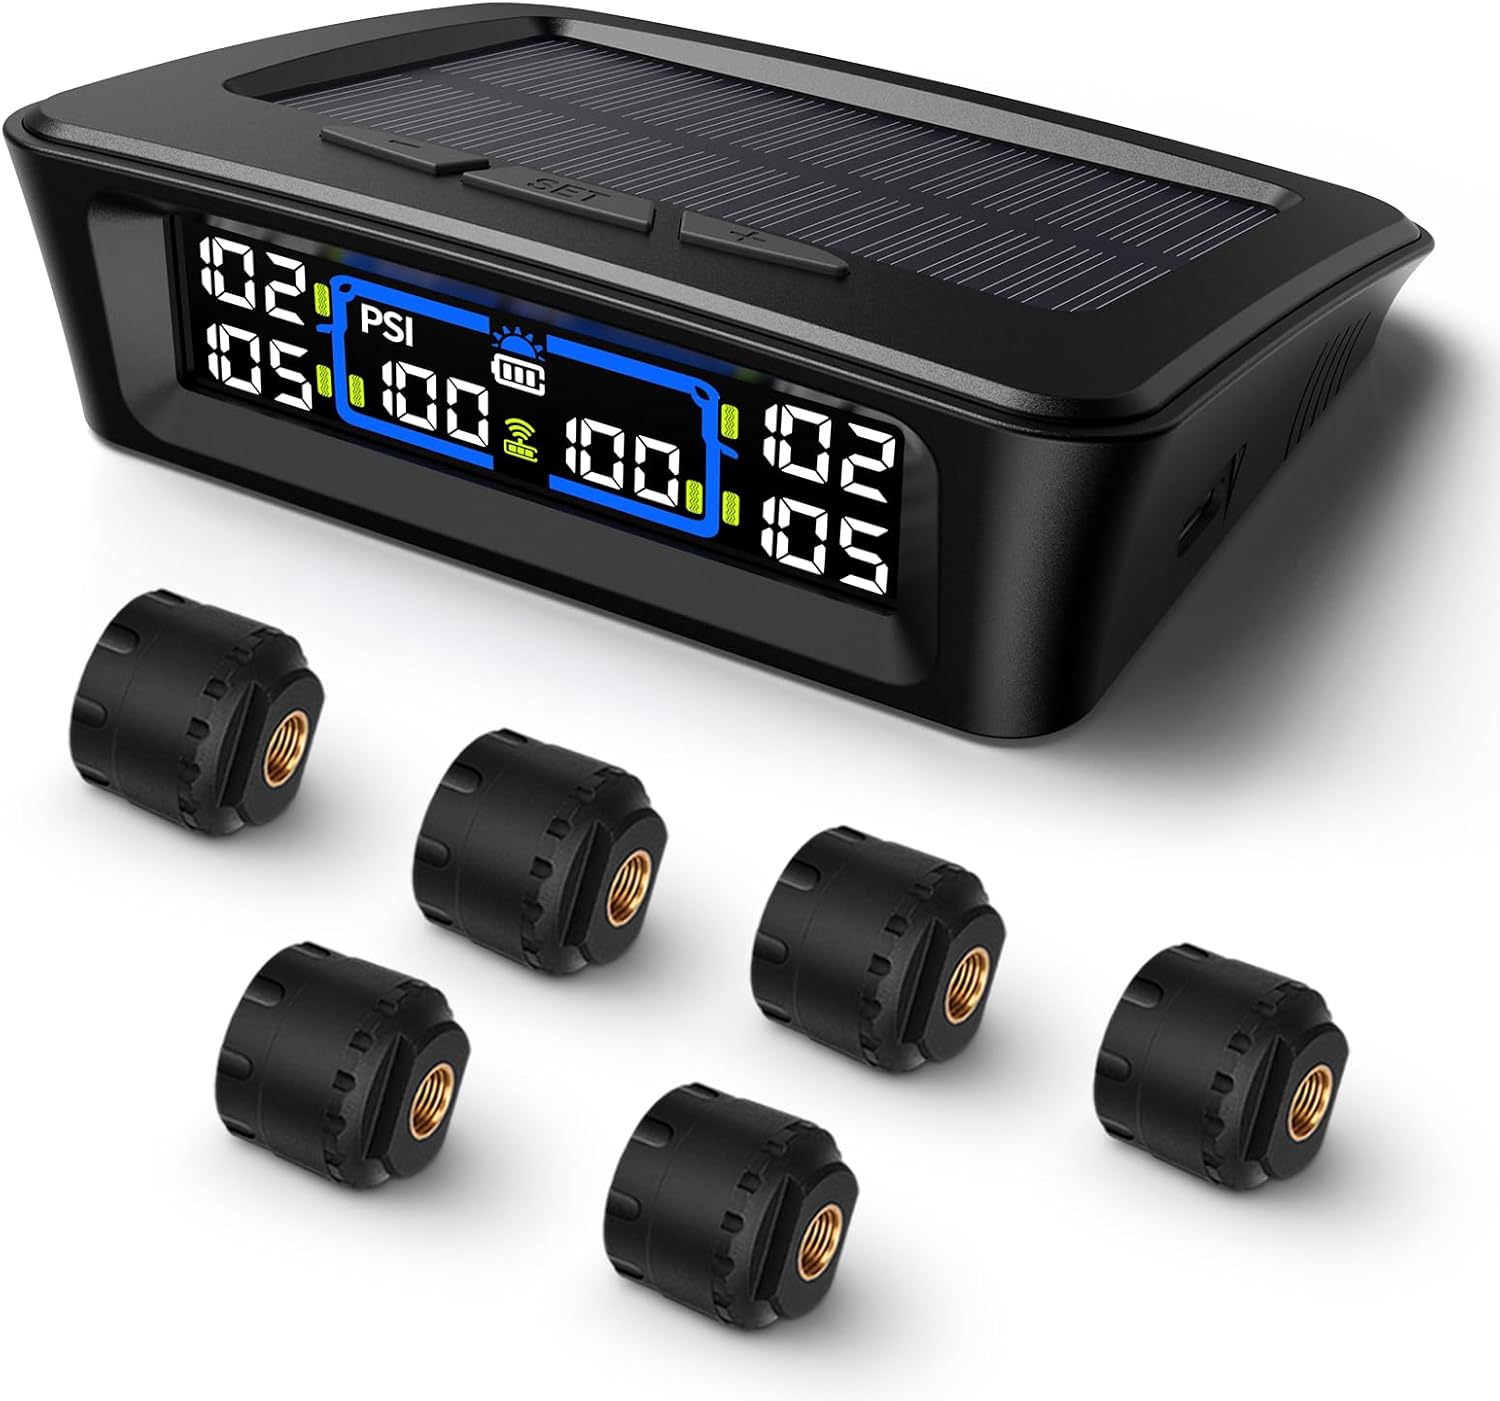
The Tymate TM12 RV TPMS delivers real-time tire pressure and temperature monitoring with a stable 433Hz display for safer long-distance driving. It supports simultaneous monitoring across vehicle and trailer zones, includes six alarm modes for pressure, temperature, leakage, battery, and signal loss, and features easy DIY installation with auto calibration. Power is supplied via USB-C charging or solar recharging, with a wide 0–144 PSI range and up to 50 ft signal coverage for RVs and towable trailers.

This tire inflator with pressure gauge delivers long-lasting performance with a durable rubber-protected gauge and sturdy build. The longer hose and 360 swivel air chuck help you seal the valve securely and keep your hands free while measuring, inflating, or deflating. It’s battery-free for reliable use and provides ±2 PSI accuracy in the mid-range for most typical tires, with universal compatibility for 1/4 NPT compressor outputs.

The Milton S-693 straight foot dual head air chuck is designed for accurate tire pressure checks and quick, secure valve-core engagement with lock-on threads on both ends. With a 1/4" FNPT connection and a maximum 150 PSI rating, it’s built for use on inner duals and common vehicle tires, including trucks and RVs.
Step 1: Park and Let the Tires Cool
Park on a safe, level surface. For the most accurate reading, wait until the vehicle has been parked for at least three hours. If you have already driven several miles, the tires will be warm and the PSI reading will usually be higher than the true cold pressure.
Step 2: Remove the Valve Cap
Unscrew the valve cap from the tire’s valve stem and put it in your pocket or a safe spot so it does not roll away. The cap helps keep dirt and moisture out of the valve, so do not leave it off after the check.
Step 3: Press the Gauge Straight Onto the Valve Stem
Push the gauge firmly and squarely onto the valve stem. A brief hiss at first is normal, but the hissing should stop once the gauge seals. If air keeps escaping, remove the gauge, line it up again, and press straight down.
Step 4: Read the PSI
Read the number on the gauge. A digital gauge will show the PSI on the screen. A dial gauge uses a needle. A pencil-style gauge pushes out a marked stick. Write down the reading before moving to the next tire.
Step 5: Check All Tires
Repeat the same process on all four tires. Check the spare tire too if your vehicle has one, because a flat spare is not useful when you need it. Some temporary spares require much higher pressure than regular tires, so always use the spare-tire specification listed by the vehicle manufacturer.
Regularly checking tire pressure can improve overall vehicle performance by keeping steering response, braking stability, and tread contact more predictable.
Record Each Tire’s PSI
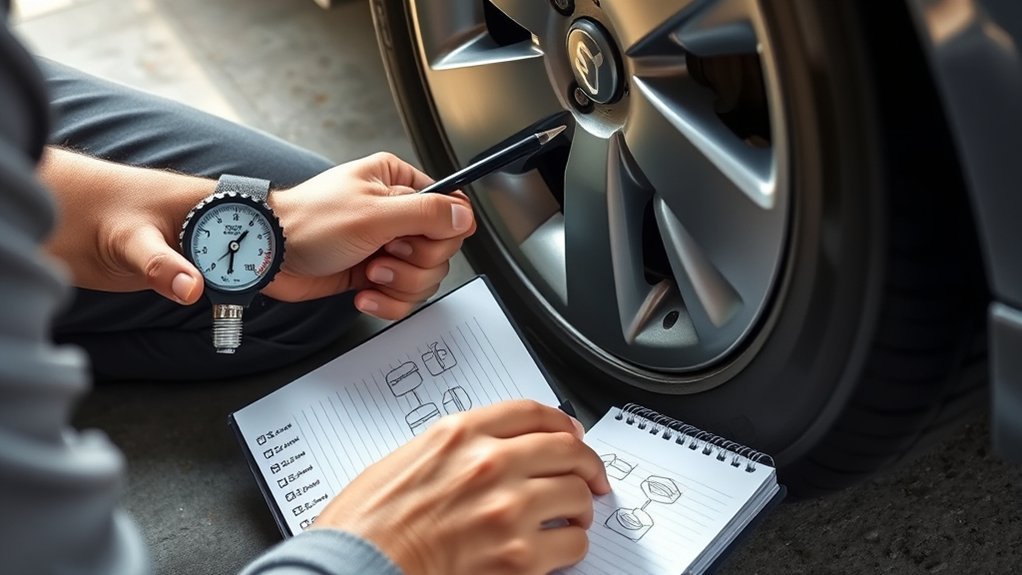
Write down each tire’s PSI right after checking it. Keep front and rear tires separate because some vehicles use different recommended pressures for each axle. A simple record might look like this: “June 19 — LF 34, RF 34, LR 33, RR 29.”
Recording the readings helps you catch patterns. If the same tire loses pressure every month, it may have a slow puncture, leaky valve stem, bead leak, cracked wheel, or damaged valve core. Fixing the cause is better than repeatedly topping off the same tire.
Clear records also help you connect pressure changes to weather. Tire pressure commonly changes by about 1 PSI for every 10°F change in temperature, so a normal tire may read lower after a cold snap and higher after a heat wave. Tracking this makes seasonal adjustments easier and supports better ride comfort and fuel economy.
FuelEconomy.gov says properly inflated tires can improve gas mileage by 0.6% on average and up to 3% in some cases, while underinflated tires can lower mileage by about 0.2% for every 1 PSI drop in the average pressure of all tires.
Inflate Tires to the Right PSI
If a tire is below the recommended cold PSI, add air through the valve stem with an air compressor or portable inflator. Add air in short bursts, then check the pressure again with your gauge. Do not rely only on the gauge built into a gas-station air hose, because those gauges can be worn or inaccurate.
- Attach the air hose firmly to the valve stem.
- Add air for a few seconds.
- Remove the hose and recheck with your tire gauge.
- Repeat until the tire reaches the recommended cold PSI.
- Replace the valve cap securely.
If you had to drive to reach an air pump, your tires may be warm. In that situation, do not bleed air from a warm tire just because it reads above the cold placard number. Add enough air to avoid driving on a clearly low tire, then recheck and fine-tune the pressure the next morning or after the vehicle has been parked for at least three hours.
Pro Tip: Keep a small tire gauge in the glove box and check pressure before long trips, before towing, and after big temperature swings. A quick check can prevent poor handling, uneven tread wear, and avoidable fuel waste.
Correct inflation can improve fuel efficiency and help the tread wear more evenly across the tire.
[Products Worth Considering]

Milton S-921 pencil tire pressure gauge helps you maintain optimal tire pressure for passenger cars with accurate readings in PSI and kPa. It features a built-in deflator valve for convenient pressure adjustments, plus a single chuck head and nylon indicator bar for easy use on the go. Built from durable plated brass and designed for reliable performance, it’s a practical road trip and cold-weather maintenance tool.

This TPMS sensor training and relearn reset tool is customized for Ford, Lincoln, and Mercury vehicles to help activate tire pressure programming after sensor replacement or tire rotation. It can activate individual tire pressure sensors with one-button operation, helping prevent TPMS warning light illumination. It is not a sensor programming tool and cannot program replacement sensors—use it to trigger/activate sensors only.

The ETENWOLF T500 digital tire pressure gauge with inflator delivers accurate readings across a wide 0–250 PSI range, calibrated to ANSI B40.7 Grade 2A. An all-in-one tool combines gauge, air chuck, hose, inflating and controlled bleed for checking, inflating, and deflating tires on many vehicle types. It’s built for reliable use in extreme temperatures and features an illuminated backlit display with replaceable AAA batteries for convenient operation.
Release Air From Overinflated Tires
If a cold tire is over the recommended PSI, release air slowly. Use the small pin or bleed button on your gauge, or briefly press the valve core in the center of the valve stem. Let out air in short pulses, then recheck with the gauge.
| Step | Action | Result |
|---|---|---|
| 1 | Press the valve core or gauge bleed button briefly | A small amount of air escapes |
| 2 | Recheck the PSI with the gauge | You avoid releasing too much air |
| 3 | Stop at the recommended cold PSI | The tire is set correctly |
Use brief pulses, not one long hold. Once the reading matches the recommended PSI, replace the valve cap. Careful pressure adjustment helps tire performance and handling, especially when combined with the right tire choice and maintenance. For more buying context, see this guide to tire performance.
Check Tire Pressure Monthly
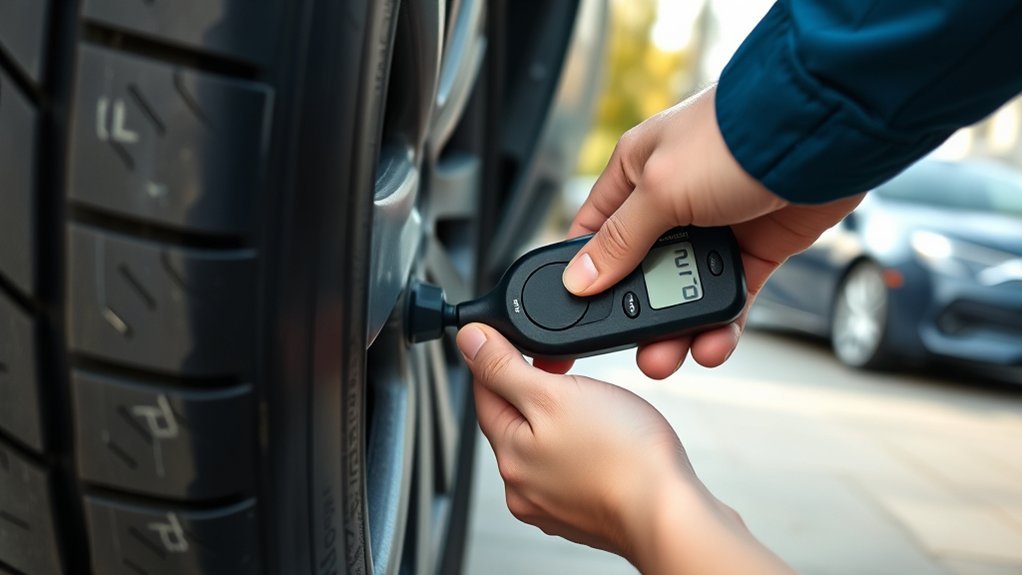
Check tire pressure at least once a month and before long trips. Tires can naturally lose air over time, and temperature changes can move PSI up or down even when the tire is not leaking. The U.S. Department of Energy’s FuelEconomy.gov notes that properly inflated tires are safer, last longer, and can improve gas mileage.
Monthly Pressure Checks
A good monthly routine is simple: check all tires cold, compare each reading with the placard PSI, adjust pressure, and record the results. This habit helps prevent uneven wear and makes it easier to catch a slow leak before the tire becomes dangerously low.
- Check all four tires and the spare if equipped.
- Add air if the reading is below the recommended cold PSI.
- Release air only if a cold tire is above the recommended PSI.
- Recheck after filling or bleeding air.
- Replace every valve cap.
Monthly pressure checks also pair well with tire rotation, tread-depth checks, and visual inspections.
Seasonal PSI Changes
Seasonal temperature swings can change tire pressure. As a general rule, tire pressure changes by about 1 PSI for every 10°F change in ambient temperature. That means a tire that was correct in warm weather may read low after a cold front.
In winter, low pressure can make handling feel sluggish and increase tire heat buildup. In summer, a warm tire may read higher after driving. This is why cold readings are the baseline. Do not bleed a hot tire down to the cold placard PSI unless the vehicle manufacturer gives a specific procedure for your situation.
What About TPMS Lights?
A tire pressure monitoring system, or TPMS, is helpful, but it does not replace manual pressure checks. NHTSA describes TPMS as a system that supplements regular tire maintenance by warning drivers when a tire becomes significantly underinflated. That means a tire can be below the ideal placard pressure before the warning light appears.
If the TPMS light comes on, check all tires with a gauge as soon as it is safe. If the light flashes, stays on after inflation, or returns repeatedly, the tire may have a leak or the TPMS sensor may need service.
Troubleshooting Common Tire Pressure Problems
One Tire Keeps Losing Air
If one tire repeatedly loses pressure while the others stay stable, inspect it for nails, screws, bead leaks, valve-stem damage, cracked wheels, or a loose valve core. Have the tire inspected by a professional if you cannot find the cause.
All Tires Read Low After a Cold Night
If all tires are low by a similar amount after temperatures drop, the change may be seasonal rather than a leak. Inflate the tires to the recommended cold PSI and keep monitoring them over the next few weeks.
The Gauge Reading Changes Every Time
Make sure the gauge is seated straight on the valve stem. If readings still vary widely, test with another gauge. A worn, damaged, or low-quality gauge can give misleading results.
The Valve Cap Is Missing
Replace missing valve caps. A cap does not hold tire pressure by itself, but it helps protect the valve core from dirt, moisture, and corrosion that can lead to slow leaks.
Frequently Asked Questions
How do you use a tire gauge to check PSI?
Remove the valve cap, press the tire gauge firmly and straight onto the valve stem, wait until the hissing stops, then read the PSI. Compare the reading with the recommended cold tire pressure on the door placard or owner’s manual. Add or release air if needed, recheck, and replace the valve cap.
What PSI should my Mini Cooper tires be?
Use the PSI listed on your Mini Cooper’s driver-side door placard or in the owner’s manual. Many passenger-car tires fall in the low-to-mid 30 PSI range, but the correct number depends on the model year, tire size, trim, load, and front/rear axle specification.
What PSI should my Kia Telluride tires be?
Check the tire information label on the driver’s door jamb or the Kia Telluride owner’s manual. Some Telluride setups are commonly around the mid-30 PSI range when cold, but the exact PSI can vary by model year, tire size, trim, load, and original equipment specification.
What is the recommended tire pressure for a Ford Everest Titanium?
Use the Ford Everest Titanium’s tire placard or owner’s manual for the correct cold PSI. Do not rely on a general online number, because pressure can change by market, tire size, wheel package, passenger/cargo load, and whether the vehicle is being driven normally, loaded heavily, or towing.
Should I use the PSI printed on the tire sidewall?
No. The tire sidewall usually shows the tire’s maximum permissible pressure, not the recommended everyday pressure for your vehicle. Use the vehicle placard or owner’s manual unless the manufacturer gives a specific exception.
Can I rely on my TPMS instead of checking tire pressure manually?
No. TPMS is a helpful warning system, but it is not a substitute for monthly gauge checks. A tire can be below the ideal placard pressure before the TPMS warning light comes on, so use a gauge regularly.
Conclusion
Checking tire pressure is one of the easiest ways to protect your tires and improve day-to-day driving. Use a reliable gauge, measure when the tires are cold, compare each tire with the vehicle’s recommended PSI, and adjust pressure carefully. Record your readings, check the spare, and repeat the routine monthly. When your tires stay properly inflated, your vehicle handles better, the tread wears more evenly, and you reduce the risk of preventable tire problems.
Sources
- NHTSA TireWise: Tire Safety Ratings and Awareness — backs up cold-pressure checks, placard pressure, and tire-safety guidance.
- NHTSA Tire Safety Brochure — backs up cold-tire definition, monthly checks, placard guidance, and sidewall maximum-pressure context.
- FuelEconomy.gov: Keeping Your Vehicle in Shape — backs up fuel-economy effects of proper tire inflation.
- Goodyear: How to Check Tire Pressure — backs up the basic gauge-checking process.
- Tire Rack: How Temperature Affects Tire Air Pressure — backs up the temperature-pressure rule of thumb.
- NHTSA TPMS Final Rule Summary — backs up TPMS as a supplement to regular tire maintenance.
