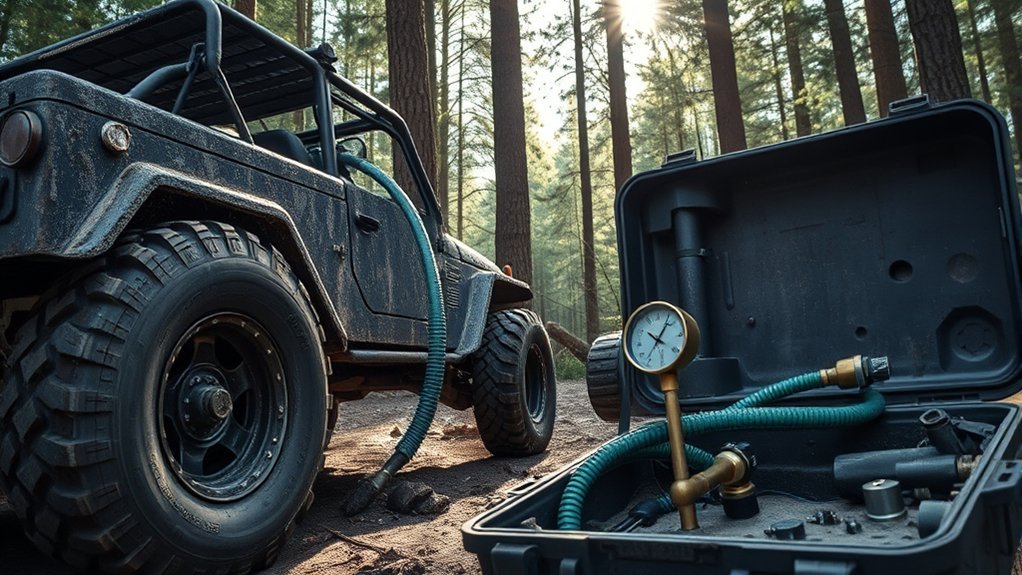
Airing up your tires after off-roading is simple when you carry the right gear and use the right target pressure. The goal is not to guess at a universal PSI. The goal is to return each tire to the cold inflation pressure listed on your vehicle’s tire placard or owner’s manual before you drive at normal road speeds.
Quick Answer
To air up tires after off-roading without a shop, park safely, inspect each tire, find your vehicle’s placard PSI, connect a portable compressor, onboard air system, or CO2 tank, inflate one tire at a time or through a multi-tire hose kit, verify pressure with a gauge, and recheck before highway driving.
Key Takeaways
- Use the tire pressure listed on your driver-side door placard or owner’s manual, not a generic 30–35 psi number.
- Do not drive at highway speeds on low trail pressure. Air up before returning to pavement whenever possible.
- A portable compressor is the easiest setup for most occasional off-roaders; onboard air and CO2 systems are faster but cost more.
- Always inspect the tread, sidewalls, beads, and valve stems before adding air after a rocky or sandy trail.
- Use a separate tire pressure gauge when accuracy matters, even if your inflator has a built-in gauge.
At a Glance
| Time Required | About 10–30 minutes with a portable compressor; faster with onboard air, CO2, or a four-tire hose system. |
| Difficulty | Easy, as long as you can reach the valve stems and safely connect the air source. |
| Tools Needed | Portable compressor, onboard air system, or CO2 tank; tire pressure gauge; valve caps; gloves; flashlight; tire repair kit for emergencies. |
| Cost | Roughly $40–$350+ for portable inflators, $300–$1,000+ for onboard air or CO2 setups, depending on brand, duty cycle, and accessories. |
Understanding the Importance of Tire Pressure After Off-Roading
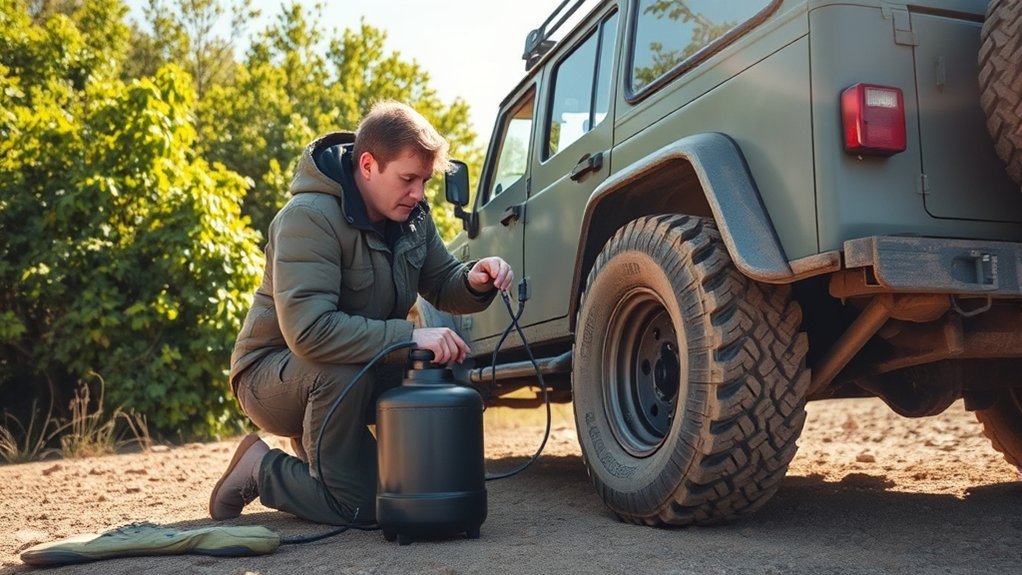
Lower tire pressure helps off-road because it lets the tire conform to rocks, sand, gravel, and ruts. That can improve traction and ride comfort on the trail. The same low pressure is a problem on pavement because the tire flexes more, heats up faster, handles worse, and can wear unevenly.
Before you return to the road, air the tires back up to the pressure recommended by your vehicle manufacturer. According to NHTSA tire safety guidance, accurate tire pressure should be measured cold, and the correct pressure is listed on the vehicle’s tire placard, certification label, or owner’s manual.
Warning: Do not use the maximum PSI printed on the tire sidewall as your normal road-pressure target. That number is a tire limit, not your vehicle’s recommended driving pressure.
Proper inflation also helps fuel economy. FuelEconomy.gov notes that under-inflated tires can lower gas mileage, while properly inflated tires are safer and last longer.
Before You Air Up, Check for Trail Damage
Do a quick walkaround before connecting the inflator. It only takes a minute, and it can prevent you from adding air to a tire that should be repaired first.
- Look at the sidewalls: Check for cuts, bulges, gouges, or exposed cords.
- Check the tread: Remove stones wedged into the tread and look for nails, screws, or sharp trail debris.
- Inspect the bead area: Make sure the tire is still seated evenly on the wheel.
- Check valve stems: A bent, cracked, loose, or leaking valve stem can make inflation frustrating or unsafe.
- Listen for leaks: Hissing after a trail run may mean a puncture, bead leak, or damaged valve core.
Note: If a tire keeps losing more than a small amount of pressure, do not just keep topping it off. Find the leak, use a proper tire repair kit if the puncture is repairable, or have the tire inspected by a tire professional.
Choose the Right Target PSI
The safest target is your vehicle’s recommended cold tire pressure. You can usually find it in one of these places:
- Driver-side door jamb placard
- Fuel door or glove box label on some vehicles
- Owner’s manual
- Manufacturer load and inflation guidance for heavily modified setups
Many passenger vehicles and light trucks are near the 30–40 psi range, but that is not a rule. A Jeep, pickup, SUV, van, or overland rig loaded with gear may need a different pressure than a stock daily driver. If you changed tire size, wheel size, load rating, or vehicle weight, confirm the right road pressure with your tire manufacturer, vehicle manufacturer, or a qualified tire shop.
Temperature matters too. Tire Rack explains that tire pressure changes with temperature, using a rule of thumb of about 1 psi for every 10°F temperature difference. That means a tire set perfectly on a warm afternoon may read low on a cold morning.
Choosing the Right Equipment to Air Up Tires
The best air-up tool depends on how often you go off-road, how large your tires are, how much storage space you have, and how quickly you want to get back on the road.
[Products Worth Considering]
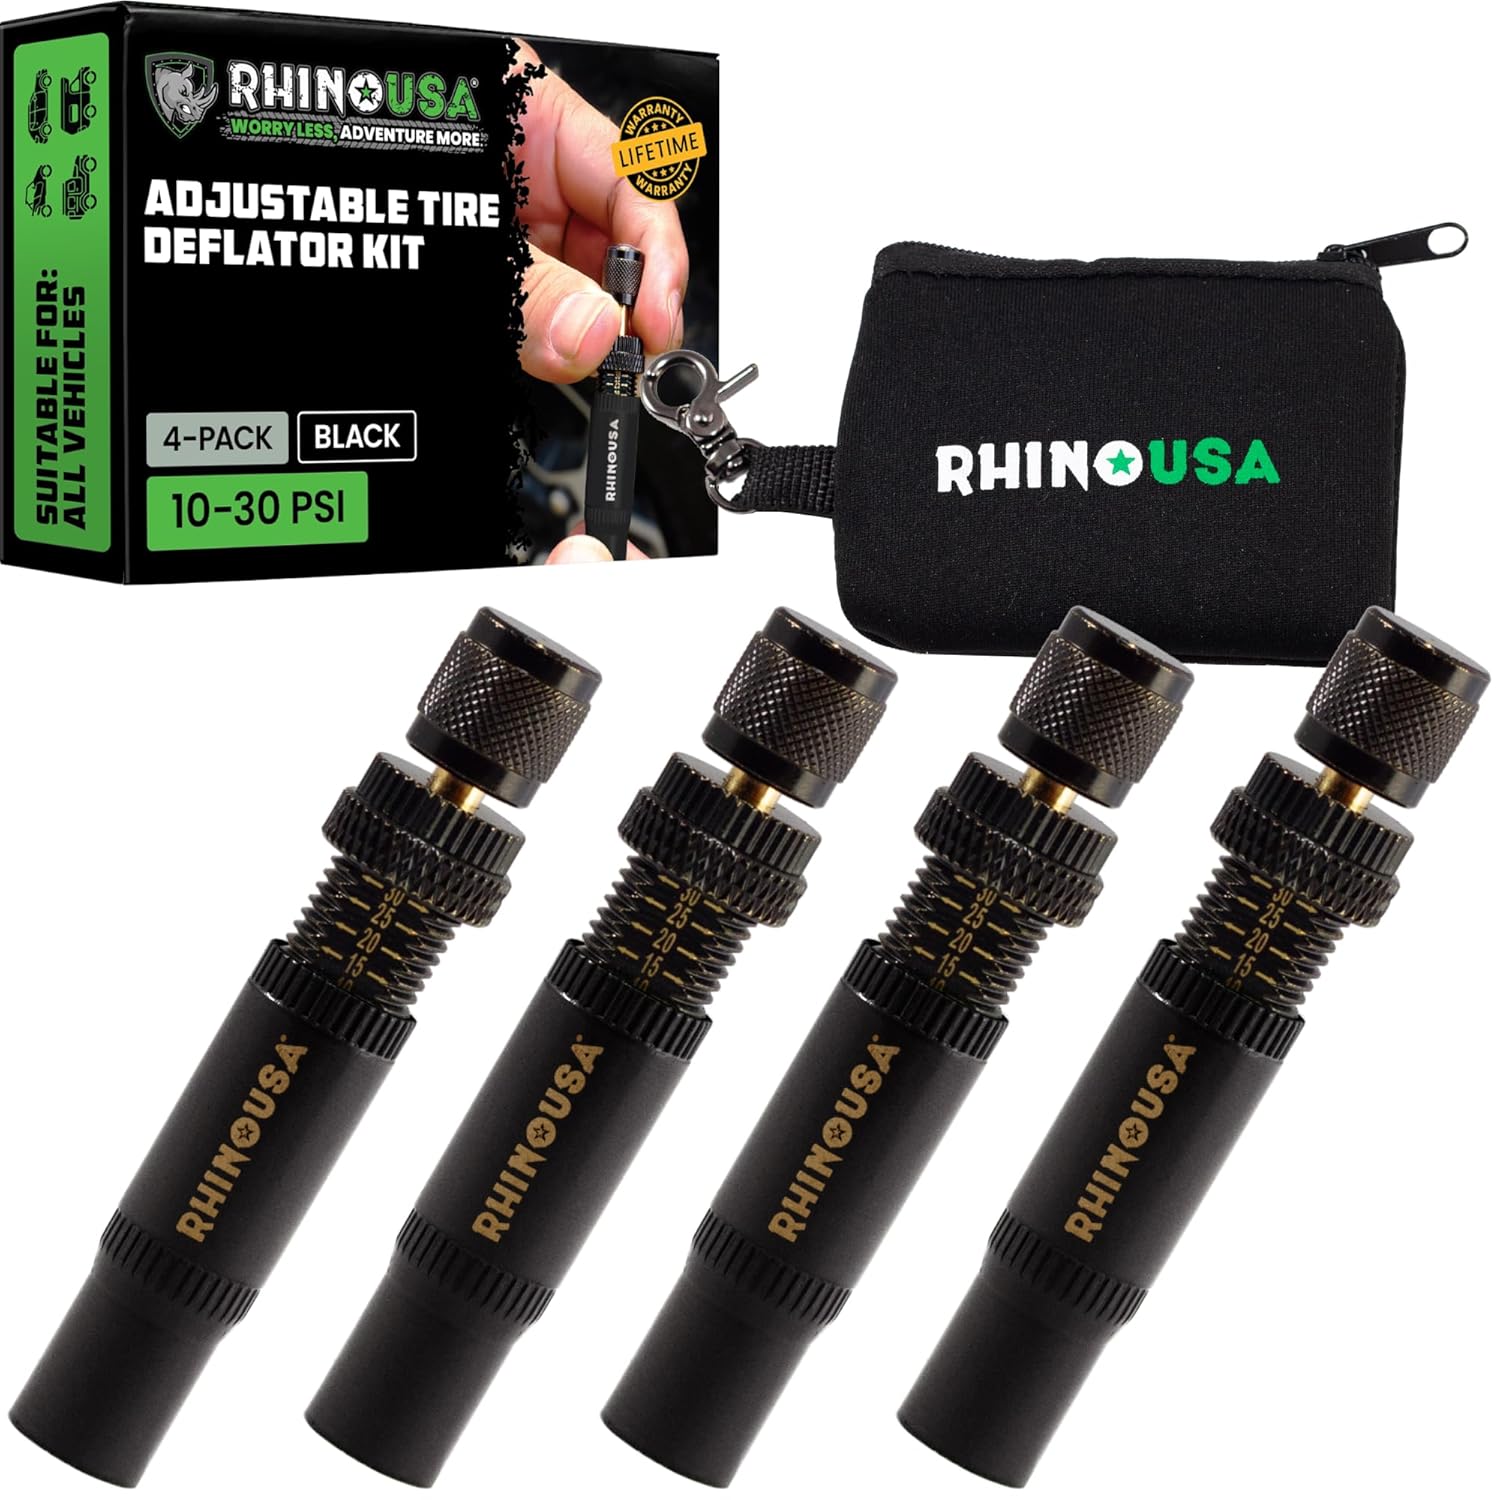
Use the Rhino USA adjustable tire deflators to air down all four tires at once by screwing one deflator onto each valve stem, letting you step away while the tires reach your preset pressure. Each deflator independently adjusts across a 10–30 PSI range with laser-etched indicators for quick setup and verification, making it ideal for beach, sand, and rocky off-road trails.

This tire inflator with pressure gauge delivers long-lasting performance with a durable rubber-protected gauge and sturdy build. The longer hose and 360 swivel air chuck help you seal the valve securely and keep your hands free while measuring, inflating, or deflating. It’s battery-free for reliable use and provides ±2 PSI accuracy in the mid-range for most typical tires, with universal compatibility for 1/4 NPT compressor outputs.

AUTOWN’s 68-piece tire repair kit helps you fix punctures and plug flats quickly and effectively. It includes a T-handle and spiral probe tool for easy insertion, while the steel patch and plug materials are designed for strong adhesion and long-lasting airtight performance. The compact case makes it convenient for roadside repairs across a wide range of vehicles.
Essential Compressor Types
| Air Source | Best For | Main Tradeoff |
|---|---|---|
| Portable compressor | Most weekend off-roaders and budget setups | Slower than onboard air or CO2, especially on large tires |
| Onboard air system | Frequent trail use, air lockers, and fast inflation | Higher cost and installation work |
| CO2 tank | Very fast, quiet inflation away from electrical power | Must be refilled and secured safely |
| Multi-tire hose kit | Equalizing and filling two or four tires at once | More hose management and fittings to store |
Budget-Friendly Options
If you only off-road a few times a year, a portable 12-volt compressor is usually enough. Choose one with battery clamps, a long hose, a duty-cycle rating you understand, and enough airflow for your tire size. Small cigarette-lighter inflators can work for compact tires, but they are often slow and may overheat when filling larger truck or off-road tires from low trail pressure.
Trail-rated portable compressors from brands such as VIAIR can cost more than basic inflators, but they are designed for larger tires and longer run times. Look at the manufacturer’s tire-size rating, duty cycle, hose length, and power draw before buying.
Efficiency and Speed Factors
Inflation speed depends on tire size, starting PSI, target PSI, compressor airflow, hose restriction, battery voltage, and whether you are filling one tire or several at once. A 35-inch tire going from 12 psi to road pressure takes much longer than a small crossover tire going from 26 psi to 32 psi.
- Portable compressors are simple and easy to move between vehicles.
- Onboard systems save setup time and are ideal for drivers who air down often.
- CO2 tanks are fast and quiet, but you need to monitor remaining CO2 and plan refills.
- Four-tire hose kits can help equalize pressure and reduce bending over at each tire.
- A quality gauge is still important because built-in gauges can be hard to read or less accurate under airflow.
Portable Compressors: A Convenient Solution for On-the-Go
A portable compressor is the easiest way to air up tires after off-roading without visiting a gas station or tire shop. Most off-road-ready units connect directly to the vehicle battery with alligator clamps because larger compressors can draw more current than a standard 12-volt accessory outlet should handle.
To use one safely, park with room around the vehicle, open the hood if you need battery access, keep the hose away from hot exhaust parts, and watch the compressor’s duty-cycle limit. Some compressors can run for a long time; others need a cool-down break.
Pro Tip: Keep your compressor, gauge, valve-core tool, tire plug kit, gloves, and flashlight in one trail bag. When you are tired after a long trail day, having everything together prevents mistakes.
[Products Worth Considering]

TireJect Off-Road Tire Sealant Kit provides 5-in-1 sealing to help fix tread punctures up to 3/8", sidewall punctures up to 3/8", bead leaks, slow leaks, and minor dry rot on low-speed tires. It permanently seals with liquid rubber, recycled tire particles, and Aramid fibers, making it ideal for flats caused by thorns, nails, and screws. The included dispensing cap attaches to the valve stem for a no-mess installation, along with a metal valve core remover tool and valve stem cap. This kit is for off-road use only.

Get back on the road fast with this compact tire plug repair kit for tubeless tires. It includes self-vulcanizing rubber plugs, T-handle rasp and insert tools, and a storage box that fits in your glove compartment for easy access. Also included are a 4-way valve steam tool set with valve cores and caps for added roadside convenience.

Keep your tires properly inflated with this analog VONDIOR tire pressure gauge, designed for fast, easy readings without batteries. The swiveling, two-axis hose and large glow dial help you measure at any tire angle with instant visibility. Built with a protective rubber shield, it supports durable, low-maintenance use for cars and trucks.
Onboard Air Systems: Efficiency and Speed in Tire Inflation
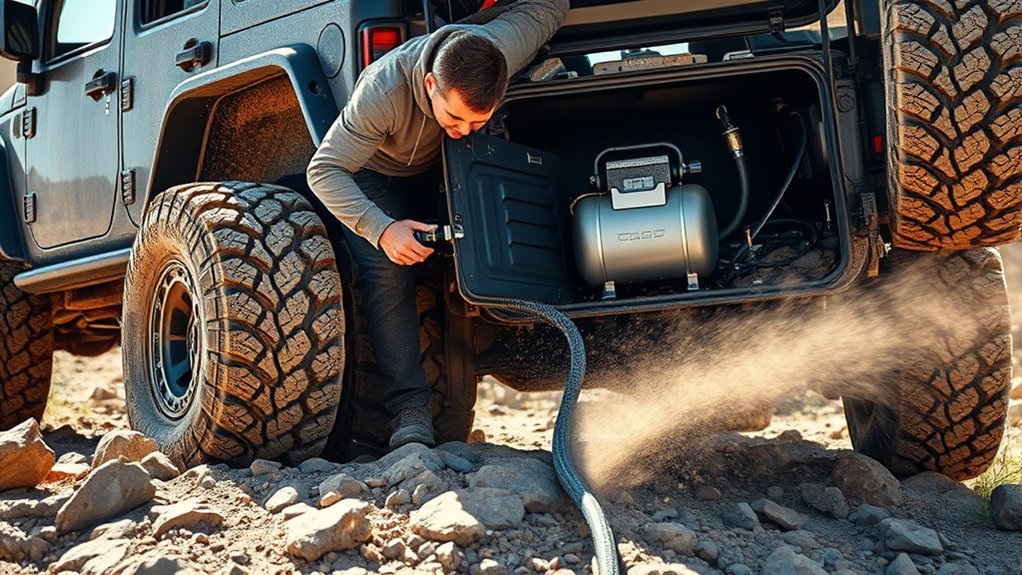
Onboard air systems are mounted permanently in the vehicle. They are popular with off-roaders who air down often because there is less setup: connect the hose, start inflating, and pack up quickly. Some systems can also support air lockers or light pneumatic tools when installed with the right accessories.
For example, the ARB CKMTA12 twin onboard compressor is listed by ARB USA with a 100% duty cycle, 150 max PSI rating, and 6.16 CFM airflow at 0 PSI. Those specs make it far more capable than a small emergency inflator, but it also costs more and requires proper wiring and mounting.
Onboard systems are worth considering if you:
- Air down on most trail rides
- Run larger tires
- Travel in groups where others may need air
- Want a cleaner setup with fewer loose cables
- Use air lockers or accessories that need onboard air
[Products Worth Considering]

This tire valve adapter kit lets you connect a 3/4-inch garden hose to tire valves to fill tires with air or liquid. It includes two adapters for standard bore and large bore valves plus a convenient bleeder valve to release trapped air. Designed for tractor tire tubes and compatible air/water valves and extensions, it’s a practical repair tool for getting back on the road or field quickly.

This AUTOWN flat tire repair kit is designed for quick, reliable puncture repairs using a plug kit and spiral probe tool to simplify installation. Built for durability and safe handling, it offers strong adhesion and flexibility to help maintain tire air tightness. With a portable storage case and a multi-vehicle approach, it’s suitable for cars, motorcycles, ATVs, tractors, lawn mowers, RVs, jeeps, and trucks.

This digital tire pressure gauge with built-in inflator helps you accurately check and adjust tire pressure for safer driving and better fuel efficiency. It supports multiple units (PSI, KPA, BAR, KG/CM²) and reads within 1% for reliable results. The 3-in-1 design inflates, deflates, and measures, with a quick-connect air chuck and compatible hose setup for cars, trucks, SUVs, RVs, and motorcycles.
Powertank Systems: Fast and Silent Inflation Options
CO2 tire systems such as Power Tank are fast because they do not rely on a small electric motor. They are quiet, portable, and useful when you want rapid air-ups on large tires. Power Tank’s own tire fill chart lists fill times by tire size and PSI added, which is the right way to compare performance.
The tradeoff is refill management. A CO2 tank eventually runs empty, and you need to refill it at a suitable supplier. It also needs to be mounted or stored securely so it cannot become a projectile during rough driving or a crash.
Fast Inflation Capabilities
CO2 systems can be much faster than many electric compressors. Instead of saying one system always fills a “35-inch tire” in one exact time, compare the tire size, the amount of pressure being added, and the tank size. A 10 psi top-off and a 25 psi refill are very different jobs.
Silent Operation Benefits
Because there is no compressor motor running, a CO2 system is quiet. That can be helpful at night, around campsites, or when you do not want to leave a vehicle idling while a compressor runs. The main maintenance tasks are checking hoses, regulator condition, bottle weight, and refill availability.
How to Use Your Tire Inflator Effectively
Follow this process after you leave the trail and before you return to normal pavement speeds.
- Park in a safe, level spot. Stay away from traffic, soft shoulders, and blind corners.
- Inspect all four tires. Check tread, sidewalls, beads, and valve stems for trail damage.
- Confirm your target PSI. Use the driver-side door placard, certification label, or owner’s manual.
- Connect the air source. For battery-powered compressors, connect positive and negative clamps securely and keep cords clear of belts, fans, and hot parts.
- Attach the hose to the valve stem. Make sure the chuck is seated so air is going into the tire, not leaking around the fitting.
- Inflate in stages. Add air, pause briefly, and check pressure with a reliable gauge.
- Repeat for each tire. Keep pressures even from side to side unless your vehicle manufacturer or load setup calls for a different front/rear pressure.
- Reinstall valve caps and pack up. Drive gently at first, then recheck pressure once you are at a safe stop.
The right PSI is not the pressure your friend runs, the number on the tire sidewall, or a random trail chart. It is the road pressure your vehicle and tire setup need for the load you are carrying.
What Not to Do When Inflating Your Tires
- Do not over-inflate the tires. More pressure is not automatically safer or better.
- Do not use sidewall max PSI as your daily driving PSI. Use the vehicle placard or proper load guidance.
- Do not ignore hot tire readings. Pressure rises as tires warm up, so cold readings are the standard reference.
- Do not drive highway speeds at trail pressure. Low pressure can overheat and damage tires on pavement.
- Do not run a compressor past its duty cycle. Give it a cool-down break when the manual requires it.
- Do not inflate a visibly damaged tire. Sidewall bulges, exposed cords, or major cuts need professional attention.
- Do not forget the spare. A flat spare is useless when you need it most.
How to Regularly Check and Maintain Tire Pressure
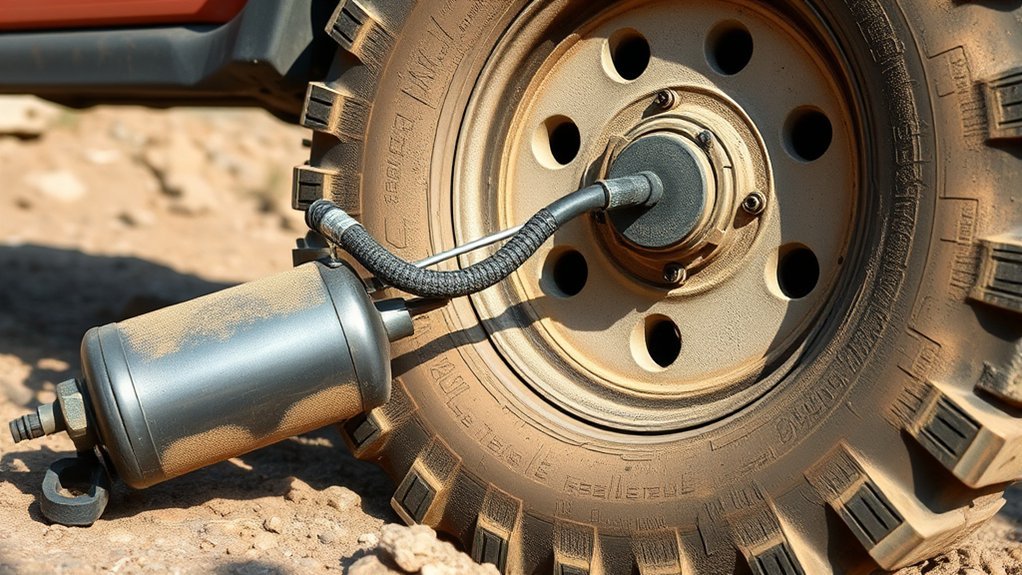
Check tire pressure at least once a month, before long trips, and before off-road trips. Check again before returning to pavement if you aired down. NHTSA recommends checking pressure when tires are cold or using the manufacturer’s guidance when tires are warm.
Good tire pressure habits include:
- Keeping a gauge in the vehicle
- Checking the spare tire regularly
- Replacing cracked or missing valve caps
- Watching for repeated pressure loss in the same tire
- Inspecting tires after sharp rocks, deep ruts, sand, mud, or heavy impacts
Troubleshooting Common Tire Inflation Issues
Common Issues Encountered
- The tire is filling slowly: Your compressor may be too small, the hose may be restricted, the battery voltage may be low, or the tire may be very large.
- The compressor shuts off: It may have reached its thermal limit or duty-cycle limit. Let it cool according to the manual.
- Air leaks at the valve stem: Reseat the chuck, tighten the valve core if appropriate, or replace a damaged valve stem.
- Pressure drops after inflation: Check for punctures, bead leaks, valve-core leaks, or wheel damage.
- The gauge reading jumps around: Stop airflow and check static pressure with a separate gauge.
Effective Solutions Available
| Problem | Likely Fix |
|---|---|
| Slow inflation on large tires | Use a higher-flow compressor, onboard air, CO2, or a better hose setup. |
| Compressor overheating | Follow the duty cycle, shade the unit when possible, and allow cool-down time. |
| Uneven tire pressures | Use a separate gauge or multi-tire hose kit to equalize pressure. |
| No power at the compressor | Check clamps, fuse, battery state, and whether the compressor requires direct battery connection. |
| Repeated pressure loss | Inspect for punctures, damaged beads, cracked valve stems, or bent wheels. |
What If You Don’t Have an Air Pump?
If you aired down and do not have a compressor, do not rush back to the highway at low pressure. Your safest options are:
- Ask another trail user for air.
- Use a nearby gas station air pump if you can reach it slowly and safely.
- Use a CO2 emergency inflator only if it has enough capacity for your tire size.
- Call roadside assistance if the tire is damaged or too low to drive safely.
- Carry your own compressor next time so you are not dependent on a shop.
Small bicycle pumps and tiny emergency inflators may technically add air, but they are usually impractical for large truck and SUV tires after off-roading.
User Tips for Effective Tire Inflation
- Label your target PSI: Keep a note in your glove box or trail app with your road PSI and typical trail PSI.
- Use valve caps: They help keep dirt and water out of the valve core.
- Carry a tire plug kit: A compressor is only half the solution if you puncture a tread block.
- Let the compressor breathe: Keep it out of deep dust, mud, water, and tall grass while it runs.
- Practice at home: Learn your compressor’s setup before you are tired, muddy, or losing daylight.
Frequently Asked Questions
What is the 3% tire rule?
The 3% tire rule usually refers to tire sizing, not tire pressure. It is a common guideline that replacement tires should stay close to the original tire diameter so speedometer, ABS, traction control, gearing, and clearance are not affected. It is not a rule for airing up after off-roading.
What is the 7-7 rule for tires?
The 7-7 rule is commonly used as a winter-tire guideline in some regions: consider winter tires when temperatures stay around 7°C for about 7 days. It is not a reliable off-road air-down or air-up rule. For off-roading, pressure depends on terrain, tire size, load, wheel type, and vehicle weight.
What can I use if I don’t have an air pump?
Use another off-roader’s compressor, a gas station air pump, roadside assistance, or a properly sized CO2 inflator. Avoid driving fast or far on low trail pressure. For future trips, carry a portable compressor and gauge so you can air up without depending on a shop.
Should I air up to 30–35 psi after off-roading?
Only if that matches your vehicle’s recommended pressure. Some vehicles are in that range, but others are not. Use the tire placard, certification label, or owner’s manual for the correct cold pressure. Modified tires, added weight, towing, and overland gear may require extra load-pressure guidance.
Can I drive a short distance on low off-road tire pressure?
You may need to move slowly to reach a safe air-up spot, but avoid highway speeds, sharp cornering, heavy braking, and long distances. Low tire pressure creates extra heat and sidewall flex on pavement.
Conclusion
Airing up after off-roading is one of the most important habits for protecting your tires and staying safe on the drive home. Inspect the tires first, use the PSI listed for your vehicle, inflate with a compressor, onboard air system, or CO2 tank, and verify every tire with a gauge. Once you build the routine, airing up becomes a normal part of leaving the trail—not a stressful search for the nearest shop.
Sources
- NHTSA TireWise — tire pressure safety, cold inflation, tire placard guidance, and tire inspection basics.
- FuelEconomy.gov: Keeping Your Vehicle in Shape — fuel economy impact of proper tire inflation.
- Tire Rack: How Temperature Affects Tire Pressure — temperature-related tire pressure changes.
- VIAIR 400P Portable Compressor — example of a trail-rated portable compressor.
- ARB CKMTA12 Twin Onboard Air Compressor — onboard compressor duty cycle, airflow, and specifications.
- Power Tank Tire Air-Up Chart — CO2 tire fill timing by tire size and pressure added.