CO2 Inflator vs Hand Pump: Speed, Weight & Reliability
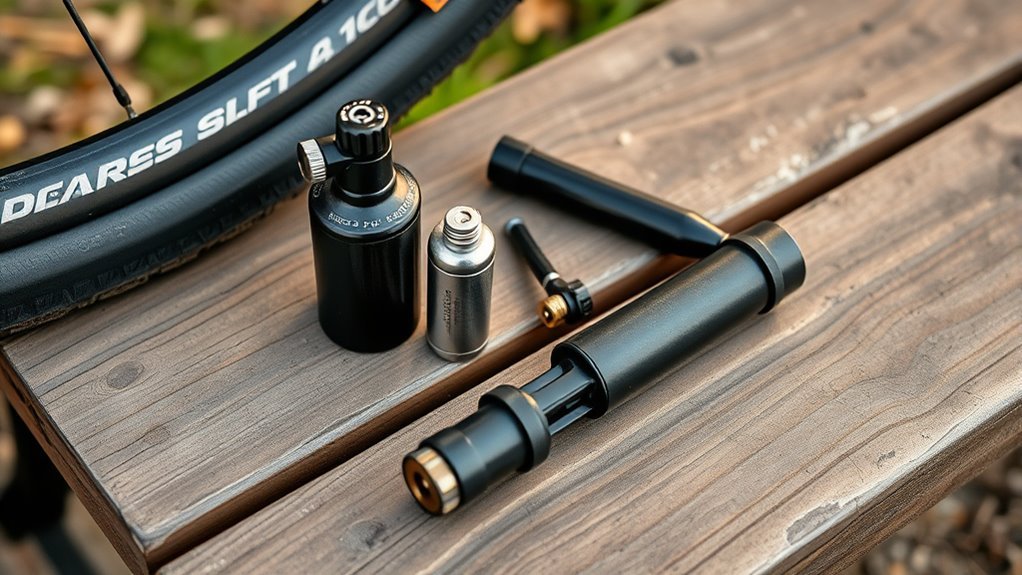
Choosing between a CO₂ inflator and a mini hand pump comes down to one question: do you want the fastest roadside inflation, or the most dependable way to keep adding air no matter how many flats you get? CO₂ is small, light, and fast enough for races and group rides. A pump is slower, but it never runs out, costs less over time, and gives you better control.
Quick Answer
Carry a CO₂ inflator when speed and low weight matter most, especially for road rides, races, and fast group rides. Carry a hand pump when reliability, repeat use, and long-distance independence matter more. For most riders, the best setup is one CO₂ cartridge for speed plus a small pump as backup.
Key Takeaways
- CO₂ wins on speed: it can inflate a repaired tire in seconds, but each cartridge is single-use.
- Hand pumps win on repeatability: they are slower, but they work for multiple flats and do not require consumables.
- Pressure limits vary: some mini pumps are designed for high-pressure road tires, while high-volume MTB pumps may top out much lower.
- CO₂ is temporary: tire pressure can drop sooner than with regular air, so replace CO₂ with air before your next ride.
- Safety matters: never exceed the tire or rim pressure limit, and protect your skin from the cold cartridge during inflation.
At a Glance
| Time Required | CO₂: usually under 1 minute after the tire is repaired; hand pump: often 3–8 minutes depending on tire size and target pressure |
| Difficulty | Beginner-friendly, but CO₂ should be practiced at home before relying on it roadside |
| Tools Needed | Spare tube or tubeless plug, tire levers, valve-compatible inflator or pump, pressure gauge if available |
| Cost | CO₂ has recurring cartridge costs; a hand pump is mostly a one-time purchase with occasional seal maintenance |
CO₂ Inflator vs Hand Pump: Quick Comparison
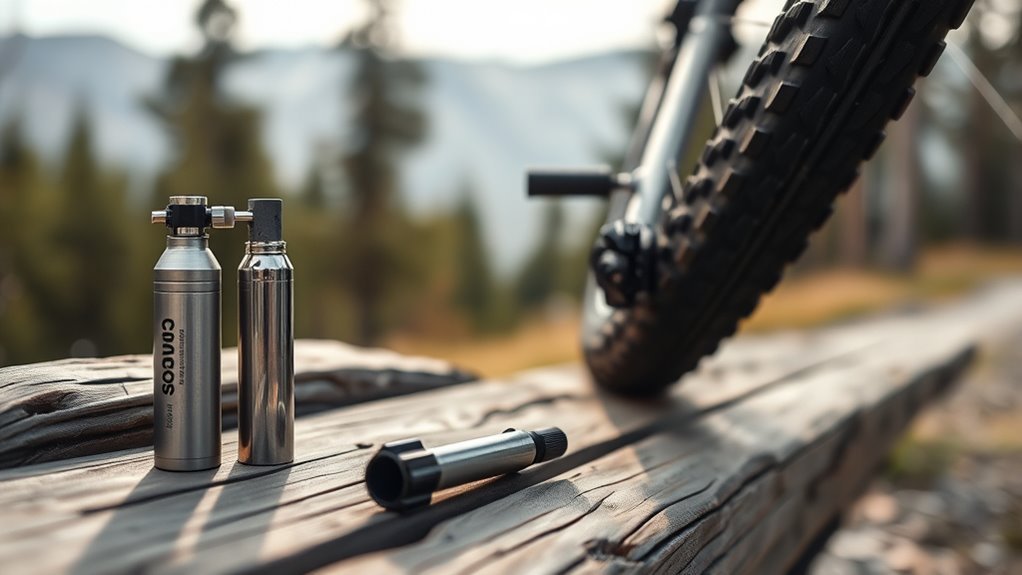
Wondering which to carry? Choose a CO₂ inflator when inflation speed, pocket space, and race-day efficiency matter most. Choose a mini hand pump when repeatable pressure, long-term reliability, and freedom from cartridges matter more.
| Feature | CO₂ Inflator | Mini Hand Pump |
|---|---|---|
| Best for | Racing, fast road rides, compact emergency kits | Commuting, touring, bikepacking, repeated flats |
| Speed | Very fast; inflation usually takes seconds once connected | Slow; requires many strokes, especially for road tires |
| Repeat use | Limited by the number of cartridges you carry | Unlimited as long as the pump works |
| Pressure control | Good with a regulated head; poor with basic press-on heads | Very controllable, but takes effort at higher PSI |
| Long-term cost | Higher because cartridges are single-use | Lower after the initial purchase |
| Main drawback | Can run out; CO₂ pressure may not hold as long as air | Slower and more tiring |
A good rule is simple: CO₂ is the fastest fix; a pump is the safest fallback. If you only carry one, choose based on the ride. If you can carry both, you get speed plus independence.
[Products Worth Considering]

Tiakia’s mini high-pressure frame pump delivers up to 260 PSI for faster, more efficient inflations with an optimized intake volume. It features a double-head valve design compatible with Schrader and Presta, plus a conversion for Donlop, making it versatile for bikes and many inflatables. The lightweight anodized aluminum build includes a mounting bracket for convenient carry, while the flexible high-pressure hose and IPX4 waterproof body support outdoor use.
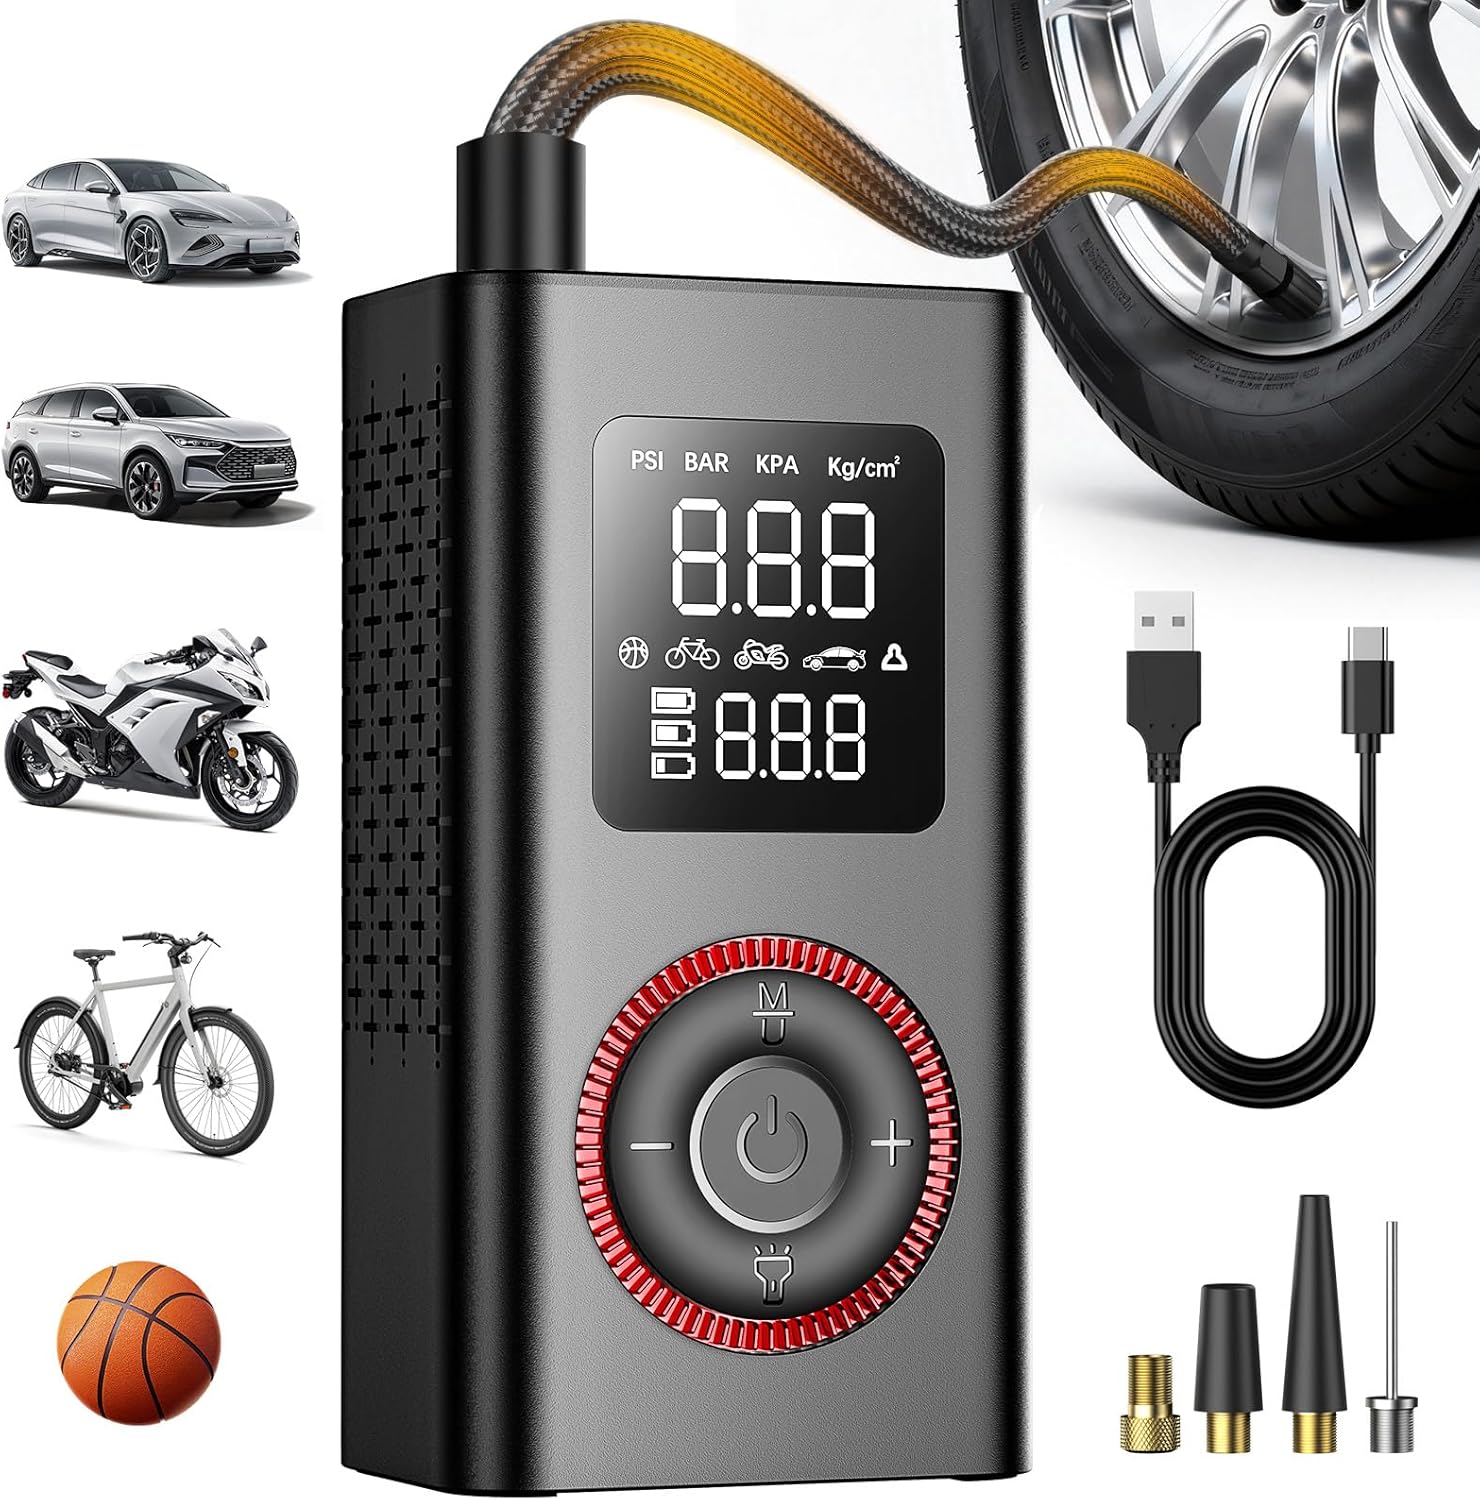
This portable tire inflator delivers fast, efficient inflation with a maximum 150 PSI rating and accurate pressure control for cars, motorcycles, bikes, and more. It features preset modes with automatic shutoff to help prevent overinflation, plus a real-time digital gauge and bright LED light for roadside use. Powered by a rechargeable 6000mAh battery with Type-C charging and a USB output, it’s also useful as an emergency power source for devices.

This PXZBLG bike repair kit helps you tackle common tire and on-the-ride issues with a compact, ride-ready tool collection. It includes a mini tire pump supporting both Presta and Schrader valves, a 16-in-1 bike multitool, tire levers, glueless patches with a plastic box, plus 4mm and 5mm Allen wrenches. A convenient bike bag stores everything so you can mount it on your road bike or mountain bike for lightweight, portable preparedness.
How CO₂ Inflators Work: Safety, Speed and Limits
A CO₂ inflator releases compressed carbon dioxide from a small cartridge into your tire through an inflator head. Some heads are regulated, meaning you can control the gas flow. Others release gas quickly with less control. That is why a regulated inflator is usually easier for beginners.
Cartridge size matters. A 16 g cartridge is common for road tires, while larger gravel and mountain bike tires often need a 20 g or 25 g cartridge. Final pressure depends on tire volume, temperature, cartridge size, and how much gas escapes during installation. Use the cartridge chart from your inflator or cartridge maker, and check with a gauge when accuracy matters. Planet Bike’s CO₂ inflation guide also warns riders not to overinflate and to follow tire specifications.
Warning: A CO₂ cartridge becomes extremely cold during inflation. Avoid direct skin contact with the metal cartridge and inflator head, and do not exceed the maximum pressure printed on your tire, rim, or wheel manual.
How to Use a CO₂ Inflator Safely
- Repair the flat first. Install a spare tube, patch the tube, or plug the tubeless puncture before using the cartridge.
- Check the valve. Open the Presta valve tip or confirm the Schrader valve is clean and accessible.
- Attach the inflator head. Thread or press it on firmly so gas does not leak at the valve.
- Release gas slowly if your inflator allows it. Short bursts give better control than dumping the full cartridge at once.
- Stop before the system limit. Tire and rim limits matter more than cartridge capacity.
- Ride home, then replace CO₂ with air. Before your next ride, deflate and refill with regular air for better pressure retention.
CO₂ is excellent for getting rolling again, but it is not ideal as a long-term fill. Rubber permeability varies by gas, and research from the U.S. Bureau of Standards on rubber permeability to gases helps explain why different gases pass through rubber at different rates. In practical cycling terms, a tire filled with CO₂ can go soft sooner than one filled with normal air, so treat CO₂ as an emergency fill rather than a set-and-forget solution.
CO₂ and Tubeless Sealant
If you ride tubeless, CO₂ is useful for quick trail or roadside inflation, but sealant compatibility is not universal. Some tubeless system instructions warn that sealant can deteriorate when it contacts CO₂. Giant’s sealant caution document, for example, tells riders not to use CO₂ with its listed tubeless setup because sealant can deteriorate on contact.
Note: If CO₂ is your only option on a tubeless ride, use it to get home, then deflate the tire, inspect the sealant, and refill with normal air. Always follow the sealant and wheel manufacturer’s guidance.
How Hand Pumps Work: Reliability, Effort and Use Cases
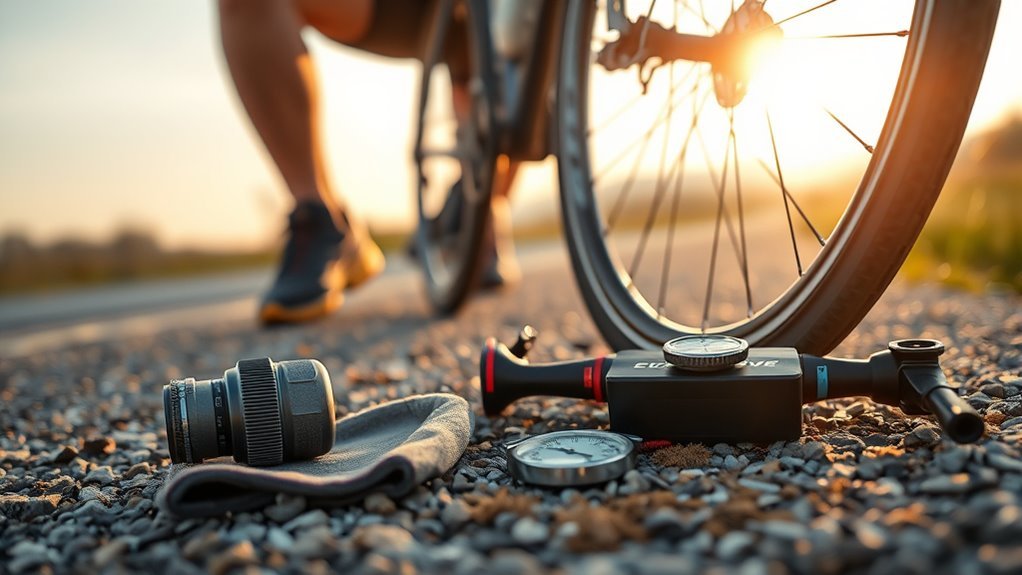
You operate a hand pump by moving a piston inside a cylinder. The pump draws outside air in, compresses it, and pushes it through the valve into the tube or tire. That simple mechanical design is why pumps remain popular: they are slower than CO₂, but they give you a repeatable air source without cartridges.
The original mistake many riders make is assuming all mini pumps have the same pressure range. They do not. High-volume MTB pumps move more air per stroke but may be harder to use at high road pressures. High-pressure road pumps move less air per stroke but can reach much higher PSI. Manufacturer specs show this range clearly: Topeak lists mini pumps with ratings from lower-volume trail models up to 120–160 psi road-focused models, while Lezyne’s Road Drive is rated up to 160 psi.
Manual Pump Mechanics
Grip the pump and use steady strokes. Longer, smoother strokes usually move more air than short, rushed strokes. If your pump has a hose, use it; a flexible hose reduces stress on the valve stem. If it attaches directly to the valve, support the valve with one hand so you do not bend or tear it.
- Use a high-pressure pump for narrow road tires that need higher PSI.
- Use a high-volume pump for gravel, mountain, and larger commuter tires.
- Check the pump head for Presta and Schrader compatibility before you need it.
- Keep seals, threads, and the pump head clean so it seals well on the valve.
How to Pump Faster Roadside
- Start with the valve at the top of the wheel. This makes it easier to attach the pump and reduces sealant mess on tubeless setups.
- Attach the pump squarely. A poor seal wastes effort and can damage the valve.
- Use full strokes. Full strokes move more air and build pressure more efficiently.
- Pause if the pump gets hot. Small pumps heat up during long inflation sessions.
- Stop at a safe rideable pressure. You do not always need perfect pressure roadside; you need enough to avoid rim strikes and ride safely home.
Long-Term Reliability
Because hand pumps rely on simple mechanical parts and your own effort, they can last for years with basic care. You can repair multiple punctures, help another rider, or continue a tour without worrying about cartridge supply. In a long-term durability comparison, a pump usually beats CO₂ on recurring cost, waste reduction, and independence.
Pro Tip: Test your pump at home with the exact valve type on your bike. Many roadside “pump failures” are really head-seal problems, loose valve cores, or riders discovering too late that the pump does not fit their valve.
Pressure, Valve and Rim Compatibility Checks
Before choosing CO₂ or a pump, confirm three things: your valve type, your tire volume, and your pressure limit. Most road and gravel bikes use Presta valves. Many commuter and older bikes use Schrader valves. Some pumps and inflators support both, while others are Presta-only.
Pressure limits are even more important. The maximum pressure printed on the tire is not always the only limit. The rim or wheel can have a lower limit, and that lower number is the one you must obey. This is especially important with hookless road rims. Schwalbe notes that, according to ETRTO guidance, hookless road rims have a 5 bar maximum pressure, which is about 72.5 psi, unless the wheel or tire maker requires an even lower limit.
The safest inflation tool is the one you can control. Fast inflation is useful only when it stays within the pressure limits of your tire, rim, and wheel system.
What to Pack: CO₂ Inflator vs Pump Essentials
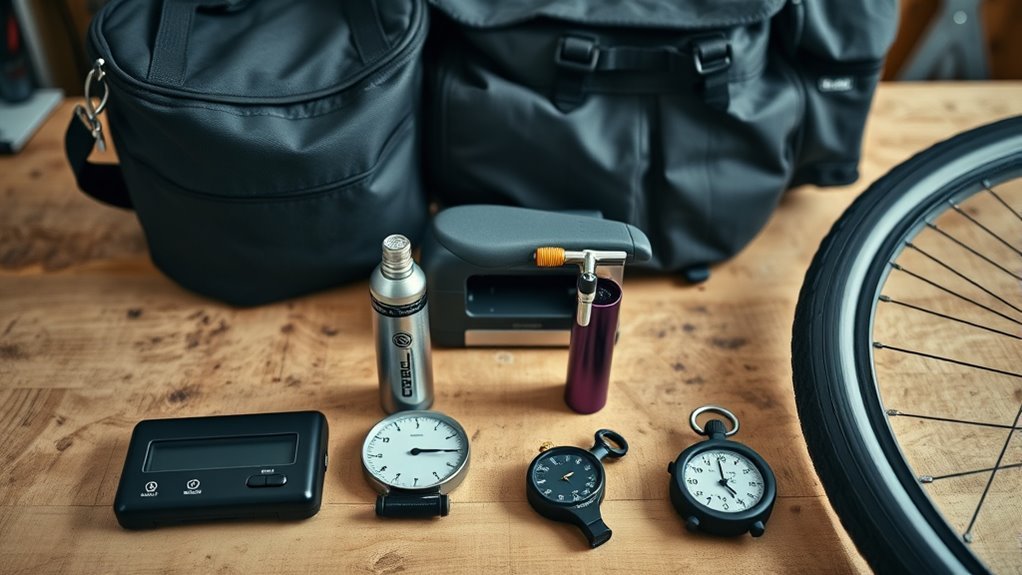
When packing for a ride, match your inflation gear to the trip. Commuters need reliability. Racers need speed. Bikepackers need redundancy. The best choice is not the same for every rider.
| Rider Type | Best Setup | Why It Works |
|---|---|---|
| Commuter | Mini pump plus patch kit or spare tube | Dependable, reusable, and not dependent on stocked cartridges |
| Road racer | CO₂ inflator, one or two cartridges, and a tiny backup pump if space allows | Fastest way to rejoin a group or finish an event |
| Gravel rider | High-volume mini pump plus CO₂ for emergencies | Handles larger tires and keeps a fast option for tubeless plugs |
| Bikepacker or tourer | Durable frame pump or mini floor pump, with CO₂ only as backup | Unlimited air matters more than saving a few minutes |
| Mountain biker | High-volume pump, tubeless plugs, and optional 20 g or 25 g cartridge | Large tires need volume more than high road PSI |
- Prioritize redundancy: carry at least one mechanical backup for long or remote rides.
- Optimize weight: CO₂ is usually lighter for short rides, but only until you need extra cartridges.
- Maximize access: store your inflator, tire lever, and spare tube where you can reach them quickly.
- Match the tool to the tire: narrow road tires need pressure; wide tires need volume.
[Products Worth Considering]

This 4-pack kit converts Presta bike valves to standard Schrader valves so you can inflate with any regular pump or air compressor. The solid brass adapters include an O-ring for a tight, leak-proof seal and provide a simple screw-on setup. Compatible with road bikes, mountain bikes, e-bikes, and e-scooters, it’s designed for convenient, everyday carry readiness.

Convert Presta bicycle valves to accept standard Schrader pump nozzles for fast, hassle-free inflation. This kit includes durable brass adapters with leak-resistant connections, plus sports inflation needles and protective valve caps for convenient use on bikes and ball sports equipment.
Cost, Waste and Long-Term Maintenance Trade-Offs
You’ll pay repeatedly for CO₂ cartridges, so factor ongoing cartridge costs into your long-term ride budget. Those single-use cylinders also create waste if they are not emptied and recycled properly where local rules allow. A durable hand pump removes recurring cartridge costs and shifts maintenance to simple mechanical care.
Ongoing Cartridge Costs
A CO₂ inflator head is reusable, but the cartridge is not. If you ride often, flat several times a season, or carry two cartridges for every event, the cost adds up. A pump costs more upfront than a few cartridges, but it usually becomes cheaper over time because every future inflation is free.
- Track how many cartridges you actually use each season.
- Carry enough cartridges for your tire volume, not just the smallest possible kit.
- Use CO₂ for emergency speed, not routine pressure top-offs at home.
Environmental Waste Impact
CO₂ cartridges are small steel cylinders. They should never be left roadside. Empty cartridges can often be recycled as scrap metal, but recycling rules vary by area. A hand pump creates less recurring waste because the same tool can be used for years.
From a sustainability and self-reliance angle, the pump is the cleaner long-term choice. From a race-day speed angle, CO₂ still earns its place. The practical answer is to use CO₂ deliberately and avoid making it your everyday inflation method.
Common Roadside Problems and Fixes
The CO₂ Cartridge Emptied but the Tire Is Still Soft
The most common causes are a poor valve seal, the wrong cartridge size, a missed puncture, or gas escaping while the head was attached. Check that the tube is not pinched, the tubeless plug is holding, and the inflator head is seated squarely before using another cartridge.
The Pump Will Not Build Pressure
Check the valve connection first. Make sure the Presta valve is open, the pump head is locked, and the rubber seal inside the head is not worn or dirty. If your pump has a reversible internal head for Presta and Schrader, confirm the parts are installed in the correct direction.
The Presta Valve Core Unscrewed
Some Presta tubes and tubeless valves have removable cores. Thread-on pumps and inflators can loosen them. Tighten removable valve cores before rides and consider carrying a tiny valve-core tool in your repair kit.
The Tubeless Tire Will Not Reseat
A CO₂ blast can help seat a tubeless bead, but it is not guaranteed. If the bead will not catch, remove the valve core for more airflow, check that the tire beads are in the center channel, and add sealant only after the tire is mounted correctly if your setup allows it.
Frequently Asked Questions
Is a CO₂ inflator better than a hand pump?
A CO₂ inflator is better for speed and compact packing. A hand pump is better for repeat use, long rides, commuting, touring, and situations where you cannot easily buy more cartridges. Many riders carry both: CO₂ for the first fast fix and a pump as insurance.
Does CO₂ leak out of bike tires faster than air?
Yes, in normal cycling use, a tire filled with CO₂ often loses usable pressure sooner than a tire filled with regular air. Use CO₂ to finish the ride, then replace it with air before your next ride.
How many PSI can a hand pump produce?
It depends on the pump design. Some compact high-volume pumps are best for lower-pressure mountain or gravel tires, while road-focused mini pumps may be rated for 120–160 psi. In real roadside use, reaching very high pressure with a small pump takes time and effort.
How many CO₂ cartridges should I carry?
For short road rides, one cartridge may be enough if you also carry a pump or ride near home. For races, fast group rides, gravel rides, or tubeless setups, two cartridges are safer. Larger tires need larger cartridges, so match cartridge size to tire volume.
Can I use CO₂ with tubeless tires?
Usually yes in an emergency, but check your sealant and wheel instructions. Some sealants and tubeless systems warn against CO₂ exposure. After using CO₂, inspect the tire, check sealant condition, and refill with regular air when you get home.
Should beginners carry CO₂ or a pump?
Beginners are usually better served by carrying a mini pump first because it gives unlimited attempts. CO₂ is still useful, but it rewards practice. Try inflating an old tube at home so you understand the inflator head before using it during a ride.
Do CO₂ cartridges expire?
Unused CO₂ cartridges do not have a normal short shelf life, but they can rust, puncture, or become damaged if stored poorly. Keep them dry, inspect them before rides, and replace any cartridge that looks corroded or dented.
Is a bike CO₂ cartridge the same as a CO₂ pellet gun cartridge?
Do not assume they are interchangeable. Bicycle inflators are designed for specific threaded or non-threaded cartridge sizes. Use the cartridge type recommended by your inflator manufacturer so the seal, thread, and release mechanism work correctly.
Conclusion
You’ll pick speed or certainty first, then decide how much backup you want. A CO₂ inflator is the fastest and lightest way to get a repaired tire back to rideable pressure, which makes it ideal for racing, road rides, and fast group settings. A hand pump is slower, but it gives you dependable air for as many attempts as you need.
For short performance rides, carry a CO₂ inflator and the right cartridge size. For commuting, touring, bikepacking, or remote gravel rides, carry a pump. For the most complete repair kit, carry both: CO₂ for the quick fix and a pump for the second flat, a failed cartridge, or a slow pressure top-off.
Sources
- Planet Bike CO₂ Inflation Guide — cartridge inflation guidance, pressure caution, and gauge reminder
- Planet Bike Air Smith CO₂ Inflator Instructions — cold cartridge safety and controlled inflation instructions
- Topeak Mini Pumps — examples of mini pump pressure ranges and valve compatibility
- Lezyne Road Drive Hand Pump — example of a road-focused mini pump rated for high pressure
- Schwalbe Hookless Rim FAQ — hookless road rim pressure limit guidance
- Giant Sealant Caution / Warning — tubeless sealant handling and CO₂ caution

Related Articles
How to Book a Costco Tire Center Appointment
Tired of guesswork? Learn how to book a Costco Tire Center appointment and avoid surprises before your next visit.
Read More
How to Use Costco Tire Inflation: Step-by-Step
Never overinflate at Costco—learn the exact steps, tools, and tips to fill your tires safely and leave with confidence.
Read More
How to Book a Tire Appointment at Walmart
Mysterious steps make booking a Walmart tire appointment simpler than you think, but one crucial detail could save you time and money.
Read More