
CO₂ Inflator Guide: Fill a Bike Tire in 60 Seconds
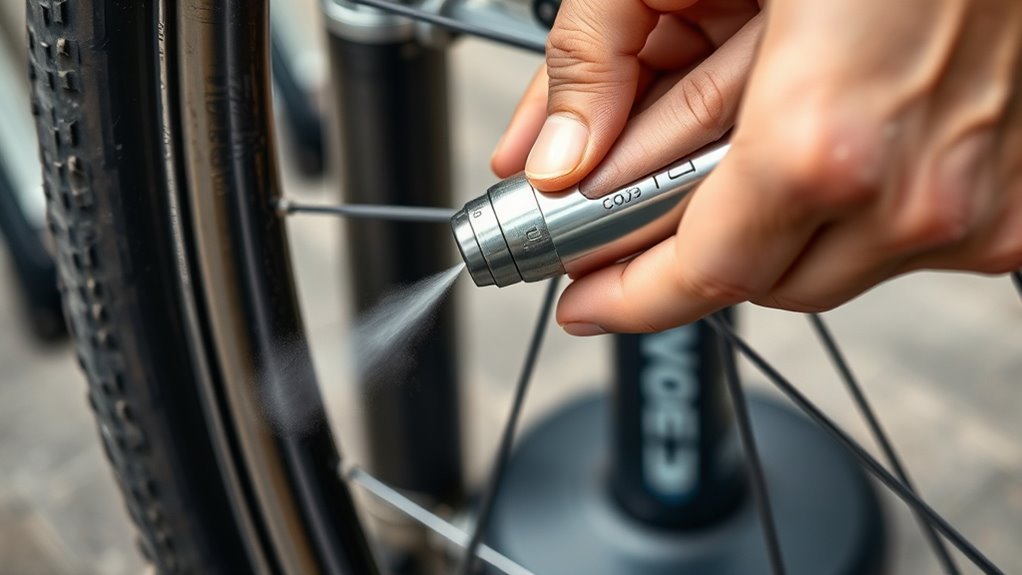
How to Inflate a Tire With CO₂
What’s in This Article
- Quick 60-Second Fix: Inflate a Tire With CO₂
- CO₂ Inflator Kit: Parts, Cartridges, and Valve Types
- Pick the Right CO₂ Cartridge Size for Your Tire
- Quick Prep Checklist Before Using CO₂
- Step-By-Step: Attach Inflator and Release CO₂
- Check the Tire: Seating, PSI, and Top-Off Tips
- CO₂ for Tubeless Tires: Sealing and Plugging Fast
- Cold Safety, Hand Protection, and Cartridge Disposal
- Troubleshooting: Leaks, Underfill, and Malfunctions
- When to Carry CO₂ vs. a Pump
- Frequently Asked Questions
A flat tire can turn a short ride into a long walk if you fumble with your repair kit. A carbon dioxide (CO₂) inflator fills a bike tire in seconds, but it also empties fast if the valve seal or cartridge size is wrong. This guide shows you how to choose the right parts, attach the inflator, release CO₂ safely, and check the tire before you ride.
Estimated total time: 1 to 3 minutes after you find and fix the puncture.
Quick Answer
To inflate a tire with CO₂, confirm the tire or tube can hold air, match the cartridge to your tire size, and attach the inflator firmly to the valve. Release gas in a controlled burst, then check bead seating and pressure before you ride. Wear gloves because the cartridge gets very cold during use.
Key Takeaways
- Match the cartridge size to your tire volume and target pressure before you ride.
- Use a firm valve connection so the cartridge does not vent before the tire fills.
- Release CO₂ in short, controlled bursts when your inflator allows flow control.
- Check bead seating, pressure, and leaks before you get back on the bike.
- Carry a pump or spare cartridge when you expect remote routes or more than one flat.
Quick 60-Second Fix: Inflate a Tire With CO₂
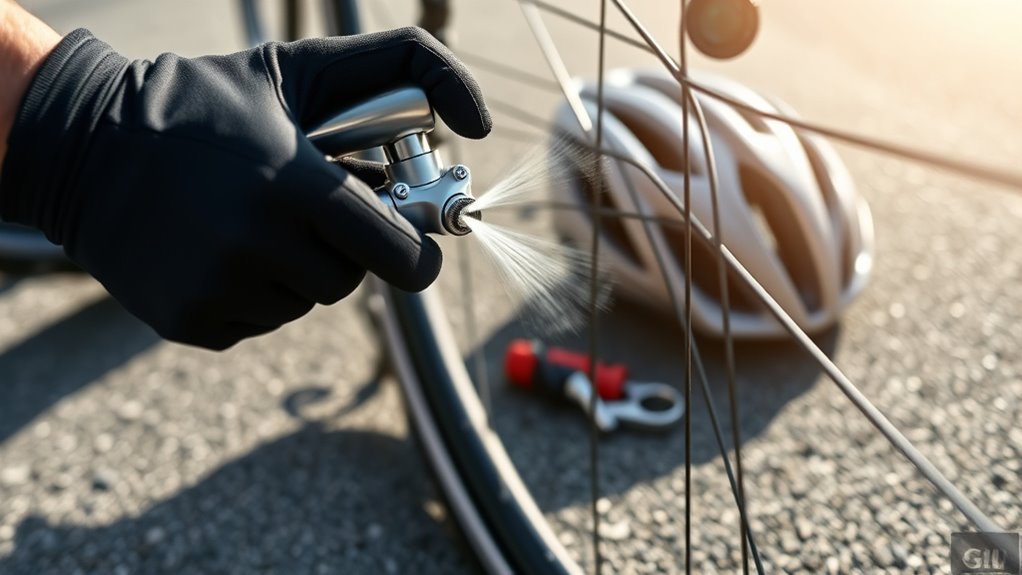
Grab a fresh CO₂ cartridge, confirm your tire and tube can hold air, and attach the inflator firmly to the valve. Check the tube for punctures first, then replace or patch it if needed. A CO₂ cartridge won’t help if the tire still has a sharp object inside.
Screw in the cartridge to release gas, or press the head if your inflator uses non-threaded cartridges. Inflation can finish in 1 to 2 seconds, so hold the wheel steady and control flow if your inflator allows it. Immediately verify tire seating and inspect for bulges, cuts, or leaks.
Warning: Do not place bare skin on the cartridge during discharge because fast gas expansion can cause cold burns.
CO₂ Inflator Kit: Parts, Cartridges, and Valve Types
Start by identifying the inflator head type. Threaded heads screw onto threaded cartridges, while non-threaded heads puncture cartridges when you press or clamp them in place. Flow-control heads let you meter gas, while single-burst heads release most of the cartridge at once.
Next, match cartridge size to tire volume and target pressure. A narrow road tire needs less gas volume than a mountain bike or fat-bike tire. Finally, check valve compatibility so the head seals well on Presta or Schrader valves.
[Products Worth Considering]

Convert Presta bicycle valves to accept standard Schrader pump nozzles for fast, hassle-free inflation. This kit includes durable brass adapters with leak-resistant connections, plus sports inflation needles and protective valve caps for convenient use on bikes and ball sports equipment.

Tiakia’s mini high-pressure frame pump delivers up to 260 PSI for faster, more efficient inflations with an optimized intake volume. It features a double-head valve design compatible with Schrader and Presta, plus a conversion for Donlop, making it versatile for bikes and many inflatables. The lightweight anodized aluminum build includes a mounting bracket for convenient carry, while the flexible high-pressure hose and IPX4 waterproof body support outdoor use.

This PXZBLG bike repair kit helps you tackle common tire and on-the-ride issues with a compact, ride-ready tool collection. It includes a mini tire pump supporting both Presta and Schrader valves, a 16-in-1 bike multitool, tire levers, glueless patches with a plastic box, plus 4mm and 5mm Allen wrenches. A convenient bike bag stores everything so you can mount it on your road bike or mountain bike for lightweight, portable preparedness.
Inflator Head Types
You’ll use one of two main CO₂ inflator head designs: flow-control heads or single-burst heads. Flow-control heads let you add gas in small amounts, which helps you avoid overinflation. Single-burst heads fill fast for rapid roadside fixes, but they waste gas if you miss the valve seal.
Match head threads to threaded cartridges for the most secure connection. Non-threaded systems can work fast, but they need the correct head and careful setup. Confirm the head fits Presta or Schrader valves before each ride, and store cartridges so the threads stay clean.
Cartridge Sizes Explained
Tire volume and target pressure decide the best CO₂ cartridge size. A 16g cartridge often suits many road tires, a 20g cartridge suits many mountain bike tubes, and a 25g or larger cartridge works better for high-volume tires. Actual pressure depends on tire width, rim shape, tube type, and how much gas escapes during setup.
Threaded cartridges usually give you a repeatable connection. Non-threaded cartridges can work well, but you need a compatible head. Use vertical or near-vertical orientation during discharge when your inflator maker recommends it, and use flow control when you need more precise inflation.
Valve Compatibility Guide
Check your valve before you puncture the cartridge. Most bike wheels use either a Presta valve or a Schrader valve, and some inflators fit both. If your inflator does not fit both, carry the correct adapter.
Open the small Presta valve nut before inflation, then press the head straight onto the valve. For Schrader valves, press the head squarely so the center pin opens cleanly. A poor angle can waste the cartridge and leave the tire underfilled.
Pick the Right CO₂ Cartridge Size for Your Tire
Choose a CO₂ size that can fill your tire volume without pushing past the tire’s safe pressure range. Many road tires work with 16g cartridges, many mountain bike tires need 20g or more, and larger-volume tires often need 25g or more. Check the pressure range printed on your tire sidewall before you inflate.
Test your cartridge and inflator at home. A short practice run shows how fast your setup fills, how cold the cartridge gets, and how much pressure one cartridge provides. Carry a spare cartridge when one underfill would leave you stranded.
[Products Worth Considering]

This EVOULTES 2-way air chuck set includes a dual head closed flow air chuck and a ball head chuck for versatile tire inflation. It connects easily to air lines, inflator gauges, and compressors using 1/4" NPT threads and includes two 1/4" male quick plugs for fast coupling. Built with durable metal construction and sealed threads using Teflon tape to help prevent air leaks, it’s ideal for inflating Schrader valve tires across cars, bikes, and motorcycles.
Match Cartridge To Tire
When picking a CO₂ cartridge, match its size to your tire volume and target pressure. Use smaller cartridges for low-volume road tires and larger cartridges for wide mountain bike, gravel, cargo, or fat-bike tires. Avoid guessing by checking your tire label and testing your own setup.
Choose threaded cartridges if you want a more reliable seal and easier control. Pick 20g or 25g cartridges when volume matters more than high pressure. Carry one more cartridge than you expect to use on long or remote rides.
Consider Tire Volume
Tire volume dictates how much gas you need. A narrow tire reaches riding pressure with less gas, while a wide tire needs more gas to reach even a low pressure. Rim width, tire casing, and tube type also change the final result.
Selecting the right cartridge reduces the risk of underinflation during roadside repairs. It also lowers the risk of overfilling a small tire. If you ride often, note how many cartridges your tire size needs and pack for that real-world use.
Quick Prep Checklist Before Using CO₂
Before you start, confirm that the cartridge fits your inflator and can meet the tire’s pressure needs. Remove the sharp object that caused the flat, inspect the casing, and check the tube or tubeless plug area. Then stage your parts so you can work without dropping the cartridge.
| Item | Action | Check |
|---|---|---|
| Cartridge | Verify size | Fits inflator and tire |
| Tube | Add slight air | Shapes tube for mounting |
| Valve | Identify type | Schrader or Presta fit |
| Spares | Carry extras | One or two more cartridges |
Confirm your inflator’s attachment method before you need it under pressure. Keep a backup pump or more cartridges for large tires, repeat flats, and remote rides.
Before You Begin
Set the wheel where you can see the valve, bead, and tire sidewall. Put gloves on before you pierce the cartridge. Keep the cartridge, inflator head, tube, tire lever, plug kit, and pressure gauge within reach.
- Check the tire sidewall for the safe pressure range.
- Remove glass, thorns, wire, or debris from the casing.
- Open the Presta valve nut or clear the Schrader valve stem.
- Confirm the cartridge and inflator head use matching threads or fittings.
Step-By-Step: Attach Inflator and Release CO₂
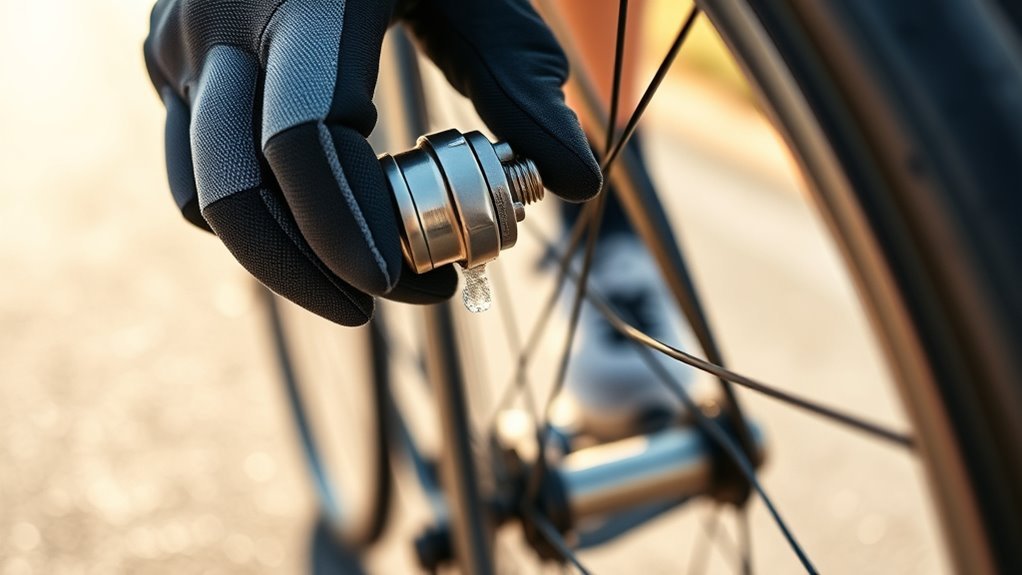
Follow these steps after you fix the puncture or install a new tube. Work slowly until the inflator seals on the valve. Once you pierce the cartridge, you may only get one clean chance to use it.
- Inspect the tire, tube, valve, and bead for cuts, debris, or poor seating.
- Match the cartridge to the inflator head and the tire volume.
- Attach the inflator straight onto the Presta or Schrader valve.
- Pierce the cartridge by screwing it in or pressing it into the head, based on your inflator design.
- Release CO₂ in a short, controlled burst if your inflator has flow control.
- Stop the flow, remove the head carefully, and close the valve.
- Check bead seating, tire pressure, and leaks before you ride.
Most inflation techniques call for a controlled burst because tires fill fast. Listen for hissing that signals a poor seal or thread issue. Replace the valve cap after you confirm the tire holds pressure.
Pro tip: Practice once at home with a spare tube so you learn your inflator’s release speed before a roadside flat.
Check the Tire: Seating, PSI, and Top-Off Tips
Check the tire before you ride. Confirm the bead sits evenly on both rim walls, then look for debris, cuts, and sidewall bulges. Spin the wheel and watch for wobble or uneven bead lines.
Use a pressure gauge for pressure verification, and match pressure to your tire type, rider weight, and surface. CO₂ gives a rapid fill, but it can leave the tire softer later than it felt at first. If readings sit below your target, top off with a hand pump to reach a safer riding pressure.
CO₂ for Tubeless Tires: Sealing and Plugging Fast
You can use CO₂ cartridges to help seat tubeless beads and push sealant toward a puncture. Attach the inflator to the valve, insert the cartridge, and release a controlled burst to help snap the tire bead into the rim. That pressure can help sealant move into a small hole.
Plug larger cuts before the tire loses too much pressure. Use your tubeless plug tool, ream the wound if the plug kit requires it, insert a plug, then inflate with the cartridge size your tire needs. Practice the sequence before you rely on it during a ride.
Note: Some sealant makers recommend replacing CO₂ with regular air after the ride, so check your sealant instructions.
Cold Safety, Hand Protection, and Cartridge Disposal
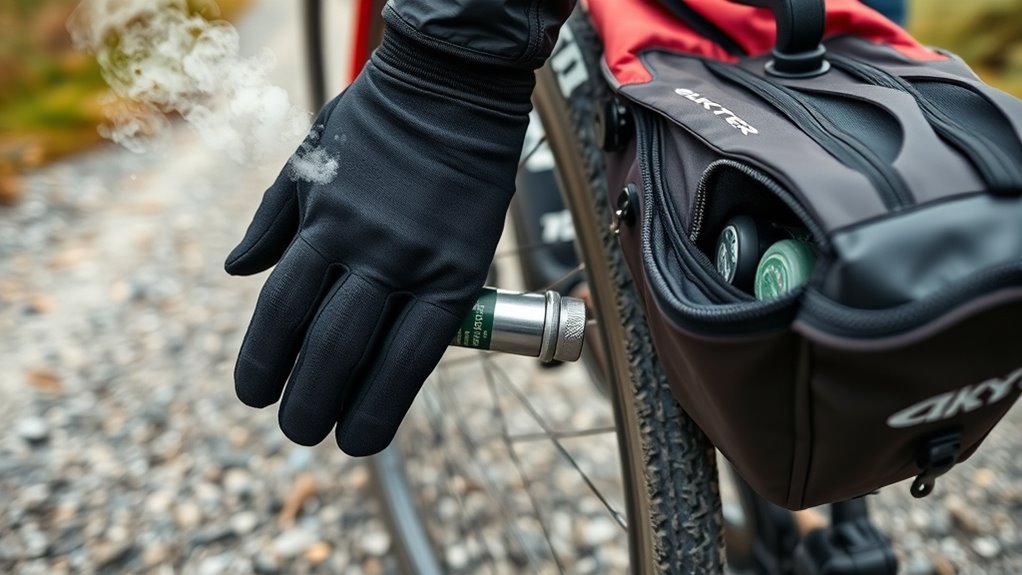
CO₂ cools rapidly as it expands, so protect your hands and skin. Wear gloves or use a fabric sleeve when you handle cartridges and inflators. Direct contact with a discharging cartridge can cause painful cold burns.
Check compatibility before use, close the valve after inflation, and keep empty cartridges away from children and pets. Recycle spent steel cartridges when local rules allow it. Never leave empties on the trail or roadside.
| Topic | Action |
|---|---|
| Hand protection | Use gloves or a fabric sleeve |
| Cartridge type | Choose a compatible cartridge |
| Post-use valve | Close it to help maintain pressure |
| Disposal | Recycle when possible |
Troubleshooting: Leaks, Underfill, and Malfunctions
If the tire won’t hold pressure, first check the valve connection for proper seating and tightness against the inflator. If pressure stays low, the cartridge may be too small for your tire volume. If the head gets extremely cold and flow weakens, pause, protect your hands, and inspect the inflator before you try again.
Valve Connection Issues
A poor valve connection causes many failed CO₂ fills. Seat the inflator firmly before you puncture the cartridge, because a loose or mismatched attachment can vent the gas. Clear debris from the valve, inspect for damage, and confirm the cartridge fits the head.
| Issue | Cause | Fix |
|---|---|---|
| Leak at stem | Debris or damage | Clean or replace valve |
| Thread mismatch | Incompatible parts | Use matched inflator parts |
| Rapid venting | No flow control | Use a flow-control tool |
| Underfill | Small cartridge or gas loss | Use a larger or fresh cartridge |
Insufficient Cartridge Volume
When a tire stays soft after a CO₂ burst, check cartridge volume first. A single 16g cartridge often works for narrow road tires, but larger tires may need a larger cartridge or more than one cartridge. Test your own wheel and tire setup at home so you know what to carry.
Inspect the valve and bead for leaks because a small leak can mimic underfill. Verify that the cartridge fully pierced and the release mechanism opened. If pressure drops quickly after a good fill, look for a puncture, loose valve core, or unseated bead.
Cold Cartridge Malfunction
Rapid cooling during discharge can stiffen seals and reduce flow. In cold conditions, you may see weak fills, small leaks, or a frosted inflator head. Wear gloves and keep the cartridge in a pocket before use when the weather feels cold.
Inspect cartridges and the inflator for dents, corrosion, or worn O-rings. Verify a tight connection to avoid a partial discharge from a loose fit. If the problem continues, swap cartridges and test the inflator on a spare tube.
When to Carry CO₂ vs. a Pump
Carry a CO₂ inflator when speed matters most, such as commuting, racing, or a solo ride where a fast repair gets you moving. Carry a frame pump when you may face multiple flats, long remote routes, or group rides. A pump gives unlimited air, while CO₂ gives fast one-shot inflation.
For the best roadside kit, carry both when space allows. Use CO₂ for fast pressure or tubeless bead seating, then use the pump if the tire needs more air later. That backup keeps one wasted cartridge from ending your ride.
Frequently Asked Questions
How Much CO₂ Do You Need to Inflate a Bike Tire?
Many road tires use a 16g cartridge, many mountain bike tires use 20g or more, and fat-bike tires often need 25g or more. Your exact result depends on tire size, rim width, tube type, valve seal, and target pressure.
Can You Use CO₂ to Air Up Tires?
Yes, you can use CO₂ to air up bike tires and some other small tires when you have a compatible inflator. It works best as a fast roadside fix, but a pump gives better control and unlimited refills.
How Many CO₂ Cartridges Does It Take to Fill a Motorcycle Tire?
A motorcycle tire usually needs much more gas than a bicycle tire. Small CO₂ cartridges may only raise pressure enough for a short emergency move, so check your motorcycle tire size and pressure needs before relying on them.
Does CO₂ Stay in a Bike Tire as Long as Air?
CO₂ can escape through tubes faster than regular air in many setups. After a roadside repair, replace the CO₂ with normal air when you get home or before your next longer ride.
Can CO₂ Overinflate a Bike Tire?
Yes, CO₂ can overinflate a tire if the cartridge is too large or the inflator releases gas too fast. Use a flow-control inflator when possible, and check pressure with a gauge before riding hard.
CO₂ inflation works best when you treat it as a fast repair tool, not a full replacement for tire care. Match the cartridge, protect your hands, seal the valve well, and check the tire before you ride. Pack a pump or spare cartridge when one failed fill would leave you walking. With a little practice, you can turn a flat tire into a short stop instead of a ruined ride.

Related Articles
Are Premium Tires Worth the Extra Money?
Worth the extra money? Premium tires promise more grip, comfort, and longevity—but the real tradeoff may surprise you.
Read More
What Are OE Tires? Original Equipment Explained
Discover what OE tires really mean and why choosing the right replacement could change everything for your car’s ride, handling, and safety.
Read More
305 Tire Size Explained: How Big Is It?
I explain how big a 305 tire really is—and why the exact fit can surprise you.
Read More