
How to Remove a Stuck Lug Nut on a Toyota 4Runner

To remove a stuck lug nut on your Toyota 4Runner, start by applying penetrating oil and letting it sit for 10-15 minutes. Use a breaker bar for leverage, and gently tap it with a hammer if the nut’s still stuck. If needed, a propane torch can help loosen it, but make certain the vehicle is on jack stands for safety. Regular maintenance can prevent these issues. Keep going to discover more tips and techniques for effective lug nut removal.
Step-by-Step Guide to Removing Stuck Lug Nuts
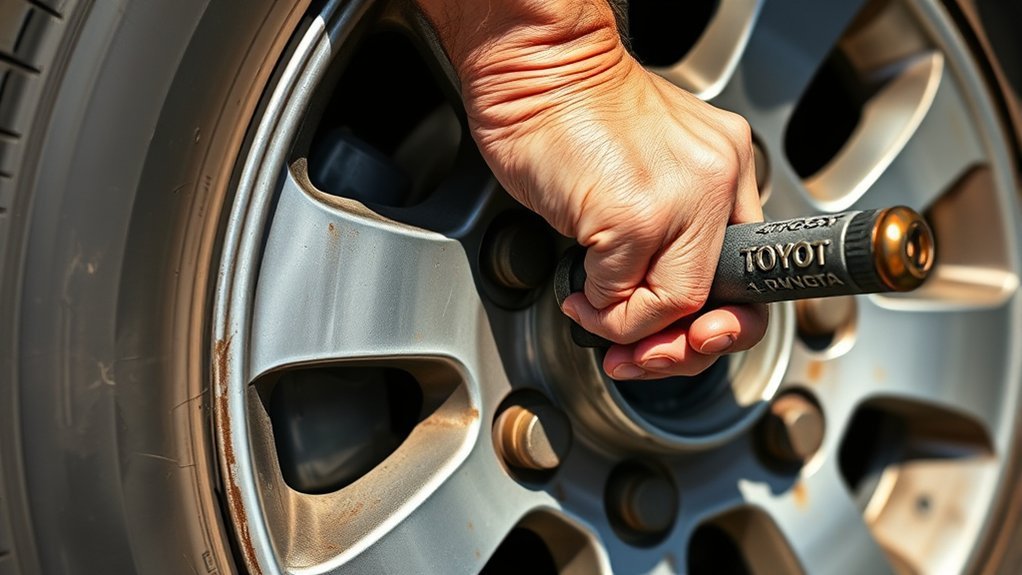
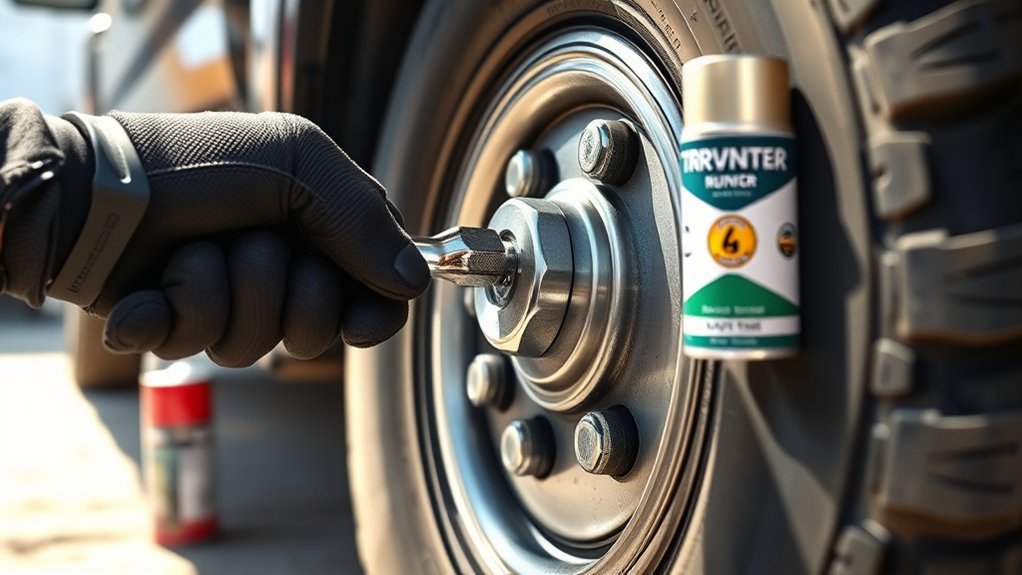
Removing a stuck lug nut can be a frustrating experience, but with the right steps, you can tackle it effectively. Start by applying penetrating oil, like WD-40, to the lug nut and let it sit for 10-15 minutes. This breaks down rust or corrosion. Next, use a sturdy breaker bar or a torque wrench set to high torque for maximum leverage. If it’s still stuck, gently tap the end of the breaker bar with a hammer to increase the force without damaging the nut.
If resistance continues, carefully heat the lug nut with a propane torch for a few seconds to expand the metal, helping to release the bond with the wheel stud. Remember, always lift your vehicle securely and support it with jack stands before attempting any removal techniques. Prioritizing these safety precautions guarantees a safer and more effective process.
Essential Tools for Removing Stuck Lug Nuts
When tackling stuck lug nuts, having the right tools can make all the difference. Start with a high-quality lug wrench or breaker bar, as these provide the torque needed to loosen stubborn nuts effectively. If you’re dealing with rust or corrosion, consider using penetrating oil like WD-40; spraying it on the lug nuts can help break the bond. For extremely tight lug nuts, a torque multiplier can amplify your force without excessive effort, making your job easier. A rubber mallet is also useful; gently tapping the lug nut or wheel can dislodge stuck components without damaging the rim. If you encounter a locking lug nut, verify you have the correct key or use a universal locking wheel nut remover for extraction. With these essential tools at hand, you’re well-equipped to liberate those stuck lug nuts.
What Not to Do When Removing Lug Nuts?
While tackling stuck lug nuts can be frustrating, knowing what not to do is essential for avoiding damage and ensuring safety. Here are vital missteps to avoid:
| What Not to Do | Consequences | Best Practice |
|---|---|---|
| Use excessive force | Strips threads, damages wheel hub | Follow torque specifications |
| Remove while on the ground | Causes instability, potential injury | Raise vehicle securely |
| Heat the lug nuts | Weakens metal, creates dangerous conditions | Avoid heating methods |
Ignoring signs of rust or corrosion can lead to seized lug nuts, complicating removal. Also, refrain from using a cheater bar on the lug wrench, as this can break the tool or strip the lug nut. Maintaining lug nut safety is vital for a successful removal process and to prevent future complications.
Preventing Stuck Lug Nuts in the Future
To prevent stuck lug nuts in the future, it’s crucial to adopt proactive maintenance practices. Regularly clean and lubricate the lug nut threads and wheel hub with an anti-seize compound. This not only aids in corrosion prevention but also guarantees easier removals down the line. Always verify your lug nuts are torqued to the manufacturer’s specifications; over-tightening can lead to sticking.
Additionally, rotate your tires periodically to combat uneven wear and minimize dirt buildup that can contribute to stuck nuts. Storing your vehicle in a dry environment helps reduce moisture exposure, which can cause rust on lug nuts and wheel hubs. Finally, consider upgrading to stainless steel lug nuts, as they’re less prone to rust and corrosion compared to standard options. By following these preventative maintenance steps, you can greatly reduce the likelihood of dealing with stuck lug nuts in the future.
Common Causes of Stuck Lug Nuts
Stuck lug nuts often result from a combination of factors that can compromise their ease of removal. Rust and corrosion, caused by moisture exposure, can bond lug nuts to wheel studs. To combat this, effective rust prevention methods like applying anti-seize lubricant can be beneficial. Additionally, incorrect torque specifications during installation can lead to over-torqued lug nuts, making them nearly impossible to remove later.
Wheel designs with recessed areas often trap dirt and debris, increasing the difficulty of removal. Brake dust accumulation creates a gritty bond, further contributing to the sticking issue. Temperature fluctuations can also play a role, causing metal components to expand and contract, resulting in a tighter fit between the lug nut and wheel stud. By understanding these common causes, you can take proactive measures to guarantee easier future removals.
Frequently Asked Questions
Does WD-40 Help Remove Locking Wheel Nuts?
Yes, WD-40 can enhance effectiveness in loosening locking wheel nuts, especially when rusted. However, consider alternative lubricants for severe cases. Always allow it to penetrate before attempting removal for better results and safety.
How to Remove a Locking Wheel Nut That’s Stuck?
When facing a stubborn locking wheel nut, release your arsenal. Utilize specialized removal tools and techniques. Apply penetrating oil for smooth sailing, or use a snug socket to break the grip and liberate your wheel.
Conclusion
To summarize, removing a stuck lug nut can feel like trying to unscrew a stubborn bottle cap, but with the right techniques and tools, you can free it. Remember to apply penetrating oil, use a breaker bar, and avoid excessive force. By practicing proper maintenance and installation techniques, you can prevent future issues. Stay proactive, and you’ll keep your Toyota 4Runner’s wheels turning smoothly for years to come.
Related Articles

How to Check Tire Age Using the DOT Date Code
Observe your tire's DOT date code to determine its age and safety—discover essential tips to ensure your tires keep you safe on the road.
Read More
How to Use Tire Deflators for Quick Off-Road Airing Down
I discovered how tire deflators can transform your off-road experience, but there’s more to mastering their use than you might think.
Read More
Don’t Forget Your Spare: 4Runner Spare Tire Pressure Tips
Ignore your 4Runner's spare tire pressure, and your next flat could leave you stranded—discover the trim-specific secret that saves roadside headaches.
Read More