
How to Use a Tubeless Tire Repair Kit: Complete Field Guide
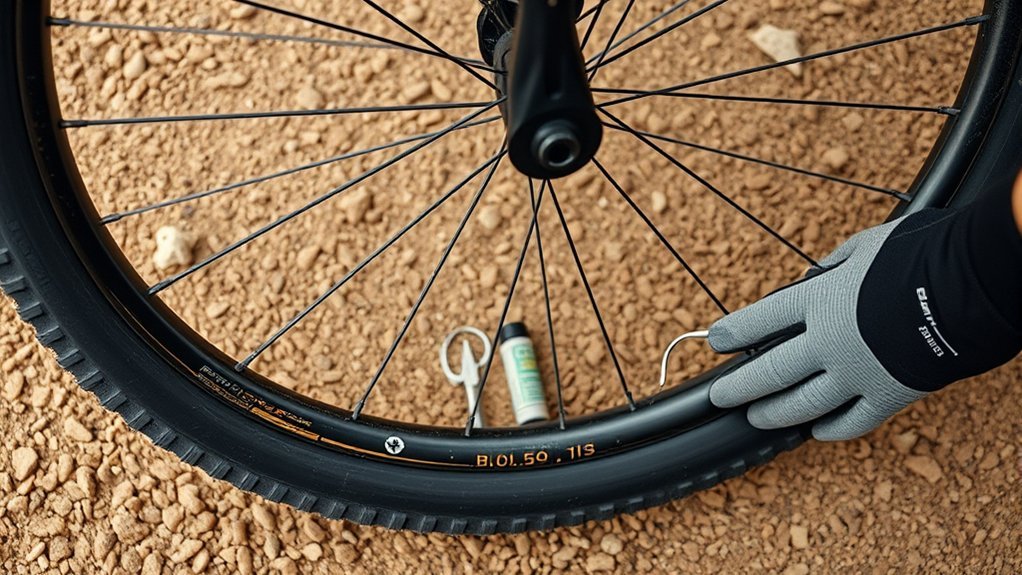
A tubeless bicycle tire plug kit can stop many tread punctures without removing the wheel, but the repair only works when the tire casing, bead, rim, and valve are still sound. Start by letting the sealant try to close a small hole. If air keeps escaping, remove the debris, install the correct plug, reinflate within the tire and rim limits, and test the repair before riding.
Quick Answer
To use a tubeless bicycle tire repair kit, find the leaking tread puncture, remove the object, prepare the hole as your plug-tool maker directs, insert the plug, and withdraw the tool while leaving the plug seated. Reinflate without exceeding the tire or rim limit, then check for bubbles, hissing, pressure loss, or bead damage.
Key Takeaways
- This guide is for tubeless bicycle tires that use liquid sealant, not car, motorcycle, lawn-equipment, or inner-tube-only tires.
- Give the sealant a chance to work before enlarging a small hole with a plug tool.
- For the Park Tool TPT-1, ream the hole, load the plug halfway through the fork, leave about 6 mm of the plug ends visible, hold the retainer against the tire, and withdraw the tool.
- Use the pressure recommended for your setup and never exceed the lower maximum printed for the tire or rim.
- A plug cannot restore a torn casing, damaged bead, cracked rim, or major sidewall cut. Stop riding and use a safe ride-out option or replace the damaged part.
At a Glance
| Time Required | About 10–20 minutes for a straightforward tread puncture |
| Difficulty | Beginner to intermediate |
| Tools Needed | Tubeless plug tool and plugs, pump or inflator, pressure gauge, rag, and optional soapy water |
| Cost | About $6 for Park Tool refill plugs or about $41 for the complete TPT-1 tool as listed July 17, 2026; pump, tube, and sealant cost extra |
Warning: Do not use these steps on a motor vehicle tire. Do not ride a bicycle tire with exposed casing threads, a bulge, bead damage, a cut that continues to open, or a rim that is cracked or badly dented. Keep inflation below both the tire and rim limits.
Tubeless Tire Repair Basics
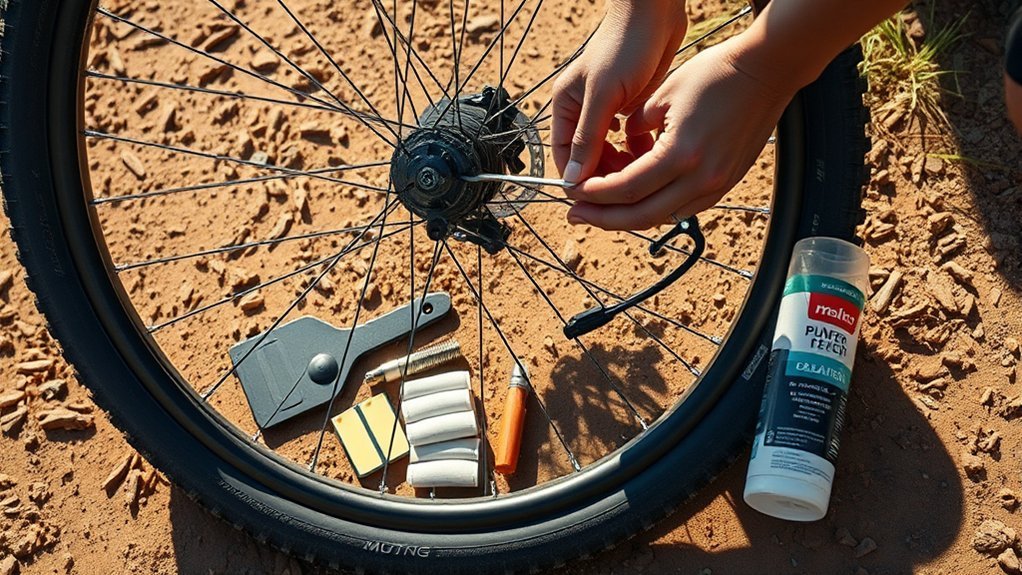
A tubeless bicycle system uses a tubeless-compatible tire, rim or rim tape, valve, and liquid sealant. Sealant often closes pinholes while you ride. A plug is for a tread puncture that is too large for the sealant alone but still small enough that the tire casing remains structurally sound.
The Park Tool TPT-1 is made for tubeless bicycle tires that contain sealant. It inserts a vulcanized rubber strip and uses a sliding retainer to keep the plug from pulling back out. Park Tool describes the repair as temporary, so inspect the tire after the ride and replace it when the casing is damaged or the plug maker recommends replacement.
Note: UTQG treadwear, traction, and temperature grades apply to passenger-car tires, not bicycle tires. For a bicycle repair, use the tire, rim, sealant, and plug manufacturers’ instructions instead.
[Products Worth Considering]

This compact capsule-style tire repair kit helps you quickly fix punctures and plug flats with minimal effort. The rugged stainless steel shell protects the contents for reliable roadside use, while the simple plug assembly makes repairs fast and tool-free. Suitable for motorcycles, cars, ATVs, UTVs, and even mountain bikes.
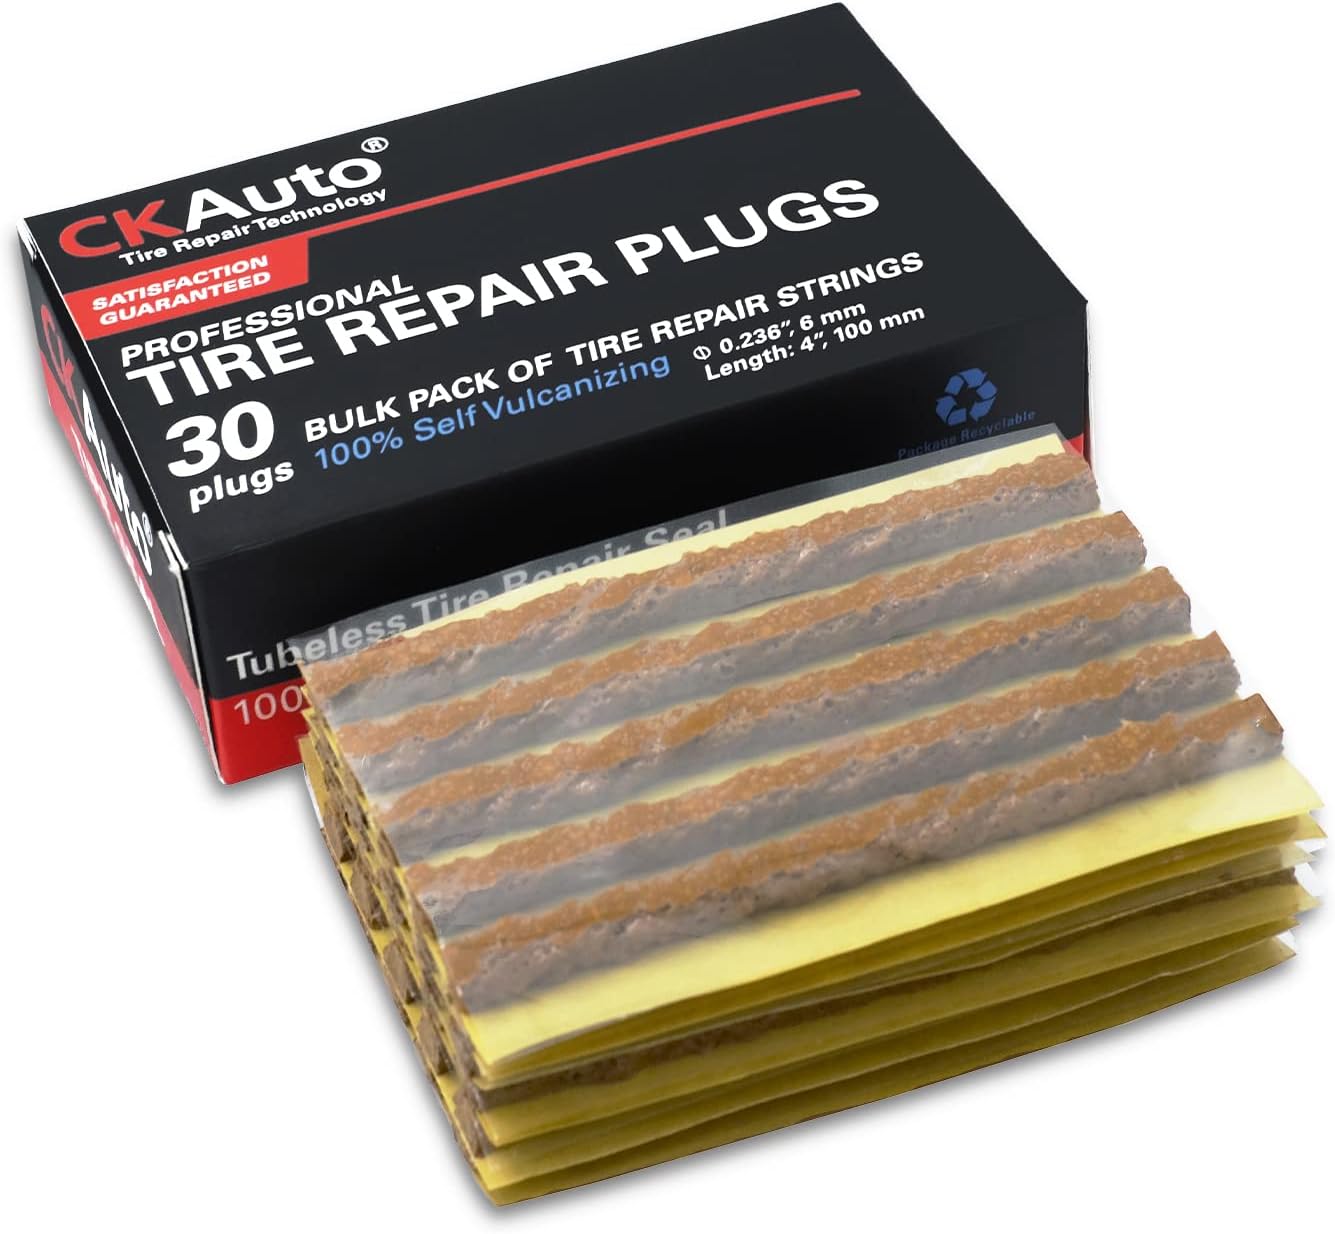
CKAuto tire repair strings provide a fast, reliable way to seal punctures in tubeless off-road tires without removing the tire from the rim. The rubber repair plugs are designed for quick roadside fixes and work across many vehicle types including cars, bikes, ATVs/UTVs, wheelbarrows, and mowers.

Wykodra tire plugs provide quick vulcanizing repairs for tubeless tires, helping you seal punctures and get back on the road. The industrial-strength rubber creates a long-lasting, leak-resistant bond and is designed for emergency fixes without removing the tire. Choose between two standard plug sizes with color-matched options for small to larger damage across many vehicles and off-road uses.
Find and Prep the Puncture
Stop in a safe place and inspect the tread, sidewalls, bead area, valve, and rim. Look for a thorn, nail, glass fragment, wet sealant trail, or a spot that hisses. If the hole is hard to find, rotate the wheel slowly and apply a small amount of soapy water to the suspected area. Bubbles identify escaping air.
- Try sealant first. Turn the puncture to the bottom so sealant can pool over it. Press the tire against the ground or rotate the wheel. A small hole may close without a plug.
- Mark the leak. Use chalk, a marker, or a piece of tape so you do not lose the location.
- Check the damage. A plug is suitable only when the puncture is in the repairable tread area and the casing, bead, rim, and valve remain intact.
- Remove the object. Pull it out only when the plug is ready, because removing it can increase air and sealant loss.
- Wipe the outside. Remove loose dirt and excess sealant with a rag. Do not pour degreaser or solvent into the puncture.
Do not rely on a universal “repairable up to 1/4 inch” rule. Some sealant brands advertise that level of sealing under their own test conditions, but plug size, tire construction, location, pressure, and casing damage all affect whether a repair is safe. Follow the limits supplied with your specific tire, sealant, and plug kit.
Pro Tip: Put on gloves before removing the object. Sealant can spray when the puncture opens, and keeping the plug preloaded reduces pressure loss.
Use the Park Tool TPT-1 Plugger
The exact method varies by tool. The following sequence follows the Park Tool TPT-1 design. Use the instructions supplied with another kit if its plug, fork, needle, or insertion depth differs.
| Step | Action | What to Check |
|---|---|---|
| 1 | Unthread the cap and expose the forked tool. | The plug and tool are clean and ready. |
| 2 | Insert the fork and work the knurled section back and forth to ream the damaged channel. | Follow the original puncture angle and avoid unnecessary enlargement. |
| 3 | Thread one vulcanized rubber plug halfway through the fork. | Both plug ends are roughly even. |
| 4 | Push the folded plug into the puncture until about 6 mm of the ends remain visible. | Do not push the entire plug into the tire. |
| 5 | Slide the plug retainer down against the tire, hold it there, and pull the tool straight out. | The plug stays seated as the fork exits. |
| 6 | Turn the repair toward the bottom and let sealant collect around the plug. | The hissing slows or stops. |
| 7 | Reinflate, test, and monitor pressure. | No bubbles, hissing, bulge, or rapid pressure drop. |
If one correctly sized plug does not seal the tread puncture, Park Tool permits repeating the process with additional plugs for a larger opening. Stop adding plugs if the cut spreads, the casing cords are visible, the tire bulges, or the sidewall or bead is involved. Those signs point to structural damage rather than a simple puncture.
Reinflate and Check for Leaks
Use a hand pump, tubeless floor pump, or suitable inflator to restore pressure. Use the tire and wheel maker’s starting recommendation for your rider weight, tire size, and riding conditions. Never exceed the lower maximum printed on the tire or rim. If you use an air compressor, regulate it so it cannot overpressure the system.
| Check | Action |
|---|---|
| Hissing | Listen closely at the plug, valve, bead, and rim-tape area. |
| Bubbles | Brush on soapy water. Steady new bubbles show an active leak. |
| Bead seating | Check that the molded witness line sits evenly around both sides of the rim. |
| Pressure retention | Wait several minutes, recheck with a gauge, then check again after a short, gentle ride. |
| Repair shape | Stop if the cut opens, the tire bulges, or casing threads become visible. |
If a CO2 cartridge gets you home, replace the CO2 with ordinary air afterward. SRAM notes that CO2 can escape faster than ambient air, so a CO2-filled tire may appear to develop another leak even when the plug is holding.
A sealed puncture is not the only test: the tire must also hold pressure, remain evenly seated, and show no casing, bead, sidewall, or rim damage.
When a Plug Will Not Seal a Bigger Cut
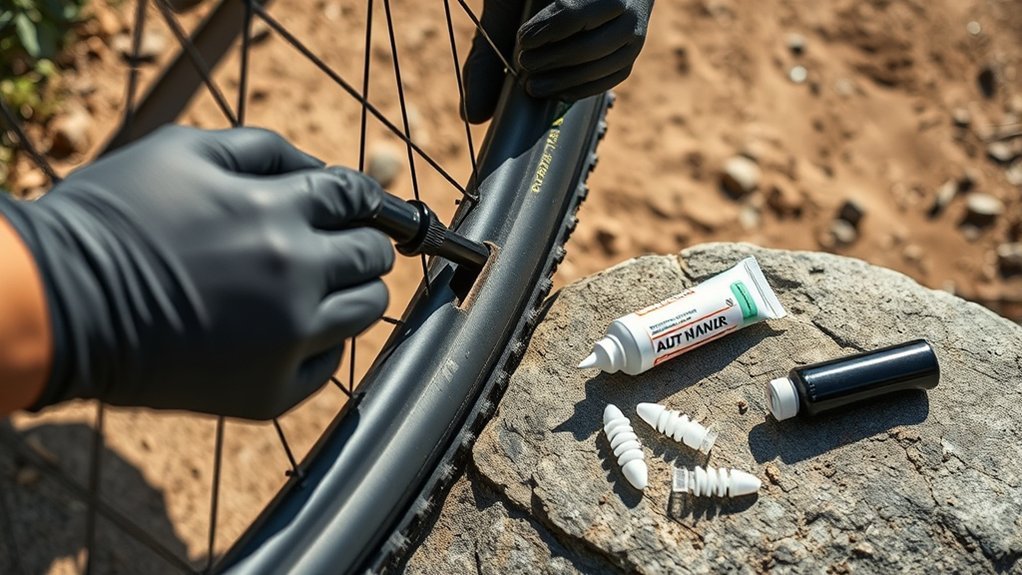
A bigger tread cut may accept another plug if the tool manufacturer allows it and the casing remains stable. However, a plug is not a structural patch. If the opening keeps spreading, the tire will not hold pressure, or the cords are cut, stop riding. The safest next step is usually a compatible spare tube for the ride out or tire replacement.
[Products Worth Considering]
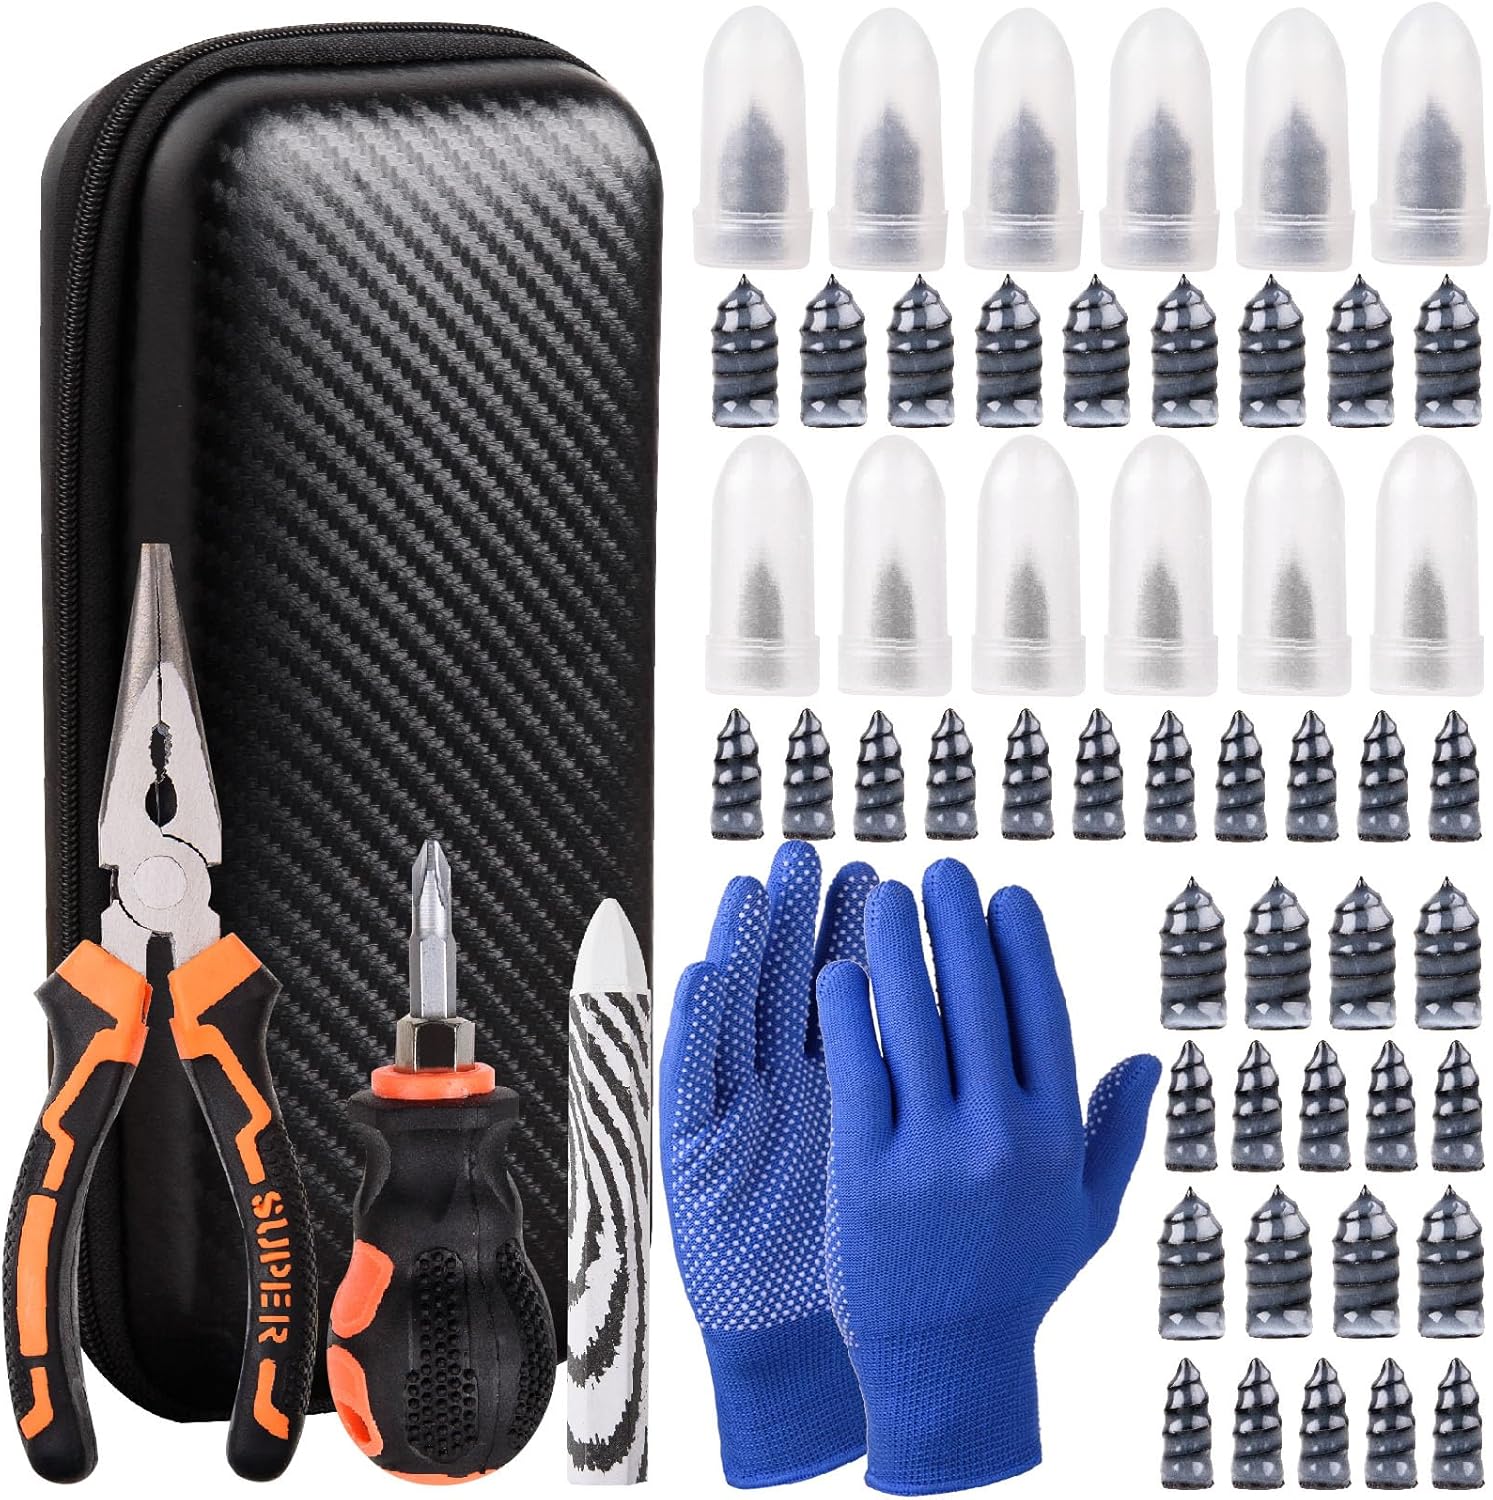
This tire sidewall puncture repair kit fixes flats fast without removing the tire, helping you get back on the road in minutes. It includes self-tapping repair nails, essential tools, gloves, and a portable storage bag for convenient roadside use. Designed for tubeless tires, it helps create a tight, leak-resistant seal for cars, motorcycles, trucks, SUVs, and ATVs.

This screw-in tire plug kit offers quick, DIY tire repairs for punctures from nails, screws, and sharp debris. Simply screw the vacuum tire mending nail into the puncture for a fast roadside fix, designed to create a strong, air-tight seal. It fits most tubeless tires for cars, trucks, motorcycles, and more, helping you avoid costly replacements until professional service is available.
Plugging Larger Punctures
Use only plugs made for your tool and tire type. Insert an additional plug beside the first only when the maker permits it and the damage remains in the tread. Reinflate gradually and watch the repair. If the tire forms a bump, the plug pushes out, or air loss continues, deflate it and move to a tube or transport option.
Schwalbe advises that sealant may not close large cuts or snake-bite damage and identifies a spare tube as the best remedy in those cases. Remove the tubeless valve before fitting the tube, clear all sharp debris, and wipe away excess sealant. A badly torn casing may still be unsafe with a tube because the tube can bulge through the opening.
Why Glue and Stitching Are Not Recommended
Do not treat household superglue, Shoe Goo, dental-floss stitching, rubber-coated screws, or improvised “nails” as a dependable structural repair. They are not part of the Park Tool TPT-1 procedure, and they cannot restore cut casing cords or a damaged bead. They can also hide damage that needs tire replacement.
An internal tire boot can protect an inner tube from a limited casing cut during an emergency ride-out, but it is not a tubeless seal. Park Tool states that its TB-2 boot is not intended for tubeless systems and should be considered temporary even when used with a tube-type setup. When the cut is large enough to need a boot, ride slowly and replace the tire as soon as practical.
Temporary Fix, Permanent Repair
After any plug repair, remove the wheel at home and inspect the inside and outside of the tire. Replace the tire if the casing is cut, the bead is damaged, the repair bulges, the plug repeatedly leaks, or the tire maker does not approve continued use. If the damage is limited to a small tread puncture, follow the tire and plug makers’ instructions for any approved internal repair.
Warning: Sidewall and bead damage can cause sudden air loss. Do not keep adding plugs, glue, or pressure to a tire that is visibly deformed or structurally cut.
Troubleshoot a Tubeless Tire That Still Leaks
A leak near the plug is only one possibility. Work through the entire system before assuming the repair failed.
- Leak at the plug: Confirm that the plug is seated and the sealant has reached it. Use another approved plug only if the puncture remains structurally repairable.
- Leak at the valve: Check the removable core and the valve base. Tighten the core gently with the correct tool; do not overtighten the rim nut.
- Leak around the bead: Deflate, inspect for dirt or damage, lubricate the bead with soapy water if the wheel maker allows it, then reseat without exceeding pressure limits.
- Leak through the rim bed: Damaged or lifted tubeless tape can let air reach spoke holes. Remove the tire and retape the rim according to the wheel maker’s instructions.
- Dry sealant: Open the tire or remove the valve core as directed by the sealant maker, inspect the remaining liquid, and add the manufacturer-specified amount.
- Repeated overnight loss: A small drop can be normal, but rapid or near-total loss indicates a leak that needs diagnosis before the next ride.
Tubeless Tire Repair Kit Essentials
A useful kit should match your tire size, valve type, riding distance, and inflation method. There is no universal requirement to carry 8 or 16 ounces of sealant. Use the quantity printed by the sealant or wheel manufacturer for your tire size and carry a practical top-up amount for the ride.
Core Repair Tools
- A tubeless plug tool and fresh, compatible plugs
- A pump or inflator that can reach the pressure your setup requires
- A pressure gauge
- A valve-core tool and a compatible spare valve core
- The sealant maker’s recommended top-up amount
- A rag, gloves, and a small bag for contaminated debris
Emergency Kit Additions
- At least one compatible spare inner tube for punctures or cuts that will not seal
- Tire levers that are approved for your rim
- A compact multitool for wheel, axle, and valve access
- A temporary boot for use with an inner tube when the boot maker permits it
- A backup inflation source for remote rides
- A light if you may need to work after dark
Before each ride, confirm that the plugs are not dried out, the pump works, the tube fits the wheel and tire, and the sealant is still within its usable life. Replace anything used during the last repair.
Frequently Asked Questions
How do I use a tubeless tire repair kit?
Locate the tread puncture, let sealant try to close it, remove the object, and prepare the hole as the tool maker directs. Load and insert the plug, withdraw the tool while leaving the plug in place, then reinflate within the tire and rim limits. Check for bubbles, hissing, pressure loss, and structural damage before riding.
What is the correct order for using a tire repair kit?
Stop safely, find and mark the leak, inspect the casing and bead, try the sealant, remove the debris, prepare the puncture, insert the plug, reinflate, and test. Finish by checking pressure again after a short, gentle ride and inspecting the tire at home.
Do tubeless tire repair kits work?
Yes. A plug kit can seal many small tread punctures that liquid sealant cannot close by itself. It will not repair a torn casing, damaged bead, cracked rim, or major sidewall cut. Success depends on the damage location, plug size, tire construction, pressure, and remaining sealant.
Can I keep riding on a tubeless plug?
Treat a trailside plug as temporary unless the tire and plug manufacturers say otherwise. Ride cautiously, monitor pressure, and inspect the tire inside and out after the ride. Replace the tire when the casing, sidewall, or bead is damaged or the repair will not remain stable.
What should I do if the plug will not seal?
Stop adding plugs if the cut spreads, cords show, the tire bulges, or the damage reaches the sidewall or bead. Install a compatible spare tube only when the casing can safely contain it, or arrange transport. Replace a structurally damaged tire.
What are the downsides to tubeless bicycle tires?
Tubeless systems cost more to set up, require compatible parts, need periodic sealant checks, and can be messy to service. Bead, tape, valve, and sealant problems can all cause air loss. Large cuts may still require a tube, a new tire, or a ride home.
Conclusion
A tubeless bicycle tire repair kit is most effective when you use it for the problem it was designed to solve: a small, repairable tread puncture in a sound tire. Let the sealant work first, insert the correct plug without over-enlarging the hole, reinflate within the tire and rim limits, and verify that the complete wheel system is holding safely. Carry a compatible tube and know when damage calls for tire replacement rather than another field fix.
Sources
- Park Tool — TPT-1 Tubeless Tire Plug Tool — tool compatibility, plug design, included plugs, current price, and temporary-repair guidance
- Park Tool — Tubeless Tire Removal and Installation — bead seating, sealant, pressure, and tubeless-system service
- Park Tool — TB-2 Emergency Tire Boots — tube-system compatibility and temporary-use limits
- Schwalbe — Tubeless FAQ — sealant behavior and spare-tube guidance for large cuts
- SRAM/Zipp — Tubeless Troubleshooting — pressure-loss diagnosis and CO2 inflation guidance
- NHTSA — UTQG Applicability Interpretation — confirms UTQG applies to new pneumatic passenger-car tires

Related Articles
305 Tire Size Explained: How Big Is It?
I explain how big a 305 tire really is—and why the exact fit can surprise you.
Read More
Tire Ply Rating Explained: What the Numbers Mean
Tire ply ratings reveal more than numbers, hinting at strength, load capacity, and hidden tradeoffs you’ll want to understand before choosing.
Read More
2 Ply Vs 4 Ply Tires: What’s the Real Difference?
I’ll explain the real difference between 2-ply and 4-ply tires, and the choice may surprise you depending on where you drive.
Read More