
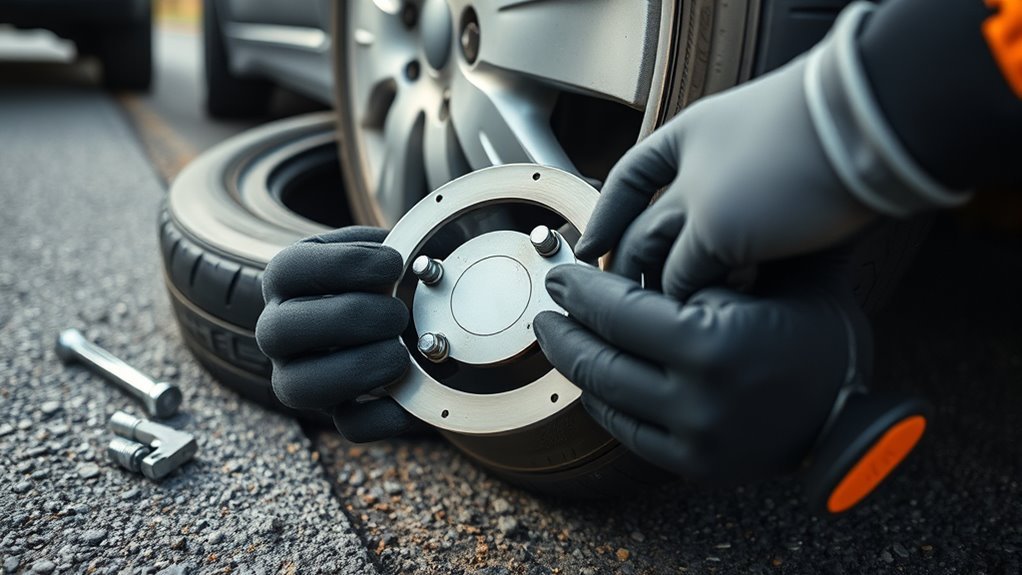
A cut tire can turn a simple ride into a slow walk home if the tube starts bulging through the casing. A tire boot gives the damaged spot temporary support, so the tube stays inside the tire long enough for you to reach a safe place. You’ll learn when to use one, how to fit it, what materials work best, and when the tire needs replacement.
Quick Answer
A tire boot is a thin liner you place between the tube and tire casing to cover a cut or sidewall tear. It stops the tube from bulging through the damage, but it only gives you a temporary fix. Use it for small cuts, then replace or properly repair the damaged tire after the ride.
Key Takeaways
- Use a tire boot only for small cuts or sidewall tears that expose the tube.
- Center the boot over the damage and smooth it flat before inflation.
- Inflate slowly and check that the tube does not bulge through the cut.
- Treat every tire boot as a short-term repair, not a permanent fix.
- Replace the tire if the casing, bead, or sidewall has major damage.
Fit a Tire Boot: Step-by-Step
Estimated time: 10 to 15 minutes.
[Products Worth Considering]

This self-service tire repair nail kit includes 60 pieces (30 small + 30 large) to help seal punctures quickly without needing an auto shop visit. The nails are designed to fit different hole sizes and provide a tight connection with sealing glue to help prevent air and water intrusion. Suitable for cars, motorcycles, trucks, and other vehicles, it’s an easy, efficient way to patch roadside tire damage.
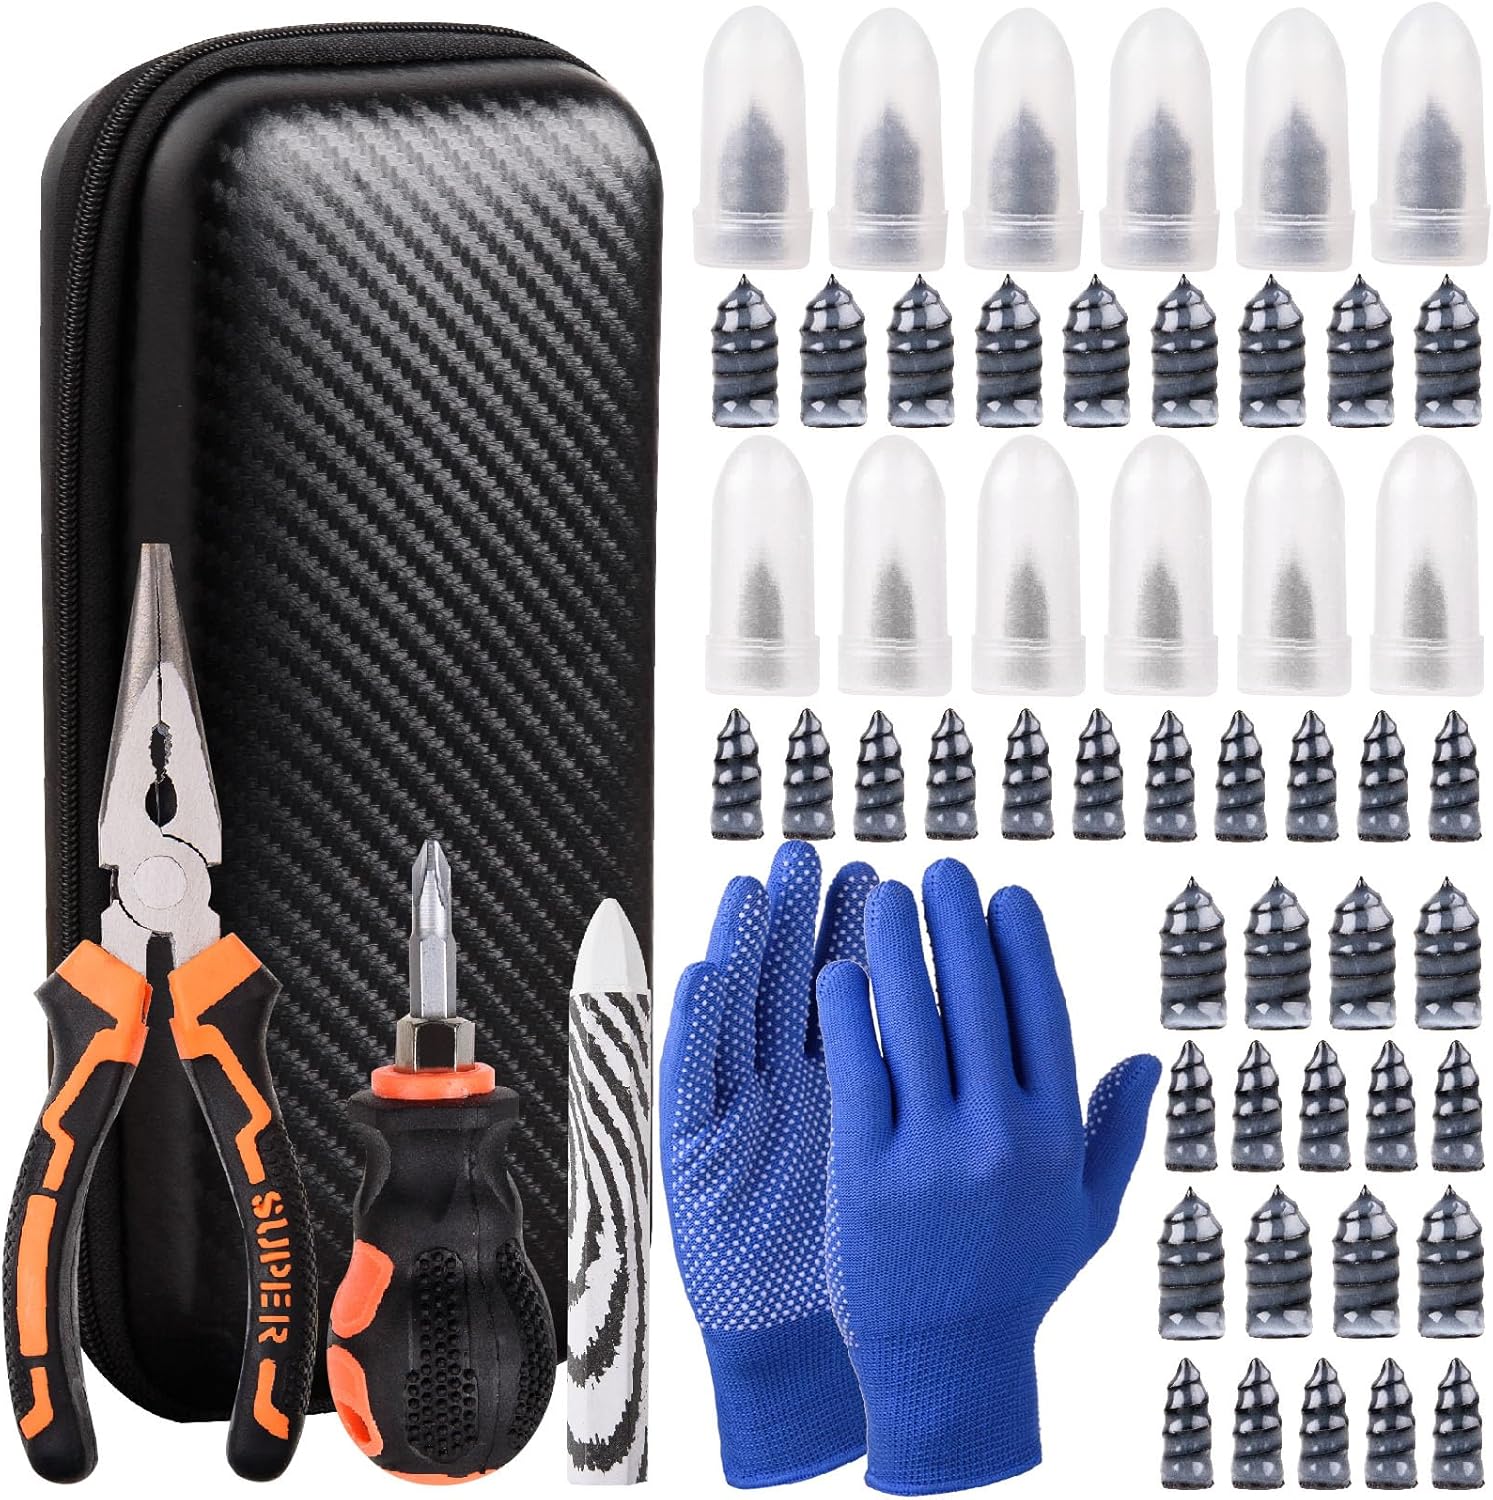
This tire sidewall puncture repair kit fixes flats fast without removing the tire, helping you get back on the road in minutes. It includes self-tapping repair nails, essential tools, gloves, and a portable storage bag for convenient roadside use. Designed for tubeless tires, it helps create a tight, leak-resistant seal for cars, motorcycles, trucks, SUVs, and ATVs.

Vigorder rubber cement glue delivers superior adhesion and cures quickly within about 30 seconds for seamless rubber bonding. Once cured, it helps provide a strong, durable, waterproof seal that holds up to vehicle weight, pressure, and heat. Suitable for cars, motorcycles, trucks, bicycles, and off-road tires, it’s designed for emergency patch and maintenance repairs.
What You’ll Need
- Tire levers
- A tire boot, folded banknote, duct tape, or other strong liner
- A spare tube or patched tube
- A pump or carbon dioxide inflator
- An alcohol wipe, if you use an adhesive boot
Before you start, remove the wheel and tire so you can inspect the inner surface. You need clear access to the cut or puncture to fit the boot correctly.
- Find the damage. Check the tire inside and outside until you locate the cut, puncture, or torn sidewall.
- Choose the boot. Pick a boot that fully covers the hole with extra material around every edge.
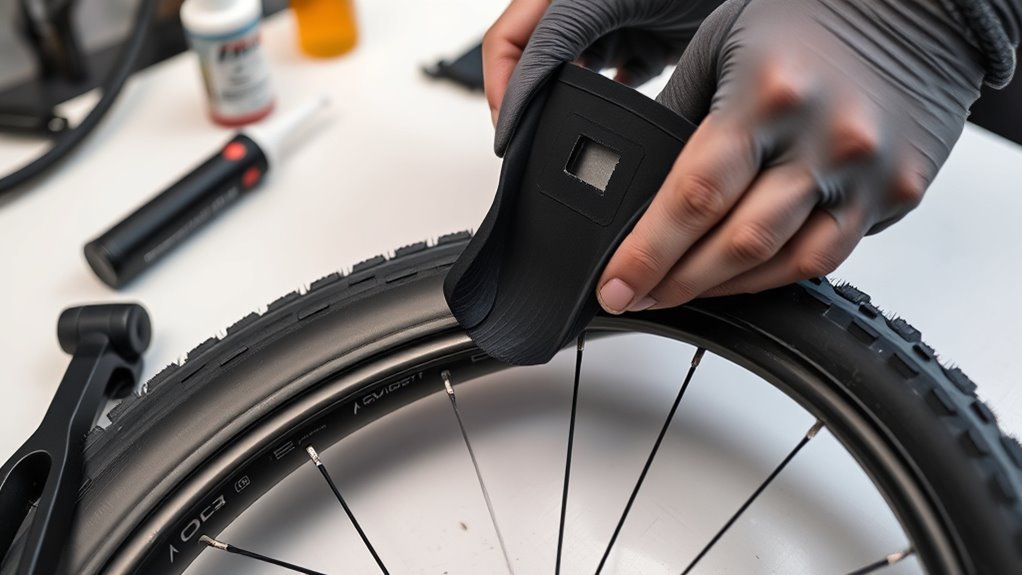
- Place the boot. Slide it between the inner tube and tire casing, centered over the damaged spot.
- Smooth the liner. Press the boot flat against the tire so no fold can rub or pinch the tube.
- Seat the tube. Partially inflate the tube to about 80% pressure and check that the boot stays flat.
- Check for leaks. Recheck the tire, tube, and boot before you finish inflation and ride away.
Treat this as an emergency repair. Ride only to a safe place or home, then replace the damaged tire or complete a proper repair.
When to Use a Tire Boot and When Not To
Use a tire boot when a small cut or sidewall tear would let the tube bulge or rub. The boot supports the weak spot and lowers the risk of sudden tube failure while you ride to a repair point.
A tire boot is a temporary fix for small cuts or sidewall tears. Use it to stop tube bulging, not to rescue a badly damaged tire.
- Use one for: small cuts, sidewall punctures, or casing splits that expose the tube.
- Avoid one for: large tread cuts, bead damage, deep casing failure, or any tire that will not hold its shape.
- Check first: make sure the boot material will not abrade the tube or shift while you ride.
Warning: Do not ride fast or far on a booted tire, because the casing may fail again under load.
You can sometimes use a boot inside a tubeless tire as temporary support, but the boot alone will not seal the tire. You may still need sealant, a plug, or a tube to hold air.
Plan a permanent replacement or professional repair as soon as you can.
Best Shop and DIY Tire Boot Materials to Carry
Carry one commercial boot and a few simple backups so you can handle common roadside cuts. Store them flat in your repair kit, so they don’t crease before use.
| Material | Use case |
|---|---|
| Park Tool boot or similar commercial tire boot | Fast adhesive repair for small cuts |
| Duct tape or polymer banknote | Emergency support for larger small tears |
| Milk jug plastic or energy bar wrapper | Lightweight emergency liner |
| Old tire sidewall piece | Durable support for tougher casing damage |
Commercial boots work well because they come thin, strong, and shaped for tire repairs. DIY materials can work in a pinch, but trim sharp corners so they don’t cut the tube.
[Products Worth Considering]

MetFun’s 40-piece tire repair screw plugs kit provides a fast DIY fix for tubeless punctures with two tubes of black tire sealant glue. The rubber repair screws are pre-coated and designed for a secure grip and double seal to help stop air leaks. With 2 screw sizes for small and larger punctures, it’s suitable for cars, motorcycles, trucks, tractors, lawnmowers, ATVs, and more—so you’re prepared for road trips and emergencies.

TireJect Off-Road Tire Sealant Kit provides 5-in-1 sealing to help fix tread punctures up to 3/8", sidewall punctures up to 3/8", bead leaks, slow leaks, and minor dry rot on low-speed tires. It permanently seals with liquid rubber, recycled tire particles, and Aramid fibers, making it ideal for flats caused by thorns, nails, and screws. The included dispensing cap attaches to the valve stem for a no-mess installation, along with a metal valve core remover tool and valve stem cap. This kit is for off-road use only.

This 60-piece tire repair nail kit provides a fast, do-it-yourself way to seal punctures on tubeless car, motorcycle, and SUV tires without removing the tire. Simply align, twist clockwise, and finish in seconds for a reliable sealing effect that helps prevent water intrusion. The kit includes tire glue and durable rubber-and-steel repair nails for strong adhesion and long-lasting repairs.
How a Boot Stops Your Tube From Popping
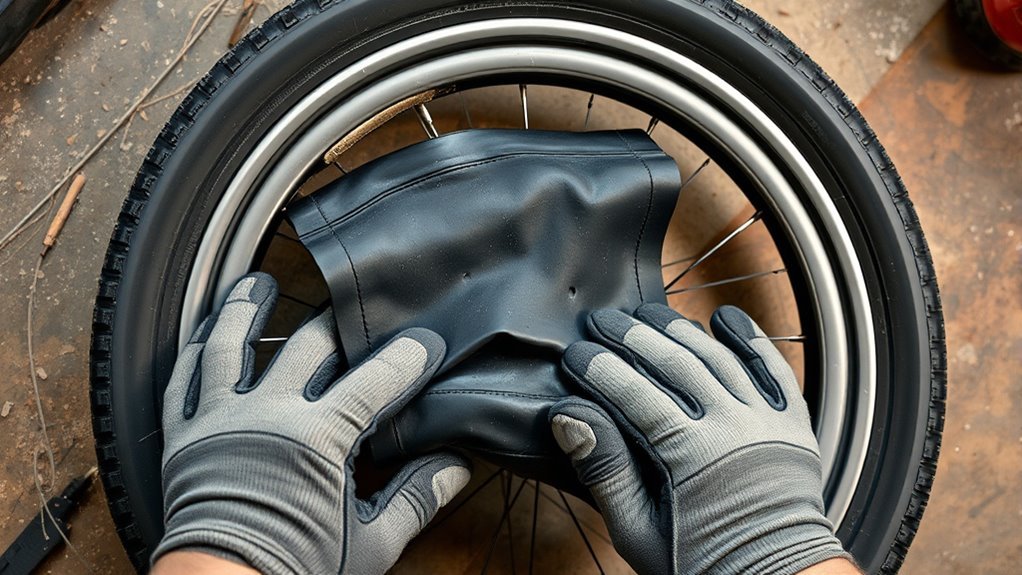
Because a boot sits directly between the damaged tire and the tube, it blocks the tube from pushing through cuts or holes. It spreads pressure away from the weak spot and helps the casing keep its shape.
You fit the boot as a structural liner, not as a seal. The boot reduces rupture risk during inflation and gives the tube a smoother surface to press against.
- Center the boot over the damage.
- Smooth the edges and remove folds.
- Inflate slowly and watch the tube seating.
- Recheck alignment before final inflation.
Pro tip: Round the corners of any DIY boot so the edges don’t rub a hole in the tube.
[Products Worth Considering]

Use this tire repair rubber screw kit for fast, self-service flat fixes on the road. Choose the matching short or long nail size and twist it into the puncture without removing the tire from the rim. Compact storage keeps the emergency set organized for cars, motorcycles, electric bikes, and bicycles, helping you seal tubeless leaks quickly and reliably.

This chemical vulcanizing cement promotes rubber vulcanization at room temperature, helping create durable tire repairs without heat. The included brush makes application easy, and the quick-drying formula with accelerators helps the repair cure faster for reliable patch or plug sealing. It’s suitable for cars, motorcycles, and bikes, supporting repairs for both inner tubes and outer tires.

This Hycline 2-pack mountain bike tire set delivers durable, puncture-resistant performance with a high-grip, aggressive tread designed for traction on hard surfaces and confident handling through mud and soil. Includes matching inner tubes and tire levers for easier everyday maintenance and quicker installation after folding storage. Built for a range of riding conditions with reinforced rubber and nylon cord for wear-resistant reliability.
Common Mistakes When Fitting a Tire Boot
Small fitting errors can ruin the repair, even when the boot material is strong enough. Check these points before you ride away.
- Using a boot that’s too small: choose a piece that covers the cut with margin on every side.
- Leaving folds under the tube: smooth the boot flat so it can’t pinch or rub.
- Inflating too fast: add air slowly and stop if the tube starts to bulge.
- Riding as normal: keep the ride short, slow, and controlled.
After the Ride: Inspect, Repair, or Replace the Tyre
After you get home, inspect the tire closely before your next ride. Look for cuts, scrapes, punctures, sidewall tears, bead damage, and casing threads that look frayed.
Small tread holes may allow a proper tire patch or continued short use with careful checks. Large cuts, sidewall failures, and bead damage need a replacement tire, because a boot can’t restore full strength.
Confirm the boot fully covers the breach and can’t shift. Keep your tires properly inflated and inspect them often to reduce surprise failures on future rides.
Frequently Asked Questions
Can a Tire Boot Be Reused After One Use?
No, you shouldn’t reuse an adhesive tire boot after one use. Its glue, shape, and edges may no longer protect the tube well enough.
Will a Boot Affect Tire Balance or Ride Feel?
A properly installed boot may cause a small change in ride feel, especially on narrow high-pressure tires. If you feel a thump, wobble, or steady vibration, stop and recheck the tire.
Are Tire Boots Compatible With Tubeless Setups?
You can use a boot inside a tubeless tire as temporary casing support, but it may not seal the hole by itself. Use sealant, a plug, or a tube if the tire still loses air.
How Long Can a Boot Safely Stay Installed?
Keep a tire boot installed only long enough to reach home or a repair shop. Inspect the tire after the ride and replace it if the casing or sidewall has real damage.
Can Tire Boots Be Used on Car Tires in Emergencies?
You should not rely on a bicycle-style tire boot for a car tire. Car tires carry higher loads and need professional inspection, repair, or replacement.
Conclusion
A tire boot gives you a temporary way to keep the tube inside a cut tire. Fit it flat, inflate slowly, and ride only as far as needed to get safe help. After the ride, inspect the damage and choose a real fix: patch, professional repair, or replacement. Carry a strong boot in your kit, and the next tire cut won’t have to end your ride.

