
How to Fix a Punctured Tire: Step-by-Step Repair Guide
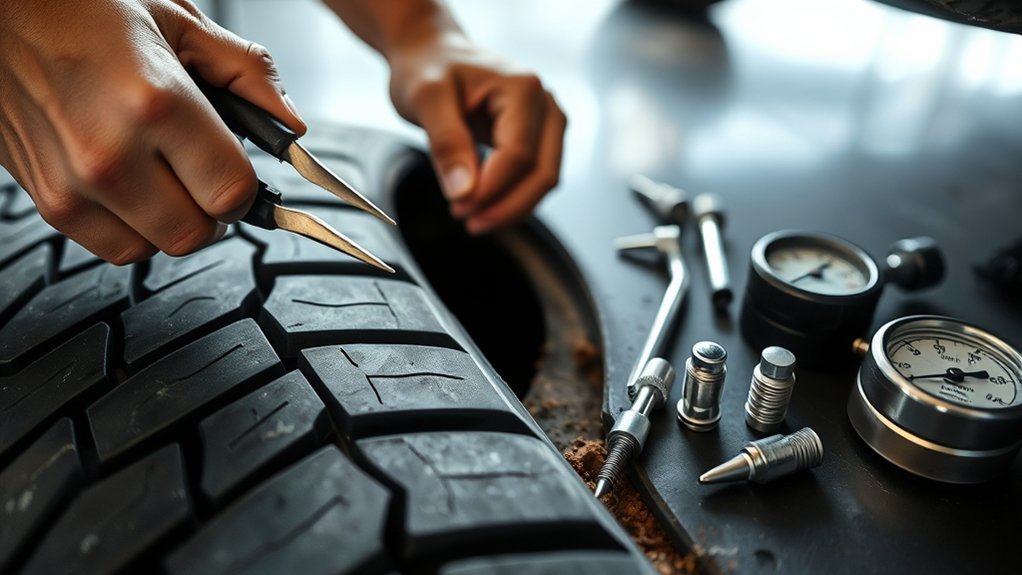
To fix a punctured tire, first park safely, inspect the tread, and confirm the hole is small, centered, and not in the sidewall or shoulder. Remove the tire, check the inner liner for hidden damage, then seal the puncture with a proper stem-and-patch repair that meets USTMA and TIA standards. Reinstall the tire, torque the lug nuts, and inflate to spec. If the damage is larger or irregular, you’ll want the next steps.
Key Takeaways
- Park safely, inspect the tire for the puncture, and confirm it is in the tread, not the sidewall or shoulder.
- Check repairability: the hole should be small, single, and within USTMA/TIA limits, with no bulges or major damage.
- Remove the tire, inspect the inner liner, and repair the puncture with a rubber stem and patch, not a plug alone.
- Reinstall the tire, tighten lug nuts in a star pattern, and inflate it to the vehicle’s recommended PSI.
- Recheck for leaks and proper seating, and seek a professional if the damage is large, repeated, or unsafe to repair.
Fix a Punctured Tire Safely
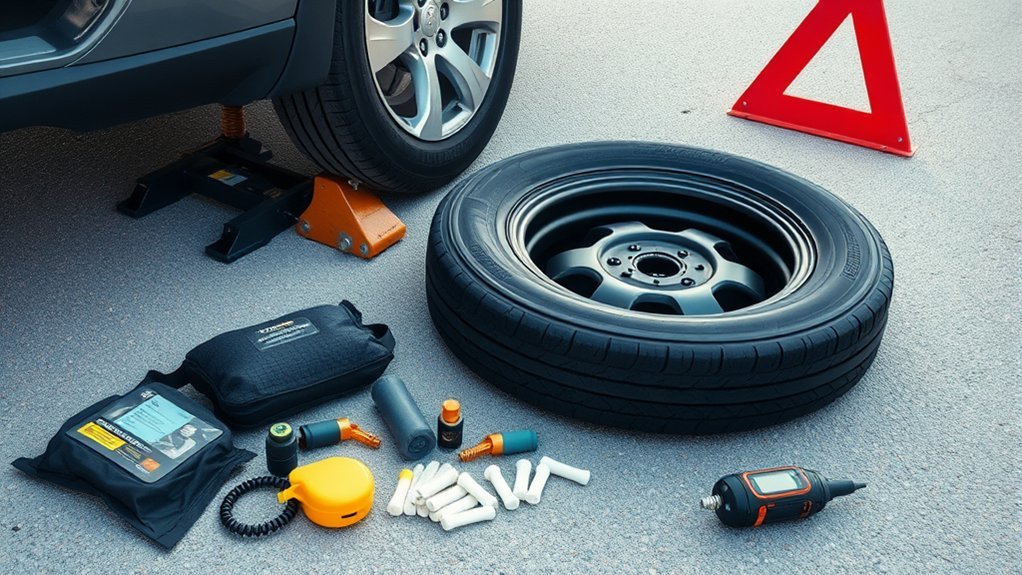
To fix a punctured tire safely, first park the vehicle on a flat surface away from traffic and switch on the hazard lights. Then inspect the tire for visible damage and embedded debris. If you suspect a leak, apply a leak detection solution and watch for bubbles. That tells you where air is escaping without guesswork. Check the tread area carefully, because a puncture there may be repairable only under strict standards. If the hole is no larger than 1/4 inch, arrange a professional inspection. A proper repair requires demounting the tire so the technician can examine the interior, then install a combination unit with a rubber stem and patch. Don’t rely on plugs alone or sealants; they’re temporary and can weaken safety. Remember that mushroom plugs provide a quick fix but are not a permanent solution. When you respect these steps, you protect your freedom on the road and avoid risking a failed tire repair later.
Check Whether the Punctured Tire Is Repairable
You can repair a puncture only if it’s in the center tread repair zone and measures no more than 1/4 inch (6 mm) for a passenger or light truck tire. Check the sidewall for bulges, bubbles, or any improper prior repairs, because those conditions mean the tire isn’t safe to fix. If you’re unsure, have a trained technician inspect it against USTMA and TIA guidelines before you decide to replace it. Additionally, consider the tire’s UTQG rating to assess its overall durability and performance.
Repairable Puncture Signs
Before any repair is attempted, check whether the puncture is actually repairable. You’re looking for repairable puncture signs: damage in the tread area, not the sidewall, and a hole no larger than 1/4 inch (6 mm). Trained technicians should demount the tire and perform an internal inspection, because hidden cuts or belt damage can change the decision.
| Check | Repairable | Not repairable |
|---|---|---|
| Location | Tread area | Sidewall |
| Size | ≤ 1/4 in | Larger |
| Damage | Single puncture | Multiple punctures |
| Structure | No bulge | Bulge or bubble |
| Inspection | Passes internal inspection | Hidden damage found |
If multiple punctures overlap or sit too close together, don’t repair it. Follow USTMA and TIA guidance so you keep control, save resources, and stay free on the road.
When To Replace
When a puncture falls outside repairable limits, replace the tire instead of trying to patch it. You should inspect the injury location, size, and prior damage before you decide. The tire must stay within tread-only damage, and the hole must be no larger than 1/4 inch.
- Check for a penetrating object that reached the shoulder or sidewall.
- Look for bulges, bubbles, or overlapping punctures.
- Verify that no improper repair was done before; repairs are limited after that.
- Measure tread depth; 2/32 inch or less means replacement.
If the plug can’t seal the injury safely, don’t repair because the plug won’t restore structure. An acceptable repair keeps you mobile, but a compromised tire can fail without warning. Choose replacement and regain control.
Find the Puncture and Measure the Damage
Start by inflating the tire and inspecting the tread for obvious causes of the leak, such as a screw or nail embedded in the surface. To find the puncture, spray the tire with leak detection liquid—soap and water works—and watch for bubbles where air escapes. Mark each bubbling point immediately.
| Checkpoint | What you see |
|---|---|
| Tread area | Small bubbles rising |
| Shoulder | Rapid foaming |
| Sidewall of the tire | Uneven swelling |
| Valve area | Slow hiss or seep |
Then measure the size of the damage. Repairs are viable only when the puncture is in the tread area and no larger than 1/4 inch, or 6 mm. If the hole sits in the shoulder or sidewall of the tire, it’s non-repairable and requires tire replacement. This precise check keeps you free from unsafe shortcuts and lets you decide fast, with confidence, whether repair is worth doing. Having a reliable spare tire kit ensures you’re prepared for emergencies.
Remove the Tire for Internal Inspection
Remove the tire from the rim so you can inspect the inner liner and confirm there isn’t hidden damage around the puncture. You’ll need to demount it fully, because the tire can only be inspected on the inside with confidence. Work cleanly and methodically so the repair process stays controlled and safe.
- Break the bead and separate the tire from the rim.
- Examine the inner liner for abrasions, cords, or secondary cuts.
- Remove the damaged material from the punctured area completely.
- Mark every defect so you can judge whether the area can hold a secure seal.
Keep the work area free of debris, and don’t rush the inspection. Any voids must later be filled with rubber, and the inner liner must be prepared for a proper repair unit. If you miss hidden damage now, you risk an unreliable repair and a tire that can’t return to service with confidence. Additionally, using a tubeless tire repair kit can provide a quick solution for punctures until a professional repair is sought.
Repair the Tire With a Stem and Patch
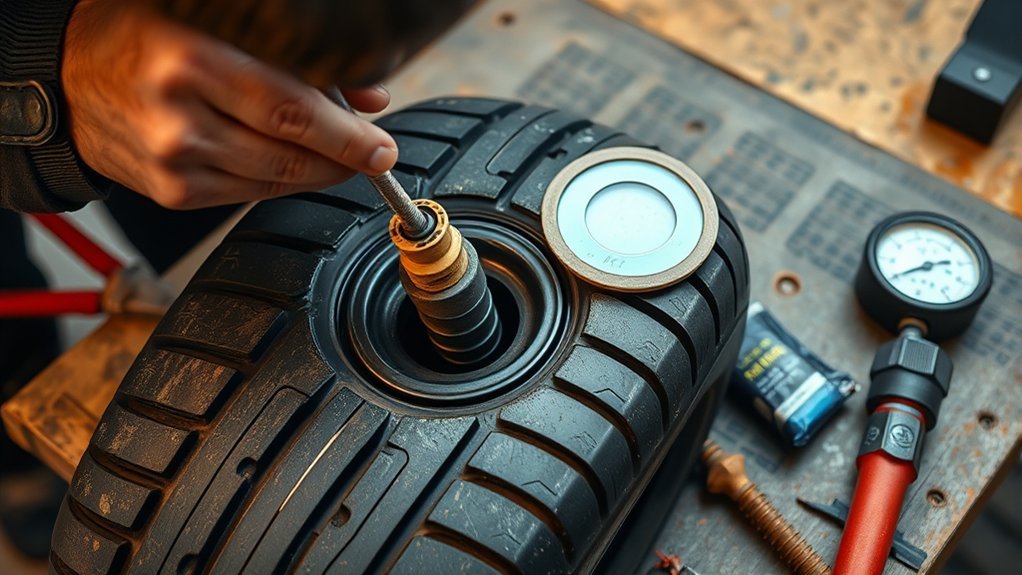
If the puncture passes inspection, you can repair it with a combined rubber stem and patch that meets USTMA and TIA standards. First, demount the tire so you can inspect the injury from inside and remove any damaged material. Then prepare the puncture channel and insert the rubber stem, or plug, so it fills the hole completely. Next, apply the patch to the inner liner and press it firmly to seal the repair unit. This two-part method lets you repair tires in a way that can permanently seal the injury and restore integrity. Keep the repair in the center of the tread only, and limit it to punctures no larger than 1/4 inch in passenger and light truck tires. Don’t use a plug-only or patch-only shortcut; those won’t properly repair a tire. With the right materials and exact placement, you protect your mobility and keep your wheel free from needless dependence. Additionally, using a repair kit with rubber-coated screw plugs can provide quick fixes for small punctures until a professional repair is possible.
Know When a Tire Can’t Be Repaired
Not every puncture is repairable, and you need to know the limits before you try to save a tire. If the damage falls outside the repair zone, the tire cannot be repaired and you should replace it.
- Measure the puncture: the maximum repairable injury size for passenger and light truck tires is 1/4 inch (6 mm).
- Check spacing: when injuries are directly adjacent or repairs overlap, the casing loses integrity.
- Inspect the sidewall: bulges or bubbles in the sidewall indicate irreparable damage.
- Review prior work: existing improper repairs mean you shouldn’t patch the tire again.
These rules protect you from hidden failure and keep you in control of the decision. When you ignore them, you gamble with air loss, heat buildup, and sudden failure. Be precise, trust the standard, and walk away when the tire is beyond safe repair. Additionally, consider the tread life warranty that some tires offer, as it may influence your decision on whether to repair or replace.
Reinstall and Inflate the Tire Properly
After you repair the puncture, align the tire with the wheel rim and seat it fully, then hand-tighten the lug nuts in a star pattern. Lower the vehicle slightly, torque the lug nuts to spec, and inflate the tire to the pressure listed on the placard or in the owner’s manual using a reliable gauge. It’s important to ensure a proper seal with Plug Bond rubber cement to avoid leaks. Finish by checking lug nut tightness again and inspecting the tire for leaks or other irregularities before you drive.
Wheel Reinstallation Steps
Align the tire carefully with the wheel hub before you reinstall it, because a proper fit helps prevent damage and guarantees the wheel seats securely. During wheel reinstallation, keep the alignment true and start each lug nuts by hand for a secure fit.
- Thread the lug nuts in a crisscross pattern.
- Snug them evenly to center the wheel.
- Lower the vehicle and torque them to spec.
- Check air pressure with a gauge before road use.
This tire service step keeps force balanced and reduces stress on the studs. When you tighten the nuts to the manufacturer’s torque, you lock in safe retention without overloading the wheel. Finish with a quick inspection: confirm each lug nut is tight, the tire sits flush on the rim, and the assembly feels ready for the road.
Proper Inflation Pressure
Set the tire’s pressure to the vehicle manufacturer’s specified PSI, which you’ll find in the owner’s manual or on the door placard. Use the recommended value, not a guess, because correct pressure supports performance and tire life. Before you inflate, make sure the valve stem is clean and sealing properly so air doesn’t escape. Then inflate the tire gradually with a reliable gauge attached, monitoring pressure often as you go. Stop when you reach the specified PSI; don’t overinflate, since excess pressure can weaken the casing and increase blowout risk. Recheck the pressure after a short pause to confirm accuracy. If you notice air loss, inspect the valve and bead area. Keep your approach disciplined, and you’ll restore the tire to safe operating condition with confidence.
Final Safety Check
With the repair complete, make sure the tire is fully seated on the rim before you reinstall it, since a poor bead seal can cause leaks and instability. This final safety check keeps you rolling free and safe.
- Reinstall the wheel, then tighten each lug nut by hand.
- Lower the vehicle just enough to resist rotation, and torque the nuts in a crisscross pattern to the manufacturer’s specified torque.
- Inflate the tire to the recommended tire pressure, then do a visual inspection of the sidewall, bead, and rim.
- After you lower the vehicle fully, recheck lug nut tightness and tire pressure.
If anything looks off, correct it before you drive.
Book Tire Repair Service When Needed

If the puncture isn’t minor or you’re unsure about the damage, book a tire repair service right away to prevent further deterioration and keep the vehicle safe. A certified shop can inspect the tire and confirm whether it meets USTMA and TIA guidelines for repair. That assessment matters because punctures or damage outside the designated repair area, or any cut larger than 1/4 inch (6 mm), usually makes the tire non-repairable. When you book tire repair service, ask for the shop’s repair policy and confirm they’ll use a rubber stem plus a patch, not a plug-only or patch-only fix. A trained technician can also verify the correct method for your tire manufacturer and/or type, which protects reliable performance and keeps you in control. Repairs usually take 60-90 minutes, so schedule promptly and don’t gamble with unsafe shortcuts or guesswork. Additionally, having a 72-piece kit on hand can provide a quick temporary solution for minor punctures until professional help is available.
Frequently Asked Questions
What Is the 3 Tire Rule?
The 3 tire rule says you should replace all four tires if three or more need replacement, so you keep balanced traction and control. You use tire maintenance tips, check tire pressure importance, and watch tire tread depth to spot common tire problems early. During seasonal tire changes, you should follow a tire rotation schedule. This approach keeps your vehicle stable, efficient, and safer on wet or uneven roads.
What Is the Correct Order for Using a Tire Repair Kit?
The correct order feels like fixing a leak before the rain hits. You identify the puncture with Puncture identification techniques, then deflate the tire and clean the area. Next, use Tire repair essentials and Common tools to apply the right sealant or plug from your Repair kit types. Finish with an inside patch, if needed, and seal the innerliner. Follow Safety precautions, and use Tire maintenance tips to verify a lasting repair.
How to Fix a Tire Step by Step?
You’d first check the puncture with leak solution, then demount the tire and inspect it. Remove damaged material, clean the hole, and insert a repair unit with a rubber stem and patch. Seal the inner liner, keeping repairs under 1/4 inch. Remount, inflate, and verify integrity. Follow tire maintenance tips, puncture prevention methods, tire pressure importance, choosing repair tools, understanding tire anatomy, and a safety precautions overview.
Can You Just Patch a Tire With a Nail in It?
No, you shouldn’t just patch a tire with a nail in it. You need proper repair materials: a stem-and-patch combo, not a plug alone, for tire safety and tire longevity. You’ll also need to demount the tire for inspection before any DIY techniques. If the puncture sits in the tread and is small, repair’s possible; sidewall, shoulder, or multiple hits aren’t. Follow maintenance tips for puncture prevention.
Conclusion
Now you know how to assess, inspect, and repair a punctured tire with care. If the damage sits in the tread and stays within repair limits, a proper stem-and-patch repair can restore safe function. But if the sidewall is damaged or the puncture is too large, don’t gamble—replace the tire. Reinstall it, inflate it to spec, and verify there’s no leak. A repaired tire should roll like new, steady and sure, not limp down the road.

Related Articles
How to Tie a Tire: Securing Tires for Transport or Storage
Lock your tire securely for transport or storage, but there’s one crucial step most people miss that could save you trouble.
Read More
How to Reseal a Tire: Step-by-Step Guide for Bead & Sidewall Sealing
When a tire won’t hold air, these simple sealing steps can help—wait until you see the trick that keeps it sealed longer.
Read More
How to Remove Tire Shine From Tires: Easy Cleaning Methods
Banish greasy tire shine fast with simple cleaning methods, but discover the stubborn tricks that keep it from coming back.
Read More