
What Is the Final Step in Tire Repair? Process Explained
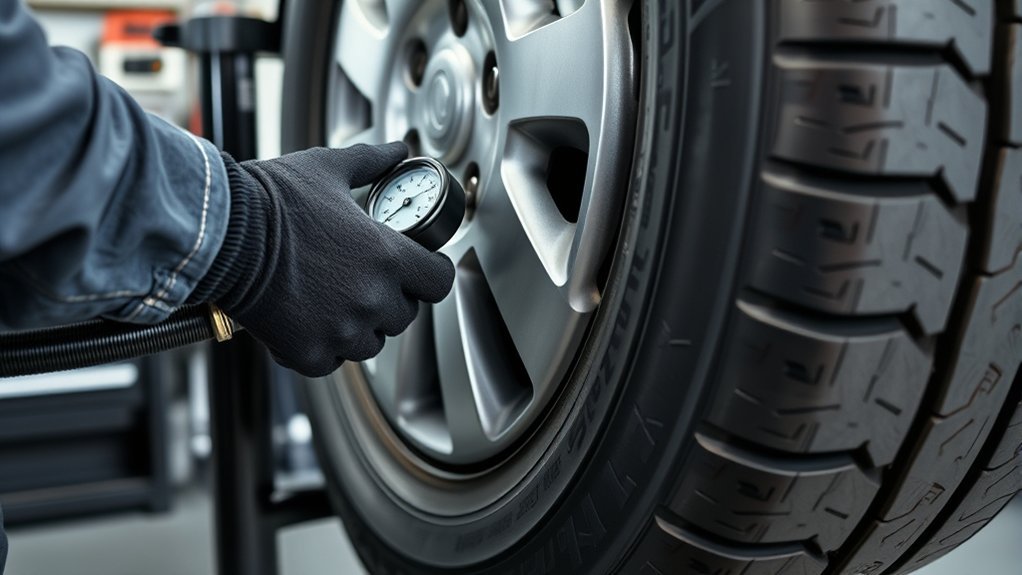
The final step in tire repair is to trim the plug stem flush with the tread, inflate the tire to the vehicle’s recommended cold pressure, and check the repair for leaks. A proper finish leaves the tread surface smooth, the repair sealed, and the tire holding steady pressure before it goes back into service.
For highway use, treat this as the end of a proper internal repair, not the end of a quick roadside plug. A safe long-term repair usually means the tire has been removed from the wheel, inspected inside and outside, repaired with a patch-plug unit, and tested before driving.
Quick Answer
The final step in tire repair is to cut the plug stem flush with the tread, inflate the tire to the vehicle’s recommended cold pressure, and check for leaks with soapy water. If bubbles appear, pressure drops, or the tire has structural damage, do not drive on it.
Key Takeaways
- Trim the plug stem level with the tread after the repair has seated.
- Inflate the tire to the cold pressure listed on the vehicle door placard or owner’s manual.
- Check the repair, valve stem, and bead area with soapy water.
- A safe permanent tread puncture repair usually requires a combined patch-plug installed from inside the tire.
- Replace the tire if the damage is in the sidewall or shoulder, the hole is too large, cords are exposed, or tread depth is 2/32 inch or less.
At a Glance
| Time Required | About 20 to 45 minutes for a professional patch-plug repair, not including shop wait time, balancing, or extra inspection |
| Difficulty | Moderate to advanced because the tire must be removed from the wheel for a proper internal inspection |
| Tools Needed | Tire machine, inspection light, probe, reamer, pre-buff cleaner, low-speed buffer, patch-plug unit, vulcanizing cement, stitcher, sharp blade, air source, tire pressure gauge, and soapy water |
| Cost | Usually less than tire replacement, but price depends on tire size, shop labor, balancing, valve service, and whether the tire is still repairable |
Warning: Do not treat an outside string plug, screw-in plug, or aerosol sealant as a permanent repair for highway use. A safe long-term repair normally requires removing the tire from the wheel, inspecting the inside, filling the injury channel, and sealing the inner liner.
Tire Repair Basics
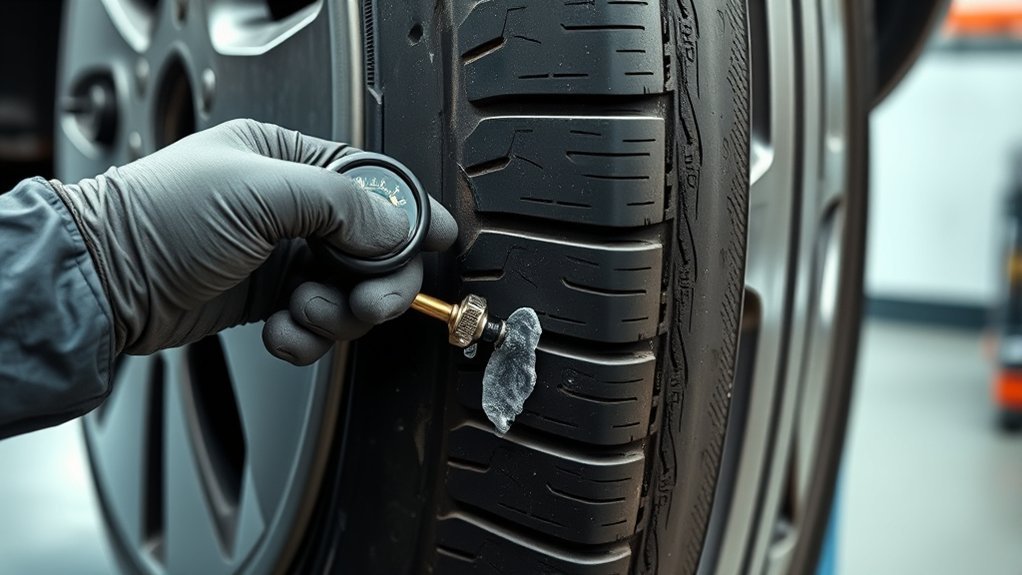
A proper tire repair starts before you ever cut the plug flush. You first confirm that the puncture is in the repairable tread area, not the shoulder or sidewall. You also check the injury size, tread depth, tire age, and the inside of the casing for hidden damage.
For a normal passenger or light-truck tubeless tire, a safe permanent repair usually means a combined patch-plug. The plug fills the puncture channel, while the patch seals the inner liner. A plug alone only fills the outside path and does not fully seal the inside of the tire.
The final step comes after the patch-plug has bonded. You trim the plug stem flush with the tread, inflate the tire to the recommended pressure, and inspect the repair with a leak test. If the tire does not hold pressure, the repair is not finished.
Temporary products can help in a roadside emergency, but they are not the same as a full internal repair. If you used temporary seals, have the tire removed and inspected before relying on it for normal driving.
Note: Bead sealer is not a puncture-repair step. A technician may use it only when the tire bead or wheel rim has a confirmed air leak. It does not replace a patch-plug repair in the tread.
[Products Worth Considering]

This tire repair patch tool kit helps you quickly seal small punctures using upgraded mushroom plugs and a built-in roller system that presses for even penetration. The tungsten buffing wheel and HSS twist drill bits prepare the damaged surface for stronger adhesion, while the crown-angle friendly plugs are designed to keep water and debris out. Ideal for puncture repairs on many vehicle types, from cars and trucks to bikes and scooters.

The JACO FlowPro Tire Inflator measures, inflates, and airs down tires up to 100 PSI with battery-free operation and ±2% accuracy after calibration. It features a glowing pressure dial for night visibility, a heavy-duty steel build with a hybrid hose, and a precision push-to-inflate thumb trigger. The patented Lightning Air Chuck locks on for a secure seal, and the kit includes quick-connect hardware for easy inline use with your air compressor.

Wykodra tire plugs provide quick vulcanizing repairs for tubeless tires, helping you seal punctures and get back on the road. The industrial-strength rubber creates a long-lasting, leak-resistant bond and is designed for emergency fixes without removing the tire. Choose between two standard plug sizes with color-matched options for small to larger damage across many vehicles and off-road uses.
How to Inspect a Tire Puncture
Before you repair a puncture, locate the object and inspect the tire from the outside. Remove the object carefully with the proper tool, but do not enlarge the injury with an awl or oversized tool. The injury path should stay as close as possible to its original size and angle.
Then demount the tire so you can inspect the inner liner. This step matters because a tire can look repairable from the outside while hiding impact damage, run-flat damage, loose cords, or liner separation inside.
- Confirm the puncture is in the tread crown, not the shoulder or sidewall.
- Measure the injury. A puncture larger than 1/4 inch, or about 6 mm, is usually not repairable.
- Check for angled cuts, splits, or a long tear instead of a round puncture.
- Look for previous repairs near the same area.
- Check tread depth and replace the tire at 2/32 inch or less.
- Look inside for powdery rubber, wrinkled liner, exposed cords, or heat damage.
A puncture in the tread crown may be repairable. A puncture in the shoulder or sidewall should be treated as non-repairable.
If you are using emergency vacuum plugs only to slow a leak, mark that repair as temporary and get the tire professionally inspected as soon as possible.
When a Tire Cannot Be Repaired
A tire should be replaced, not repaired, when the damage exceeds safe repair limits. The most common non-repairable damage includes sidewall punctures, shoulder damage, large cuts, exposed cords, bubbles, bulges, and tread that has worn to the legal minimum.
Do not repair a tire that has been driven flat or severely underinflated until a technician inspects the inside. Driving with low pressure can overheat the casing and damage the tire structure, even if the outside looks normal.
- Replace the tire if the puncture is larger than 1/4 inch, or about 6 mm.
- Replace the tire if the injury reaches the shoulder or sidewall.
- Replace the tire if tread depth is 2/32 inch or less.
- Replace the tire if cords, steel belts, bubbles, or bulges are visible.
- Replace the tire if repairs overlap or sit too close together.
- Replace the tire if age cracking, dry rot, or date-code concerns make it unsafe.
Temporary repair options, including temporary repair options, can help you reach a safer location. They should not push a damaged tire beyond its repair limits.
Warning: Never repair sidewall damage for normal road use. The sidewall flexes heavily, and a patch or plug cannot restore the tire’s original strength in that area.
How a Patch-Plug Repair Works
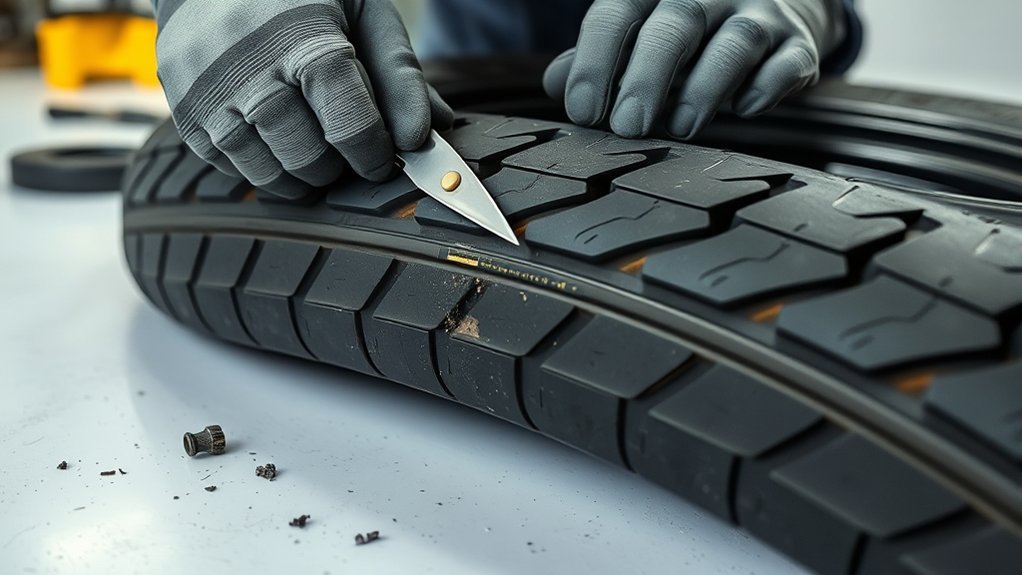
A patch-plug repair works by sealing the tire in two places. The plug stem fills the puncture channel so water and air cannot move through the injury. The patch seals the inner liner so air cannot escape from inside the tire.
This repair requires access to the inside of the tire. That is why a proper repair is different from a quick roadside plug. A tire shop can demount the tire, inspect the casing, prepare the liner, install the repair unit, rebalance the assembly, and test for leaks when needed.
Major tire-service guidance describes the safe repair process as removing the tire from the wheel, inspecting inside and outside, filling the injury with a vulcanizing stem, applying an inner liner patch, and testing for leaks. You can review one current repair overview from Discount Tire’s flat tire repair guide.
Some off-road field products, such as a GlueTread SXS Tire Patch Kit, may help in trail or utility situations. For passenger vehicles on public roads, treat field fixes as temporary unless the tire manufacturer and repair professional confirm the repair is suitable.
Injury Channel Prep
Start by cleaning the damaged area with pre-buff cleaner, then scrape the inner liner lightly so the repair materials can bond. Ream the puncture channel with the correct tool and follow the original injury angle. Do not force the channel wider than needed.
- Clean, scrape, and dry the inner liner.
- Ream the channel evenly and gently.
- Keep the repair path aligned with the original puncture.
- Buff only the patch area needed for the repair unit.
- Remove dust and debris before applying cement.
Patch-Plug Installation
Apply vulcanizing cement according to the repair product instructions. Pull or insert the rubber stem through the injury channel, then seat the patch against the prepared inner liner. Use a stitcher from the center outward to remove trapped air and press the patch into full contact.
A complete patch-plug repair seals both the puncture channel and the inner liner. That two-part seal helps prevent slow leaks and reduces the chance of moisture reaching the tire belts.
Final Trim Check
After the repair has seated, trim the plug stem flush with the tread surface. Use a sharp blade and keep the cut level with the surrounding tread. Do not pull upward on the stem while cutting because that can disturb the repair.
- Verify the plug does not protrude above the tread.
- Check that the cut is smooth, not ragged.
- Inspect the tread and inner liner one more time.
- Inflate the tire to the recommended cold pressure.
- Perform a leak test before returning the tire to service.
Prepare the Injury for Repair
Good preparation decides whether the repair can seal correctly. Dirt, moisture, loose rubber, or an uneven buffed area can weaken the bond. Work slowly and keep the repair area clean at every step.
A compact kit, such as a quick repair solution, may help with an emergency leak. It should not replace the preparation needed for a full internal repair.
Clean Injury Area
Clean the injury area with a pre-buff cleaner so the cement and patch can contact clean rubber. Scrape the liner lightly, then wipe away contamination. Let the area dry fully before cement touches the liner.
- Remove loose rubber and residue.
- Confirm the liner is dry.
- Keep tools and repair materials clean.
- Avoid touching the prepared surface with oily hands.
- Check for hidden cracking or liner damage.
Ream Puncture Channel
Ream the puncture channel only enough to create a clean, uniform path for the stem. Keep the tool aligned with the injury angle. If the puncture becomes too large, irregular, or torn, stop and replace the tire instead of forcing a repair.
Buff Inner Liner
Buff the inner liner around the puncture to create a textured bonding surface. Use a low-speed buffer and avoid cutting into the casing. Vacuum the buffing dust, apply cleaner if required by the repair system, and let the surface dry.
- Keep the buffer moving.
- Do not expose cords.
- Do not over-buff the liner.
- Remove all dust before cement.
- Install the repair while the prepared area stays clean.
Why Tire Plugs Alone Don’t Work
A plug alone can slow or stop air loss through the puncture channel, but it does not fully seal the inner liner. That leaves the tire more vulnerable to slow leaks and moisture intrusion. For a long-term road repair, you need the injury channel filled and the inside of the tire sealed.
This is why a combined patch-plug is the safer standard for many tread punctures. The stem fills the hole, and the patch seals the liner. If you only install an outside plug, you may never see hidden internal damage from running low or driving flat.
For bicycle tubes or small inflatable repairs, a patch application process may be enough because the structure is different. Passenger vehicle tires need a more complete inspection and repair method.
Pro Tip: After any emergency plug or sealant use, tell the tire shop exactly what you used. Sealants can make inspection messier, and the technician needs to know before demounting the tire.
Cut the Plug Flush
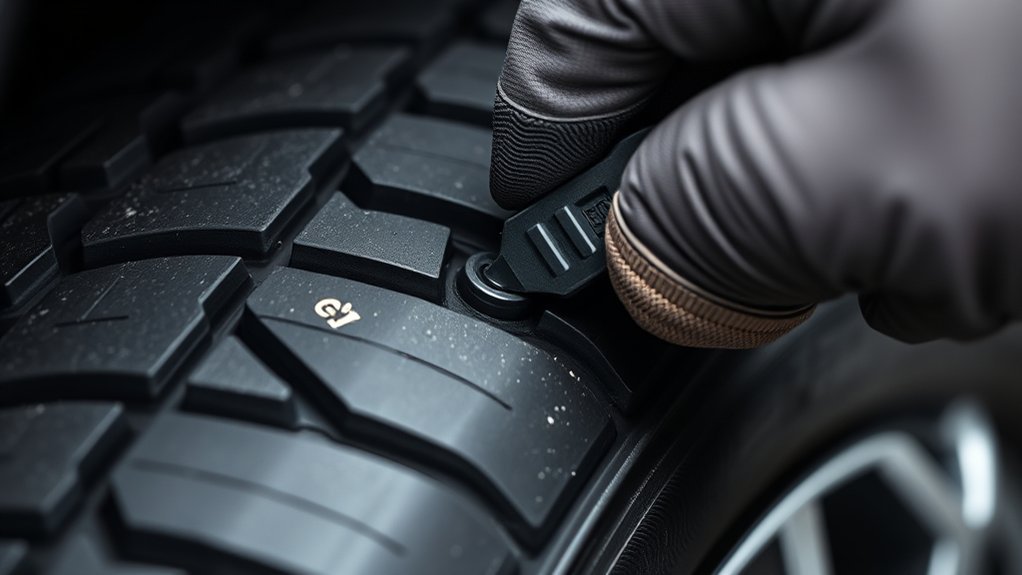
Cut the plug stem flush with the tread after the repair has seated. Use a sharp blade and make one controlled cut parallel to the tread surface. The stem should sit level with the surrounding rubber, not above it and not gouged below it.
- Hold the blade flat against the tread surface.
- Cut slowly and keep your hand clear of the blade path.
- Remove the offcut immediately.
- Check the repair area for ragged edges.
- Do not tug the plug stem while trimming.
A clean trim protects the tread surface and helps the tire roll normally. If you use a roadside plugging tool, still have the tire inspected from the inside before you treat the repair as permanent.
[Products Worth Considering]

This AUTOWN flat tire repair kit is designed for quick, reliable puncture repairs using a plug kit and spiral probe tool to simplify installation. Built for durability and safe handling, it offers strong adhesion and flexibility to help maintain tire air tightness. With a portable storage case and a multi-vehicle approach, it’s suitable for cars, motorcycles, ATVs, tractors, lawn mowers, RVs, jeeps, and trucks.
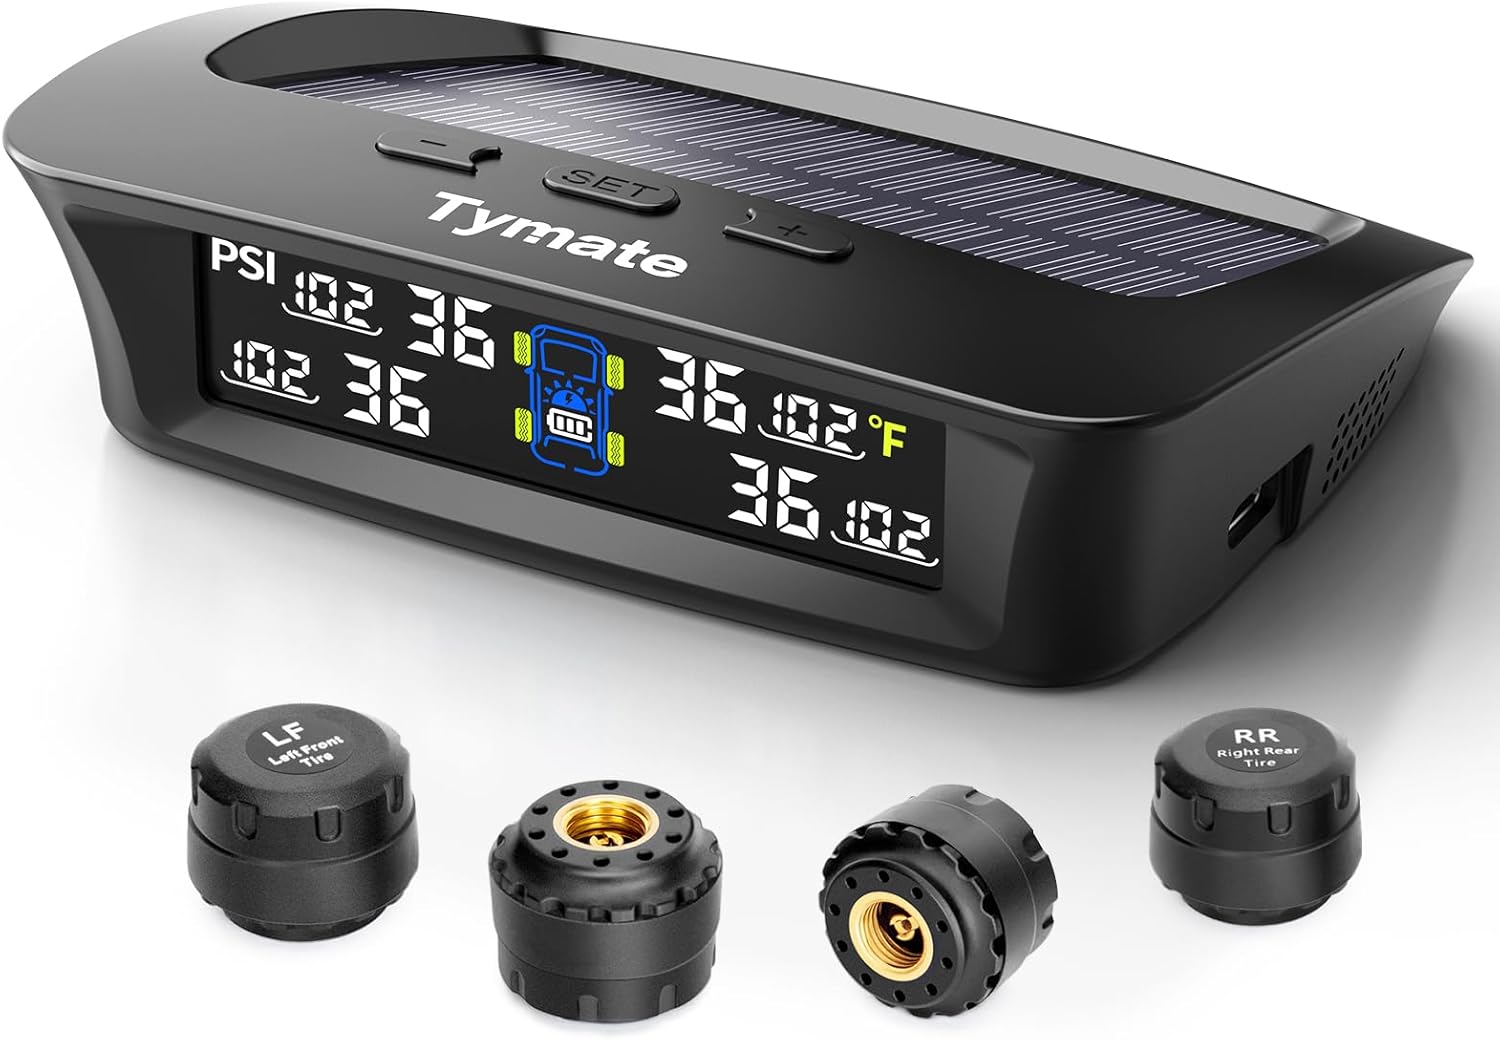
The Tymate TM3 RV TPMS delivers real-time tire pressure monitoring from 0 to 144 PSI with accurate readings and dependable wireless communication. It includes four external sensors with pre-pairing, six alarm modes for rapid leak, pressure extremes, temperature, and signal loss, plus an easy-reference setup for alert thresholds. Solar and USB-C charging help keep the display powered, while the color LCD and adaptive backlight improve visibility for safer driving and towing.
Check for Air Leaks
Once the plug is cut flush, inflate the tire to the recommended cold pressure listed on the vehicle placard or owner’s manual. Do not use the maximum pressure molded on the sidewall as the normal target unless the vehicle maker specifies it.
Spray or brush soapy water around the repaired puncture, valve stem, bead area, and any spot that looks damaged. Watch for bubbles. Growing bubbles mean air is escaping and the tire is not ready for service.
- No bubbles around the repair means the seal is holding at that moment.
- Bubbles at the valve stem may mean the valve core or stem needs service.
- Bubbles near the bead may point to a wheel, bead, or mounting issue.
- A pressure drop after a short wait means the tire needs reinspection.
After the leak check, recheck pressure with a gauge. A visual check helps, but a pressure gauge gives the real answer.
Replace the Tire When Needed
Replace the tire when the repair would push beyond safe limits. A tire repair is only worthwhile when the tread, casing, sidewall, bead, and inner liner are still sound.
- Replace the tire when tread depth reaches 2/32 inch or less.
- Replace the tire when the puncture is larger than 1/4 inch, or about 6 mm.
- Replace the tire when the injury is in the shoulder or sidewall.
- Replace the tire when you see bulges, bubbles, separation, or exposed cords.
- Replace the tire when prior repairs overlap or sit too close together.
- Replace the tire when age cracks or date-code concerns make it unsafe. The tire identification number date code shows the week and year of manufacture under 49 CFR § 574.5.
Do not trust a casing that has multiple close punctures or overlapping repair patches. It may hold air in the driveway and still fail under heat, load, or highway speed. If you are comparing replacements, treadwear ratings can help you understand tire categories, but repair safety comes first.
Final Safety Checklist Before Driving
Before the repaired tire goes back on the vehicle, run through a final checklist. This makes the repair more than a closed hole. It confirms the tire can hold pressure and that no obvious damage was missed.
- The plug stem is trimmed flush with the tread.
- The patch is fully seated against the inner liner.
- The tire is inflated to the vehicle’s recommended cold pressure.
- The repair area passes the soapy water leak test.
- The valve stem and bead area show no bubbles.
- The tire has enough tread depth and no sidewall damage.
- The wheel has been balanced if the tire was demounted and the shop requires it.
- The pressure is checked again after a short drive or the next morning.
Frequently Asked Questions
What is the final step in the tire repair process?
The final step is to trim the plug stem flush with the tread, inflate the tire to the recommended cold pressure, and check for leaks. A soapy water test should show no growing bubbles around the repair. If air still escapes, the tire needs reinspection or replacement.
Can I drive 200 miles with Fix-A-Flat?
Do not plan on driving 200 miles after using Fix-A-Flat or any aerosol sealant. Treat it as an emergency temporary fix, follow the current label on the can, keep speed and distance low, and drive only as far as needed to reach a tire shop for inspection.
What is the 3 tire rule?
The “3 tire rule” usually refers to a conservative shop policy about repeated tire repairs. It is not a universal law. A tire may be rejected for another repair when prior repairs are too close, overlap, or suggest the casing has been weakened. When in doubt, replace the tire.
What are the last three steps performed after the tire is repaired?
The last three steps are to trim the plug stem flush, inflate the tire to the recommended cold pressure, and check for leaks. You should also recheck pressure after the tire rests or after a short drive.
Is a tire plug permanent?
An outside plug by itself should not be treated as a permanent highway repair. A permanent repair usually requires removing the tire, inspecting the inside, filling the injury channel, and sealing the inner liner with a patch-plug repair unit.
Can a sidewall puncture be repaired?
No. A sidewall puncture should be replaced, not repaired, for normal road use. The sidewall flexes too much and does not have the same repairable structure as the tread crown.
Do I need to rebalance the tire after a repair?
If the tire was removed from the wheel, many shops will check or rebalance the wheel and tire assembly before reinstalling it. Balancing helps prevent vibration and uneven wear after the repair.
Can I finish a tire repair without removing the tire from the wheel?
You can install some emergency plugs from outside the tire, but that does not let you inspect the inner liner. For a long-term road repair, a technician should remove the tire from the wheel, inspect the inside, and use a patch-plug repair when the damage is repairable.
Conclusion
The final step in tire repair is not just cutting off extra plug material. You trim the plug flush, inflate the tire to the correct cold pressure, and confirm that the repair holds air with a leak test. If bubbles appear, pressure drops, or the tire has sidewall damage, worn tread, exposed cords, or structural damage, replace the tire instead of driving on a risky repair.
Sources
- National Highway Traffic Safety Administration TireWise — tire pressure, tread depth, tire aging, tire maintenance, and tire safety guidance.
- 49 CFR § 574.5 Tire Identification Requirements — tire identification number and date-code requirements.
- Discount Tire Flat Tire Repair Guide — repairability limits, inside-and-out inspection, patch-plug repair method, and leak testing steps.

Related Articles
Tire Balancing Weights: Types, Cost, and Why You Need Them
Precisely chosen tire balancing weights reduce vibration and wear, but which type fits your wheels and what it really costs may surprise you.
Read More
Tire Repair Kits: What’s Inside and How to Use One
Get the essentials of tire repair kits, learn how each tool works, and discover the simple steps that can save your trip.
Read More
How to Get More Miles Out of Your Tires: 10 Proven Tips
Maximize tire life with 10 proven tips that save money and boost safety—discover the simple habits that can add many more miles.
Read More