
How to Dismount a Motorcycle Tire: Easy Step-by-Step Guide
To dismount a motorcycle tire, gather tire irons, rim protectors, a bead breaker, and a valve core tool, then lift the bike and remove the wheel. Fully deflate the tire, break both beads, and lubricate the bead with soapy water or tire lube. Pry one bead off the rim, remove the tube if present, then work off the second bead. Clean and inspect the rim for damage, and you’ll see the finer points next.
Key Takeaways
- Gather tire irons, bead breaker, rim protectors, valve core remover, and tire lube before starting.
- Lift the motorcycle securely, remove the wheel, and fully deflate the tire.
- Break the bead evenly on both sides to free the tire from the rim.
- Pry the first bead off with tire spoons, using lubricant and control to avoid rim damage.
- Inspect the tire, rim, and valve stem for wear, damage, or leaks before reinstalling.
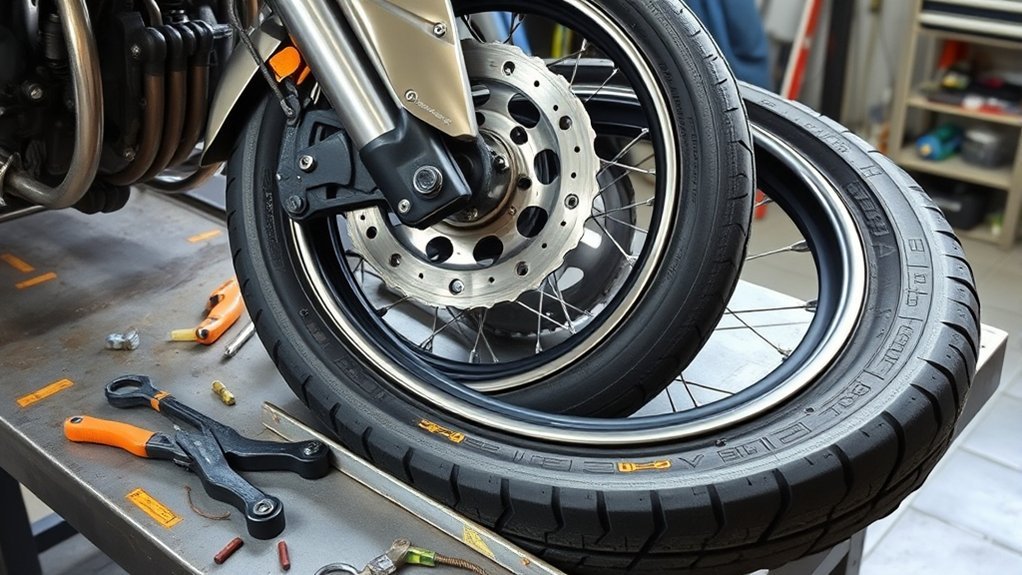
Gather Motorcycle Tire Tools
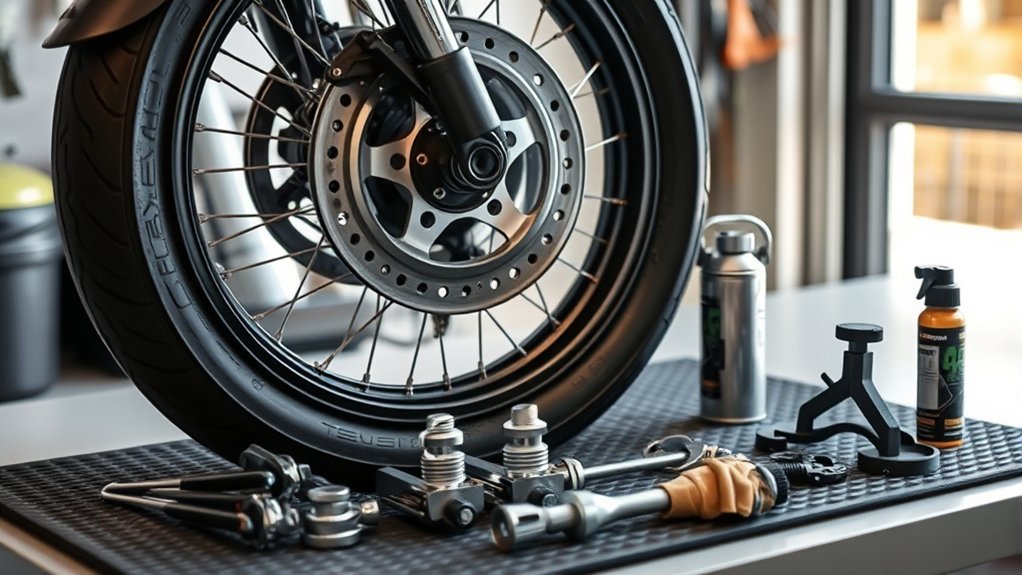
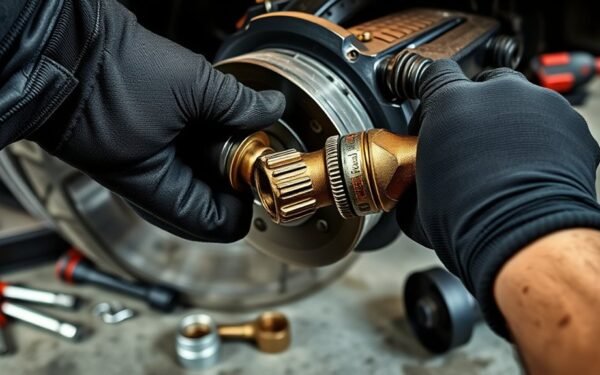
Before you start, gather the right motorcycle tire tools so you can work cleanly and avoid rim damage. Lay out tire irons, rim protectors, a bead breaker tool, and a valve core remover. Use the valve core remover to pull the core from the valve stem, so the inner tube or tubeless carcass vents fully before you work. Add tire lube or soapy water to reduce friction when the bead moves. Keep an air pump or compressed air source nearby for refilling after installation, and confirm it matches the tire’s pressure needs.
Check every motorcycle tire tools item for wear, burrs, or cracks before you touch the wheel. Good tools let you act with control, protect the rim, and keep the job honest and efficient. With the right setup, you take command of the process and reduce wasted effort. Additionally, using strong steel spoons from a tire spoon kit can enhance your leverage during the dismounting process.
Lift the Motorcycle and Remove the Wheel
Secure the motorcycle on a stable surface with a center stand, motorcycle jack, or paddock stand so it can’t tip while you work. Make sure it’s securely placed before you lift the motorcycle and loosen the axle nut counterclockwise. Keep the nut threaded until the wheel clears the ground, then raise the bike enough to create proper clearance. Detach any brake calipers or sensors that block access, and support them so you don’t strain the lines.
Secure the motorcycle on a stable stand, keep the axle nut threaded, and lift only after clearance is confirmed.
- Confirm the stand is solid and level.
- Remove obstacles only after the wheel is supported.
- Withdraw the axle shaft once the bike is elevated.
Now fully unscrew the axle nut, slide out the axle shaft, and rock the wheel gently to remove the wheel from the forks or swingarm. Work deliberately; precision keeps you free from preventable damage and gives you full control over the dismount.
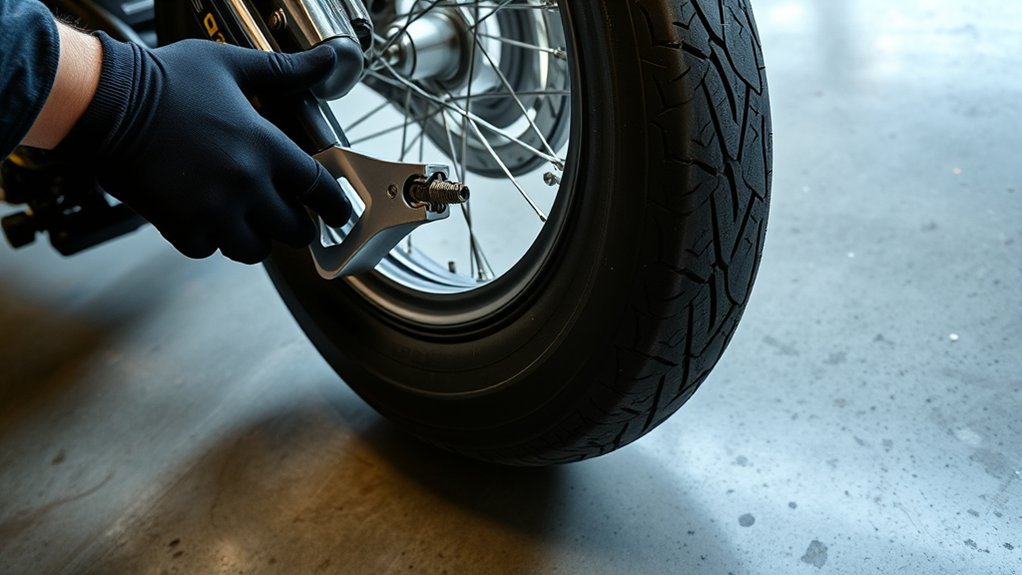
Deflate the Motorcycle Tire Fully
With the wheel removed, fully bleed the tire so the bead won’t stay seated under pressure. Set the motorcycle tire in a stable position, then remove the cap from the valve stem and keep dirt out of the opening. If your stem has a built-in cap, unscrew it to deflate the tire. Otherwise, use a valve core removal tool to extract the valve core and let air escape fast and completely. Hold the wheel steady so it doesn’t shift while pressure drops; that safety step protects you from sudden movement and keeps the rim clean. Listen for the last hiss, then confirm the tire is empty before you continue. Once it’s fully deflated, inspect the sidewalls and tread for damage, cuts, or excessive wear. If you find anything serious, plan for replacement or repair before you move on. A fully deflated tire frees you to work with control and precision, making temporary repairs with tire repair kits easier until you reach a service station.
Break the Bead on Both Sides
Now break the bead on one side of the tire by pressing the tire’s edge inward against the rim with a bead breaker tool or C-clamps. Keep the tire fully deflated so you can break the bead with less pressure and less risk of rim damage. Coat the bead with tire lubricant or soapy water to help it slide instead of grip. When the bead releases, repeat the process on the opposite side to fully remove the old tire from the rim and prepare to remove the tire. This process is essential for ensuring a reliable all-season performance tire change.
- Use steady pressure; don’t shock the bead loose.
- Work evenly around the sidewall to free stubborn spots.
- Add more soapy water if the bead sticks.
After both sides are free, you can use tire spoons to continue the dismount cleanly. This method helps you reclaim control, avoid unnecessary force, and move toward your next repair with precision and freedom.
Pry the First Bead Off the Rim
Insert a tire spoon under the first bead and push down to create leverage, prying the tire edge up and over the rim. Keep steady pressure on that spoon so the bead stays lifted while you work. Add a second spoon a few inches away and pry again, walking the tire off the rim in small increments. Maintain control; don’t let the bead snap back and trap your progress. Apply lubricant or soapy water along the contact area to cut friction and let the bead separate with less effort. Move the spoons around the wheel, always leaving the first spoon in place as an anchor. This controlled sequence gives you clean, efficient dismounting and keeps the tire from binding. Once one bead is fully free, flip the wheel and repeat the same method on the other side, using the same pressure, leverage, and precision to finish the job. Additionally, ensuring that you use proper tire maintenance techniques can help extend the lifespan of your tires and improve performance.
Remove the Tube and Second Bead
Remove the valve core from the tube first so it can vent completely, then confirm the tire is fully flat before you go further. After you remove the valve, use tire levers to finish lifting the first bead if any section still grips the rim, and stay careful not to damage the inner tube. Once the bead is free, pull out the tube slowly and inspect your grip as you work.
- Keep the tube relaxed so it doesn’t snag.
- Use tire lubricant to prevent sticking at the second bead.
- Reposition tire levers for controlled dismounting the tire.
Now attack the second bead with steady leverage. Add tire lubricant or soapy water around the rim, then use the tire levers again to walk the second bead over the edge. Work in small increments, not force. You’re freeing the wheel cleanly, with discipline and control, so the tire releases without unnecessary stress. Additionally, using a tubeless tire repair kit can be a practical solution for quick fixes during your motorcycle adventures.
Clean and Inspect the Rim
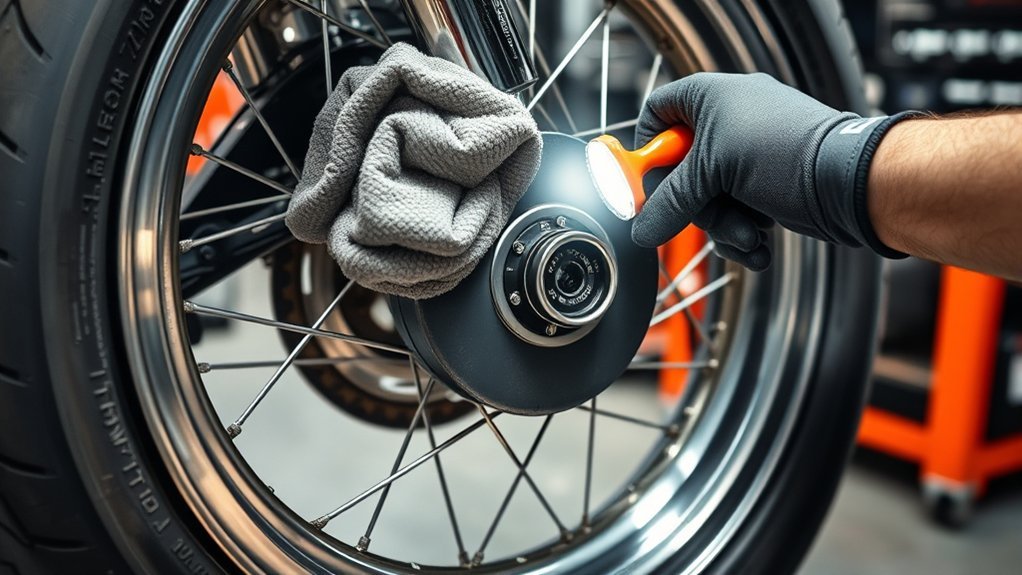
With the tire off, clean the rim thoroughly using a brush and mild soap to remove dirt, debris, and any old tire lubricant that could affect the seal. Rinse and dry it completely, then inspect the rim surface for grime you may have missed. Wipe the bead seating area with a cloth so the new tire contacts a smooth, uncontaminated surface and seals properly. Check the rim strip for cuts, shifting, or uneven fit; a sound rim strip protects the tube from spoke holes and sharp edges. Measure the rim’s inner diameter and width to confirm compatibility with the tire size you plan to install. This step supports proper fit, better bead seating, and reliable performance. When you clean and inspect carefully, you’re not just preparing hardware—you’re reclaiming control over your machine’s safety, precision, and freedom on the road. Additionally, ensuring the rim is free from old tire lubricant is crucial for achieving a reliable seal with the new tire.
Check the Tire and Rim for Damage
Before you install the tire, inspect both the tire and rim for damage that could affect safety or sealing. Look for visible signs of wear on the tire: cracks, bulges, and uneven tread all signal trouble. Check the rim for dents, bends, or corrosion that can stop the bead from seating correctly. Verify the valve stem is intact, flexible, and not leaking, because a faulty stem can cause air loss. Scan the tire surface for nails, stones, or other debris that may create punctures. Confirm the bead isn’t torn or deformed; if it is, the tire won’t hold an airtight seal. This inspection protects your ride and your freedom to keep rolling without avoidable failures. Additionally, ensure your tires meet the 3PMS snow certification for optimal winter performance if you’re in a snowy region.
- Wear tells you when replacement isn’t optional.
- Rim damage undermines stability and sealing.
- Small punctures or leaks become big failures fast.
Frequently Asked Questions
What Is the First Step in Dismounting a Tire?
You first secure the motorcycle on a center stand, lift, or paddock stand so it won’t move while you work. Then you can use proper tools for bead breaking, tire levers, and rim protection. After that, follow safety precautions, do valve removal, and apply lubrication. Inspect the tire, note maintenance tips, and plan reinstallation techniques. You’ll work faster, cleaner, and safer when you control the machine from the start.
How to Take off a Motorcycle Tire?
You remove a motorcycle tire by balancing force and care: secure the bike, deflate it, break the bead, then pry the tire off with tire tools. During tire changing, follow safety precautions, inspect the rim, and protect it from damage. Check wheel alignment, tire pressure, and tire storage needs before reassembly. This motorcycle maintenance keeps you free, efficient, and road ready, with precise results and better control every ride.
How to Easily Take a Bike Tire Off?
You can easily take a bike tire off by lifting the bike, dropping air pressure, and using motorcycle tools for bead breaking. Protect the rim, follow safety precautions, and pry the tire free with steady leverage. Good workshop setup helps, and tire maintenance means you should inspect the carcass before tire replacement. You’ll also want balancing techniques later, so check rim protection and tire inspection as you work.
How to Take off a Tire Step by Step?
First, secure the wheel like a ship at anchor, then deflate the tire and break both beads. Use motorcycle tools and safety precautions, then pry the tire off with tire changing techniques. Check tire maintenance tips, tire pressure importance, wheel alignment basics, and puncture repair methods. Clean the rim with motorcycle cleaning essentials, follow seasonal tire care, and use tire storage solutions for the freed tire.
Conclusion
Now you can dismount a motorcycle tire with confidence and control. Most tire damage happens during bead removal, so working carefully matters. In fact, improper bead-breaking and prying account for a large share of rim and tube failures during home service. By using the right tools, fully deflating the tire, and inspecting everything before reassembly, you’ll protect both the wheel and the new tire. Take your time, stay precise, and you’ll get professional results.
Related Articles
How to Remove a Stripped Lug Nut From a Tire: Expert Methods
Discover expert methods to remove a stripped lug nut from a tire before damage worsens, and see which fix works best.
Read More
How to Read a Tire Gauge at a Gas Station: Quick Guide
Pump your tire gauge correctly at the gas station, and discover the PSI secrets that keep your car safe, smooth, and ready.
Read More
How to Cut Up a Tire: Tools, Safety Tips & Creative Uses
When cutting up a tire, what tools work best, which safety mistakes to avoid, and how can you turn the pieces into surprising projects?
Read More