
DIY Tire Swing: How to Build One Safely at Home
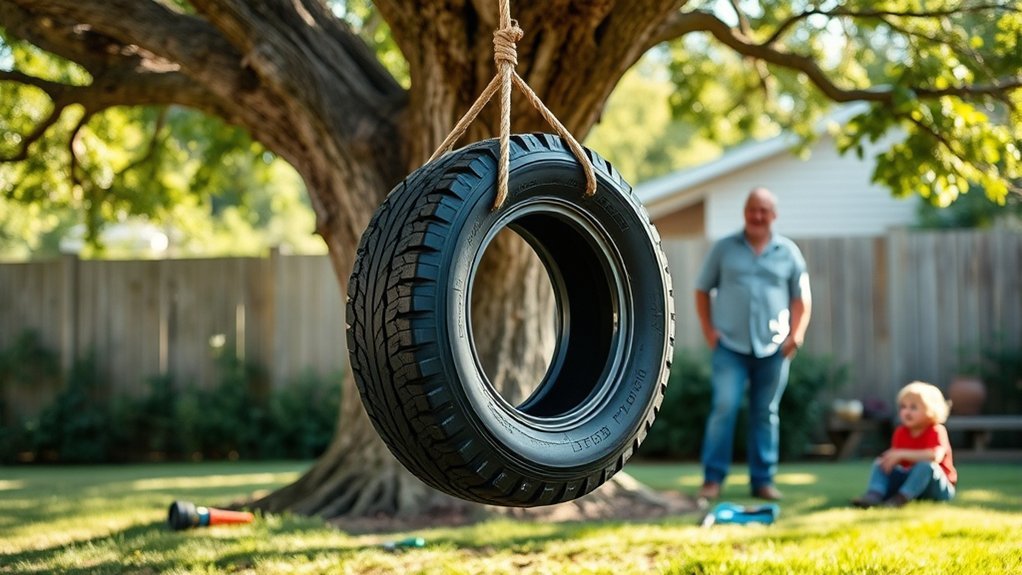
To build a safe DIY tire swing, choose a sound tire with no cracks, then rinse and drill drainage holes in the bottom. Hang it from a sturdy, horizontal limb at least 8 inches thick using hardware and rope or chain rated for 500 pounds or more. Set proper clearance, keep the swing zone clear, and inspect all connections monthly. With a few careful steps, you can get the details right and avoid common mistakes.
Key Takeaways
- Choose a sound tire and heavy-duty hardware rated for at least 400–600 pounds.
- Hang the swing from a sturdy branch 8 inches thick and 8–10 feet high with a clear 12-foot safety zone.
- Drill drainage holes, install secure eye bolts or chain attachments, and use strong rope or chain.
- Inspect the tire, hardware, and tree monthly for cracks, rust, fraying, rot, or loosening.
- Set safety rules: no pushing, no jumping off, take turns, and keep the area under the swing clear.
Choose the Right Tire and Hardware
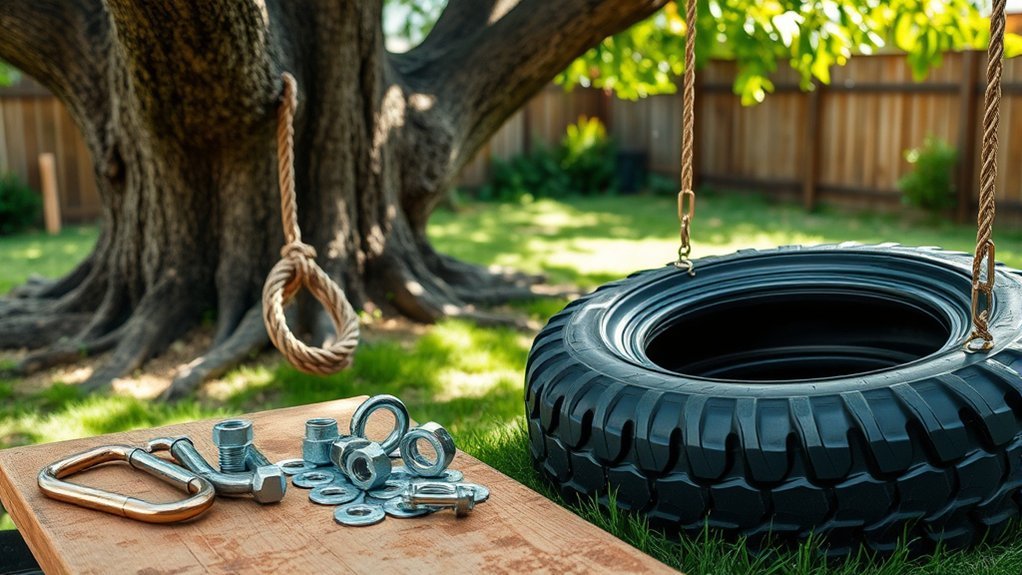
Start with a tire that matches the rider’s weight and size, and don’t use an oversized tire for small children, since that can reduce stability and safety. You need tire swings built on sound material: inspect the casing for cracks, leaks, or holes, because damaged rubber can fail and trap water. Choose a tire with enough structure to carry load without flexing excessively. Install heavy-duty eye-bolts rated for 400 to 600 pounds, and secure them with fender washers and nuts so the assembly resists dynamic forces. Use steel S-hooks only if they’re strong, closed properly, and checked often for wear. Select rope or chain that’s weather-resistant and rated for at least 500 pounds. This hardware lets you build with confidence, like pruning a limb with clean cuts: precise, controlled, and free. When you choose components carefully, you protect the rider’s freedom to swing safely, without surrendering strength to shortcuts. Additionally, it’s important to consider tire tread durability when selecting a tire, as it affects overall safety and performance.
Pick a Safe Place to Hang It
Pick a sturdy, horizontal limb that’s at least 8 inches in diameter and 8 to 10 feet above the ground so it can safely carry the swing load. Keep the swing zone clear for at least 12 feet in every direction, and stay away from fences, buildings, rocks, and other impact hazards. Inspect the limb and surrounding ground for decay, damage, or shifting conditions before you hang the tire and each time you use it. Additionally, consider the tire maintenance tips for ensuring the swing remains safe and durable over time.
Strong Branch Selection
Before you hang a tire swing, choose a branch that’s at least 8 to 10 feet above the ground and at least 8 inches in diameter so it can safely handle the load. Inspect the strong branch for cracks, rot, fungus, or other disease signs before you trust it. You want healthy tree branches with a horizontal growth pattern and minimal sway, because vertical limbs and flexible joints can fail under dynamic loading. Avoid limbs that overhang roofs, fences, or hardscape, since you need a clear, liberated path for safe motion. Check the attachment point after storms, wind, or freeze-thaw cycles, and keep inspecting it regularly for wear. If the wood changes, creaks, or softens, stop use immediately.
Clear Swing Zone
Once you’ve confirmed a sound branch, set up the swing in a clear zone with at least 12 feet of overhead clearance and 12 feet of open space in every direction. This clear swing zone protects you from limbs, rooflines, and other strike hazards while you move freely. Keep it away from fences, walls, driveways, and hard surfaces that can turn a simple ride into impact damage. Underneath, choose soft, level ground like grass or mulch to absorb a fall and stabilize takeoff and landing. Inspect the area often; remove rocks, sharp objects, and debris before each use. When you follow Safety standards, you create a safer setup that lets you swing with confidence, movement, and peace.
Clean and Drill the Tire
Start by hosing off the tire thoroughly, then inspect it for cracks, holes, or leaks before you modify it. Mark four to six drainage points on the bottom sidewall, using the tread as a guide so the holes stay evenly spaced. Drill each hole with a 1/2-inch bit, then wipe away all debris so the surface stays clean and safe for assembly. Additionally, ensure the tire is free from small punctures that could compromise safety during use.
Tire Cleaning Steps
Rinse the tire thoroughly with a garden hose to remove dirt, debris, and any contaminants that could trap moisture and lead to mold or mildew. Then inspect every sidewall for cracks, punctures, or leaks before you trust it for a tire swing. Clean rubber gives you a safer, freer build.
- Mud sloughing off black tread
- Sunlight catching wet grooves
- A clean rim ready for drill holes
Use a 1/2-inch drill bit to drill holes for rope or chain attachments, and add 1/2-inch drainage holes where water can escape. Keep your spacing even, and check that each opening stays sound. After drilling, let the tire dry completely so you don’t seal in moisture. That careful prep protects the swing, supports balance, and keeps your project solid.
Drainage Hole Placement
With the tire cleaned and dry, drill evenly spaced drainage holes in the bottom sidewall using a 1/2-inch bit so water can escape before it collects and causes mold. Place at least four drainage holes close to the lowest sidewall edge, following the tread pattern as your guide for even distribution. Keep the tire braced firmly before drilling holes; a stable setup helps you avoid slips, injury, and crooked openings. Work methodically so each hole supports free drainage without weakening the tire’s load-bearing form. After you finish, inspect the drainage holes during routine maintenance and clear any debris or buildup. This simple safeguard keeps moisture from lingering, protects the swing from decay, and lets you build with confidence, care, and independence.
Drill Bit Selection
Choose a 1/2-inch drill bit to cleanly open the drainage holes, and keep the tire upside down on a flat, stable surface so the bottom sidewall is easy to access. Mark each spot with the tread as your guide, spacing the holes evenly for steady runoff and less mold. Your drill bit should cut with control, not force, so the tire stays sound.
- A steady hand, like pruning a limb
- Clean, round holes that vent water fast
- A dark tire resting firm on level ground
Apply consistent pressure as you drill each hole. Check the holes during maintenance, clearing debris before it traps moisture. This careful work protects the swing’s structure and gives you a safer, freer build rooted in respect for the tree and your space.
Install the Tire Swing Eye Bolts
Mark three equally spaced points around the tire sidewall for the eye bolts, then drill each hole with a bit sized to the bolt shaft for a snug fit. When you install the tire swing eye bolts in old tires, treat the sidewall like a load-bearing limb: measure with a string, confirm even spacing, and keep the layout balanced. Thread each eye bolt through its hole, then add a fender washer, lock washer, and nut on the inside to spread pressure and resist vibration. Tighten the hardware firmly, but don’t crush the rubber. Check that each bolt sits true and that the hardware matches the expected load rating for safe use. Regularly inspect all three points before you move on; a secure eye-bolt set is the foundation for a swing that supports freedom without risking failure. Additionally, durable tire options can help ensure the longevity of your swing, providing reliable performance throughout its use.
Attach the Rope or Chain
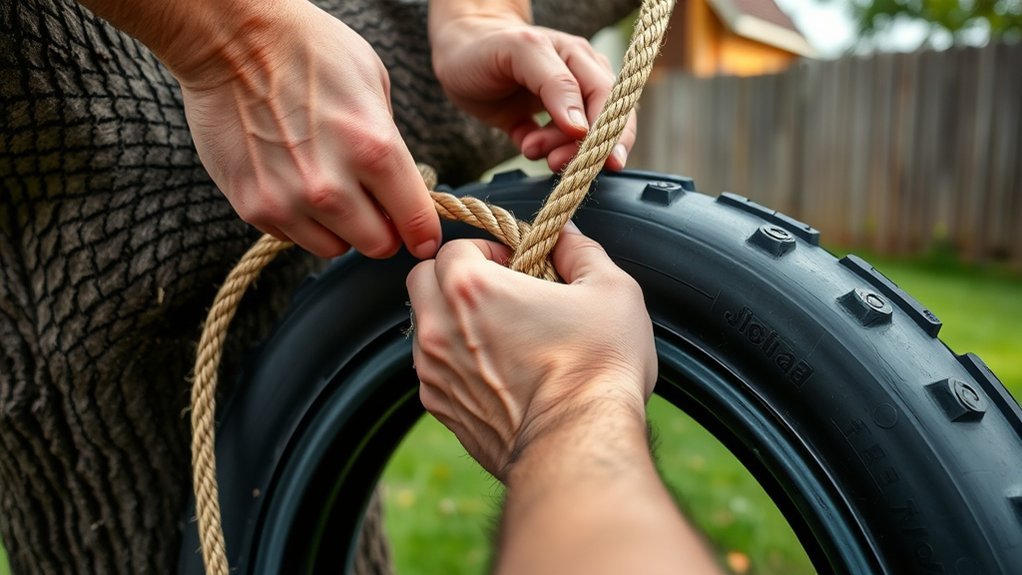
Cut your rope to a safe length, use at least 1/2-inch material rated for 500 pounds or more, and space it evenly around the tire to keep the load balanced. Secure each end with a double bowline or figure-eight knot, or fasten the chain with U-bolts through the drilled holes at the tire’s top. Before you use the swing, check every attachment point for tightness, proper alignment, and any sign of wear. Additionally, ensure you have a reliable spare tire kit for emergency situations in case of unexpected issues while playing.
Rope Length And Spacing
For balanced, comfortable swinging, set each rope or chain so the loop-to-loop length is about three feet, then secure it through evenly spaced holes in the tire with U-bolts to keep the load centered and stable. Keep the rope length consistent and the attachments spaced around the tire like canopy limbs sharing wind load.
- Check that each line hangs straight, not twisted.
- Confirm the tire sits level under full weight.
- Verify the rating exceeds 500 pounds for safety margin.
You’re building freedom, but you’re also engineering restraint against failure. After you tension the system, inspect the spacing regularly, especially after storms or heavy use. If abrasion, stretch, or slippage appears, adjust before anyone rides. Proper geometry helps the swing track cleanly, reduces sway, and protects both kids and trees.
Secure Knot Or Hardware
Once the ropes or chains are cut to length and spaced evenly, fasten them with hardware or knots that won’t slip under load. Choose 500-pound-rated rope or chain, then set a secure knot like a bowline or overhand knot, or use carabiners or S-hooks for chain work. Tighten every connection and add a backup, such as a double knot or lock washer, so the rig stays free and stable.
| Option | Use | Safety |
|---|---|---|
| Bowline | Rope | Holds well |
| Overhand | Rope | Simple backup |
| Carabiner | Chain | Quick release |
| S-hook | Chain | Close tightly |
| Lock washer | Hardware | Anti-loosen |
Inspect each knot and hardware point for abrasion, rust, or deformation, and replace damaged parts immediately.
Final Attachment Check
Before you hang the tire, complete a final attachment check and make sure the rope or chain is secured to the tire with heavy-duty eye bolts and S-hooks rated for at least 500 pounds. Keep the load path clean, and confirm every connection is securely attached. If you use rope, tie a bowline or double figure-eight so it won’t slip under motion. If you use chain, connect it with carabiners and inspect each link for rust, wear, or deformation.
- Bright metal hardware, tight and aligned
- Rope fibers gripping without twist
- Chain links hanging straight and clean
Inspect attachment points for looseness, then test the swing with more weight than you expect. You’re building freedom, but safety keeps that freedom standing.
Build the Top Hanging Connection
Choose a sturdy branch that sits at least 8 to 10 feet high and can safely support 400 to 600 pounds, then drill a long pilot hole and install an eye bolt with washers and a nut so the hardware can accommodate branch growth without loosening. On this tree branch, use a long drill bit, seat the eye bolt straight, and tighten it enough to bite without crushing wood fibers. Add a heavy-duty swivel to let the swing move freely and cut twisting wear. Make sure to consider the load ratings of the materials you use to ensure safety and durability.
| Component | Purpose | Check |
|---|---|---|
| Eye bolt | Main anchor | Snug, aligned |
| Washers | Spread load | Flat, clean |
| Nut | Lock hardware | Tightened securely |
| Swivel | Reduce wear | Spins smoothly |
| Rope/chain | Suspend tire | Correct length |
Inspect the connection often, especially after storms or hard use. Keep the setup free of bark damage and nearby hazards so you can swing with confidence and self-directed joy.
Set the Right Height and Clearance
With the top connection secured, set the tire swing high enough to clear the ground and nearby hazards. Aim for at least 12 feet of height, so the swing can travel through its full arc without the tire striking soil, roots, or stones. Keep a 12-foot clearance zone in all directions, and place the swing away from hard surfaces, trunks, and low limbs.
- Picture a clean vertical drop from branch to tire.
- Picture open space beneath, like a quiet launch lane.
- Picture a wide safety circle, free of fence posts and concrete.
Check that the bottom of the tire never touches down during use. As children grow, recheck height and clearance, then adjust the rope or chain length as needed. You’re building more than play; you’re shaping freedom with disciplined spacing, so every swing feels open, controlled, and safe. Additionally, ensure that the swing’s design matches safety standards to prevent accidents during play.
Check Tire Swing Weight Limits
Load limits matter here: make sure the tire, chains, eye-bolts, S-hooks, and all mounting hardware are rated for at least 400–600 pounds, with individual connectors ideally rated to 500 pounds or more. You should check tire swing weight limits before you hang anyone, because swinging adds dynamic force that can triple the static load. Verify each manufacturer’s specification for every component, and match the weakest part to the full system rating. If the tire, chain, or fastener falls short, upgrade it; freedom to play isn’t worth a failed anchor. Keep the assembly within its published capacity, including the heaviest rider and the motion they’ll create. Watch for wear and tear over time, since abrasion, rust, and cracking reduce strength and erase your safety margin. Replace any part that shows damage, distortion, or elongation. Treat the swing like a load-bearing tree limb: strong, maintained, and ready for movement. Additionally, consider the tire type and performance when selecting components to ensure they meet safety standards.
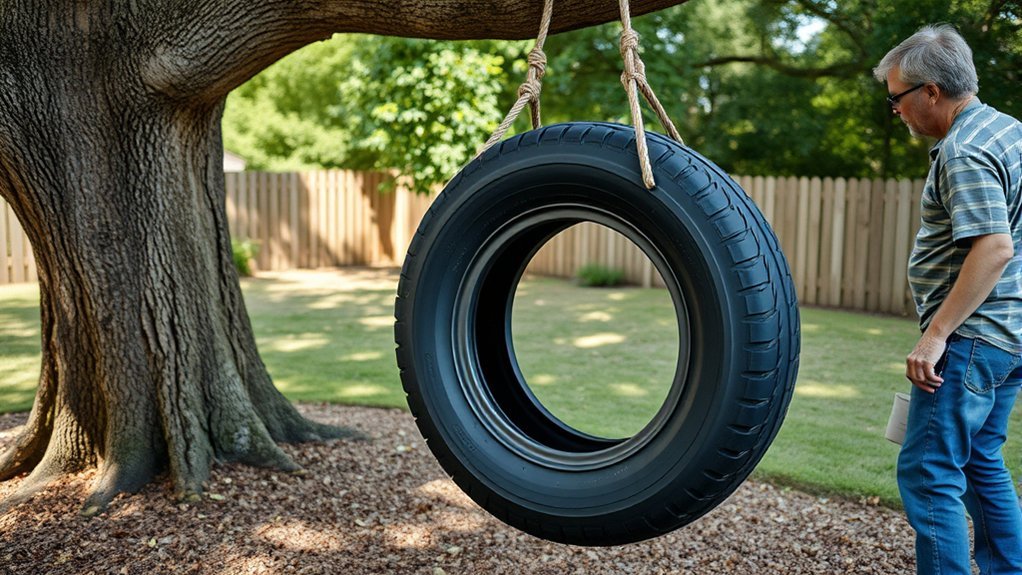
Inspect the Tire Swing for Safety
Inspect the tire swing before every use and then give it a full safety check at least once a month. To inspect the tire swing for safety, you’ll walk a disciplined line: check the tire for cracks, holes, or deep wear that could fail under load. Verify every eye-bolt, S-hook, and chain is rated for 400-600 pounds, locked tight, and free of deformation. Examine the tree branch or swing holder for rot, splits, or motion at the anchor point; a liberated swing still depends on sound structure. Keep the tree swing hanging securely, with the seat about 2 feet above ground. Focus on high-stress zones where fibers, metal, and bark bear repeated force.
- Look for frayed chain links shimmering in sun.
- Trace the tire’s edge for hidden cuts.
- Test the anchor for firmness and silence.
If anything feels suspect, stop use immediately and repair or replace the failed component before you swing again. Additionally, ensure the tire is appropriate for highway use to maintain safety and performance during play.
Add Finishing Touches and Maintenance
Once the swing is hung and tested, you can add finishing touches that improve both appearance and durability. Paint the tire with outdoor-safe spray paint or a weather-rated coating, and let it cure fully before use. You can personalize it with bold colors or themed designs, but keep surfaces smooth so kids’ hands and clothes don’t snag. To protect your setup, make maintenance part of your routine: inspect chains, ropes, S-hooks, and attachment points for rust, fraying, or loosening. Replace worn parts right away. Clear the area below and around the swing of rocks, stumps, and debris, and keep a 12-foot landing zone in every direction. Set simple rules: take turns, don’t push, and never jump off mid-swing. Reapply coating every couple of years to extend service life and keep the tire resilient against sun, rain, and freeze-thaw stress. Additionally, tire maintenance can enhance durability and safety over time, ensuring a long-lasting and enjoyable swing.
Frequently Asked Questions
What Do You Need to Make a Homemade Tire Swing?
You need a sturdy tire, rated rope or chain, and secure hardware like eye-bolts, S-hooks, and U-bolts. For safe tire selection, choose a sound tire with no cracks, then drill drainage holes to keep water out. Mount it on a healthy limb with proper swing height, at least 12 feet up, and leave a clear landing zone. Inspect every connection often so you can play freely and safely.
How Thick Should a Branch Be for a Tire Swing?
You should choose a branch at least 6 inches thick—because, oddly enough, thin limbs don’t celebrate freedom when a tire swing loads them. Check branch strength and tree health first, since cracks or disease can betray you. You’ll want a healthy limb that extends 3 feet beyond the swing and safely supports 500 pounds. Keep the seat about 2 feet off the ground for controlled, liberated swinging.
Is a Tire Swing Safe?
Yes, a tire swing can be safe if you follow strict safety precautions and verify swing height. You’ll need a strong limb or freestanding frame, hardware rated for dynamic loads, and at least 12 feet of clearance. Inspect ropes, chains, eye-bolts, and S-hooks often, and drill drainage holes in the tire. When you maintain the setup, you protect free play and reduce risk for everyone using it.
What Size Tire Is Best for a Tire Swing?
A 24- to 26-inch tire is best for smaller children, while 30- to 36-inch tires suit older riders. You should match tire types to swing heights and weight loads, then inspect for cracks, leaks, and worn tread. A standard passenger car tire can often hold 400-600 pounds. Choose a sound tire, because safe suspension lets you move freely, ride confidently, and enjoy your yard without unnecessary restriction.
Conclusion
By choosing a sound tire, secure hardware, and a sturdy branch or frame, you’ve built a swing that’s both fun and safe. You might think a tire swing is simple enough to skip the checks, but that’s exactly when failures happen. Keep the height right, verify clearance, respect the weight limit, and inspect the rigging often. With routine maintenance and quick fixes, you’ll keep the swing reliable, durable, and ready for years of safe use.
Related Articles

How to Use a Manual Tire Changer: Complete Step-by-Step Guide
With these simple steps, discover how to use a manual tire changer safely—and avoid the costly mistakes that keep people guessing.
Read More
How to Unscrew Tire Bolts: Tools & Methods for Stubborn Bolts
Break stubborn tire bolts with the right tools and techniques, then discover the safest tricks to free them without damage.
Read More
How to Seat a Tire Bead: Proven Methods for a Proper Seal
Fixing a stubborn tire bead can be easier than you think, but the right trick makes all the difference.
Read More