
How to Loosen Tire Nuts: Tools, Torque & Step-by-Step Guide
Don’t use a torque wrench to break loose tire nuts; it’s for final tightening, not high breakaway force. Park on level ground, set the parking brake, and loosen the lug nuts with the tire on the ground. Use a breaker bar, 4-way lug wrench, or impact wrench for better leverage. If they’re rusty, apply penetrating oil and wait. Loosen in a star pattern, then torque them correctly after installation for safe, lasting wheel security.
Key Takeaways
- Use a breaker bar or lug wrench for strong leverage; avoid a torque wrench for loosening stubborn nuts.
- Loosen tire nuts with the vehicle on the ground and parking brake engaged for stability and safety.
- Apply penetrating oil to rusted or seized lug nuts and let it soak before trying again.
- Turn lug nuts in a star pattern and crack them loose only slightly before raising the vehicle.
- Tighten lug nuts with a torque wrench to the manufacturer’s specification, then recheck after 50 to 100 miles.
Why You Shouldn’t Use a Torque Wrench to Loosen Lug Nuts
Although it may seem convenient, you shouldn’t use a torque wrench to loosen lug nuts because it’s built for accurate tightening, not high-torque breakaway force. When you try to loosen stuck lug nuts with it, you can overload the internal mechanism, bend calibration components, and throw off future readings. That compromises the tool’s precision and shortens its service life. A torque wrench measures final clamp load; it isn’t meant to fight rust, corrosion, or seized threads. If you force it, you risk tool failure, costly repairs, and unsafe reassembly later. You deserve control, not fragile methods that create dependency on damaged equipment. Use a breaker bar or impact tool instead; those tools are designed to deliver the leverage or удар needed to break fasteners free safely. Protect your torque wrench for tightening only, and keep your wheel service accurate, reliable, and liberated from avoidable damage. Additionally, regular maintenance of tire tread depth can help prevent issues like seized lug nuts in the first place.
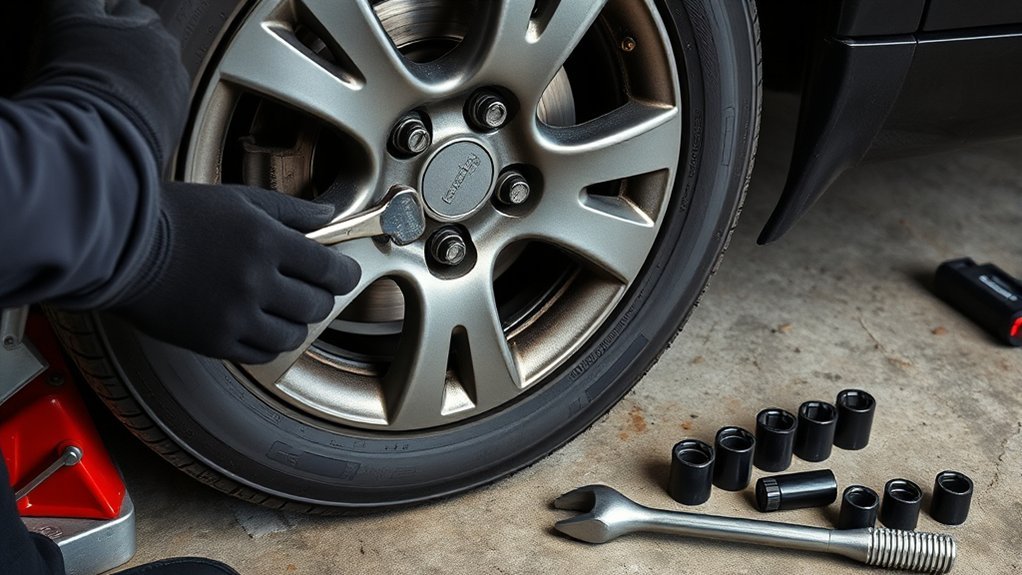
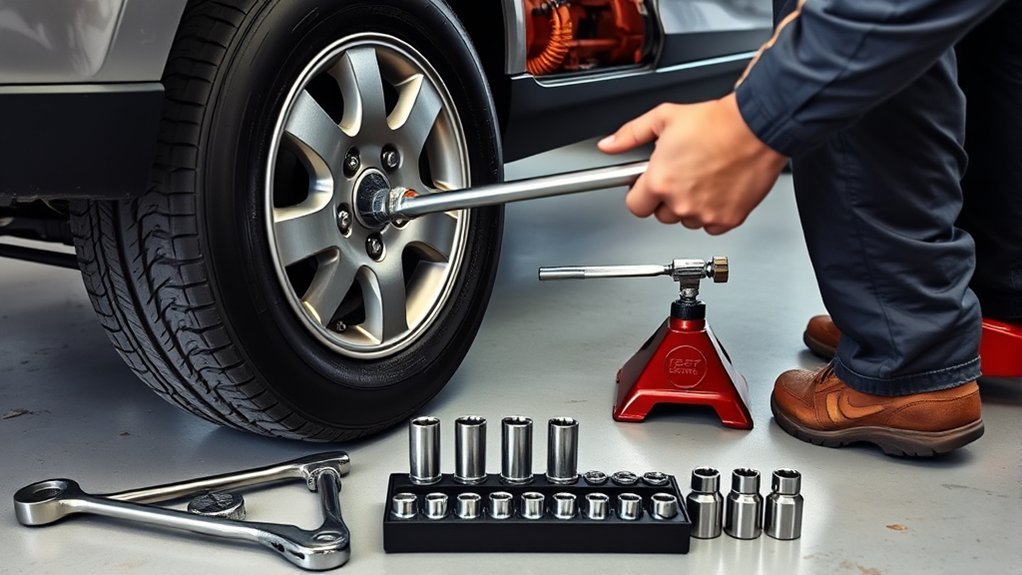
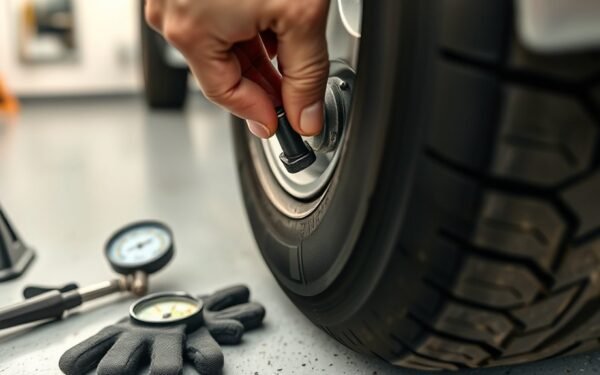
Gather the Right Tools for Lug Nuts
Start with the right gear: a breaker bar for maximum leverage, a 4-way lug wrench for better grip and torque, and a penetrating oil or rust blaster to free corroded threads before you apply force. These tools give you control when lug nuts fight back, and they reduce the chance of rounding fasteners. If you have a handheld impact driver or pneumatic impact wrench, keep it ready for high-torque removal; it can break stubborn lug nuts loose fast. Wear gloves and safety glasses so you stay protected from slips, metal fragments, and sudden releases. Lay out every tool before you begin, so you’re not improvising under pressure. Check that each tool fits the lug size snugly; poor fit wastes force and damages hardware. With the right tools in hand, you’re set to loosen stubborn lug nuts efficiently and with less struggle. Having a reliable spare tire kit can also save time and hassle during emergencies.
Prep Your Vehicle Before Loosening Lug Nuts
Park your vehicle on a flat, stable surface and engage the parking brake so it can’t roll while you work. Break the lug nuts loose while the tire’s still on the ground, which keeps the wheel from spinning and reduces stress on your tools. Then lift the vehicle with a jack and support it securely on jack stands before you remove any nuts completely. Additionally, consider checking tire specifications to ensure you’re using the correct tools and techniques for your specific vehicle.
Park On Level Ground
Set your vehicle on a level surface before you loosen any lug nuts so it stays stable and won’t roll while you work. When you park on flat ground, you reduce unwanted movement and keep the wheel load predictable. Choose a solid, dry area with enough room to work safely around the vehicle. Scan for slopes, loose gravel, traffic, debris, or anything else that could interfere with control. If the surface shifts, relocate before continuing. This simple setup gives you more command over the task and keeps you from fighting the vehicle’s weight. For added security, use the parking brake now, then verify the vehicle feels steady before lifting. Never rely on an unstable setup; freedom starts with secure, deliberate preparation.
Engage Parking Brake
Engage the parking brake before you touch the lug nuts so the vehicle can’t roll while you work. Park on a level surface, clear the area, and keep your stance stable. That simple control step helps you work with confidence and keeps the job grounded in safety and freedom from preventable movement.
| Action | Purpose | Result |
|---|---|---|
| Engage parking brake | Lock the wheels | Prevent roll |
| Park level | Reduce shift risk | Improve stability |
| Clear workspace | Remove distractions | Keep focus |
| Loosen on ground | Reduce tool strain | Protect hardware |
| Verify support later | Confirm jack stands | Avoid jack-only reliance |
With the brake set, you can loosen lug nuts more cleanly while the tire still bears weight, minimizing stress on your wrench and the fasteners.
Loosen Before Lifting
With the parking brake already set, loosen the lug nuts while the wheel is still on the ground so the tire’s weight resists movement and reduces strain on your tools. Stay on a level surface, and use a torque wrench or breaker bar to apply steady initial force; that leverage helps break rust and corrosion bonds without twisting the studs. Turn each nut just enough to free it, but don’t remove them yet. Once they’re cracked loose, jack up the vehicle and support it securely on jack stands before you finish removing the lug nuts. This sequence keeps the wheel stable, protects your hardware, and gives you control. Check threads and nuts for wear or damage before tightening later, so future service stays smooth and safe.
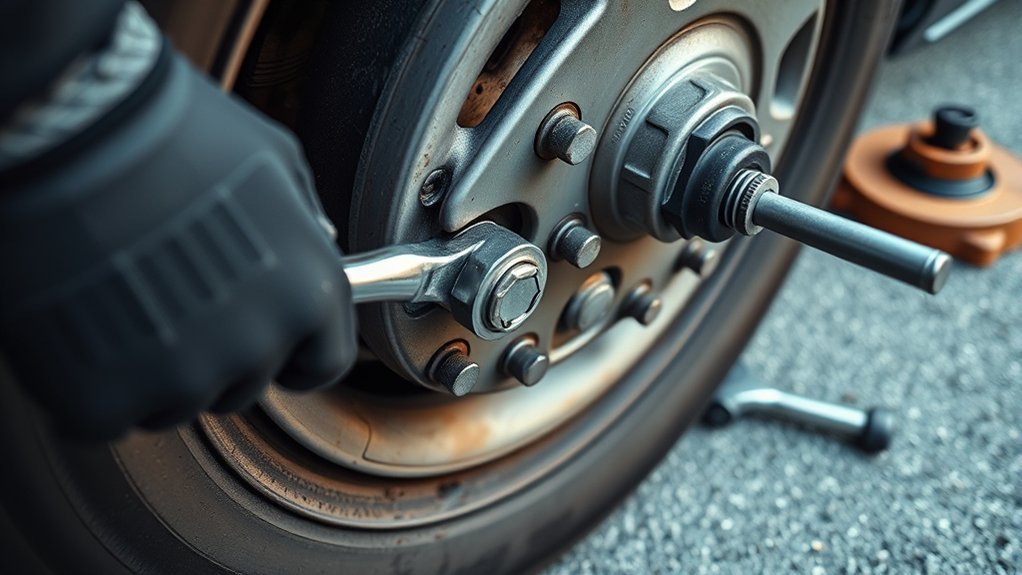
Break Loose Lug Nuts With Better Leverage
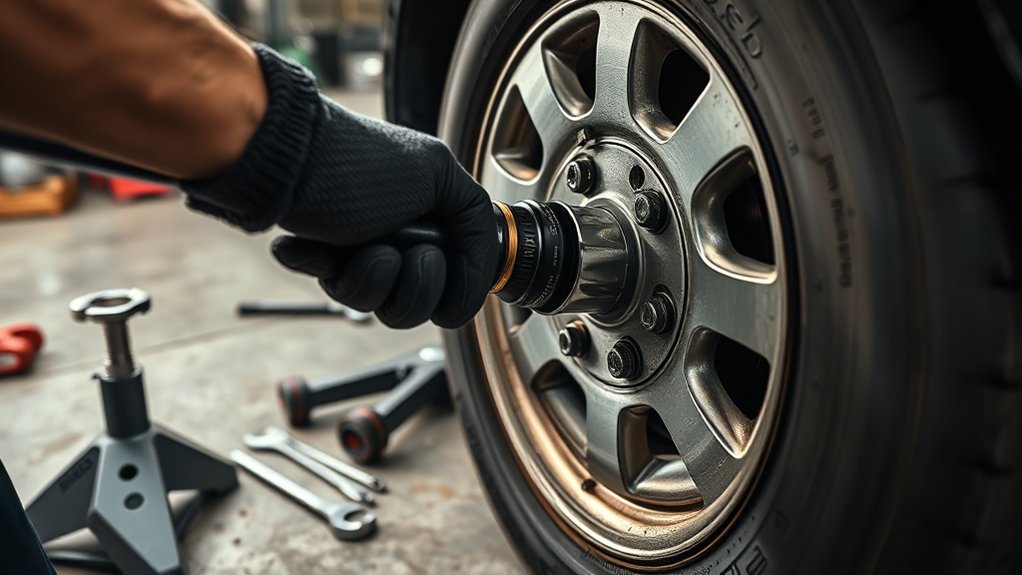
Use a breaker bar or 4-way lug wrench instead of a standard wrench, since the extra length gives you much better leverage on stubborn lug nuts. Keep the tool square on the nut, apply steady force with your body weight, and avoid jerking so you don’t round the fastener or slip. If the nut still won’t move, add a long pipe for more torque or use an impact wrench, and apply penetrating oil first on rusted threads. Additionally, ensuring your tire pressure is consistently checked can help prevent issues with lug nuts sticking due to underinflation.
Better Leverage Tools
A breaker bar gives you the leverage to crack stubborn lug nuts loose far more effectively than a standard wrench, thanks to its longer handle and higher torque. For better leverage, choose a breaker bar with a long, rigid beam so you can apply force with less strain and greater control. If space is tight, a 4-way lug wrench gives you multiple socket sizes and more torque than a basic L-wrench. When you need extra reach, you can slip a pipe over the breaker bar handle to multiply leverage. A handheld impact driver can deliver sharp torque bursts that free tight nuts quickly. If a nut is deformed, use a ring spanner for a secure grip and reduced slippage.
Breaker Bar Technique
When stubborn lug nuts won’t budge, a breaker bar gives you the leverage you need to crack them loose. Fit the correct socket to your lug size so the breaker bar grips cleanly and won’t slip. If the nut’s seized, spray penetrating oil at the threads and let it soak for several minutes. Then position the bar so you can pull smoothly, keeping your body balanced and in control. The longer handle multiplies torque, and a length of pipe over the bar can add even more leverage when you need to loosen the nuts. Use steady pressure instead of jerking, and let the tool do the work. With the right setup, you free fasteners without damaging studs or wasting effort.
Safe Force Application
For safe, effective force application, switch to a breaker bar so you get more leverage and torque than a standard wrench can provide. You’ll loosen lug nuts with less effort and better control. If the fasteners still resist, slip a long pipe over the bar to extend your leverage, but keep your stance balanced. Spray penetrating oil or rust blaster on the nuts, then let it soak to cut friction and help break the bond. Pull the wrench toward you instead of pushing it away; this safe force application lowers slip risk and gives you steadier power. If you want more angles and torque, use a 4-way lug wrench. With the right tool, you can loosen lug nuts cleanly and reclaim mobility without unnecessary strain.
Apply Penetrating Oil to Lug Nuts
Spray a generous amount of penetrating oil directly onto each stuck lug nut and let it soak for at least 15 minutes so it can break down rust and corrosion. Choose a penetrating oil made for automotive use; its solvents help free seized lug nuts faster and with less effort. Keep the vehicle securely lifted and stable before you work, so you can apply force safely and stay in control.
- Coat each lug nut thoroughly, including the base where rust builds.
- Wait, then tap each nut lightly with a hammer to send vibrations into the threads.
- Reapply penetrating oil if the lug nuts still resist, and give it more time to work.
Use the oil strategically, not sparingly. Let chemistry do part of the labor so you don’t have to fight every turn. With patience and the right penetrating oil, you’ll weaken corrosion, reclaim movement, and move closer to freeing the lug nuts without unnecessary strain. This method can be particularly beneficial when dealing with all-season performance tires, which may require regular maintenance.
Use Heat or Impact for Stubborn Lug Nuts
If penetrating oil hasn’t freed the lug nuts, you can add heat or impact to break the bond. Use a propane torch to apply focused heat to the nut, not the stud, so the metal expands and loosens the corrosion. After heating, let it cool, then repeat the heat and cooling cycles to encourage micro-fractures in the rust. This controlled thermal shock can make removal much easier.
If you prefer mechanical force, use a handheld impact driver or an impact wrench to deliver fast, high-torque bursts. These tools hit hard without the steady strain that can round fasteners. Fit only impact-rated sockets; they’re built to handle repeated shock loads and help prevent socket failure under torque. With the right combination of heat and impact, you reclaim control quickly and safely, turning a frozen lug nut into a manageable task. Additionally, ensure you are familiar with the correct tire sizes for your vehicle to avoid complications during the process.
Know When a Lug Nut Won’t Budge
If the lug nut won’t move after penetrant, heat, and steady force, it’s likely seized by rust, corrosion, or over-tightening. Use a breaker bar with controlled pressure and keep the socket fully seated so you don’t round the nut or slip. If it still won’t budge, stop and get help before you damage the stud, wheel, or wrench. Consider how tire durability features like reinforced construction can affect overall maintenance and ease of tire changes.
Signs It’s Seized
When a lug nut won’t budge, check for the telltale signs of seizure before forcing it harder. Rust, corrosion, or rounded corners show oxidation and deformation that can lock the threads. If you apply torque and the nut barely moves, or feels stiff from the first turn, it’s likely seized and resisting normal release.
- Inspect the nut for rust, scaling, and damaged edges.
- Test for solid resistance; no movement usually means binding.
- Note heat buildup after a few attempts—it signals friction and seizure.
When these signs appear, stop escalating force blindly. You’re not fighting the wheel; you’re identifying a fastener that needs a smarter release path. Read the joint, then choose the next step with control and precision.
Safe Breaker Bar Use
A breaker bar gives you the extra leverage needed to free a stubborn lug nut, but use it with control: pull the bar toward you rather than pushing away so you can keep the socket seated and reduce injury risk. When you need to loosen lug nuts, fit the correct socket fully, keep the bar aligned, and apply steady force instead of jerking. If the fastener still won’t move, spray penetrating oil at the threads, wait several minutes, then try again. For extra leverage, slide a long pipe over the breaker bar handle and increase torque without straining your grip. If the nut remains seized after repeated attempts, gentle heat from a propane torch can expand the metal and help break the bond, letting you regain control and move forward.
When To Get Help
After you’ve used the right socket, steady pressure, and a breaker bar for leverage, stop before you overdo it. If the stuck lug nut still won’t move, you need to know when to get help. First, spray penetrating oil on rusted threads and let it soak several minutes; that can break corrosion before more force. 1. Don’t keep cranking harder—excess force can snap tools or round the nut. 2. If several attempts fail, apply heat carefully with a propane torch to expand the metal. 3. When it still won’t budge, call a tire professional. Persistent resistance often signals worn hardware or deep corrosion, and a mechanic can free it without injury or damage. Liberation means using judgment, not brute force.
Remove Lug Nuts in a Safe Pattern
Use a star or crisscross pattern to loosen the lug nuts so the wheel stays evenly loaded and doesn’t warp. You’ll free each lug nut by turning it a little at a time, then moving to the opposite side. This crosswise sequence keeps force balanced and gives you control over the wheel. If a nut fights back, fit a breaker bar or 4-way lug wrench for better leverage; don’t twist harder with a weak tool. Before you begin, spray penetrating oil on the lug nuts and let it soak for several minutes so the threads release cleanly. Once each nut breaks free, back it off slowly instead of snapping it loose. That steady motion cuts the chance of sudden movement and keeps your hands clear. Keep the pattern consistent until all the lug nuts are loosened and ready for removal. Additionally, maintaining proper tire longevity and replacement frequency is crucial for overall vehicle safety and performance.
Replace Damaged Lug Nuts and Studs
Inspect the lug nuts and studs regularly for rust, wear, or deformation, because damaged hardware can weaken wheel retention and affect safety. When you find damage, replace the part with the exact size and thread pitch your vehicle calls for, so the fit stays secure and free of play. If a stud is stripped or bent, remove the wheel, extract the old stud with the proper tools, and install the new one fully seated.
Inspect lug nuts and studs regularly for rust, wear, or deformation to keep wheel retention safe and secure.
- Match every replacement lug nuts to the manufacturer’s specification.
- Keep a torque wrench ready to verify final clamp load.
- Store spare lug nuts and studs for quick field repairs.
After installation, tighten the new hardware to the listed torque range, usually 80 to 120 ft-lb, without guesswork. This keeps the wheel anchored and lets you drive with confidence. In heavy-use or off-road conditions, carrying extras gives you independence when a failure happens. Additionally, ensure that the lug nuts are tightened in a star pattern to promote even pressure across the wheel.
Torque Lug Nuts Correctly After Installation
Once the wheel is seated, you should tighten the lug nuts with a torque wrench to the manufacturer’s specified value, which is typically 80 to 120 ft-lb for standard vehicles. Check your owner’s manual for the exact figure before you begin. Set the torque wrench to that value, then tighten each lug nut in a star or crisscross pattern so the wheel clamps evenly and stays true. This prevents distortion, uneven loading, and future looseness. Keep turning until the wrench clicks; that signal means you’ve reached the correct torque, not that you should force more. Work methodically around the wheel, then verify each nut once more. Don’t guess, don’t use impact force, and don’t over-tighten. After driving about 50 to 100 miles, re-torque the lug nuts to confirm they’ve settled in and remain secure. That final check protects the wheel, hub, and your freedom to move confidently. Additionally, ensuring your tires have proper tread depth is essential for optimal performance and safety.
Frequently Asked Questions
Can You Loosen Lug Nuts With a Torque Wrench?
No, you shouldn’t loosen lug nuts with a torque wrench. You’ll risk damaging its calibration and internal mechanism because it’s built for tightening, not breaking fasteners free. For torque wrench basics, reserve it for proper lug tightening only. Use a breaker bar or impact tool to apply controlled removal force instead. That keeps your tool accurate, protects precision, and gives you practical, reliable freedom when servicing your wheels safely and efficiently.
How to Loosen Over Torqued Lug Nuts?
You loosen over-torqued lug nuts by breaking corrosion and applying controlled torque. Studies show nearly 1 in 5 roadside wheel issues involve seized fasteners. Spray penetrating oil, wait 15-30 minutes, then use a breaker bar or impact wrench techniques with steady force. If needed, use heat application methods carefully on the nut, not the stud. Tap the bar lightly, keep the vehicle stable, and free yourself from needless strain.
Will WD-40 Loosen Lug Nuts?
Yes, WD-40 can help loosen lug nuts, especially if corrosion is mild. Its WD 40 effectiveness comes from penetrating rust and reducing friction, but it won’t always free seized fasteners. You should let it soak 10–15 minutes, then use a breaker bar or impact tool for leverage. For severe rust, you’ll need alternative lubricants or stronger mechanical force. After removal, clean the residue before reinstalling to avoid contamination.
How to Loosen Really Tight Wheel Nuts?
You loosen really tight wheel nuts by applying penetrating oil, then using a breaker bar for maximum leverage. If you’ve got one, an impact wrench can break them free faster. If they still won’t move, add a cheater pipe to the breaker bar, or heat the nut briefly and let it cool. You should wear gloves, secure the vehicle, and work steadily to free the fasteners safely.
Conclusion
By following the right sequence, you turn a stubborn task into controlled progress. Use the proper tools, crack each lug nut loose with steady force, and never let a torque wrench do a breaker bar’s job. If one fastener resists, treat it like a rusted gate: clear, patient pressure opens it best. Finish by torquing each nut to spec, and you’ll leave the wheel secure, the hardware sound, and the job done right.
Related Articles
How to Deflate a Tire: Quick Step-by-Step Guide for Any Vehicle
Carefully learn how to deflate a tire safely and quickly, but discover the easiest tool choice and common mistakes before you finish.
Read More
How to Release Air From a Tire: Safe Methods in Seconds
Ongoing tire pressure tips reveal safe, quick deflation methods, but the best way to avoid damage and guesswork is inside.
Read More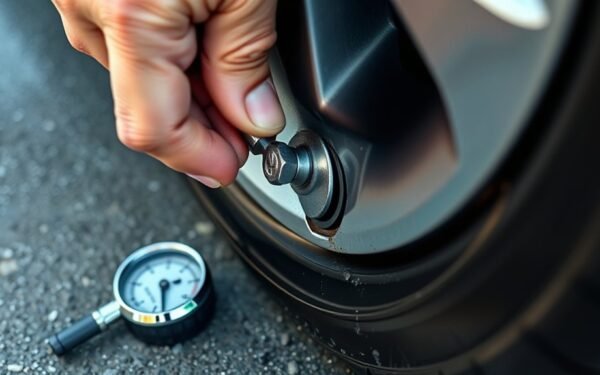
How to Let Air Out of a Tire: Step-by-Step Deflation Guide
Optimize tire deflation safely with step-by-step guidance, the right tools, and crucial pressure checks—discover the exact method before you go too far.
Read More