
Flat Tire on a Toyota Camry: Safe Step-by-Step Guide
How to Change a Flat Tire on a Toyota Camry
What’s in This Article
- Step-by-Step Guide to Changing a Flat Tire
- Essential Tools for Changing a Flat Tire
- Preparing Your Vehicle for a Tire Change
- Safely Jacking Up Your Toyota Camry
- Loosening Lug Nuts After Jacking Up
- Removing the Flat Tire and Mounting the Spare
- How to Securely Tighten the Spare Tire
- Lowering the Vehicle and Final Checks
- Common Mistakes to Avoid When Changing a Tire
- How to Maintain Your Spare Tire for Future Use
- Frequently Asked Questions
- Conclusion
- References
A flat tire can turn a normal drive into a stressful stop in minutes. If you have the right tools and a safe place to work, you can replace the flat tire on your Toyota Camry with the spare and get back on the road carefully. This guide shows you what to do, what to avoid, and how to check the spare before you drive.
Quick Answer
To change a flat tire on your Toyota Camry, park on level ground, turn on your hazard lights, set the parking brake, and place wheel wedges. Loosen the lug nuts before lifting the car, raise the Camry at the correct jack point, remove the flat tire, mount the spare, and tighten the lug nuts in a star pattern. Drive slowly on a temporary spare and replace or repair the flat tire as soon as you can.
Key Takeaways
- Park on a flat, stable surface before you start any tire change.
- Loosen the lug nuts before you raise the vehicle with the jack.
- Use only the Toyota Camry jack points listed in your owner’s manual.
- Tighten the spare tire’s lug nuts in a star pattern for even pressure.
- Treat a temporary spare as a short-term fix, not a full tire replacement.
Step-by-Step Guide to Changing a Flat Tire
Estimated time: Most Toyota Camry tire changes take about 20 to 30 minutes if you have the tools ready and the spare tire has enough air.
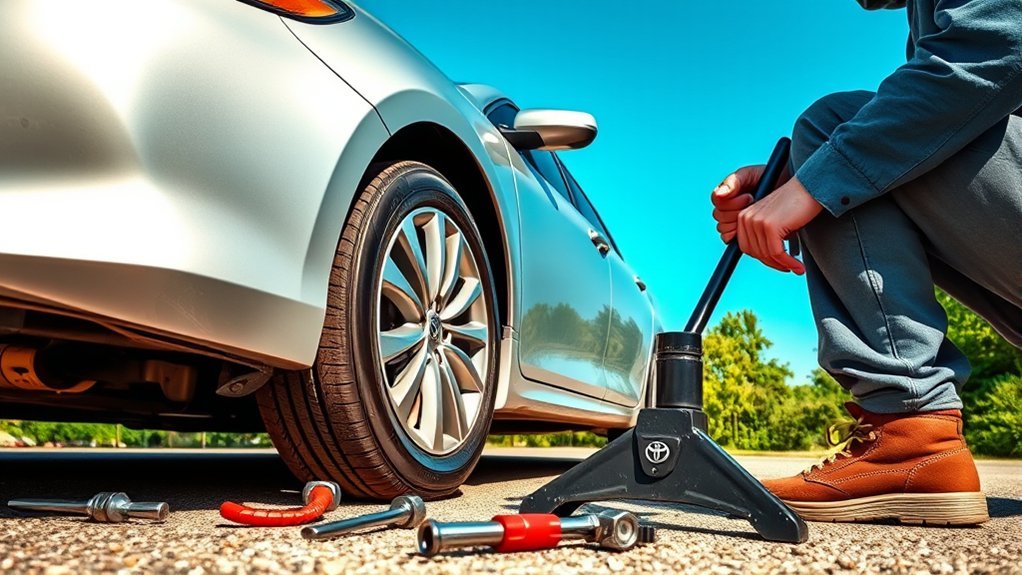
Start by moving your Toyota Camry to a safe, level area away from traffic. Turn on your hazard lights, set the parking brake, and ask passengers to stand well away from the road.
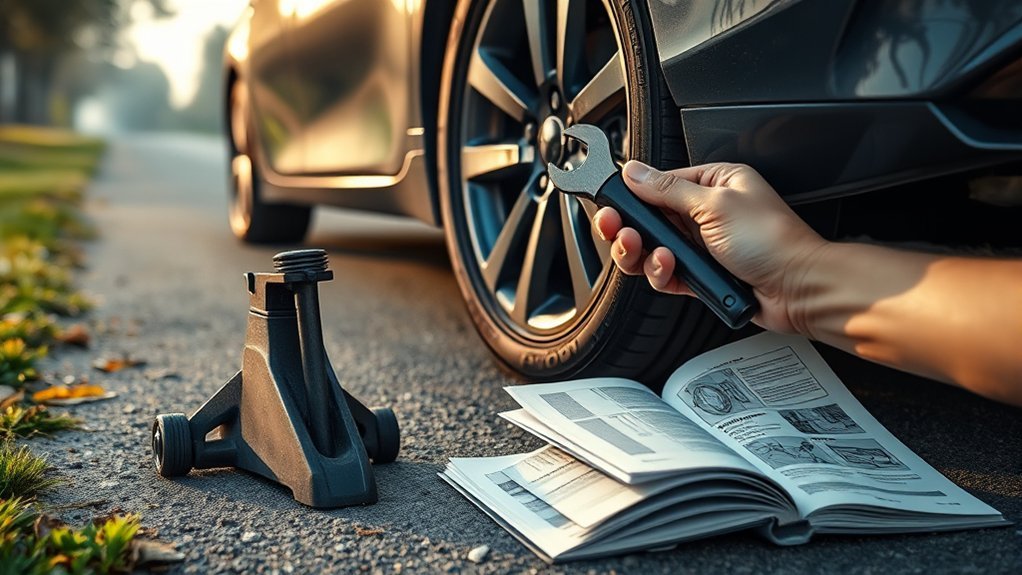
Gather the spare tire, jack, and lug wrench from the trunk area. Check your owner’s manual for the correct jack points, since placing the jack in the wrong spot can damage the vehicle.
- Park safely: Stop on firm, level ground and turn on your hazard lights.
- Secure the vehicle: Set the parking brake and place wheel wedges behind the tires opposite the flat.
- Loosen the lug nuts: Turn each lug nut counterclockwise about a quarter to half turn while the tire still touches the ground.
- Raise the vehicle: Place the jack at the correct jack point and lift the flat tire about 6 inches off the ground.
- Remove the flat tire: Take off the lug nuts, store them safely, and pull the tire straight off the hub.
- Mount the spare tire: Align the spare with the lug bolts and push it onto the wheel hub.
- Hand-tighten the lug nuts: Turn each lug nut by hand until it feels snug.
- Lower the vehicle: Lower the Camry until the spare tire touches the ground, then remove the jack.
- Tighten the lug nuts: Use a star pattern so the wheel seats evenly against the hub.
- Check before driving: Confirm the spare tire pressure and follow the temporary spare limits in your owner’s manual.
Warning: Never crawl under a vehicle supported only by a tire jack, since the jack can slip or fail.

Upgrade your wheelbarrow, garden wagon, hand truck, or trolley with solid flat-free 13 inch replacement tires designed to avoid punctures and eliminate inflation time. Built...
Essential Tools for Changing a Flat Tire
To change a flat tire on your Toyota Camry, you’ll need a few basic tools. Your Camry should include a spare tire, a jack, and a lug wrench, but you should check their condition before you need them.
Keep these items in your vehicle:
- Spare tire: Check the air pressure monthly so it’s ready for use.
- Lug wrench: Use it to loosen and tighten the lug nuts.
- Car jack: Use the jack designed for your Camry or a properly rated replacement.
- Wheel wedges: Place them behind the opposite tires to help prevent rolling.
- Flashlight and gloves: Use them for better grip, visibility, and hand protection.
- Tire pressure gauge: Use it to check the spare before you drive.
A small piece of 2×6” wood can help steady the jack on softer ground. Use it only when the surface stays firm enough to support the vehicle.
Preparing Your Vehicle for a Tire Change
Before you touch the lug nuts, choose the safest place you can find. A parking lot, wide shoulder, or flat driveway works better than a narrow roadside.
Turn on your hazard lights so other drivers see your stopped vehicle. Set the parking brake, shift into Park, and keep your keys with you.
Next, place wheel wedges behind the tires opposite the flat tire. If you don’t have wedges, use solid blocks or large stones only as a last resort.
Open your Toyota Camry owner’s manual and confirm the spare tire location, jack location, and correct jacking point. This step helps you avoid frame damage and keeps the vehicle steadier while you work.
Safely Jacking Up Your Toyota Camry
Place the jack under the designated frame area near the flat tire. Most Camry models have specific reinforced points near each wheel, but you should confirm the exact spot in your manual.
Raise the vehicle slowly until the flat tire sits about 6 inches off the ground. Keep the jack straight and stop if the vehicle shifts, leans, or feels unstable.
Do not place your hands, feet, or any part of your body under the raised vehicle. A tire jack supports the car only long enough for a tire change.
Pro tip: Put the flat tire under the side of the vehicle after removal as a backup barrier while you mount the spare.
Loosening Lug Nuts After Jacking Up
You should loosen the lug nuts before you raise the vehicle. The tire’s contact with the ground keeps the wheel from spinning while you break the nuts loose.
Importance of Loosening Nuts
Loosen each lug nut about a quarter to half turn counterclockwise while the tire stays on the ground. This step reduces the force you need after the vehicle sits on the jack.
If a lug nut feels stuck, press down on the lug wrench with steady force. Avoid sharp kicks, since sudden force can slip the wrench or knock the vehicle off balance.
Proper Technique Overview
Use a star pattern when you loosen and tighten lug nuts. This pattern spreads pressure evenly across the wheel and helps the spare sit flat against the hub.
After you raise the vehicle, finish unscrewing the lug nuts and place them in a safe spot. A pocket, small tray, or clean cloth keeps them from rolling away.
Safety Tips During Process
Keep your body to the side of the wheel while you work. This position helps you stay clear if the tire shifts or the wrench slips.
| Action | Safety Tip |
|---|---|
| Engage parking brake | Helps prevent the vehicle from rolling |
| Loosen nuts before lifting | Makes removal safer and easier |
| Use a torque wrench | Helps confirm proper fastening after installation |
Removing the Flat Tire and Mounting the Spare
Once the vehicle sits securely on the jack, remove the loosened lug nuts. Pull the flat tire straight toward you and keep your feet clear as it comes off.
Set the flat tire on its side so it can’t roll into traffic. Then lift the spare tire onto the hub with the valve stem facing outward.
Tools Needed for Removal
You need the lug wrench, jack, and spare tire to remove the flat and install the spare. A flashlight helps at night, and gloves protect your hands from grime and sharp edges.
If you have a torque wrench, use it after lowering the vehicle to tighten the lug nuts to the specification in your owner’s manual. Proper torque helps keep the wheel secure without damaging the studs.
Unscrewing Lug Nuts
Turn each loosened lug nut counterclockwise until it comes off the wheel stud. Keep the lug nuts together so you can reinstall them without delay.
When you remove the flat tire, pull it straight off the hub. If it sticks, tap the sidewall with your palm or foot while keeping your body balanced.
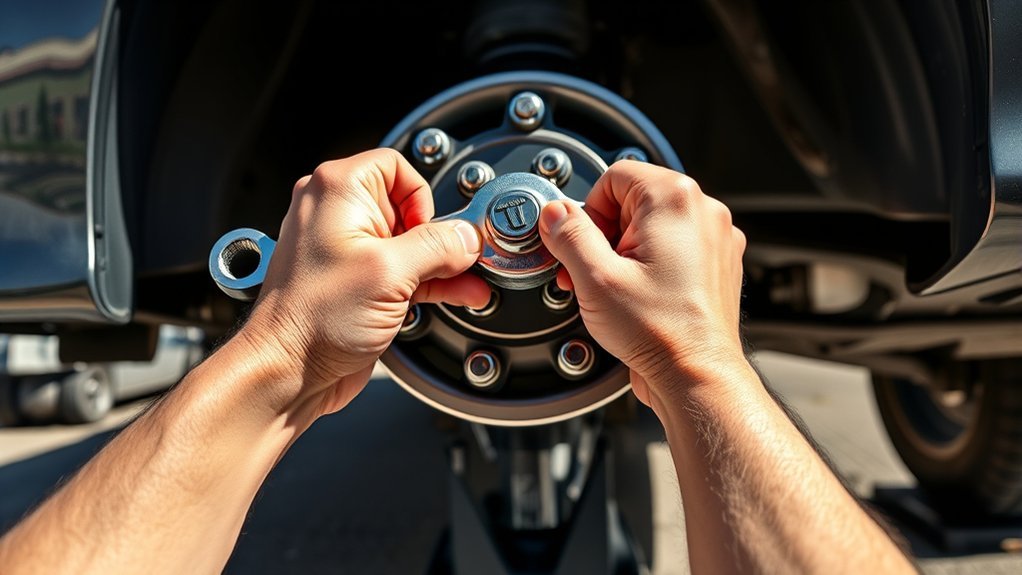
Installing the Spare Tire
Line up the spare tire holes with the wheel studs and slide the tire onto the hub. Push it in until it sits flat against the mounting surface.
Thread each lug nut by hand before you use the wrench. If a lug nut does not turn smoothly by hand, back it off and try again to avoid cross-threading.
How to Securely Tighten the Spare Tire
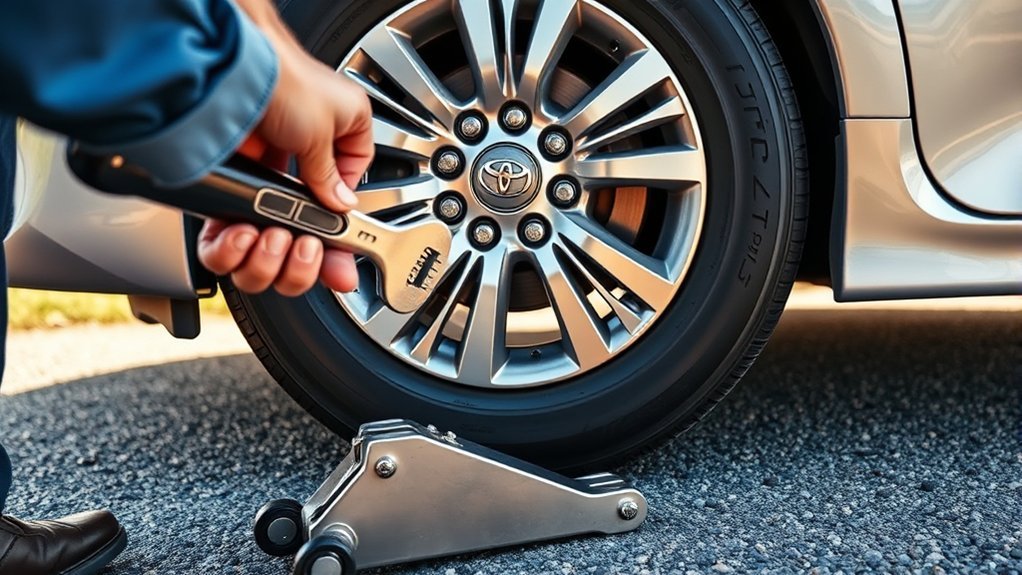
Start by hand-tightening the lug nuts while the Camry remains raised. This helps center the spare tire before the vehicle’s weight returns to the wheel.
Lower the vehicle until the spare touches the ground, but do not put full weight on it yet. Use the lug wrench to tighten the lug nuts in a star pattern.
After the vehicle rests fully on the ground, tighten the lug nuts again in the same pattern. If you have a torque wrench, use the torque value listed in your Toyota owner’s manual.
Note: Many temporary spare tires have speed and distance limits, so check the label on the spare and your owner’s manual before driving.
Lowering the Vehicle and Final Checks
Lower the vehicle slowly until all four tires rest on the ground. Remove the jack and store it with the rest of the tools.
Check every lug nut one more time with the lug wrench or torque wrench. Use the star pattern again so the wheel seats evenly.
Check the spare tire’s air pressure before you drive. If the tire looks low or damaged, call roadside assistance instead of driving on it.
Drive carefully and avoid high speeds, sudden braking, and long trips on a temporary spare. Visit a tire shop soon so you can repair or replace the flat tire.
Common Mistakes to Avoid When Changing a Tire
Small mistakes can turn a simple tire change into a safety risk. Check your setup before you raise the vehicle, and slow down if something feels unstable.
- Jacking on soft ground: Move to firmer ground when you can, or call for help.
- Using the wrong jack point: Check your manual before you lift the Camry.
- Forgetting wheel wedges: Secure the opposite tires before you loosen the flat tire.
- Overlooking spare tire pressure: Check the spare before you drive on it.
- Driving too far on a temporary spare: Use it only long enough to reach repair help.
How to Maintain Your Spare Tire for Future Use
Spare tire maintenance helps you avoid surprises during an emergency. Check the spare tire’s air pressure at least once a month and before long trips.
Inspect the spare for cracks, bulges, punctures, or worn tread. Replace it if you see damage or if the tire has aged beyond the manufacturer’s guidance.
| Task | Frequency | Details |
|---|---|---|
| Tire Pressure Checks | Monthly | Confirm it meets the recommended pounds per square inch (PSI). |
| Visual Inspection | Every 6 months | Look for cracks, bulges, punctures, and uneven wear. |
| Proper Storage | Ongoing | Keep it secure, clean, and dry in the spare tire area. |
| Owner’s Manual Review | Before use | Check speed, distance, and pressure guidance for your Camry. |
Do not assume the spare is ready just because it sits unused. Heat, age, and low pressure can weaken a spare tire over time.
Frequently Asked Questions
How Often Should I Check My Spare Tire’s Pressure?
You should check your spare tire’s pressure at least once a month. A spare with low pressure may not carry the vehicle safely when you need it.
Can I Drive Long Distances on a Spare Tire?
You should not use a temporary spare for long-distance driving. Follow the limit printed on the spare tire and check your Toyota Camry owner’s manual for exact guidance.
What Should I Do if My Jack Fails?
If your jack slips, bends, or fails to raise the vehicle safely, stop the tire change. Move away from traffic and call roadside assistance or a towing service.
Are There Any Safety Precautions When Changing a Tire?
Work on level ground, turn on your hazard lights, set the parking brake, and use wheel wedges. Keep your body out from under the vehicle and watch nearby traffic at all times.
Where Can I Find My Toyota Camry’s Owner Manual?
You can usually find your Toyota Camry owner’s manual in the glove compartment. Toyota also provides digital owner’s manuals online for many model years.
Safety Disclaimer: This article is for informational purposes only and does not replace your Toyota Camry owner’s manual or professional roadside help. If the location, tools, jack, spare tire, or traffic conditions feel unsafe, call a qualified roadside assistance provider.
Conclusion
A safe tire change starts with a stable parking spot, the right tools, and careful lug nut tightening. Before you drive away, check the spare tire pressure and confirm every lug nut feels secure.
Use a temporary spare only as a short-term fix, then repair or replace the flat tire as soon as possible. With a prepared trunk and a clear process, you can handle a flat tire with more confidence on your next drive.
References
- Tires — National Highway Traffic Safety Administration
- Warranty and Owners Manuals — Toyota
- Vehicle Safety: Tires — National Highway Traffic Safety Administration
Related Articles

Toyota Camry All-Season Tires Explained: What They Can and Can’t Do
In exploring Toyota Camry all-season tires, discover their benefits and limitations—are they really the right choice for your driving needs?
Read More
Toyota Camry Tire Traction in Ice and Snow: A Practical Winter Driving Guide
Learn essential tips for maximizing tire traction on ice and snow in your Toyota Camry, ensuring your winter driving is safe and confident. Discover more now!
Read More
Do Toyota Camry Tires Need Snow Chains? When They Help and When They Don’t
How do snow chains enhance your Toyota Camry's winter driving safety, and when should you avoid using them? Discover the essential details inside!
Read More