
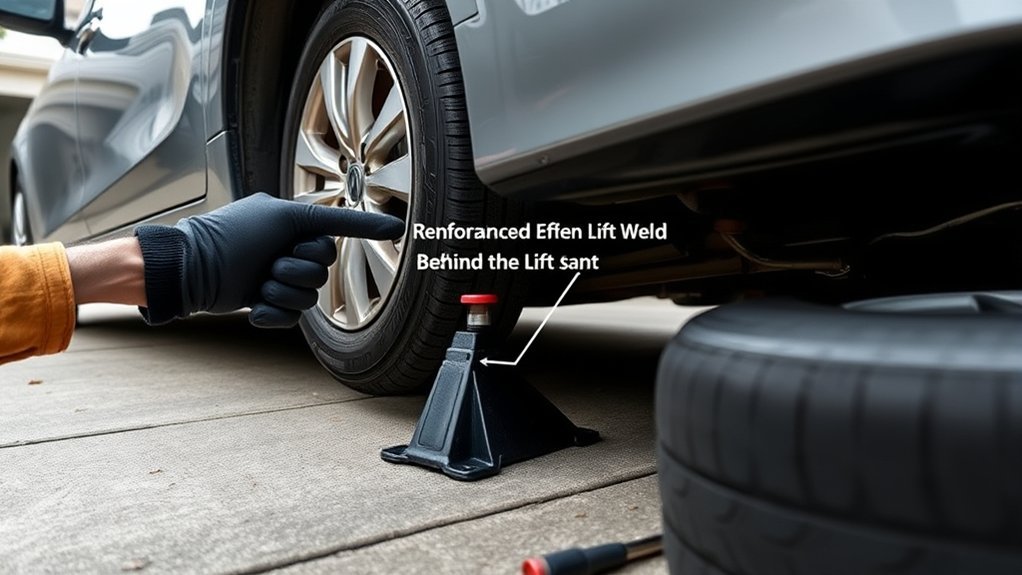
You should place a tire jack only under the vehicle’s approved lift point, not under a random metal part that looks strong. Most cars use reinforced pinch-weld notches near the wheels, while many trucks and SUVs use frame points or model-specific lift pads. Your safest source is always the owner’s manual for your exact year, make, and model.
Quick Answer
Put a tire jack under the vehicle’s designated jack point, usually a reinforced pinch-weld notch near the tire on cars or a manual-approved frame or axle point on trucks and SUVs. Park on firm level ground, set the parking brake, chock the opposite wheels, and never work under a vehicle supported only by a jack.
Key Takeaways
- Check the owner’s manual first because jack points vary by vehicle.
- Most unibody cars use reinforced pinch-weld notches just behind the front wheels or just ahead of the rear wheels.
- Many trucks and SUVs use frame points, axle points, or crossmembers only when the manual names them as safe lift points.
- Use wheel chocks, the parking brake, and firm level ground before lifting.
- Never lift from bumpers, exhaust parts, plastic panels, oil pans, fuel tanks, or thin sheet metal.
- Use jack stands at approved support points if you will work under or around the raised vehicle.
At a Glance
| Time Required | 15 to 30 minutes for a roadside tire change, longer if conditions are poor |
| Difficulty | Beginner to moderate, depending on vehicle size and roadside safety |
| Tools Needed | Owner’s manual, vehicle jack, lug wrench, wheel chocks, spare tire, gloves, flashlight, rubber jack pad, and jack stands if supporting the vehicle |
| Cost | No extra cost if your vehicle kit is complete; optional chocks, pads, and jack stands vary by store |
Warning: Never crawl under a vehicle supported only by a jack. A jack is for lifting. Jack stands, cribbing, or another approved support method are for holding a raised load. If the ground is sloped, soft, narrow, icy, or exposed to traffic, call roadside assistance instead of attempting the lift.
How to Find Safe Jack Points
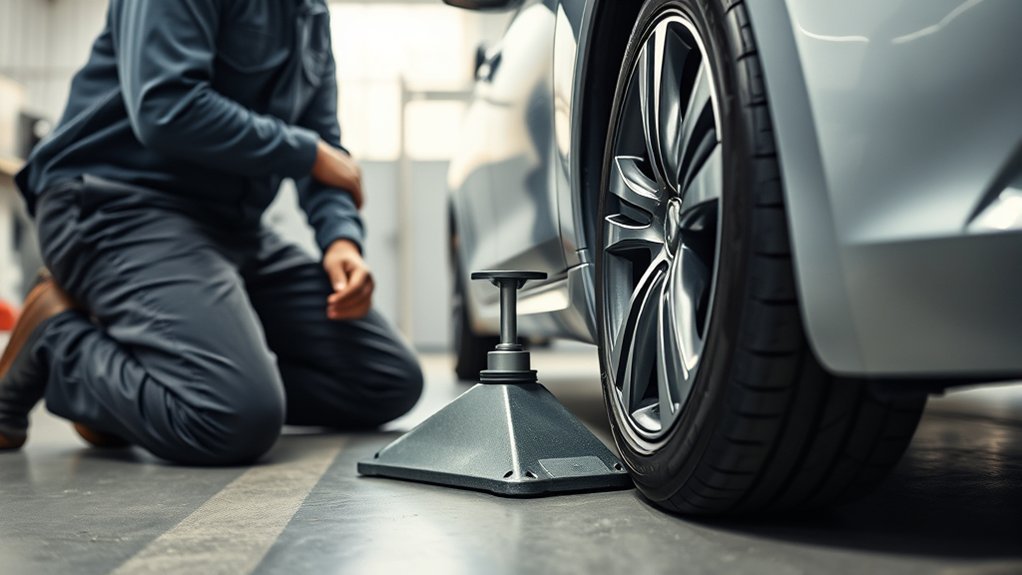
To find safe jack points, start with the owner’s manual. Official manual libraries from automakers such as Toyota, Ford, and Honda let owners look up model-specific instructions. Use those instructions first because lift points can change between trims, model years, and body styles.
On many unibody cars, the safe point is a reinforced pinch weld near the rocker panel. It may look like a thicker seam, a small notch, an arrow, or a flattened pad just behind the front wheel or just ahead of the rear wheel. On body-on-frame trucks, the manual may identify a frame rail, axle tube, or crossmember. Do not assume a nearby metal part is safe just because it looks solid.
- Look for notches or arrows molded into the rocker area.
- Check for a thicker reinforced seam instead of thin sheet metal.
- Match the jack saddle to the lift point before pumping.
- Use a rubber pinch-weld pad if your floor jack saddle could crush the seam.
- Avoid rusted, bent, or damaged lift points until a mechanic can inspect them.
Before you lift, inspect the tire, wheel, and spare. If you are already checking the area, it is also a good time to verify tire pressure, especially in the spare.
Roadside Safety Before You Lift
A correct jack point is only one part of a safe tire change. The vehicle also needs a stable setup before any weight comes off the ground.
- Move as far from traffic as safely possible and turn on hazard lights.
- Park on firm, level ground. Avoid gravel shoulders, mud, sand, steep slopes, and icy patches.
- Shift to Park on an automatic or first gear/reverse on a manual transmission.
- Set the parking brake.
- Chock the wheels opposite the corner you are lifting.
- Loosen the lug nuts slightly before lifting, but do not remove them yet.
- Place the jack directly under the approved lift point and keep the saddle centered.
Note: If the vehicle is on a busy highway shoulder or the jack cannot sit flat, the safest repair is not a faster repair. Stay clear of traffic and call for help.
Pinch Weld, Frame Rail, and Crossmember: What They Mean
Different vehicles use different lifting structures. Knowing the terms helps you match the manual to the real underside of the vehicle.
- Pinch weld: A reinforced seam along the lower side of many unibody cars. It often has a notch that fits the factory scissor jack.
- Frame rail: A stronger structural rail, common on trucks and some SUVs. Use only the section named in the manual.
- Subframe or crossmember: A structural support under the engine or suspension area. Some vehicles allow lifting here with a floor jack, but only at a named pad or reinforced area.
- Axle tube or differential point: Some trucks may allow these for certain lifts. Do not use them unless the manual specifically approves that location.
Plastic rocker covers, thin floor pans, and underbody panels are not lift points. If you cannot see the correct point clearly, stop and check the manual again.
Where to Put a Tire Jack on a Car
On most passenger cars, put the tire jack under the reinforced jack point closest to the flat tire. That point is usually just behind the front wheel or just in front of the rear wheel, where the pinch weld has a notch or stronger seam. Center the jack saddle on that point so the load rises straight up instead of sliding sideways.
- Find the correct notch or reinforced pad near the tire you are changing.
- Place the jack on solid, level ground with the handle positioned safely away from traffic.
- Line up the saddle with the notch or lift pad.
- Raise the jack until it touches the lift point, then pause and recheck alignment.
- Lift slowly until the tire is just off the ground.
- Remove the loosened lug nuts, change the wheel, and tighten the lug nuts by hand.
- Lower the vehicle until the tire touches the ground, then tighten the lug nuts in a star pattern.
Never place the jack under suspension parts, bumpers, exhaust pipes, or thin metal panels. If the tire is damaged beyond a roadside spare change, wait until the car is safely parked before comparing replacement tire options.
[Products Worth Considering]

Yieokei Tesla jack pads are molded rubber lifting pucks designed for 2016-2026 Model 3/Y/S/X, including Juniper, to fit securely in the jack hole. They cushion the underframe and help position the jack precisely at the factory jack points to reduce risk of battery, paint, or chassis damage. The set also includes a tire repair tool kit for emergency roadside fixes and comes with a portable storage case to keep everything organized.

This ecocstm ratchet wrench is designed to make emergency and routine tire changes faster with a 360° rotating head and quick forward/reverse switching. The extended handle provides extra leverage to reduce effort and hand fatigue, while the adapter helps fit many scissor jacks on cars, SUVs, trucks, and vans. Built for reliable performance with durable construction, it’s a practical travel essential for on-the-road preparedness.

Universal magnetic jack pad with aluminum grooved design to protect vehicle pinch welds during lifting. Durable nylon pad inserts are upgraded and secured with screws to resist damage and keep in place. Designed to fit most single vehicle pinpoint welds for safer, stable jacking when changing tires, repairs, or performing oil changes.
Where to Put a Tire Jack on Trucks and SUVs
On trucks and SUVs, place the jack only at the manufacturer’s designated lift point. Many body-on-frame models use a frame rail or axle location. Some unibody SUVs use pinch-weld points like a car. The right answer depends on the model, so check the manual before choosing a frame, axle, or crossmember location.
Trucks and SUVs are heavier and sit higher, so stability matters even more. Use a jack with a rated capacity above the vehicle corner you are lifting, and make sure the jack has enough lift height. If your vehicle uses pinch welds, a rubber jack pad can help protect the seam and reduce slipping. If your model uses frame rails, place the jack only on the reinforced part named in the manual.
- Use wheel chocks because a high-clearance vehicle can shift more noticeably as weight transfers.
- Lift only one corner for a tire change unless the manual gives another method.
- Do not lift from a trailer hitch, step bar, running board, bumper, or tow hook unless the manual clearly identifies it as a lift point.
- Do not use a low-capacity passenger-car jack on a truck or large SUV.
Vehicle weight, center of gravity, and tire types can all affect how stable the vehicle feels during maintenance, so move slowly and reset the jack if anything shifts.
How to Check Your Jack Placement Before You Lift
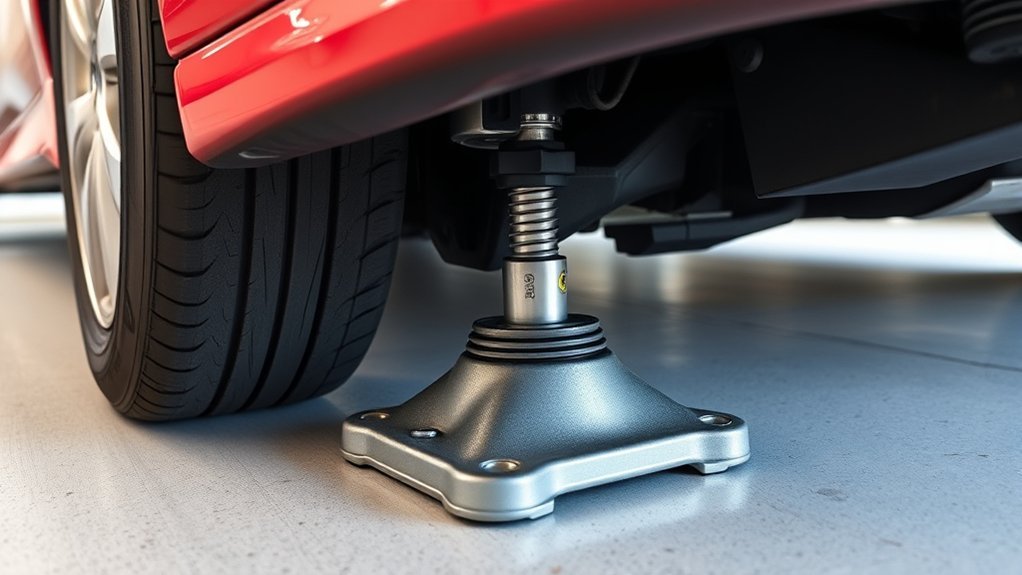
Before you lift the vehicle fully, verify that the jack sits centered and firmly on the approved jack point. The jack should stand straight, the base should sit flat, and the saddle should not press into plastic trim, a rusty seam, or a sloped edge.
- Raise the jack only until it makes firm contact with the lift point.
- Stop and check that the saddle is centered.
- Confirm the jack base has not shifted or sunk into the ground.
- Lift the vehicle one inch, then pause again to check for leaning or movement.
- If anything moves, lower the vehicle and reset the jack before continuing.
This check protects the vehicle from bent metal and helps prevent the jack from kicking out under load. A comprehensive tire kit with chocks, gloves, a flashlight, and the right lug wrench makes the process easier when conditions are poor.
Pro Tip: Keep a small wooden board with your tire tools. If the ground is firm but slightly uneven, the board can help spread the jack’s base load. Do not use a board to make soft, steep, or unsafe ground acceptable.
When to Use Jack Stands
Use jack stands whenever you need the vehicle to stay raised while you work under it, reach into the wheel well, inspect brakes, or spend more than a quick moment with the wheel removed. The jack lifts the vehicle; the stand supports it.
Choose jack stands rated for the vehicle, place them only under manual-approved support points, and lower the vehicle gently onto the stands before working. Do not place stands under plastic covers, exhaust parts, suspension links, or thin body panels. If you are only changing a roadside tire and do not have stands, keep all body parts out from under the vehicle and finish the wheel swap without reaching beneath the car.
A tire jack is a lifting tool, not a long-term support. If the vehicle must stay raised, support it with rated jack stands at approved points.
[Products Worth Considering]

This universal magnetic jack pad is designed to protect pinch welds when lifting vehicles, helping prevent seam damage or warping. Crafted from solid aluminum with a nylon pad insert, it provides reinforced structural support and a secure fit for most single-vehicle pinch welds. Slotted for strong magnet holding, it supports safe jacking for cars, SUVs, trucks, and more.

The Dr.Roc spare tire tool kit helps you release, lower, or raise your spare tire with reliable extension tools and a lug nut wrench. It is made from rustproof automotive-grade steel and includes an organized carry case for convenient storage. Designed for compatibility with select GM models from the late 1990s through 2019, it uses upgraded extension components to install and remove spare tires with less hassle.

This 2-ton scissor car jack kit helps you lift vehicles quickly with a wide lifting range for low sedans and high SUVs. It includes a ratchet wrench, lug wrench, gloves, a tire pressure gauge, and a storage bag for faster flat-tire repairs. Designed for stable, secure use, it’s a universal emergency kit for cars, SUVs, and MPVs.
Where Should You Never Put the Jack?
Never place the jack under parts that are not built to carry the vehicle’s weight. A wrong lift point can bend parts, crush panels, or let the vehicle slip.
- Bumpers and plastic covers: They can crack, collapse, or slide.
- Exhaust pipes and mufflers: They can bend, crack, or detach.
- Oil pans, fuel tanks, and transmission pans: They can deform or leak.
- Thin floor pans or rocker panels: They can crush under the load.
- Suspension arms and steering links: They are not safe lift points unless the manual names a specific approved pad.
- Running boards, step bars, and trailer hitches: They are not tire-change lift points unless the manual says so.
- Soft or sloped ground: The jack can sink, lean, or kick out.
If you are unsure, do not guess. Recheck the manual or get roadside help. Using a tire jack properly protects both the vehicle and the person changing the tire.
Troubleshooting Jack Placement Problems
If the setup does not look right, lower the vehicle and fix the problem before lifting higher.
- The jack leans: Lower it, move the base to level ground, and realign the saddle.
- The jack sinks: Stop. Move to firmer ground or use a wide solid board only if the surface is otherwise stable.
- The pinch weld bends: Lower the car and check that you are on the reinforced notch, not thin metal beside it.
- The saddle slips: Use the correct adapter or rubber pad and make sure the lift point is clean.
- The lug nuts will not loosen: Lower the tire back to the ground enough to stop wheel spin, then loosen them carefully before lifting again.
- The spare does not fit or is flat: Do not force the repair. Call roadside assistance or a tow service.
[Products Worth Considering]

This 3-ton scissor car jack tire changing kit helps you lift cars and SUVs with a wide range to reach low sedans or higher vehicles. The set includes a ratchet wrench, multi-size lug wrench, gloves, a tire pressure gauge, and a storage bag for quick emergency repairs. Built for stable, secure lifting and universal compatibility, it’s ready for flat tires and roadside wheel changes.

This spare tire tool kit is designed for the 2004 to 2018 Ford F-150 to help you loosen and tighten wheel lug nuts and manage the spare tire and provided jack functions from underneath the vehicle. It includes the lug nut wrench and extension pieces plus a convenient storage carrying case for organized transport. The jack itself is not included.

The Gurduenon scissor car jack tire changing kit is designed for quick flat-tire replacement with a lifting capacity of 2.5 tons and a scissor-lift range sized for many vehicles. The complete emergency set includes a ratchet wrench, lug wrench, gloves, a pencil tire pressure gauge, and a storage bag for convenient trunk or garage use. Universal compatibility makes it suitable for cars, SUVs, and other vehicles roadside assistance needs.
Frequently Asked Questions
How do I locate jacking points?
Check your owner’s manual first, then look for reinforced pinch-weld notches, frame pads, arrows, or labels near the wheel you need to lift. On many cars, the front jacking point sits behind the front wheel and the rear point sits ahead of the rear wheel. On trucks and SUVs, the manual may name a frame, axle, or crossmember point.
What is the rule of thumb for jack stands?
Use jack stands whenever the vehicle must stay raised or whenever you will work under or around the lifted vehicle. Place stands only at approved support points, use stands rated for the vehicle, and lower the vehicle gently onto them before starting work.
Where can I locate the vehicle’s recommended lift points?
You can locate recommended lift points in the owner’s manual, quick-start tire-change guide, or vehicle toolkit instructions. Many vehicles also mark the points with notches, arrows, or reinforced pads near the rocker panel, frame rail, or axle area.
Where should I put the tire jack?
Put the tire jack under the approved lift point closest to the tire you are changing. On many cars, that is a reinforced pinch-weld notch. On many trucks and SUVs, it may be a frame or axle point named in the manual. Keep the jack centered and lift slowly.
Can I use a floor jack on a pinch weld?
Yes, if the pinch weld is the approved lift point and the floor jack saddle fits it correctly. A rubber pinch-weld adapter helps protect the seam and keeps the saddle centered. Do not lift from the thin metal beside the reinforced notch.
Should I loosen lug nuts before jacking up the car?
Yes. Loosen the lug nuts slightly while the tire is still on the ground so the wheel does not spin. Do not remove the nuts until the vehicle is lifted and stable. After installing the spare, lower the tire to the ground before final tightening.
Is it safe to change a tire on a slope?
No. A slope increases the chance that the jack will tilt, slide, or kick out. Move to a firm, flat location if you can do so safely. If you cannot, stay away from traffic and call roadside assistance.
Conclusion
Now you know where to put a tire jack: only on the vehicle’s approved lift point. For many cars, that means a reinforced pinch-weld notch near the wheel. For many trucks and SUVs, it may mean a frame, axle, or crossmember point named in the manual. Set the parking brake, chock the opposite wheels, lift slowly, and never trust a jack as your only support if you need to work under the vehicle. Correct jack placement keeps the tire change controlled, protects the vehicle, and reduces the risk of injury.
Sources
- NHTSA TireWise — tire safety, tire maintenance, tire-pressure guidance, and tire-related crash context.
- OSHA 1910.244: Other Portable Tools and Equipment — jack capacity, firm foundation, blocking, and securing raised loads.
- OSHA 1926.305: Jacks — jack rating, blocking, and raised-load security principles.
- Toyota Manuals and Warranties — official Toyota owner’s manual lookup.
- Ford Owner Manuals — official Ford owner’s manual lookup.
- Honda Owner’s Manuals — official Honda manual and guide lookup.
