Uneven tire wear on a Toyota 4Runner is more than a rubber problem. It is usually a clue about tire pressure, alignment, suspension wear, wheel balance, driving load, or a recent lift/off-road impact. The trick is to read the pattern first, then fix the cause before buying another set of tires.
Quick Answer
On a 4Runner, inner or outer edge wear usually points to alignment, worn steering parts, or aggressive cornering. Feathering points to toe problems. Cupping or scalloping points to shocks, balance, or loose suspension. Center wear suggests overinflation, while both-shoulder wear suggests underinflation or overload.
Key Takeaways
- Do not align a 4Runner until loose ball joints, tie rods, wheel bearings, shocks, and bushings are checked first.
- Use the tire placard or owner’s manual as your cold-pressure baseline, not a universal PSI number from the internet.
- For many 2010–2024 4Runners, the rear solid axle is checked for thrust angle and bent or worn parts, not adjusted for rear camber like an independent rear suspension.
- Rotate tires on the Toyota maintenance schedule, commonly every 5,000 miles for 4Runner service intervals, or sooner if off-road use creates uneven wear.
- Replace tires immediately if cords show, tread separates, a sidewall bulges, or tread reaches the wear bars.
At a Glance
| Time Required | 20–45 minutes for a driveway inspection; longer if you remove wheels or find worn parts |
| Difficulty | Easy for tire inspection; moderate for suspension checks |
| Tools Needed | Tire pressure gauge, tread-depth gauge, flashlight, chalk, jack, jack stands, gloves, pry bar, and torque wrench |
| Cost | $0–$25 for basic inspection tools if you already own a gauge; repair costs depend on tires, alignment, shocks, bushings, or steering parts |
Warning: Never crawl under a 4Runner supported only by a jack. Use jack stands on solid ground, chock the opposite wheels, and torque lug nuts to the proper specification after reinstalling a wheel.
What Your 4Runner’s Tire Wear Patterns Actually Mean
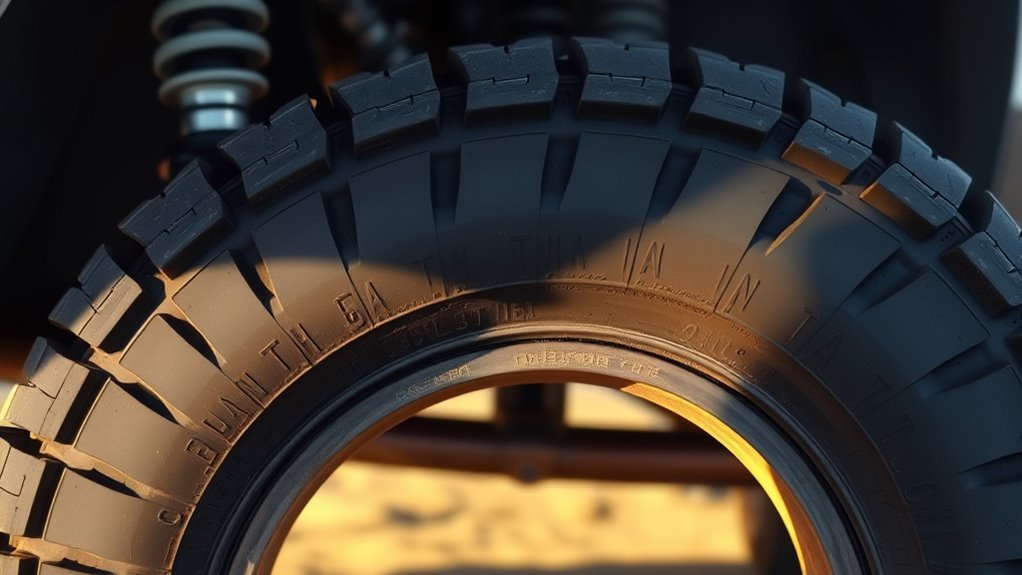
Your 4Runner’s tires tell a mechanical story before they fail. You just need to match the wear pattern to the right system: pressure, alignment, suspension, balance, load, or driving conditions.
| Wear Pattern | Likely Cause | What To Check Next |
|---|---|---|
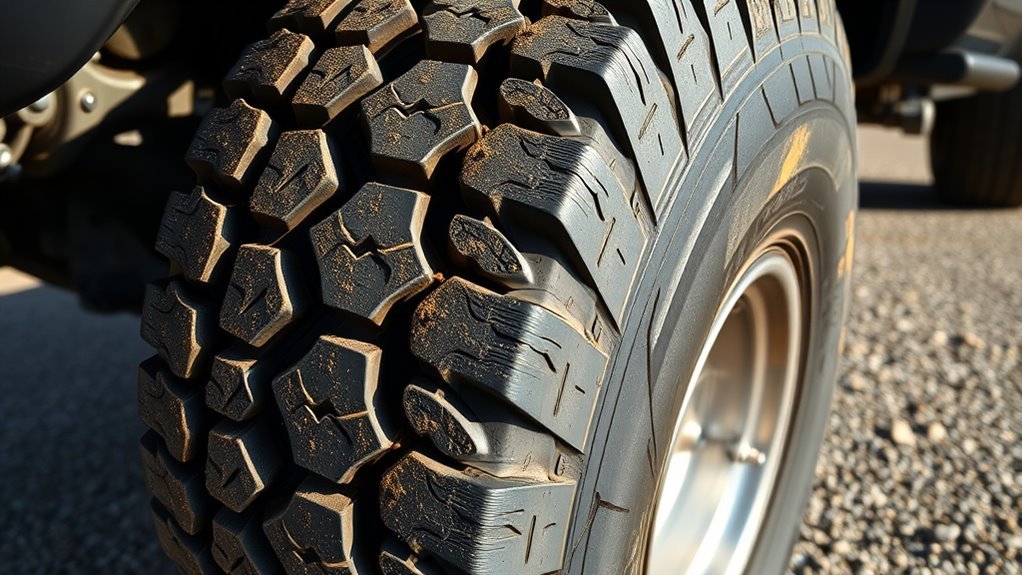
| Center tread worn faster | Overinflation, wrong pressure for tire/load, or repeated hard braking | Check cold pressure against the placard, tire size, and load rating. |
| Both shoulders worn | Underinflation, overload, or heat buildup | Check for leaks, slow pressure loss, heavy cargo, towing, or low cold PSI. |
| Inner or outer edge worn | Camber issue, toe issue, worn parts, lift geometry, or aggressive cornering | Inspect ball joints, control arm bushings, tie rods, ride height, and alignment printout. |
| Feathering across tread blocks | Toe angle problem or loose steering component | Run your hand across the tread both directions, then check tie rods and toe. |
| Cupping or scalloping | Weak shocks, imbalance, loose suspension, wheel bearing play, or alignment error | Inspect shocks for leaks, balance the tires, and check wheel bearings and bushings. |
| Patchy or diagonal wear | Missed rotations, tire defect, balance issue, bent wheel, or mixed tire condition | Measure tread depth at several points, inspect wheel runout, and compare tire age and size. |
Do a monthly visual inspection and a hand check. Run your palm lightly across each tread row. A smooth feel one way and sharp feel the other way often points to feathering. Dips that repeat around the tire suggest cupping. Edge wear on one side points you toward camber, toe, load, or worn suspension parts.
Alignment or Suspension? Diagnosing the Root Cause
Alignment and suspension problems often look similar on the tread. A perfect alignment printout will not save your tires if worn parts let the wheels move as soon as the 4Runner rolls down the road.
[Products Worth Considering]

The SAFELIFE dial tire tread depth gauge measures tread depth in 1/32 inch increments with clear, easy-to-read 2-inch dial face. Color zones using a traffic light system help you quickly judge whether tread is low, marginal, or ample for safer driving. Built with a durable zinc cast body and a metal detect probe for precise, comfortable use across cars, motorcycles, trucks, and buses.

Monitor tire tread wear with a smart, color-coded depth gauge that shows clear condition ranges at a glance. The bar is range marked for fast, easy readings, helping you maintain safer traction and performance. Each gauge is portable with a pocket clip, and the set includes 20 units for daily use and sharing.

Measure tire tread depth quickly and accurately with this LUMITECO dial gauge that reads in 1/32" increments up to 14/32". The color-coded green/yellow/red zones make it easy to judge tire wear and know when replacement is needed. A rugged, compact design with a protective pouch helps keep the gauge ready for use on cars, trucks, motorcycles, and more.
Start With the Tires, Not the Alignment Rack
Before paying for an alignment, measure and document the tire wear:
- Measure tread depth on the inner edge, center, and outer edge of each tire.
- Write down the cold pressure for all four tires and the spare.
- Check tire age, size, load rating, and whether all four tires match.
- Look for cuts, bulges, exposed cords, shoulder cracking, or tread separation.
- Photograph each tire so you can compare wear after rotation or repair.
Note: If one tire is already badly cupped or feathered, an alignment may stop new damage, but it usually will not make that tire quiet or smooth again.
Alignment Angle Issues
Camber, caster, and toe affect how the front tires contact the road. Toe is especially hard on tread because the tire scrubs sideways with every rotation when it is off. Camber can load one edge of the tire. Caster affects steering return and stability, and uneven caster side-to-side can contribute to pulling.
On a lifted 4Runner, front alignment becomes more sensitive. A lift can reduce caster, change the tire’s contact patch, and make it harder to keep the tires centered in the wheel wells. Some setups need aftermarket upper control arms, fresh cam bolts, or seized-adjuster repair before the shop can hit the desired numbers.
Ask the alignment shop for a before-and-after printout. Do not accept “it is aligned” without seeing camber, caster, toe, and thrust angle values. The target should come from the Toyota service information for your model year, adjusted only when a qualified shop understands your lift, tire size, and use case.
Suspension Component Wear
Ball joints, tie rod ends, bushings, shocks, and wheel bearings can create dynamic misalignment. That means the numbers may look acceptable while the truck is sitting on the rack, then shift under braking, cornering, potholes, or trail impacts.
Cupping and feathering are the two patterns that should make you slow down and inspect hardware. Cupping often follows weak shocks, imbalance, loose wheel bearings, or worn suspension parts. Feathering often follows toe problems, which can be caused by bad tie rods or steering looseness.
Warning: Do not keep driving on tires with visible cords, sidewall bulges, tread separation, or damage from trail cuts. Replace the tire before diagnosing fine alignment details.
4Runner Alignment Realities: Front Angles and Rear Thrust Angle
The original mistake many owners make is treating every alignment problem like a simple front toe adjustment. On a 4Runner, you need to separate front independent suspension angles from rear axle position and thrust angle.
Front Camber, Caster, and Toe
The front suspension is where most alignment correction happens. A shop should check camber, caster, and toe against model-year Toyota specifications. If the 4Runner is lifted, has larger tires, or has been off-road, the shop should also inspect whether the adjustment cams move freely and whether the bushings hold the setting under load.
| Condition | What It Can Do | Tire Maintenance Action |
|---|---|---|
| Stock height | Usually easier to align to factory range | Rotate on Toyota’s schedule and check pressure monthly |
| Lifted 2–3 inches | Can reduce caster and change tire contact | Inspect quarterly and align after suspension changes |
| Heavy off-road use | Can bend, loosen, or shift components | Check ball joints, bushings, shocks, tie rods, and wheel balance |
Do not chase a magic alignment number from a forum post. Use the official range for your 4Runner, then adjust based on real tire wear, steering feel, and whether the vehicle is stock, lifted, towing, or carrying constant overland weight.
Rear Thrust Angle, Not Rear Camber Guesswork
On many 4Runners, including the 2010–2024 generation, the rear uses a solid axle with a four-link coil suspension. That means rear tire wear is not fixed by dialing in rear camber like on many independent rear suspension vehicles. Instead, the shop should look at thrust angle and inspect the rear axle, trailing/control arms, bushings, lateral rod, shock condition, wheel bearings, and signs of a bent housing or frame damage.
If the steering wheel is off-center after an alignment, the truck dog-tracks, or the rear tires show strange diagonal wear, ask the shop to explain the thrust angle and rear axle inspection results. “Within spec” is not enough if the truck has trail damage or worn rear suspension bushings.
Inspect These Suspension Parts Before Your Next Alignment
Before you drop your 4Runner at the alignment rack, inspect the parts that hold the alignment in place. Replace worn parts first. Otherwise, you can pay for an alignment that disappears the first time the suspension loads up.
- Ball joints: Look for boot damage, looseness, clunks, and vertical or horizontal play.
- Tie rod ends: Check for looseness at the 3 and 9 o’clock tire positions and inspect torn boots.
- Control arm bushings: Look for cracking, separation, oil saturation, or visible shifting under load.
- Shocks and struts: Check for oil leaks, dented bodies, broken mounts, and bounce that does not settle quickly.
- Wheel bearings: Listen for growling and check for play that can mimic alignment wear.
- Sway bar links and bushings: Look for looseness that can add noise and sloppy handling.
- Rear links and lateral rod: Inspect bushings and mounts if rear wear or dog-tracking appears.
- Wheels and tires: Check for bent wheels, missing wheel weights, mismatched tires, or old tires mixed with new ones.
Pro Tip: Bring your alignment shop photos of the tire wear and ask them to save the before-and-after printout. The printout helps you prove whether the problem was toe, camber, caster, thrust angle, or a worn component.
[Products Worth Considering]

Steelman white tire marking crayons provide high-contrast, semi-permanent marks for repairing and inspecting tires and equipment. They write on wet or dry, smooth or coarse surfaces including rubber, metal, glass, and wood, making them ideal for puncture location and damage outlining. The lead- and zinc-free crayons resist weather and fading yet wipe away when you no longer need the marks.

The Ziopetru adjustable magnetic wheel alignment tool helps you check and restore camber and caster positioning after removing and reinstalling undercarriage components. With a clear leveling/bubble measurement system and an easy zeroing adjustment knob, it supports precise horizontal angle checking. The strong magnetic base mounts to metal surfaces for convenient use at home on cars, motorcycles, trucks, vans, and SUVs.

The Trivd Frol 1/2" air impact wrench delivers high performance torque up to 1500 ft-lbs with a twin hammer impact mechanism for strong, balanced blows. It features an ergonomic grip, compact lightweight design, and quick-stop control with 3 forward speeds up to 8000 RPM plus a reverse speed. Built for demanding automotive repair and tire shop work, the rear exhaust helps keep debris away from the surface.
Dial In Tire Pressure for Your Lifted or Loaded 4Runner
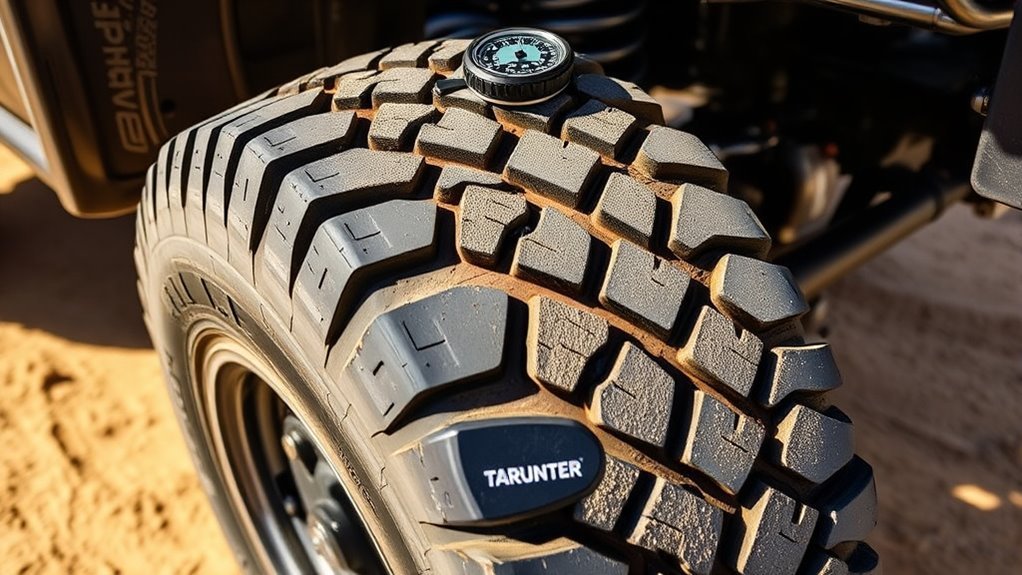
Tire pressure is the easiest variable to fix and one of the easiest to get wrong. For stock tire sizes and normal loads, start with the cold tire pressure shown on the driver-side tire placard or in the owner’s manual. Check pressure when the tires are cold, before driving or after the vehicle has been parked for several hours.
If your 4Runner is lifted, running a different tire size, towing, or carrying constant cargo, do not blindly copy a single PSI number. Confirm the tire’s load rating, wheel rating, sidewall maximum, and tire manufacturer guidance. A chalk test can help confirm the contact patch, but it should support safe load-rated pressure decisions, not replace them.
How to Run a Basic Chalk Test
- Set all four tires to a safe cold baseline pressure.
- Draw a thick chalk line across the tread from shoulder to shoulder.
- Drive forward in a straight line on flat pavement.
- Inspect the chalk mark.
- If the center disappears first, pressure may be too high for that tire/load. If the shoulders disappear first, pressure may be too low or the vehicle may be overloaded.
Temperature also changes pressure. A practical rule is about 1 psi for every 10°F change, so seasonal swings matter. Recheck pressure after major temperature changes, before towing, before trail trips, and after repairing a slow leak.
When to Rotate, Replace Tires, or Realign Your 4Runner
Your maintenance rhythm determines whether small wear turns into an expensive tire set. Toyota maintenance schedules commonly list tire rotation at 5,000-mile service intervals for 4Runner maintenance, but your driving conditions matter. Off-road use, towing, heavy cargo, and aggressive tire sizes can justify more frequent inspections.
- Rotate: Follow your Toyota maintenance guide and tire manufacturer guidance. A 5,000-mile rotation rhythm is a smart default for many 4Runner owners.
- Balance: Balance tires if you feel vibration, see cupping, lose wheel weights, or change tire positions and the vibration moves.
- Realign: Align after lift-kit work, steering or suspension repairs, hard impacts, persistent pulling, steering wheel off-center, or visible edge wear.
- Replace: Replace at the treadwear bars or 2/32 inch at the latest, and earlier for wet roads, snow, towing, trail use, or uneven damage.
- Stop driving: Do not drive on exposed cords, sidewall bulges, separated tread, deep cuts, or tires that will not hold pressure.
Measure tread depth monthly with a gauge instead of guessing. Check the inner, center, and outer tread on each tire. If one area is wearing faster, fix the cause before the next rotation hides the pattern.
[Products Worth Considering]

Accurately measure tire tread depth with a calibrated gauge marked from 0 to 1 inch in 1/32 inch increments. The color-coded bar helps you quickly identify tread condition ranges, supporting safe driving for trucks, motorcycles, automobiles, and passenger vehicles.

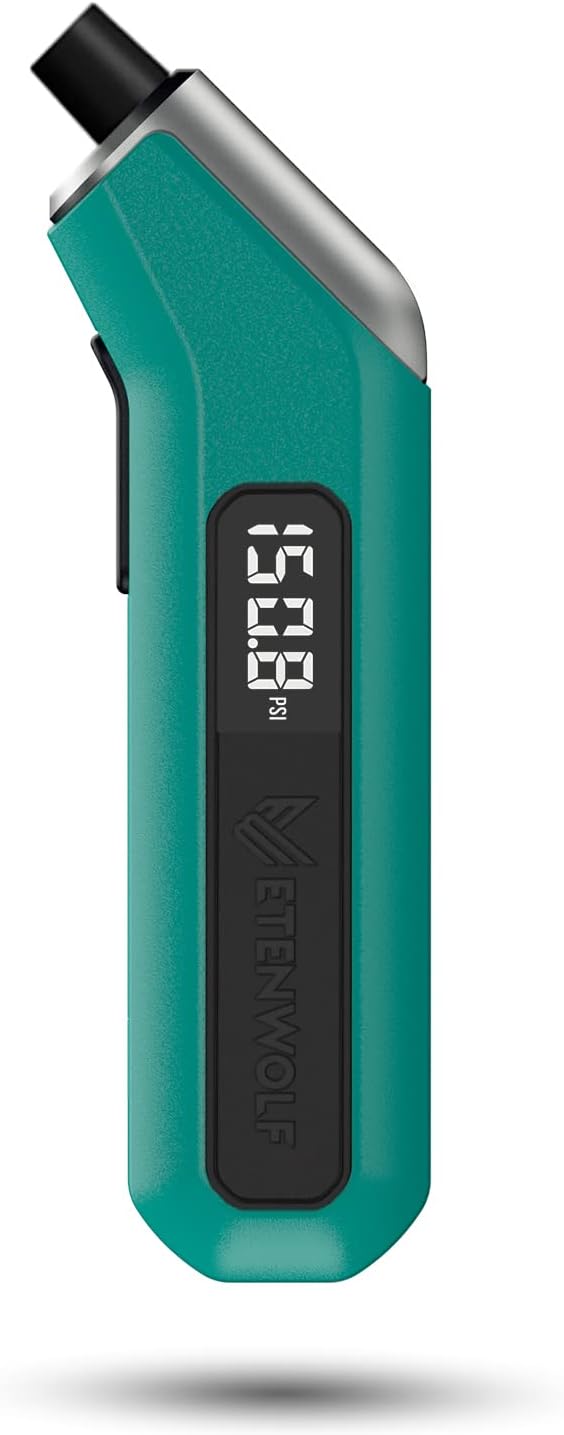
ETENWOLF’s tire pressure gauge helps you quickly and accurately check tire PSI across cars, trucks, motorcycles, bikes, and more. It’s manually calibrated to ANSI B40.1 Grade A for reliable readings, includes a large glow dial for easy nighttime viewing, and features a 360-degree swivel chuck for use at any valve angle. The gauge also works consistently in extreme hot or cold weather.
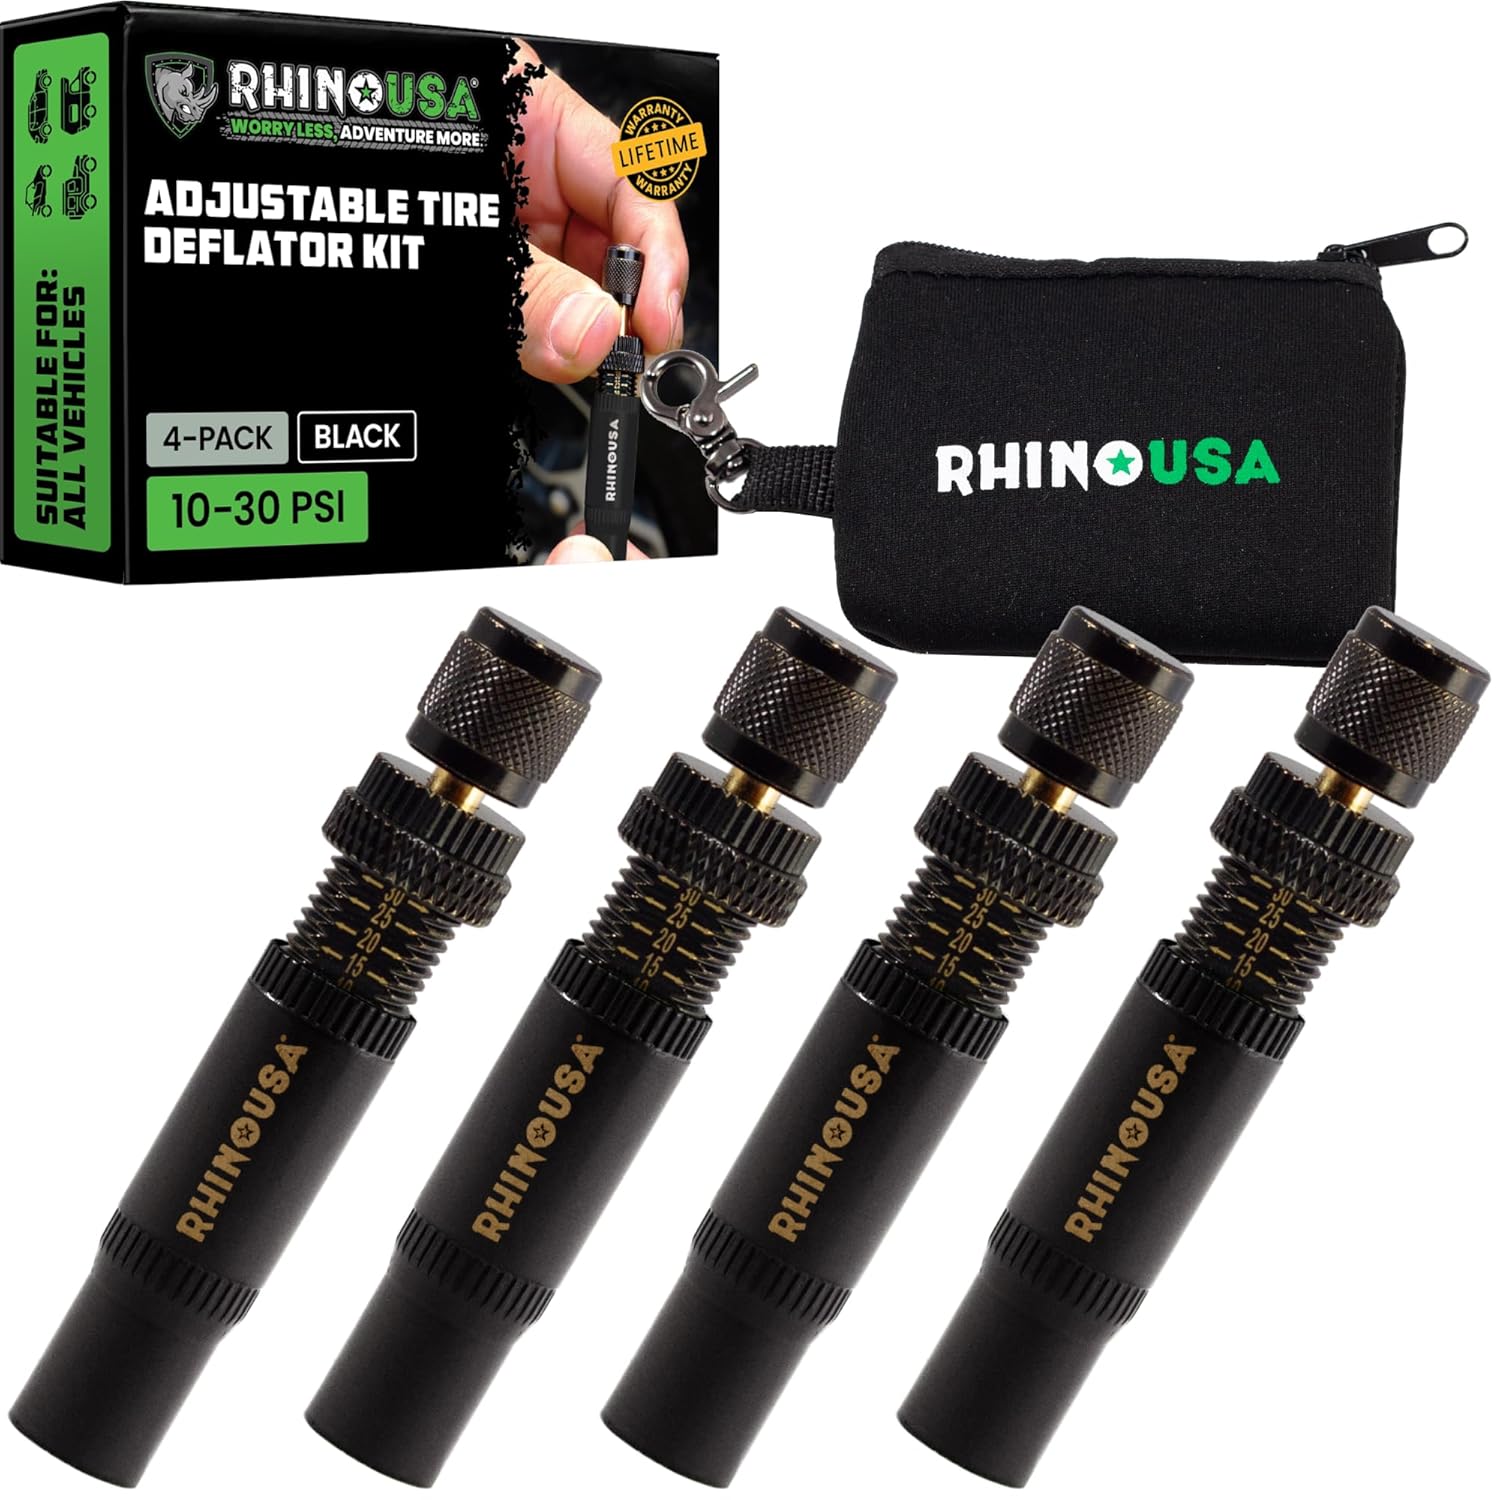
Use the Rhino USA adjustable tire deflators to air down all four tires at once by screwing one deflator onto each valve stem, letting you step away while the tires reach your preset pressure. Each deflator independently adjusts across a 10–30 PSI range with laser-etched indicators for quick setup and verification, making it ideal for beach, sand, and rocky off-road trails.
Frequently Asked Questions
What is the most common cause of uneven tire wear on a 4Runner?
The most common causes are incorrect tire pressure, missed rotations, alignment drift, and worn steering or suspension parts. If the wear is on one edge, check alignment and suspension. If the wear is in the center or both shoulders, check pressure and load first.
Can bad shocks cause cupped tires?
Yes. Weak or leaking shocks can let the tire bounce instead of staying planted, which can create cupping or scalloping. Wheel imbalance, loose suspension parts, wheel bearing play, and alignment issues can also contribute, so inspect the whole corner before replacing only the tire.
What tire pressure should I run on a lifted 4Runner?
Start with the cold pressure on the tire placard for stock tires. If you changed tire size, load rating, wheel size, or constant cargo weight, confirm the correct pressure with the tire manufacturer’s load data and a qualified tire shop. Use the chalk test only as a contact-patch check.
Should I replace suspension parts before getting an alignment?
Yes, if they are worn. Loose tie rods, bad ball joints, failed bushings, weak shocks, or wheel bearing play can make the alignment change as soon as the vehicle moves. Fix worn parts first, then align the 4Runner.
Is the rear alignment adjustable on a 4Runner?
On many 4Runners with a solid rear axle, rear camber and toe are not adjusted like they are on an independent rear suspension vehicle. The shop should check thrust angle and inspect rear axle location, bushings, links, shocks, bearings, and bent components.
How often should I rotate 4Runner tires?
Follow your Toyota maintenance guide and tire manufacturer’s instructions. For many 4Runner owners, rotating every 5,000 miles is a practical rhythm, especially with all-terrain tires, off-road use, towing, or uneven front-to-rear wear.
Conclusion
You can read your 4Runner’s tires like a diagnostic report. Edge wear points you toward alignment, worn parts, or load. Feathering points toward toe. Cupping points toward shocks, balance, bearings, or looseness. Center and shoulder wear point you back to tire pressure and load. Fix the cause first, then rotate, align, or replace the tires. That is how you protect traction, steering feel, and your tire budget.
Sources
- Toyota 2024 4Runner Warranty & Maintenance Guide — backs Toyota maintenance schedule context and tire rotation service intervals.
- Toyota Support: Recommended Tire Pressure — backs using the owner’s manual or tire placard for model-specific pressure.
- NHTSA TireWise — backs tire pressure, tread, rotation, balance, alignment, and tire-safety guidance.
- Goodyear: Tire Cupping — backs cupping/scalloping causes and irregular wear explanation.
- Goodyear: Tire Feathering — backs feathering definition and inspection method.
- Toyota USA Newsroom: 2024 4Runner Rugged Capability — backs 2024 4Runner solid rear axle and four-link coil rear suspension description.