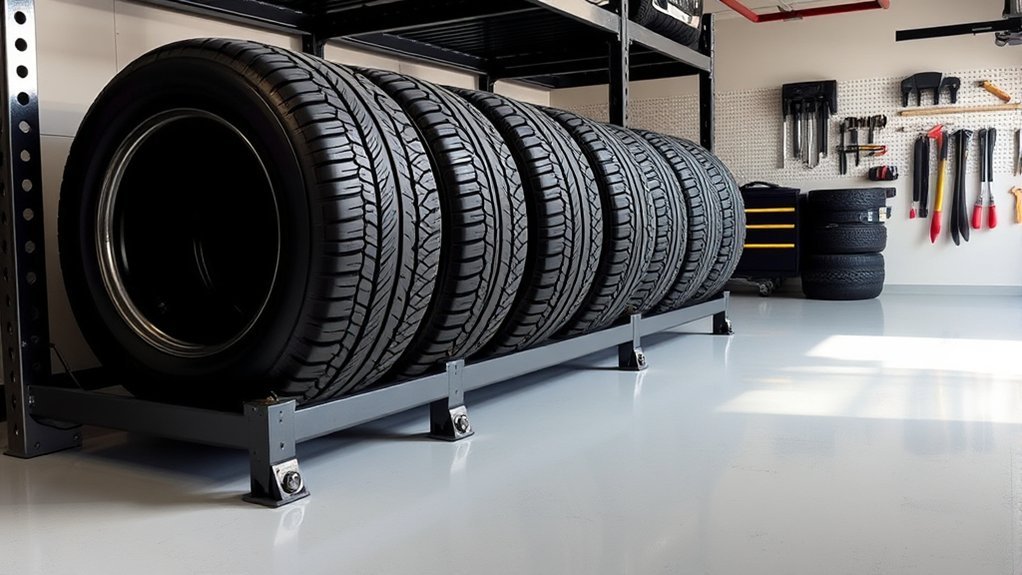
A safe Toyota Tundra tire rack setup starts with more than finding an empty wall. You need to measure the actual tires or wheel-and-tire assemblies, confirm the rack’s total load rating, choose a suitable location, and anchor the system to the correct structural surface. Proper storage also protects the tires from sunlight, moisture, chemicals, heat, and ozone while keeping your garage easier to use.
Quick Answer
For a safe Toyota Tundra tire rack setup, measure your complete tire or wheel-and-tire set, choose a rack rated above the full stored load, and anchor it exactly as the manufacturer requires. Store tires indoors, clean and dry, away from sunlight, heat, ozone-producing equipment, fuels, and solvents.
Key Takeaways
- Use the real diameter, width, and combined weight of your tires or wheel-and-tire assemblies when selecting a rack.
- Mount wall racks into suitable studs or masonry and overhead racks into appropriate joists, following the rack maker’s instructions.
- Mounted and unmounted tires should not automatically be stored the same way.
- Keep tires clean, dry, shaded, and away from heat, petroleum products, solvents, and ozone-producing equipment.
- Inspect stored tires before reinstalling them and follow your exact Tundra maintenance guide for rotation and TPMS procedures.
At a Glance
| Time Required | Usually 45–120 minutes for measuring and installation, depending on the rack and the wall or ceiling structure |
| Difficulty | Beginner to intermediate; overhead, masonry, or uncertain structural mounting may require a professional |
| Tools Needed | Tape measure, level, stud finder, drill or driver, rack-specific fasteners, sockets or wrenches, eye protection, and work gloves |
| Cost | Varies by rack type, mounting hardware, garage construction, and whether professional installation is needed |
Common Tire Storage Challenges for Toyota Tundra Owners
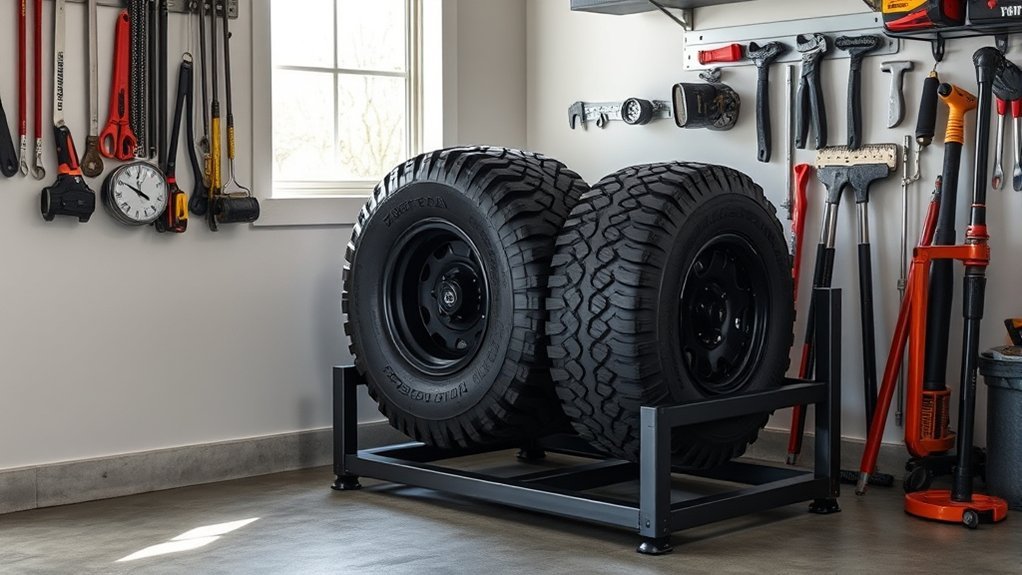
Tundra tires can take up a large amount of garage space, especially when they remain mounted on wheels. Their exact size and weight vary by model year, trim, tire construction, wheel material, and aftermarket modifications. That means a generic tire-weight estimate is not reliable enough for choosing a load-bearing rack.
Access can also become a problem. Tires stored in a walkway, beside a vehicle, or behind other equipment may be hard to move when the season changes. Poor placement can increase the chance of a trip, strain, falling stack, or damaged sidewall.
The storage environment matters as much as the rack. The U.S. Tire Manufacturers Association’s storage guidance recommends clean, dry, shaded indoor conditions and warns against extreme temperatures, petroleum products, volatile solvents, and ozone-producing equipment.
Warning: Do not choose a rack from the tire count alone. Confirm the rack’s total rated capacity, the actual combined load, the approved mounting surface, and every required fastener. A rack or anchor failure can drop several heavy assemblies at once.
Choosing the Best Tire Rack for Your Toyota Tundra Garage
The best rack depends on your tire dimensions, whether the tires remain mounted on wheels, how often you need them, and what structural mounting points your garage provides. Start with measurements instead of choosing a rack by appearance.
[Products Worth Considering]

Slip the Powerbuilt tire step over your vehicle’s tire to reach roof racks, engine bays, truck boxes, and more without overreaching. Its adjustable, universal design fits tires with a cross tread width up to 13 inches, including car, truck, RV, and semi tires. The non-slip cheesegrater surface and anti-slip tape provide secure grip while the open design lets mud and debris pass through. Fold-flat storage with rubber bumpers helps keep your tire and the step protected between uses.

These universal tire valve stem caps help protect valve cores from dust, debris, and moisture while helping maintain stable tire pressure. The corrosion-resistant metal construction and sealed design provide reliable protection in road grime, mud, and winter conditions. Twist-on installation makes them quick to fit on cars, SUVs, trucks, and motorcycles.

Mount your spare tire off the floor and onto your wall using an e-track spare tire carrier that helps you stay organized in trailers, garages, and warehouses. The upgraded double-fittings design improves stability versus single-fittings and supports greater load bearing. Install by snapping into e-track anchor points and securing the tire with a lug-nut style bolt setup for quick, secure storage.
Measure Your Tires and Available Space
Measure the widest point and overall diameter of one tire or wheel-and-tire assembly. Then measure the full set when positioned the way the rack manufacturer recommends. Include extra clearance for loading, removing, and inspecting each tire.
Check the proposed storage area with the garage door fully open and fully closed. The rack should not interfere with tracks, springs, an opener, vehicle doors, lighting, electrical panels, shelving, sprinklers, or a normal walking path.
Calculate the Total Storage Load
Use published tire and wheel specifications when available, or weigh each complete assembly. Add the individual weights to find the total stored load. Do not assume four tires of the same size weigh the same if the wheels, tread designs, or constructions differ.
The rack’s published capacity must cover the full load in the exact installed configuration. Capacity may depend on fastener type, stud or joist spacing, wall material, rack width, and installation method. Follow the manufacturer’s manual instead of applying a self-selected safety margin or substitute hardware.
Material and Construction Factors
Look for a rack with a clearly stated load rating, solid welds or bolted joints, suitable corrosion protection, and supports that will not create sharp pressure points. Adjustable-width systems can help when you change tire sizes, but every adjustment must lock securely.
A powder-coated or otherwise corrosion-resistant finish can be useful in a humid garage. However, finish quality does not replace structural capacity or correct anchoring.
Wall-Mounted vs. Freestanding vs. Overhead Racks
| Rack Type | Best For | Main Considerations |
|---|---|---|
| Wall-mounted | Saving floor space while keeping seasonal tires reachable | Requires suitable studs or masonry, correct fasteners, and enough loading clearance |
| Freestanding | Garages where permanent wall mounting is not practical | Uses floor space and must remain stable, level, and protected from vehicle contact |
| Overhead | Infrequently accessed sets when usable ceiling structure is available | Harder and riskier to load; must clear doors, tracks, openers, vehicles, and people |
Where to Place the Rack
Choose an indoor area that stays dry, shaded, and reasonably mild. Keep the tires away from direct sunlight, hot pipes, furnaces, generators, electric motors, battery chargers, welding equipment, fuels, oils, and solvents. These conditions can expose rubber to heat, chemicals, or ozone.
For easy seasonal changes, a wall-mounted rack at a comfortable loading height is often more practical than a ceiling rack. If children use the garage, prevent access to climbing points and secure any freestanding system against tipping when the manufacturer requires it.
How to Install a Tire Rack Safely
[Products Worth Considering]

Measure tire tread depth quickly and accurately with this LUMITECO dial gauge that reads in 1/32" increments up to 14/32". The color-coded green/yellow/red zones make it easy to judge tire wear and know when replacement is needed. A rugged, compact design with a protective pouch helps keep the gauge ready for use on cars, trucks, motorcycles, and more.

The SAFELIFE dial tire tread depth gauge measures tread depth in 1/32 inch increments with clear, easy-to-read 2-inch dial face. Color zones using a traffic light system help you quickly judge whether tread is low, marginal, or ample for safer driving. Built with a durable zinc cast body and a metal detect probe for precise, comfortable use across cars, motorcycles, trucks, and buses.

Monitor tire tread wear with a smart, color-coded depth gauge that shows clear condition ranges at a glance. The bar is range marked for fast, easy readings, helping you maintain safer traction and performance. Each gauge is portable with a pocket clip, and the set includes 20 units for daily use and sharing.
Step 1: Mark the Rack Location
Use your tire measurements and the rack’s dimensions to mark the planned position. Check vertical and horizontal clearance before drilling. Open the garage door and move nearby vehicles or equipment through their normal range to confirm nothing will strike the rack.
Step 2: Identify the Approved Structure
Use a stud finder or other suitable method to identify wall framing. For overhead systems, locate the correct ceiling joists. Masonry installations require fasteners approved for the specific concrete or block construction.
Drywall, ceiling panels, or decorative wall coverings alone should not carry a loaded tire rack unless the rack manufacturer provides an installation system specifically approved for that construction.
Step 3: Follow the Rack Manual
Use the supplied template, hole spacing, fastener type, torque instructions, and mounting sequence. Keep the rack level and do not replace the specified hardware with smaller, shorter, or ungraded fasteners.
If the supplied hardware does not match your wall or ceiling structure, contact the rack manufacturer or a qualified installer rather than improvising.
Step 4: Test Before Loading the Full Set
Check that every bracket, beam, locking pin, and fastener is fully seated. Load one assembly at a time while watching for movement, flex, loosening, or contact with sharp edges. Stop immediately if the rack shifts or the structure shows damage.
Step 5: Load the Tires Safely
Keep your back in a neutral position, lift with your legs, and avoid twisting while holding a wheel-and-tire assembly. Use a second person, lifting aid, or professional service when an assembly is too heavy or awkward to control safely.
Pro Tip: Before drilling, place an empty box or temporary outline where the loaded rack will sit. This simple mock-up helps you notice blocked doors, poor loading angles, head-clearance problems, and vehicle interference.
Essential Tips for Proper Tire Storage
Prepare every tire before it goes onto the rack. Inspect the tread and sidewalls, remove stones and debris, clean the surfaces, and allow everything to dry fully. Mark each tire’s previous vehicle position so you can follow the correct rotation plan later.
- Store tires indoors whenever practical.
- Keep them in a clean, dry, shaded, and ventilated area.
- Raise them from surfaces where moisture or physical damage may be a concern.
- Keep them away from grease, gasoline, oil, solvents, and sharp objects.
- Avoid motors, generators, chargers, and welding equipment that may produce ozone.
- Use opaque storage bags only after the tires are clean and completely dry.
A tire rack organizes the set, but the storage environment determines whether the rubber remains protected from sunlight, ozone, chemicals, moisture, and temperature extremes.
Mounted vs. Unmounted Tire Storage
| Tire Condition | Recommended Home-Storage Approach | Avoid |
|---|---|---|
| Mounted on wheels | Stack flat or use a rack or hanging system designed and rated for complete wheel-and-tire assemblies | Overstacking, unsupported hanging, sharp hooks, and pressure points that can damage the assembly |
| Unmounted | For a simple home setup, stand them upright and change the contact position periodically; follow the tire manufacturer’s storage directions | Hanging an unmounted tire or applying enough stack pressure to distort its bead or shape |
Michelin’s consumer storage guidance recommends stacking or hanging mounted sets and standing unmounted tires upright. Continental also warns against hanging unmounted tires. Some industry guidance permits stable sidewall-to-sidewall stacking in controlled conditions, so the tire manufacturer’s instructions should take priority.
Using Storage Bags
A clean, opaque bag can reduce exposure to light, dust, and circulating air. Make sure the tire and wheel are fully dry before sealing the bag. Trapped water can contribute to corrosion on the wheel and create an unsuitable storage environment.
Outdoor Storage as a Last Resort
Indoor storage is preferred. If short-term outdoor storage cannot be avoided, raise the tires from the ground and use an opaque waterproof cover with ventilation. Do not create a sealed heat trap, and do not leave the tires on hot black asphalt or in direct sunlight.
Maximize Garage Space With Overhead and Wall Racks
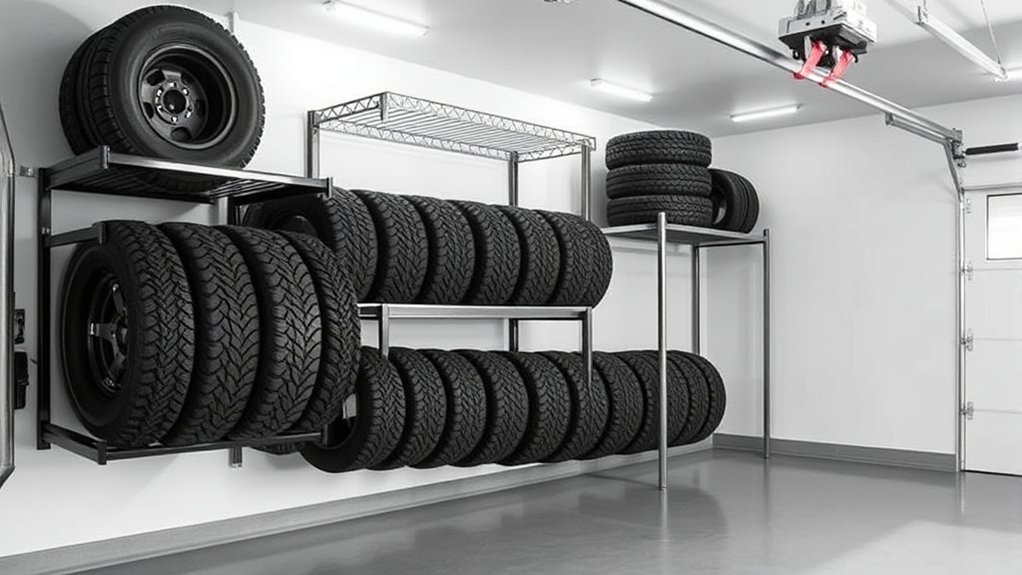
Wall and overhead racks can free floor space, but the most space-efficient location is not always the safest or easiest to use. Place frequently changed seasonal tires where you can load them without climbing, leaning over a vehicle, or lifting above your comfortable range.
Use overhead storage for sets you access less often and only when the rack, ceiling structure, and installation method are suitable for the total load. Keep the lowest part of the loaded system above normal head height and clear of vehicles, garage-door movement, and work areas.
Wall racks work well when the garage has exposed or easily located framing. A freestanding rack may be better when you rent the property, cannot confirm the wall structure, or expect to rearrange the garage.
Note: Do not measure space with the rack empty. Confirm clearance using the full tire diameter and width because the loaded set may extend beyond the rack frame.
[Products Worth Considering]

The Kurgo Seasonal Tire Tote helps protect your car interior, clothes, and garage from tire grime, brake dust, and residue during seasonal tire changes. Its universal design fits most passenger tires between 22" and 31" in diameter, making storage and transport simpler with less mess. Built for rugged, repeated use, it’s machine washable for easy care and comes with a lifetime warranty.

These aluminum alloy tire valve stem caps with an O-ring seal help protect valve stems from corrosion while adding a clean, stylish look to your vehicle. The universal fit works across cars, trucks, motorcycles, bicycles, and more, making them an easy upgrade for everyday driving and off-road use. Installation is quick, and the included four-pack keeps all your tires dressed and protected.

Accurately measure tire tread depth with a calibrated gauge marked from 0 to 1 inch in 1/32 inch increments. The color-coded bar helps you quickly identify tread condition ranges, supporting safe driving for trucks, motorcycles, automobiles, and passenger vehicles.
How to Maintain Your Tires: Cleaning, Rotation, and Inspection
Cleaning Your Tires Properly
Remove loose dirt and stones from the tread, then clean the tires and wheels with water and a soft brush or a cleaner approved by the tire or wheel manufacturer. Avoid gasoline, oils, aggressive solvents, and petroleum-based products.
Dry the tread, sidewalls, bead area, wheel surface, and valve area completely before bagging or stacking the set. Avoid applying tire dressing immediately before storage unless the tire manufacturer specifically approves it.
Importance of Tire Rotation
Rotation can help equalize tread wear, but the correct interval and pattern depend on the vehicle, drivetrain, tire type, wheel configuration, and maintenance schedule. Toyota advises owners to follow vehicle-specific recommendations rather than a universal mileage rule. Review the maintenance guide for your exact model year and the instructions supplied with the tires.
Mark each tire’s previous location, such as LF, RF, LR, and RR. Some Tundra model years or wheel configurations may also require tire-pressure monitoring system registration or initialization after a rotation or seasonal wheel-set change. Check the owner’s manual before driving.
For general background, see Toyota’s official tire rotation guide.
Storage Preparation Steps
- Inspect the set: Look for cuts, bulges, exposed cords, irregular wear, embedded objects, damaged beads, or wheel damage.
- Clean the tires and wheels: Remove road grime, salt, stones, and other debris.
- Dry everything fully: Pay attention to wheel recesses, valve areas, and bead surfaces.
- Label each position: Record where each tire was installed on the truck.
- Record condition: Note tread depth, visible damage, and the DOT/TIN date code.
- Bag if appropriate: Use clean opaque bags after drying.
- Load according to tire condition: Use the correct method for mounted or unmounted tires.
- Recheck the rack: Inspect fasteners, brackets, pins, and structural mounting points after loading.
Inspect Before Returning Tires to Service
Before reinstalling a stored set, inspect and touch the tread and sidewalls for cracking, bulges, cuts, deformation, foreign objects, or other damage. The last four digits of the DOT tire identification number show the week and year of manufacture.
NHTSA’s TireWise guidance explains that aging is affected by service, storage, maintenance, sunlight, and environmental conditions. Appearance alone cannot confirm that an older tire remains safe.
Have a qualified tire professional inspect any tire with questionable damage, prolonged poor storage, significant age, irregular wear, or an unknown history. Once mounted, inflate the tires to the cold pressure listed on the vehicle placard or as otherwise specified by Toyota for that configuration, not to the maximum sidewall pressure.
Need Help? When Professional Tire Storage Makes Sense
Professional seasonal storage can be useful when your garage lacks safe structural mounting points, stays excessively hot or damp, contains ozone-producing equipment, or does not provide enough clearance for safe loading. It can also reduce the lifting burden when complete truck wheel-and-tire assemblies are difficult to move.
Before choosing a service, ask how the tires are labeled, positioned, protected from sunlight and chemicals, inspected, and tracked. Confirm whether the provider stores complete wheel sets and loose tires differently and whether installation, balancing, pressure adjustment, and TPMS procedures are included.
Frequently Asked Questions
How should you properly store seasonal Tundra tires?
Clean and dry the tires, inspect them, label their previous positions, and store them indoors in a cool, shaded, dry area. Keep them away from sunlight, fuels, oils, solvents, heat, and ozone-producing equipment. Use the correct position for mounted or unmounted tires.
Where should you put a tire rack in a garage?
Place it on a structurally suitable wall, ceiling, or level floor where the loaded tires will not block vehicles, doors, garage-door hardware, electrical equipment, exits, or walkways. Keep the location shaded, dry, and away from chemicals and ozone sources.
Is it okay to store tires in an unheated garage?
An unheated garage can work when it remains dry, shaded, ventilated, and free from extreme temperatures, chemicals, and ozone-producing equipment. The fact that a garage is unheated does not automatically make it suitable. Inspect the actual conditions throughout the storage season.
What are practical garage-storage ideas for Tundra tires?
Use a wall rack for accessible seasonal storage, a stable freestanding rack when permanent mounting is unsuitable, or an overhead system for infrequently accessed sets. Label each tire, keep lifting space clear, and avoid storing tires where vehicles or tools can strike them.
Should mounted and unmounted tires be stored the same way?
No. Mounted tires can generally be stacked flat or placed on a system designed for complete wheel assemblies. For a simple home setup, unmounted tires are commonly stored upright and should not be hung. Follow the tire manufacturer’s specific instructions.
How often should you inspect tires while they are stored?
Check them periodically during the storage season and again before installation. Look for moisture, rack movement, deformation, cracking, chemical exposure, pest damage, or objects pressing against the tread or sidewall.
Conclusion
A reliable Toyota Tundra tire rack setup begins with actual measurements, verified capacity, suitable structural mounting, and safe loading. Once the rack is secure, clean and dry the tires, label their positions, and protect them from sunlight, moisture, chemicals, heat, and ozone.
Store mounted and unmounted tires according to the tire manufacturer’s guidance, inspect the set before it returns to service, and follow the maintenance instructions for your exact Tundra model year. When the garage structure or lifting process is uncertain, professional installation or seasonal storage is the safer choice.
Sources
- U.S. Tire Manufacturers Association, Tire Storage Recommendations — indoor and outdoor storage conditions, environmental hazards, elevation, and pre-service inspection
- Michelin, Storing My Tires — cleaning, labeling, bagging, and mounted-versus-unmounted positioning
- Continental, Storing Tires — upright, stacked, and hanging guidance and ozone-source avoidance
- Toyota, Tire Rotation Guide — vehicle-specific rotation intervals and patterns
- National Highway Traffic Safety Administration, TireWise — tire aging, maintenance, storage conditions, and safety inspection