
What’s in This Article
- Quick How-To: Inflate a Tire With a Portable Inflator
- What to Check Before You Use a Portable Tire Inflator
- Find Your Vehicle’s Recommended Tire Pressure
- Prepare and Charge a Cordless Portable Inflator
- Attach Your Portable Tire Inflator to the Valve Stem
- Set Target Pressure and Start Inflating
- Monitor Inflation and Troubleshoot Common Problems
- Using Sealant and Emergency Repair Kits Safely
- Re-Test and Verify Tire Pressure After Inflation
- Maintain, Store, and Know When to Replace Your Inflator
- Frequently Asked Questions
A low tire can turn a normal drive into a stressful stop. Before you inflate, check that your inflator has enough charge, shows no damage, and matches the tire’s valve stem. You also need your vehicle’s recommended pounds per square inch (PSI), which you can find on the driver’s door jamb sticker or in the owner’s manual.
Clean the valve stem, attach the hose firmly, set the target pressure, and watch the gauge while the inflator runs. If you hear hissing, reseat the hose and test for leaks with soapy water. After inflation, recheck the pressure with a separate gauge and keep the inflator clean, charged, and ready for future use.
Quick Answer
To use a portable tire inflator, check your vehicle’s recommended PSI, connect the hose tightly to the valve stem, set the target pressure, and start the unit. Watch the gauge as the tire fills, then stop at the correct pressure if the unit does not shut off on its own. Recheck the tire with a separate pressure gauge before you drive.
Key Takeaways
- Use the PSI listed on the driver’s door jamb sticker or in your owner’s manual.
- Check tire pressure when tires are cold for the most accurate reading.
- Attach the hose firmly to stop air leaks during inflation.
- Watch the gauge closely so you don’t overinflate the tire.
- Retest pressure after inflation with a separate tire pressure gauge.
Quick How-To: Inflate a Tire With a Portable Inflator
Estimated time: Most tires take about 5 to 15 minutes to check, connect, inflate, and verify, depending on tire size and how low the pressure is.
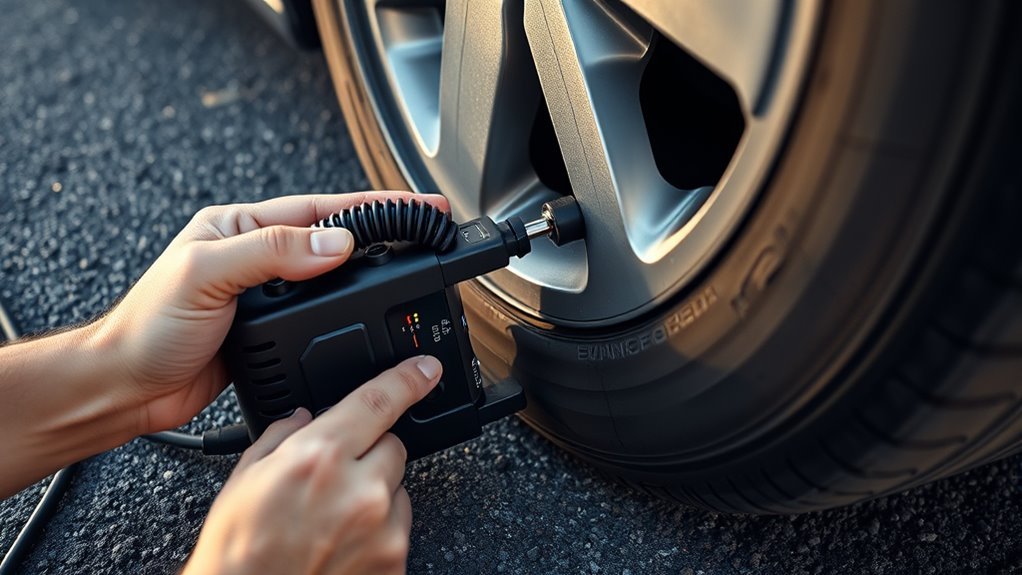
Start by making sure your portable inflator has enough charge and shows no visible damage. Check the tire’s current pressure with a gauge, then compare it with the recommended PSI in your owner’s manual or on the driver’s door jamb sticker.
Attach the inflator hose firmly to the valve stem so you get a tight seal. Set the target pressure on the inflator’s display, confirm the number, and start the unit.
- Check the tire’s current pressure with a reliable gauge.
- Find the recommended PSI on the door jamb sticker or in the owner’s manual.
- Remove the valve cap and attach the hose securely.
- Set the target pressure on the inflator.
- Start the inflator and watch the built-in gauge.
- Stop the unit at the target pressure if it does not shut off automatically.
- Disconnect the hose, replace the valve cap, and retest the pressure.
Check tire pressure monthly and before long trips. Regular checks help maintain safer handling, better braking, and more even tire wear.
What to Check Before You Use a Portable Tire Inflator
Before you start, check your vehicle’s recommended tire pressure so you know the correct target PSI. Make sure the inflator battery has enough charge or that the power cord reaches the outlet you plan to use.
Inspect the hose, fittings, and valve stem for cracks, debris, or loose parts. A clean valve stem helps the hose seat well and reduces air leaks.
Recommended Tire Pressure
Check the recommended tire pressure in your owner’s manual or on the sticker inside the driver’s door jamb. Measure PSI when the tires are cold, since heat from driving can raise the reading.
Correct PSI helps your tires carry the vehicle’s weight as designed. Underinflation can reduce fuel economy, increase tire heat, and raise the risk of tire damage.
- Safety: Correct pressure supports predictable handling and braking.
- Savings: Proper inflation helps reduce uneven tire wear.
- Confidence: A known target PSI removes guesswork.
- Control: Regular checks help you spot slow leaks early.
Inflator Battery Status
After you know the correct PSI, make sure the inflator can finish the job. Check the battery status indicator before you start, since a weak charge can stop inflation halfway through.
If your inflator has no battery indicator, run it briefly before connecting it to the tire. Inspect the charging cable and adapter for frays, loose connectors, or bent plugs.
Follow the manufacturer’s charging time and storage guidance. Charge the inflator after use, and store it away from heat, moisture, and freezing conditions when possible.
Inspect Hose and Valve
Give the hose and valve a quick once-over before you inflate. Look for cracks or stiffness in the hose, clear debris from the connectors, and confirm that the attachment fits your tire’s valve stem.
- Examine the hose for cracks, hard spots, or leaks.
- Clean the connectors so the hose can seal well.
- Check hose length and flexibility before reaching each wheel.
- Match the attachment to the valve stem before pumping.
Warning: Do not use a hose with cracks, frayed wiring, or a fitting that leaks around the valve stem.
Find Your Vehicle’s Recommended Tire Pressure
Look for the tire pressure sticker on the driver’s side door jamb or check your owner’s manual. Use the listed cold tire pressure as your target when inflating with a portable inflator.
Check Door Jamb Sticker
The driver’s side door jamb sticker gives the recommended PSI for your vehicle’s tires. Some vehicles list different values for front and rear tires, so check each line before inflating.
- Open the driver’s door and locate the pressure sticker.
- Note the PSI values for the front and rear tires.
- Compare the current tire pressure with the listed value.
- Set your inflator to match the correct number.
Use the door jamb sticker as your main quick reference. Do not use the maximum PSI printed on the tire sidewall as your normal target.
Consult Owner’s Manual
Your owner’s manual gives the recommended tire pressures for your specific vehicle. It may also include notes for heavy loads, towing, spare tires, or different front and rear settings.
Cross-check the manual with the driver’s door jamb sticker. Record the recommended PSI for all four tire positions so you can set the inflator without guessing.
Note Cold Tire Pressure
Recommended PSI values apply to cold tires. Check pressure before you drive or after the vehicle has sat for at least three hours.
Many passenger cars use tire pressures around 30 to 35 PSI, but your vehicle may need a different value. Always follow the number listed for your vehicle, not a general range.
- Relief: Proper PSI helps reduce the chance of tire trouble.
- Savings: Correct inflation can help your tires wear more evenly.
- Confidence: Proper pressure supports stable handling and braking.
- Longevity: Regular checks help you catch slow pressure loss.
Prepare and Charge a Cordless Portable Inflator
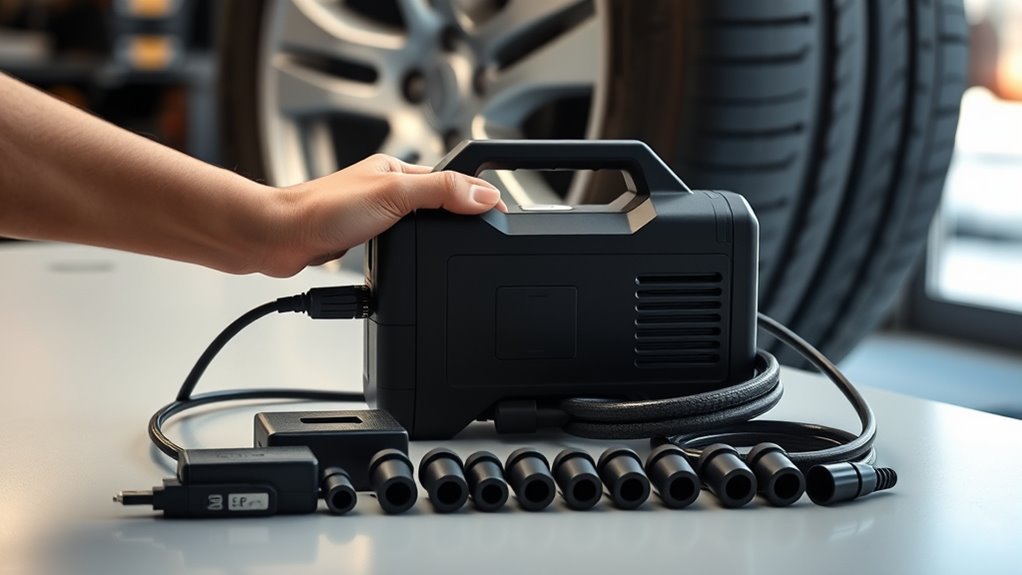
Before you use a cordless inflator, make sure it’s fully charged. Connect the provided cable to the correct power source, watch the indicator, and unplug the unit when the manual says charging has finished.
Check the housing, cables, and connectors for visible damage before operation. Follow the user manual’s specific charging instructions, including charge time, approved power sources, and storage advice.
Keep the air hose, nozzle adapters, and spare connectors together in the case. Organized accessories help you set up faster and reduce the chance of using the wrong adapter.
Pro tip: Test your inflator at home before a long trip so you know the battery, hose, and gauge work.
Attach Your Portable Tire Inflator to the Valve Stem
With the inflator charged and the accessories ready, locate the tire’s valve stem. It usually sits on the wheel near the outer edge, where you can remove the small valve cap.
Check the valve stem for visible damage and wipe away dirt. A clean stem helps the hose seal and keeps debris out of the valve.
- Remove the valve cap and place it where it won’t roll away.
- Align the air hose straight with the valve stem.
- Push the connector onto the valve and tighten it as directed.
- Give the hose a gentle tug to confirm a secure fit.
- Listen for hissing before you start the inflator.
If you hear air escaping, remove the hose and attach it again. A poor seal can slow inflation and give you a false pressure reading.
Set Target Pressure and Start Inflating
Set the correct target pressure by checking your vehicle’s owner’s manual or the door jamb sticker. Dial that value into the inflator’s controls before you press the power button.
Confirm the selected pressure on the display. This step helps prevent overinflation and keeps the tire within the vehicle maker’s recommended range.
Use the inflator’s features, such as preset buttons, a digital readout, or auto shutoff, when available. Watch the built-in gauge as pressure rises, and turn off the unit when it reaches the target.
Disconnect the hose carefully so you lose as little air as possible. Replace the valve cap right away to help protect the valve from dirt and moisture.
Monitor Inflation and Troubleshoot Common Problems
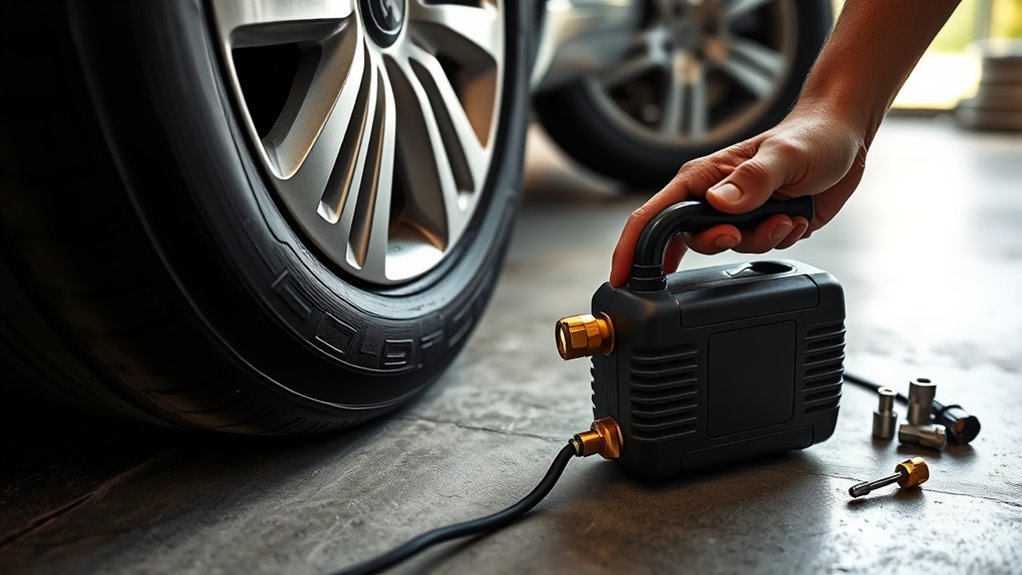
Watch the built-in gauge or digital display as pressure rises. Stop at the target pressure if your inflator does not stop on its own.
If inflation stalls or you hear hissing, check the valve connection and inspect for leaks. If the unit won’t run, verify the power source, charge level, fuse, or 12-volt connection.
[Products Worth Considering]
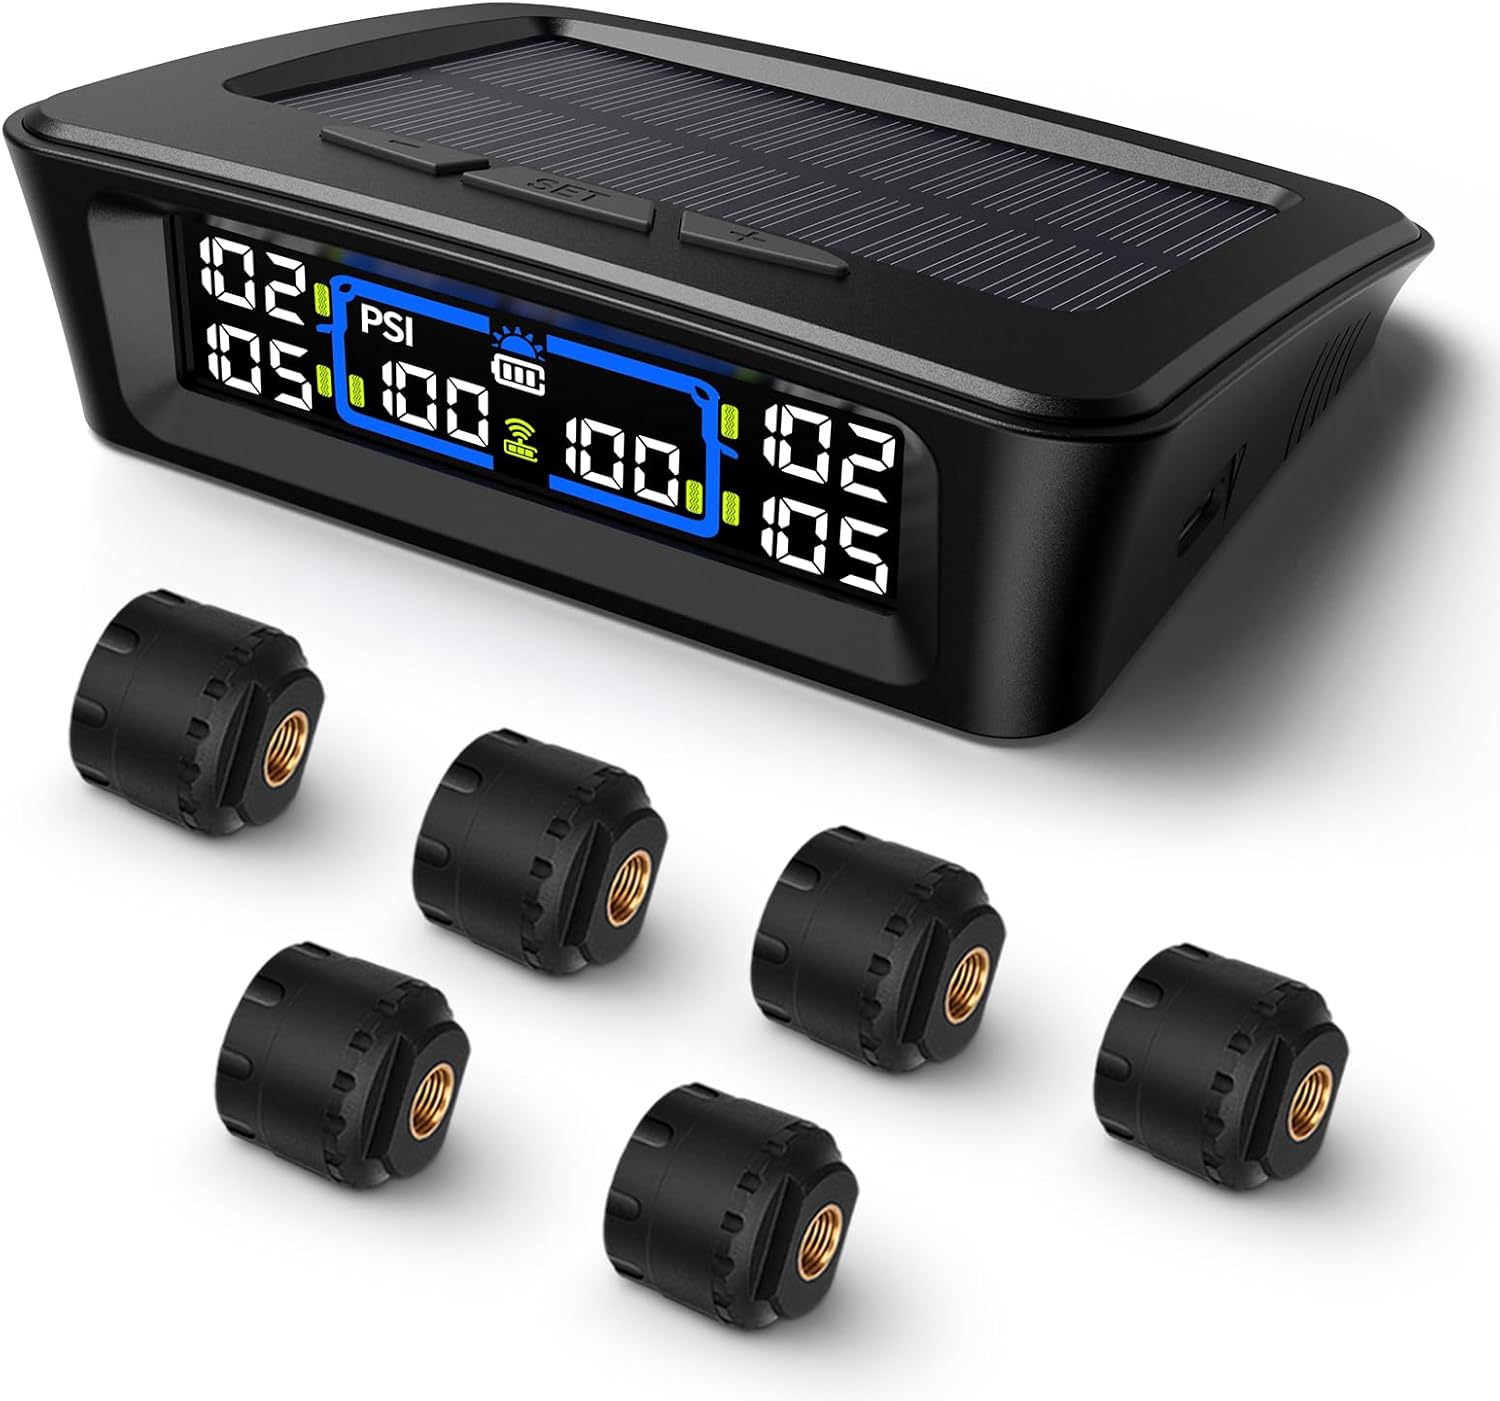
The Tymate TM12 RV TPMS delivers real-time tire pressure and temperature monitoring with a stable 433Hz display for safer long-distance driving. It supports simultaneous monitoring across vehicle and trailer zones, includes six alarm modes for pressure, temperature, leakage, battery, and signal loss, and features easy DIY installation with auto calibration. Power is supplied via USB-C charging or solar recharging, with a wide 0–144 PSI range and up to 50 ft signal coverage for RVs and towable trailers.

This tire inflator with pressure gauge delivers long-lasting performance with a durable rubber-protected gauge and sturdy build. The longer hose and 360 swivel air chuck help you seal the valve securely and keep your hands free while measuring, inflating, or deflating. It’s battery-free for reliable use and provides ±2 PSI accuracy in the mid-range for most typical tires, with universal compatibility for 1/4 NPT compressor outputs.

The Airmoto portable tire inflator quickly and accurately fills car, truck, SUV, motorcycle, and bicycle tires up to 120 PSI with auto shut-off when your target pressure is reached. Its large LCD, multi-unit pressure display, and digital gauge make it easy to dial in settings and verify readings, while the built-in LED flashlight helps in low light. The included polyurethane hard carrying case and storage mesh pocket keep the inflator and accessories protected and organized.
Monitor Pressure Progress
While you’re inflating, keep a close eye on the gauge or digital readout. Listen for unusual sounds that could signal a leak, poor connection, or blocked hose.
Use pressure monitoring to track progress. If pressure stops rising, turn off the inflator and reseat the hose on the valve stem.
- Hissing: Stop and check the hose connection.
- Stalled pressure: Reseat the chuck and inspect the valve.
- Fast pressure drop: Check the tire for a puncture or damaged valve.
- Auto shutoff: Let the feature stop the unit at the set PSI.
Identify Common Leaks
If the inflator struggles or you hear a hiss, stop and check for leaks. Apply soapy water around the valve stem, hose fitting, and visible tire damage.
Bubbles can show where air escapes. Reseat the hose if bubbles form at the connection, and seek tire repair if bubbles come from the tread, sidewall, or valve stem.
After you reach the target pressure, remove the hose and recheck with a separate gauge. If the tire loses pressure again, do not rely on inflation alone.
Resolve Inflator Malfunctions
Inspect the inflator and its fittings before each use so you catch wear or damage early. During use, watch the pressure readout and stop the unit if it fails to reach your target.
If the inflator won’t power on, check the charge, 12-volt connection, plug, and fuse. If you hear odd sounds or feel strong vibration, shut it off and inspect the hose for kinks or blockages.
- Hissing hose: Check for loose fittings or damaged seals.
- Power loss: Recharge the battery or check the vehicle power outlet.
- Blocked airflow: Clean the nozzle and inspect the hose.
- Bad readings: Compare the display with a separate pressure gauge.
Using Sealant and Emergency Repair Kits Safely
Sealant and plug kits can help you get moving in an emergency, but treat them as temporary tools. Use them only when the tire and kit instructions say the repair type is appropriate.
Follow sealant precautions closely. Use the sealant setting only if your inflator supports it, follow the manufacturer’s directions, and replace expired or used sealant canisters.
Sealant can leave residue inside the tire and make later repairs harder. After using sealant or a plug kit, have a tire professional inspect the tire and make a permanent repair when possible.
Warning: Do not use sealant or a plug kit on sidewall damage, large punctures, or a tire that looks unsafe to drive.
[Products Worth Considering]
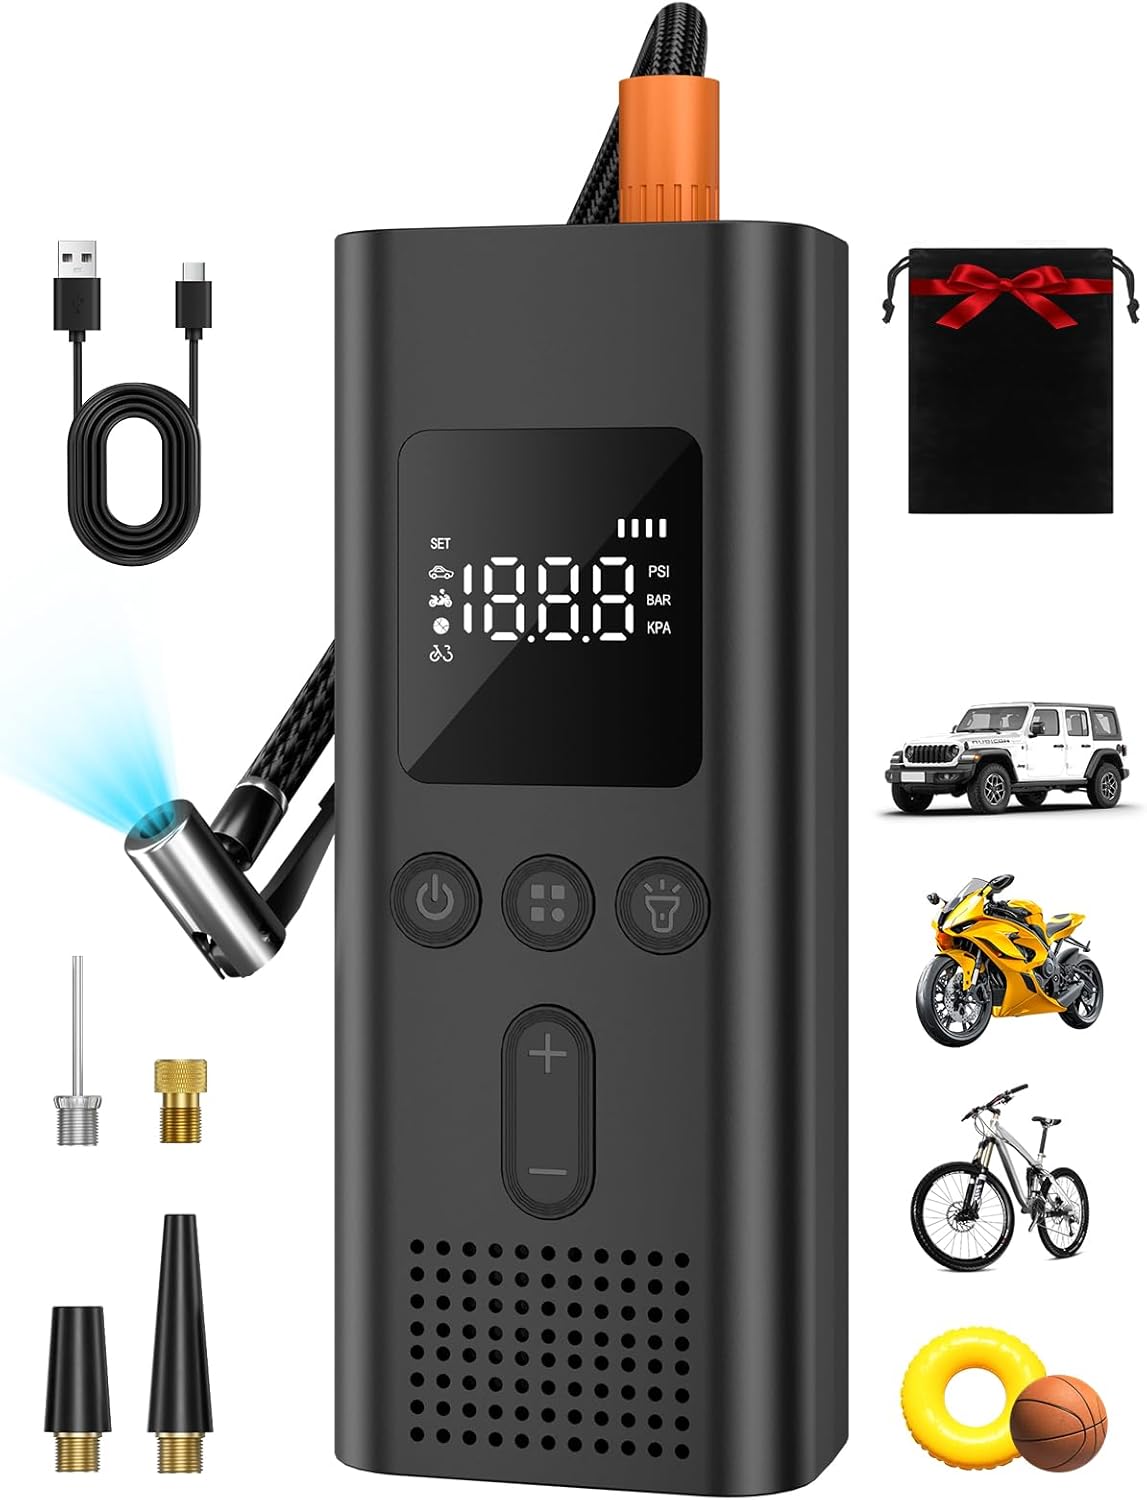
The AIRSURE portable tire inflator delivers fast on-the-go inflation up to 150 PSI with a built-in digital gauge and auto shut-off to help prevent overfilling. Choose from four smart pressure modes for cars, motorcycles, bicycles, and sports balls, with unit selection in PSI/KPA/BAR/KG/CM². A cordless, compact design plus LED light and included nozzles make it ideal for roadside emergencies, daily checks, and outdoor adventures.

The AstroAI L7 Air Tire Inflator refills car tires quickly with up to 150PSI max pressure and a fast 1-minute inflation claim. It includes 5 preset modes for car, motorcycle, bicycle, balls, and manual use, along with an auto shutoff to help prevent overinflation. Designed for convenience, it features a digital gauge with unit switching, a top LED light with multiple modes, and USB-C/USB ports for backup power.

This all-in-one air compressor accessories kit includes a tire inflator with gauge for car tires and a combined air chuck setup for easier inflation. It also features a durable 1/4 inch polyurethane air hose for connecting compressors to air tools, plus a heavy-duty blow gun and industrial hose fittings for cleaning and routine projects. Ideal for keeping your air system ready for inflating, cleaning, and quick-connect tool use.
Re-Test and Verify Tire Pressure After Inflation
After inflating, wait a few minutes and use a tire pressure gauge to confirm the pressure. Match the reading to the value in your owner’s manual or on the driver’s door jamb sticker.
If pressure remains low, inspect for leaks or visible damage. Persistent loss often points to a puncture, damaged valve stem, or loose valve core.
Recheck tire pressure monthly and after large temperature changes. Record readings after each check so you can spot repeat pressure loss early.
Let tires settle, then check pressure with a gauge. Recheck monthly, after temperature changes, and before long trips.
- Relief: A verified reading helps you know the tire is ready.
- Confidence: Accurate inflation supports safer handling.
- Alertness: Tracked readings can reveal hidden leaks.
- Safety: Correct pressure helps reduce tire damage risk.
Maintain, Store, and Know When to Replace Your Inflator
When you’re not using your portable inflator, store it in a cool, dry place. Keep the hose and fittings clean so the unit stays ready for the next low tire.
Coil hoses without sharp bends, store attachments in their case, and avoid heat or moisture. Wipe connections with a dry cloth, remove debris from nozzles, and inspect seals for cracks.
Test the unit periodically, especially before long trips. Replace the inflator if you find frayed wires, intermittent power, damaged switches, weak performance, or persistent leaks.
[Products Worth Considering]

Upgrade your tire inflating setup with this 12-inch hose adapter featuring a brass locking quick-connect chuck for secure, leak-proof attachment. The extended, flexible design helps reach hard-to-access valve stems, while the self-locking mechanism enables hands-free inflation with no pressure loss. It’s compatible with most portable air compressors and inflators, making it ideal for cars, trucks, motorcycles, and bicycles.

Inflate Presta and Schrader bike and car tires with one compressor attachment, including tubeless setups. The digital gauge lets you monitor 2–200 PSI readings in 0.1 PSI increments with ±2 PSI accuracy, while the adjustable lever and built-in bleed button help you dial in precise pressure. Quick-connect coupler, hose, and a complete Presta service kit with spare cores and caps make it ready for fast maintenance.

Keep your tires properly inflated with this analog VONDIOR tire pressure gauge, designed for fast, easy readings without batteries. The swiveling, two-axis hose and large glow dial help you measure at any tire angle with instant visibility. Built with a protective rubber shield, it supports durable, low-maintenance use for cars and trucks.
Frequently Asked Questions
Can a Portable Inflator Damage My Tire’s TPMS Sensor?
Yes, misuse can damage a tire pressure monitoring system (TPMS) sensor. Avoid striking the valve stem, forcing the connector, over-tightening adapters, or using fittings that do not match the valve.
Can I Inflate a Motorcycle Tire With a Car Inflator?
Yes, you can inflate a motorcycle tire with a car inflator if the pressure range, valve adapter, and gauge work for the tire. Follow the motorcycle maker’s pressure specs and monitor PSI closely to avoid overinflation.
How Long Does a Battery-Powered Inflator Battery Typically Last?
Many battery-powered inflators run long enough to top off several tires, but runtime varies by model, battery size, and tire pressure. Extend battery life by charging as directed, storing the unit properly, and avoiding deep discharges.
Are Inflators Safe to Use in Extreme Cold or Heat?
You can use many inflators in hot or cold weather, but check the manual for the safe operating range. Keep batteries away from direct sun, freezing surfaces, and moisture, and monitor pressure carefully.
Can I Inflate a Tire While It’s Still on the Car Jack?
You can inflate a tire while the vehicle sits on a jack if the vehicle is stable and the jack rests on solid, level ground. Secure the vehicle first, avoid getting under it, and never overload or shift the jack during inflation.
Conclusion
A portable inflator works best when you know the correct PSI, attach the hose securely, and verify the final pressure. Check the door jamb sticker or owner’s manual before every inflation job.
Use sealant only as directed, and treat it as a temporary fix until a tire professional can inspect the tire. Keep the inflator charged, clean, and stored with its accessories so it’s ready when you need it.
With a few careful steps, you can turn a low-tire warning into a quick, controlled repair.

![[2026NEW] 5000A Jump Starter with Air Compressor (150PSI)](https://m.media-amazon.com/images/I/71oG4PFNsmL._AC_SL1500_.jpg)