
How to Patch a Toyota Hilux Tire: A Full Repair Guide
To patch your Toyota Hilux tire, first verify the puncture is under 4mm and inspect for any sidewall damage. Use a tire repair kit by lifting the vehicle, removing the wheel, and cleaning the puncture site. Apply an internal patch for best adhesion, then inflate the tire to the recommended pressure. After reinstalling, monitor for leaks and unusual wear. You’ll discover essential tips for ongoing maintenance and when to seek professional help next.
When to Use a Tyre Repair Kit
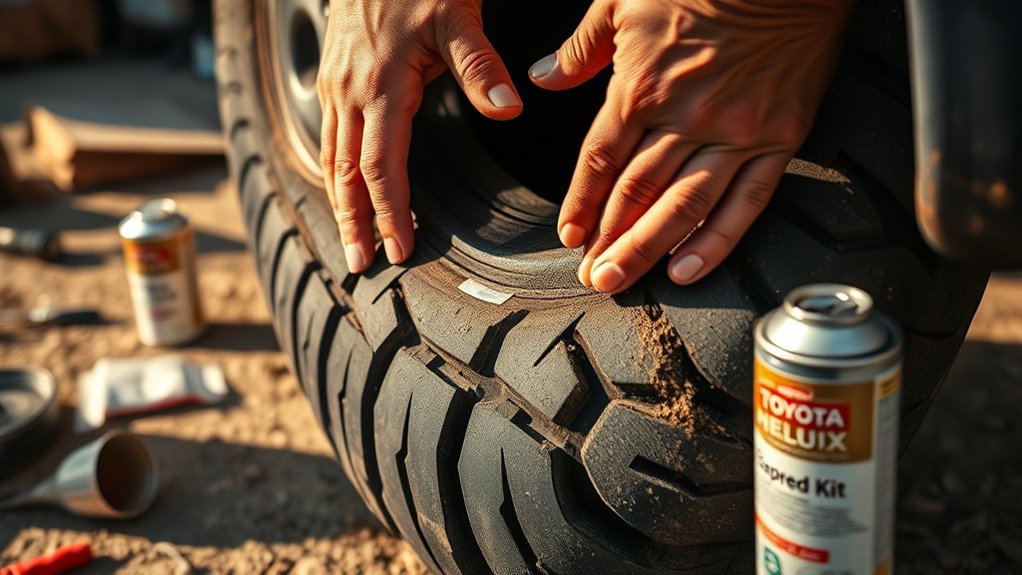
When you find yourself with a punctured tire, knowing when to use a tire repair kit is crucial for a successful fix. First, verify the puncture is less than 4mm in diameter; larger punctures exceed repair limitations and require professional help. Before initiating repairs, assess the tire in a safe location without removing any foreign object, like a screw, as it may worsen the damage. If you notice any damage to the wheel rim, skip the repair kit; without a proper seal, your efforts will be futile. Additionally, avoid using the kit if the tire has been flat for an extended period, as this can compromise the integrity of the repair. Familiarizing yourself with the kit’s components beforehand can greatly reduce repair time and enhance safety, empowering you in roadside emergencies. Remember, being prepared is key to maintaining your freedom on the road.
Step-by-Step Tire Patching Guide
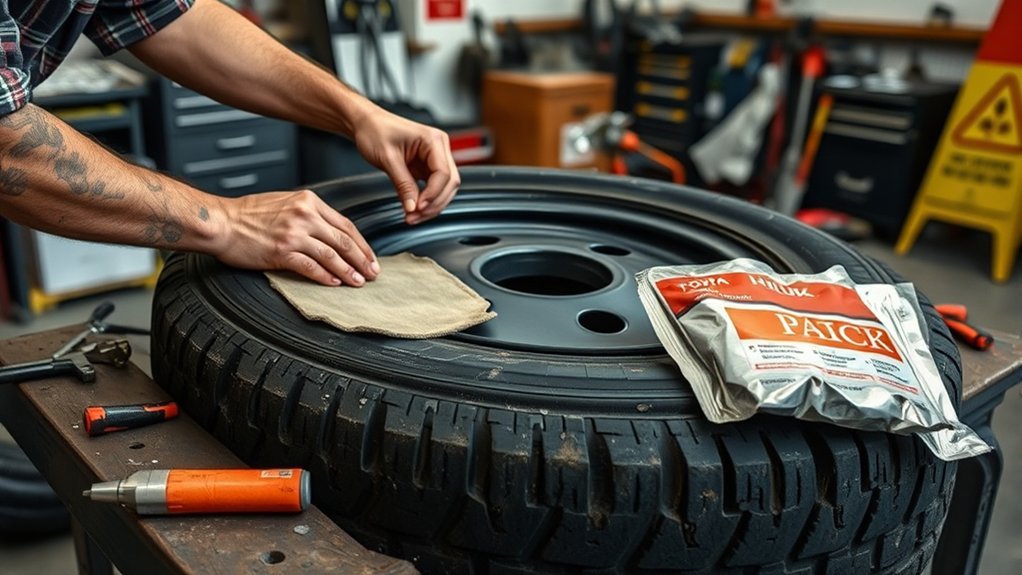
Patching a tire involves a few essential steps to secure a reliable repair. Follow these instructions carefully to uphold safety and effectiveness:
- Safely lift the vehicle and remove the wheel for easy access to the punctured area.
- Clean the puncture site and surrounding area thoroughly for proper adhesion of the patch.
- Apply a tire repair patch from the inside using suitable patch materials, making sure it completely covers the puncture.
- Inflate the tire to the manufacturer’s recommended pressure and check for leaks with soapy water.
Once you’ve confirmed the patch holds, reinstall the tire, tightening all lug nuts to the specified torque. Finally, perform a thorough inspection before hitting the road. Remember, different tire types might require specific patch techniques, so choose your materials wisely. This method will help you maintain your Toyota Hilux’s reliability and extend the life of your tires.
How to Use Your Tyre Repair Kit
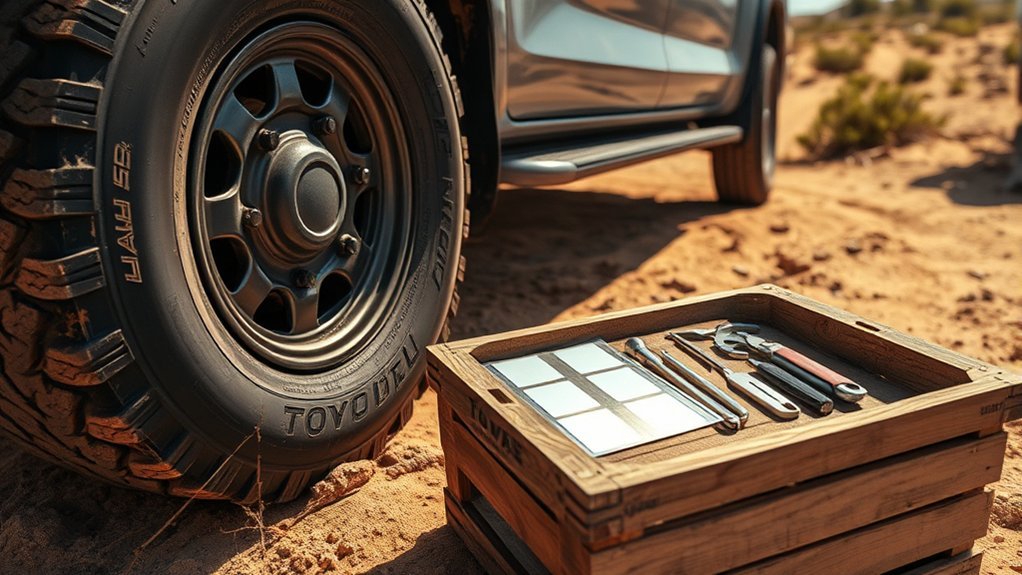
After verifying your tire is properly patched, you might need to use your tire repair kit for emergencies. First, locate the kit under the boot floor of your Toyota Hilux and find a safe area to assess the puncture. Remove the valve cap from the punctured tire and securely attach the sealant bottle. Connect the compressor hose next. Plug the compressor into the auxiliary socket and start the engine for non-hybrid models to inflate the tire within 10 minutes.
Once inflated, drive 2-3 miles to verify even sealant application and check for any further damage. Afterward, recheck the tire pressure. Remember, this repair is temporary; replace the tire as soon as possible. Avoid exceeding 50 mph post-repair to maintain safety. Using your tyre repair tools correctly empowers you to handle emergencies efficiently and keeps your Toyota Hilux on the road.
Top Mistakes to Avoid When Patching a Tire
When patching a tire, it’s essential to avoid common misdiagnosed issues that can lead to ineffective repairs. Ignoring manufacturer guidelines and skipping proper inspection steps can compromise your safety and the tire’s performance. By staying vigilant and following best practices, you can guarantee a reliable repair.
Common Misdiagnosed Issues
While many assume a simple plug repair is all that’s needed for a punctured tire, this common misconception can lead to dangerous outcomes. To guarantee your tire’s integrity and safety, avoid these mistakes:
- Neglecting inside patching: Only using a plug can leave residual damage unaddressed.
- Removing objects prematurely: Taking out a screw or sharp object can worsen the puncture.
- Overlooking sidewall damage: Failing to check can result in misdiagnosing the tire’s condition.
- Ignoring proper tire pressure: This oversight can mask issues, increasing future failure risks.
Being aware of these common misdiagnosed issues will empower you to make informed decisions and maintain your vehicle’s safety on the road.
Ignoring Manufacturer Guidelines
Ignoring manufacturer guidelines can lead to significant safety risks when patching a tire. Proper tire safety hinges on adhering to recommended repair techniques. If you skip essential inspections, you may overlook internal damage that could result in tire failure. Relying on plug repairs instead of proper patches is also risky, as plugs don’t allow for thorough inspection of the puncture area. Furthermore, failing to check the size of the puncture can lead to inappropriate repair methods; remember, punctures larger than 4mm shouldn’t be patched. Finally, neglecting to follow recommended driving speeds post-repair can increase the risk of further damage or even blowouts. Always prioritize manufacturer guidelines for a safer driving experience.
Skipping Proper Inspection Steps
Before you start patching a tire, conducting a thorough inspection is essential to guarantee safety and effectiveness. Skipping this step can lead to serious consequences. Here are vital aspects to check:
- Puncture Size and Location: Verify it’s under 4mm for proper repair.
- Internal Damage: Look for sidewall issues or tread separation.
- Uneven Wear: Identify patterns that could indicate other issues.
- Overall Condition: Assess for any additional damage that might compromise integrity.
Using qualified inspectors and appropriate inspection tools can help you avoid these pitfalls. Remember, a meticulous approach not only guarantees a successful patch but also enhances your tire’s longevity and performance on the road. Don’t rush; your safety depends on it.
Post-Patching Checks for Your Tire
After you’ve patched your tire, it’s vital to conduct a series of checks to confirm its reliability. Start by driving 2-3 miles; this allows the sealant to distribute evenly throughout the patched area. After your short drive, recheck the tire pressure since it may need adjustment for peak performance. It’s important to keep your speed below 50 mph right after the repair to minimize stress on the patch.
Monitor the patched tire regularly for any signs of failure, such as air loss or unusual wear. If you notice any issues, plan to replace it soon. Finally, schedule a full inspection at a service center as soon as possible, as patching is a temporary solution. By following these post-patching checks, you can help guarantee your Toyota Hilux tire remains safe and reliable until a more permanent fix is applied.
When to Call in the Pros for Tire Help?
When you notice severe damage or persistent leak issues, it’s time to call in the pros. A puncture larger than 4mm or repeated pressure loss can compromise your tire’s integrity and safety. Seeking expert help guarantees that any underlying problems are properly addressed, keeping you safe on the road.
Severe Damage Assessment
Evaluating severe tire damage is essential for ensuring your safety on the road. If you notice any of the following damage indicators, it’s time to call in the professionals:
- Punctures larger than 4mm in diameter
- Damaged wheel rims or sidewalls
- Bulges, cracks, or unusual wear on the tire
- Extended periods of flat tires
These conditions often exceed the capabilities of standard tire inspection and repair kits. A professional evaluation can prevent further damage and potential safety risks. When in doubt about your tire’s integrity after a puncture or repair attempt, don’t hesitate to seek expert help. Your safety is paramount, and addressing severe damage promptly can save you from costly replacements down the line.
Persistent Leak Issues
Persistent leak issues can be frustrating and may signal deeper problems within your tire. If a tire continues to lose pressure after using a repair kit, you might be facing internal damage that needs professional assessment. Persistent leaks jeopardize your safety and call for immediate inspection by a qualified technician. If the puncture exceeds 4mm in diameter, DIY methods won’t cut it—consult a pro for a proper repair. Additionally, repeated flats or leaks from multiple punctures warrant a thorough evaluation of your tire’s condition. Driving on a flat tire for an extended period can compromise structural integrity, making it essential to take into account replacement. Prioritize leak detection and repair longevity to guarantee safe travels.
Tips for Maintaining Your Patching Job
To guarantee the longevity and effectiveness of your tire patch, it’s crucial to adopt a few maintenance practices right after the repair. Implementing these tips will enhance patch longevity and guarantee peak tire care:
- Drive cautiously, staying below 50 mph for the first few miles to let the patch settle.
- Regularly inspect the patched area for signs of leakage or damage, especially after long drives or rough terrain.
- Maintain proper tire pressure; under-inflation can lead to further tire damage.
- Schedule a full inspection of the patched tire within a few weeks to confirm the integrity of the repair.
Frequently Asked Questions
Is a Patch Safer Than a Plug?
Yes, a patch is safer than a plug. Patch durability guarantees a more reliable fix, addressing internal damage while repair methods like plugs only seal the exterior, risking air leaks and potential tire failure.
Conclusion
Patching your Toyota Hilux tire can be as rewarding as fixing a puzzle piece that perfectly fits. By following the steps outlined, you can guarantee a reliable repair that keeps you safe on the road. Always double-check your work and maintain your tire to extend its life. If you encounter any doubts or complex issues, don’t hesitate to reach out to a professional. Your safety is paramount, so trust your instincts when it comes to tire maintenance.
Related Articles

How Often Should You Balance Toyota Hilux Tires
Not balancing your Toyota Hilux tires regularly can lead to uneven wear and costly repairs; discover the best practices for optimal tire maintenance.
Read More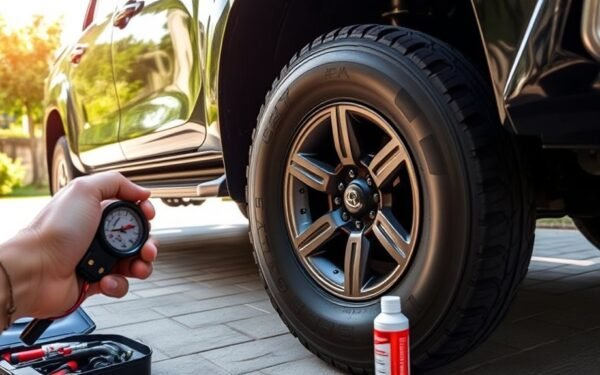
7 Tire Care Tips Every Toyota Hilux Owner Should Follow
As a Toyota Hilux owner, uncover essential tire care tips that enhance performance and longevity—discover what you need to know for optimal safety!
Read More
Toyota Hilux Wheel Cleaning: Safe Methods for Every Type
Immerse yourself in safe methods for cleaning your Toyota Hilux wheels that protect their finish—discover the secrets to maintaining their shine.
Read More