
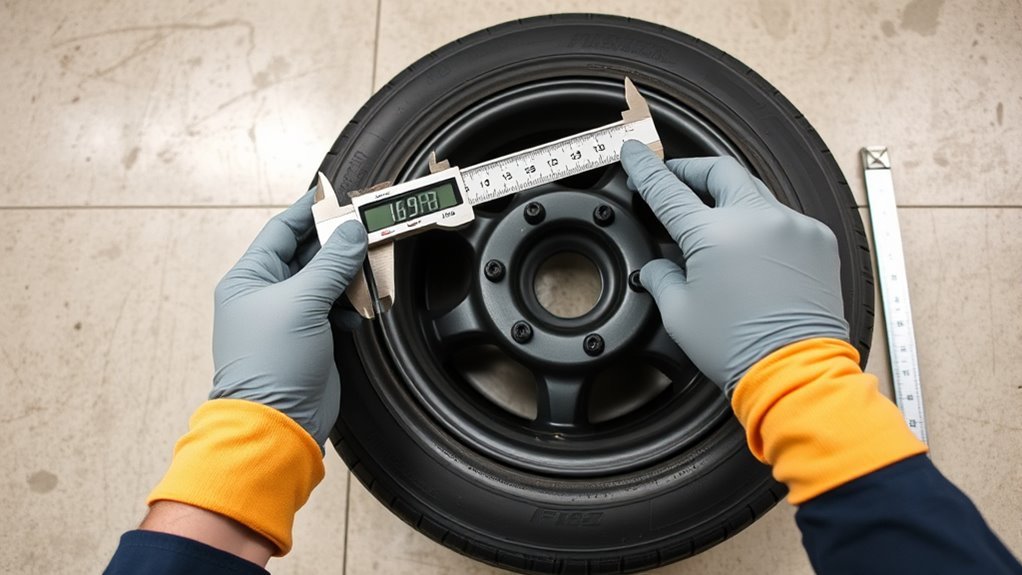
Wrong tire-width measurements can lead to rubbing, poor fitment, and wasted money on the wrong size. You’ll get the most reliable number when the tire is mounted on the correct rim, inflated to the manufacturer’s pressure, and measured at normal ride height. This guide shows you how to measure tire width sidewall to sidewall, choose the right tool, avoid common mistakes, and use the number for safer fitment decisions.
What’s in This Article
- Quick Answer: How to Measure Tire Width
- Key Takeaways
- What You’ll Need to Measure Tire Width
- Prepare the Tire: Inflate, Mount, and Set Ride Height
- Step-by-Step: Measure Sidewall-to-Sidewall Width Correctly
- Caliper vs. Tape: Accuracy, Technique, and Best Practices
- How Wheel Width, Rim Diameter, and Backspacing Change Readings
- Convert Measurements: Millimeters, Inches, and Tire Size Codes
- Common Measurement Mistakes and How to Avoid Them
- When to Measure: Replacements, Plus-Sizing, and Lift Projects
- What to Do With Your Measurement: Online Calculators and Fitment Tools
- Frequently Asked Questions
- Conclusion
Quick Answer: How to Measure Tire Width
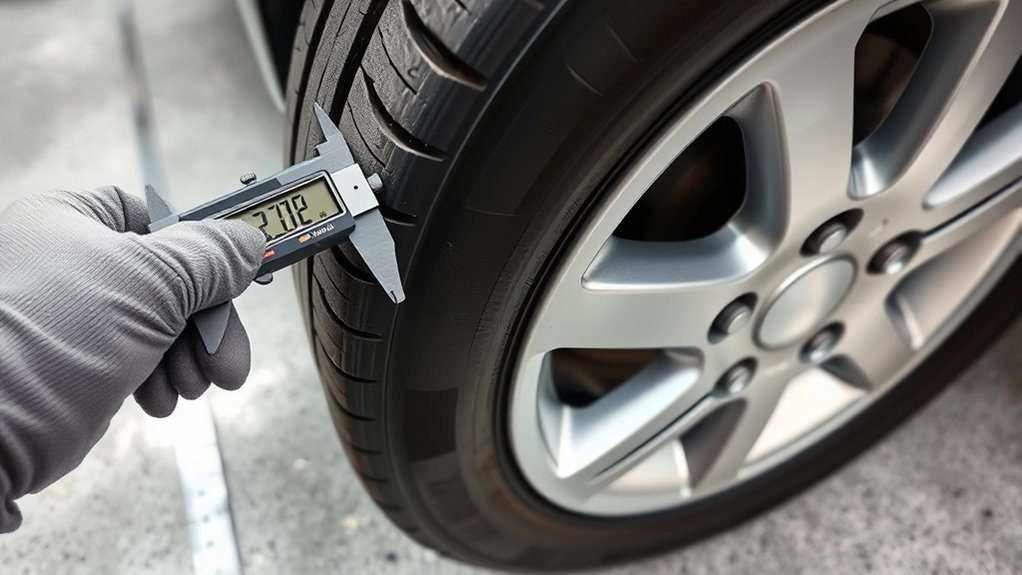
Measure tire width by placing the tire upright on a flat surface, inflating it to normal pressure, and reading the straight-line distance across the widest part from sidewall to sidewall. Use a tape measure or caliper, keep the tool straight and level, and record the result in millimeters. For example, P225 means the tire has a nominal section width of 225 mm.
Measure a mounted tire when possible because rim width can change the sidewall shape. Don’t measure the tread footprint or rim diameter when you need tire width. Width refers to the inflated tire’s section width, which runs from one outer sidewall to the other.
Key Takeaways
- Measure tire width from outer sidewall to outer sidewall, not across the tread only.
- Mount and inflate the tire before measuring whenever you need a real fitment number.
- Use calipers for the most precise reading and a taut tape measure for quick checks.
- Take several readings around the tire and average them to reduce measurement errors.
- Record rim width, offset, and backspacing because wheel geometry affects clearance.
What You’ll Need to Measure Tire Width
You need only a few basic tools to measure tire width with confidence. A tape measure works for quick checks, a caliper gives more precise readings, and a straightedge helps you find the true widest point.
- Tape measure: Use a straight, taut tape for quick sidewall-to-sidewall readings.
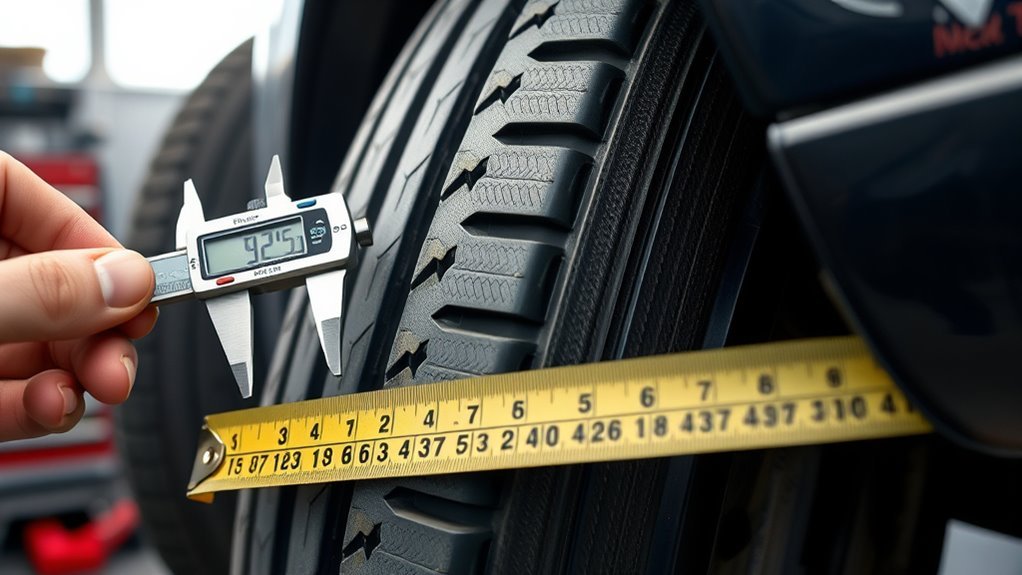
- Caliper: Use digital, dial, or vernier calipers when you need repeatable millimeter measurements.
- Straightedge: Use a ruler, level, or flat bar to create a clean measuring reference.
- Pressure gauge: Confirm the tire matches the manufacturer’s recommended pressure before measuring.
- Notebook or phone: Record each reading, plus rim width, offset, and backspacing.
[Products Worth Considering]

This metal-free wheel and tire cleaning brush uses dense, fluffy synthetic wool to safely clean rims, spokes, fenders, and engine areas without worrying about damaging surfaces. Its flexible, comfortable design helps you reach detailed areas while maintaining durability, and the extra absorbent fibers work well with wheel spray cleaners for faster cleanup. Reusable and washable performance helps prevent grime and build-up for cleaner vehicles and easier maintenance at home.
ETENWOLF T300 is a calibrated digital tire pressure gauge designed for reliable readings across low and high pressure ranges. It includes thermal compensation for stable performance in extreme cold or heat, an LED light for visibility, and an auto shut-off to help preserve battery life. Ideal for pickups, RVs, and heavy-duty vehicles, it delivers accurate PSI measurements with sturdy durability.

ETENWOLF T300 is a calibrated digital tire pressure gauge for accurate readings from 3 to 200 PSI across light and heavy-duty vehicles. It includes thermal compensation for reliable performance in extreme cold or heat, with an auto shut-off to extend battery life and an LED for easier reading. The sturdy design supports rugged everyday use, making it ideal for pickups, RVs, and industrial applications.
Tape Measure Technique
Set the mounted, inflated tire upright on level ground. Place a straightedge across the tire’s widest sidewall section, then hook the tape on one outer sidewall and pull it taut to the opposite outer sidewall.
Keep the tape square to the tire and avoid bending it around the sidewall curve. Take at least three measurements at different points around the tire, then average the results.
Caliper Measurement Tips
Use calipers when you need a more precise section-width reading. Place the jaws squarely against the outer sidewalls and close them gently until they touch without compressing the rubber.
Take readings at several points around the tire because sidewall shape, wear, and runout can affect the number. Calibrate the caliper before use and record all measurements in millimeters.
Using a Straightedge
Place a straightedge across the tire’s sidewalls to create a true, level reference point for the section width. Mount the tire and inflate it to the recommended tire pressure before measuring because an unmounted or soft tire can distort the result.
- Align the straightedge flush with the widest sidewall points.
- Measure from one outer sidewall to the opposite outer sidewall.
- Record each reading in millimeters, such as 225 mm.
- Average multiple readings to improve accuracy.
Prepare the Tire: Inflate, Mount, and Set Ride Height
Inflate the tire to the manufacturer’s recommended pressure, mount it on the correct rim, and load the suspension to the vehicle’s normal ride height. This setup lets you measure the tire as it sits in real use.
Use the correct rim because rim width affects bead seating and sidewall shape. Underinflation can flatten the tire and change the apparent width, while the wrong rim can stretch or pinch the sidewalls.
Set the vehicle on level ground and let the suspension rest naturally. Don’t measure while the vehicle hangs from a jack because that changes ride height and clearance.
Warning: Never use tire-width measurements alone to approve a fitment change; confirm load rating, speed rating, rim size, and clearance before driving.
Step-by-Step: Measure Sidewall-to-Sidewall Width Correctly
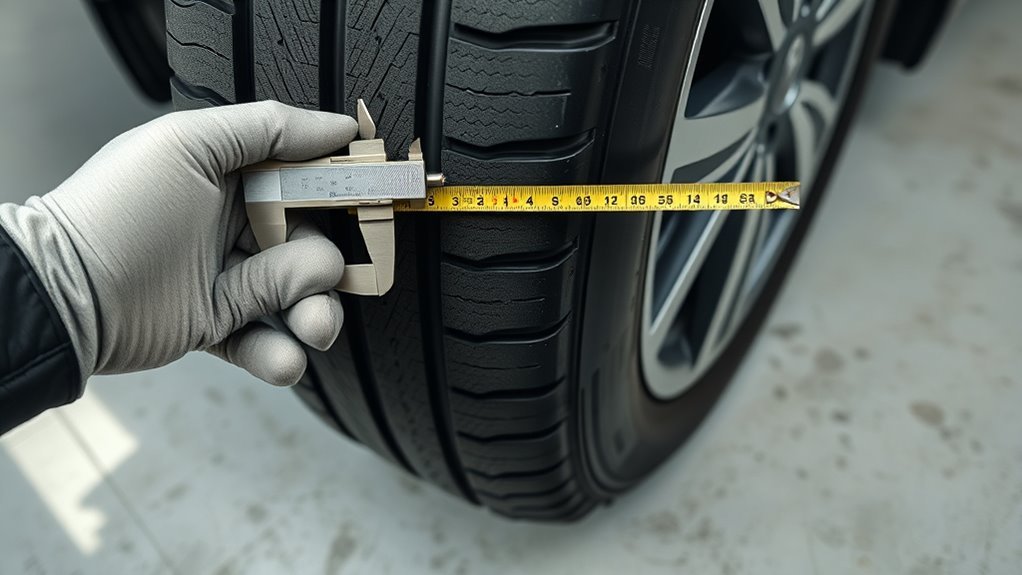
Estimated total time: 10 to 15 minutes per tire.
- Mount the tire on the correct rim and inflate it to the recommended pressure.
- Place the tire upright on a flat surface, or keep it on the vehicle at normal ride height.
- Find the widest point across the outer sidewalls with a straightedge or visual check.
- Measure straight across from one outer sidewall to the opposite outer sidewall with a caliper or taut tape.
- Record the reading in millimeters and note the rim width, offset, and backspacing.
- Repeat the measurement at several points around the tire and average the results.
Keep the measuring tool square to the tire and avoid pressing into the rubber. Consistent technique gives you clear data for fitment, replacement, and clearance checks.
Caliper vs. Tape: Accuracy, Technique, and Best Practices
Choose calipers when you need precise and repeatable tire-width data. Calipers work best when you keep the jaws square to the sidewalls and close them with light, even contact.
Use a tape measure for a quick field check, but keep it straight and taut. A loose or curved tape can add or subtract a few millimeters from the reading.
For best results, measure a mounted, inflated tire and repeat the reading around the circumference. Reject outliers caused by sidewall bulges, debris, or poor tool alignment.
Pro tip: Photograph your tape or caliper reading beside the tire label so you can compare future fitment changes.
[Products Worth Considering]

The Chemical Guys Gerbil Wheel & Rim Brush is designed to safely clean wheels, rims, exhaust tips, tires, and engine bay components without scratching delicate finishes. Its soft natural bristles help lift brake dust, grime, and buildup while conforming to tight spaces and intricate contours. A comfort grip handle delivers control for extended detailing sessions.

AstroAI’s digital tire pressure gauge inflates and measures with high accuracy, reading within 1% and supporting four pressure units from 3 to 250 PSI. The heavy-duty brass air chuck locks securely on valve stems, while the 19.7-inch stainless braided hose and 360° rotatable dial improve comfort and control for faster single-hand operation. Battery-saver behavior and an integrated flashlight add convenience and safety for everyday roadside and garage use.

Clean wheels and rims with soft feathered bristles that safely remove dirt and road grime while helping restore original luster. The short non-slip handle makes it easy to scrub in tight wheel wells, and the brush is suitable for vehicles and hard-to-reach areas. It can also be soaked and rubbed to help restore bristles to their shape after use.
How Wheel Width, Rim Diameter, and Backspacing Change Readings
Wheel geometry changes how a tire sits, so you should interpret each width reading in context. Wheel width, rim diameter, backspacing, and offset can change sidewall shape, clearance, and rubbing risk.
- Wheel width: A wider wheel can flatten the tire shoulder and change the measured section width.
- Rim diameter: The rim diameter must match the tire size, such as 16 inches in 225/70R16.
- Backspacing: More backspacing moves the wheel inward and can reduce suspension clearance.
- Offset: Positive or negative offset shifts the tire side to side and affects rubbing points.
Record wheel width, rim diameter, backspacing, and offset with your tire-width measurement. Those notes help you compare setups without guessing.
Convert Measurements: Millimeters, Inches, and Tire Size Codes
Tire width often appears as the first number in metric tire codes. For example, P225/70R16 means the tire has a nominal width of 225 mm, an aspect ratio of 70, and a 16-inch rim diameter.
Convert millimeters to inches with this formula: inches = millimeters ÷ 25.4. That means 225 mm equals about 8.86 inches.
Some tires use flotation sizing, such as 33×12.50R15. In that format, 12.50 refers to the tire width in inches, while 15 refers to the rim diameter in inches.
Common Measurement Mistakes and How to Avoid Them
Small measuring errors can lead to poor fitment choices. Use a level surface, correct tire pressure, and a straight tool to keep your reading useful.
- Don’t measure on uneven or sloped ground because the angle can skew the reading.
- Don’t use a loose or curved tape because slack changes the result.
- Don’t measure a deflated or unmounted tire when you need real fitment data.
- Don’t rely on one reading because wear and sidewall shape can vary around the tire.
- Don’t measure tread width when you need section width because the two numbers differ.
Measure, record, inspect, and repeat. That simple process protects you from avoidable fitment problems.
When to Measure: Replacements, Plus-Sizing, and Lift Projects
Measure tire width before you buy replacement tires, change wheel size, add spacers, or install a lift. Early measurements help you confirm clearance, handling impact, and compatibility before you spend money.
For plus-sizing, check that the wider tire still clears fenders, control arms, brake parts, and inner liners. For lifts, confirm the tire width won’t rub during turns or suspension travel.
| Project | Why Measure | Key Check |
|---|---|---|
| Replacements | Confirm fit and size match | Sidewall width |
| Plus-sizing | Check clearance changes | Wheel and tire combo |
| Lifts | Avoid suspension rub | Maximum safe width |
What to Do With Your Measurement: Online Calculators and Fitment Tools
Once you have your measured width, use tire-size converters and fitment tools to compare sizes. Enter width, aspect ratio, and rim diameter so the tool can show equivalent tire sizes and likely clearance changes.
Then compare the result against your vehicle and tire manufacturer specifications. A calculator helps, but the final choice must still match load rating, speed rating, rim width range, and safe clearance.
[Products Worth Considering]

The Topeak SmartGauge D2 delivers precise digital tire pressure readings for bikes, motorcycles, and sports equipment up to 250 psi (17 bar). Its rotating SmartHead works with both Presta and Schrader valves, so you can check pressure quickly without adapters. The LCD display makes it easy to read results in psi, bar, or kg/cm² with an included CR2032 battery for immediate use.

Suds Lab WB Premium Detailing Wheel Brush delivers a scratch-free clean using ultra-soft microfiber bristles that lift brake dust, dirt, and grime without swirling. The ergonomic non-slip handle helps you deep-clean rims, wheels, and tires with reduced hand fatigue while reaching tight contours. It’s reusable and machine washable for long-term detailing, and works across cars, trucks, SUVs, and motorcycles plus multi-purpose cleaning tasks.

This 12-inch LUMITECO dual head tire pressure gauge features an integrated straight-on chuck and a 30° reverse chuck to reach hard-to-access dual wheel valves. Its 10–150 PSI / 1–10 BAR range with a clear, two-sided scale helps you quickly check tire pressure for safer, smoother driving. Heavy-duty construction and a simple no-battery design make it a reliable tool for trucks, cars, RVs, and motorcycles.
Online Tire Size Converters
Online tire-size converters help you turn raw measurements into standard tire codes. They can compare metric sizes, light truck sizes, and flotation sizes in one place.
- Enter tire width, aspect ratio, and rim diameter.
- Compare overall diameter, sidewall height, and width changes.
- Check plus-sizing options before ordering tires or wheels.
- Use vehicle-specific fitment data when the tool provides it.
Wheel-Fitment Compatibility Checks
Fitment calculators help you see how tire width, wheel width, offset, and backspacing work together. Use your measured width and wheel specs to check fender, suspension, and brake clearance.
Cross-check the calculator output with manufacturer specifications and a physical test fit when possible. This matters most when you change tire width, wheel offset, or ride height.
Load and Speed Rating Checks
Your measured tire width does not confirm whether a tire can safely carry your vehicle. Check the tire’s load index and speed rating before you buy or install it.
- Match or exceed the vehicle manufacturer’s required load index.
- Choose a speed rating that meets the vehicle’s requirements.
- Confirm the tire fits the approved rim-width range.
- Ask a tire professional when clearance or rating data conflicts.
Frequently Asked Questions
How Do I Determine the Width of a Tire?
Measure tire width with a tape measure or caliper on a mounted, inflated tire. Read the straight-line distance from one outer sidewall to the other and record the result in millimeters.
Is Tire Width the Same as Tread Width?
No. Tire width usually refers to section width, which measures from outer sidewall to outer sidewall. Tread width measures only the part of the tire that contacts the road.
Should I Measure a Tire Mounted or Unmounted?
Measure a tire mounted and inflated when you need fitment data. An unmounted tire can change shape, which can make the width less useful for clearance checks.
Why Does My Measured Width Differ From the Size on the Sidewall?
The sidewall size lists a nominal width, not always the exact measured width on your wheel. Rim width, air pressure, tire model, wear, and manufacturing tolerance can change the real reading.
Conclusion
Accurate tire-width measurement starts with a mounted, inflated tire and a straight sidewall-to-sidewall reading. Use calipers for precision or a taut tape for a quick check, then repeat the measurement around the tire. Record your tire width with wheel specs so you can compare fitment choices with confidence. Before you buy or install a new setup, confirm clearance, rim fit, load rating, and speed rating.

